

Garage Organization Glow Up!
I'm excited to share with you my recent garage organization glow-up! As someone who loves DIY projects and spends a lot of time in my garage, it was time for me to tackle the clutter and create a functional and organized space. Whether you're someone who loves to tinker with tools or simply looking to get your garage in order, this post will provide you with some practical ideas and inspiration to help you transform your space. So, let's get started and dive into the details of my garage organization project!
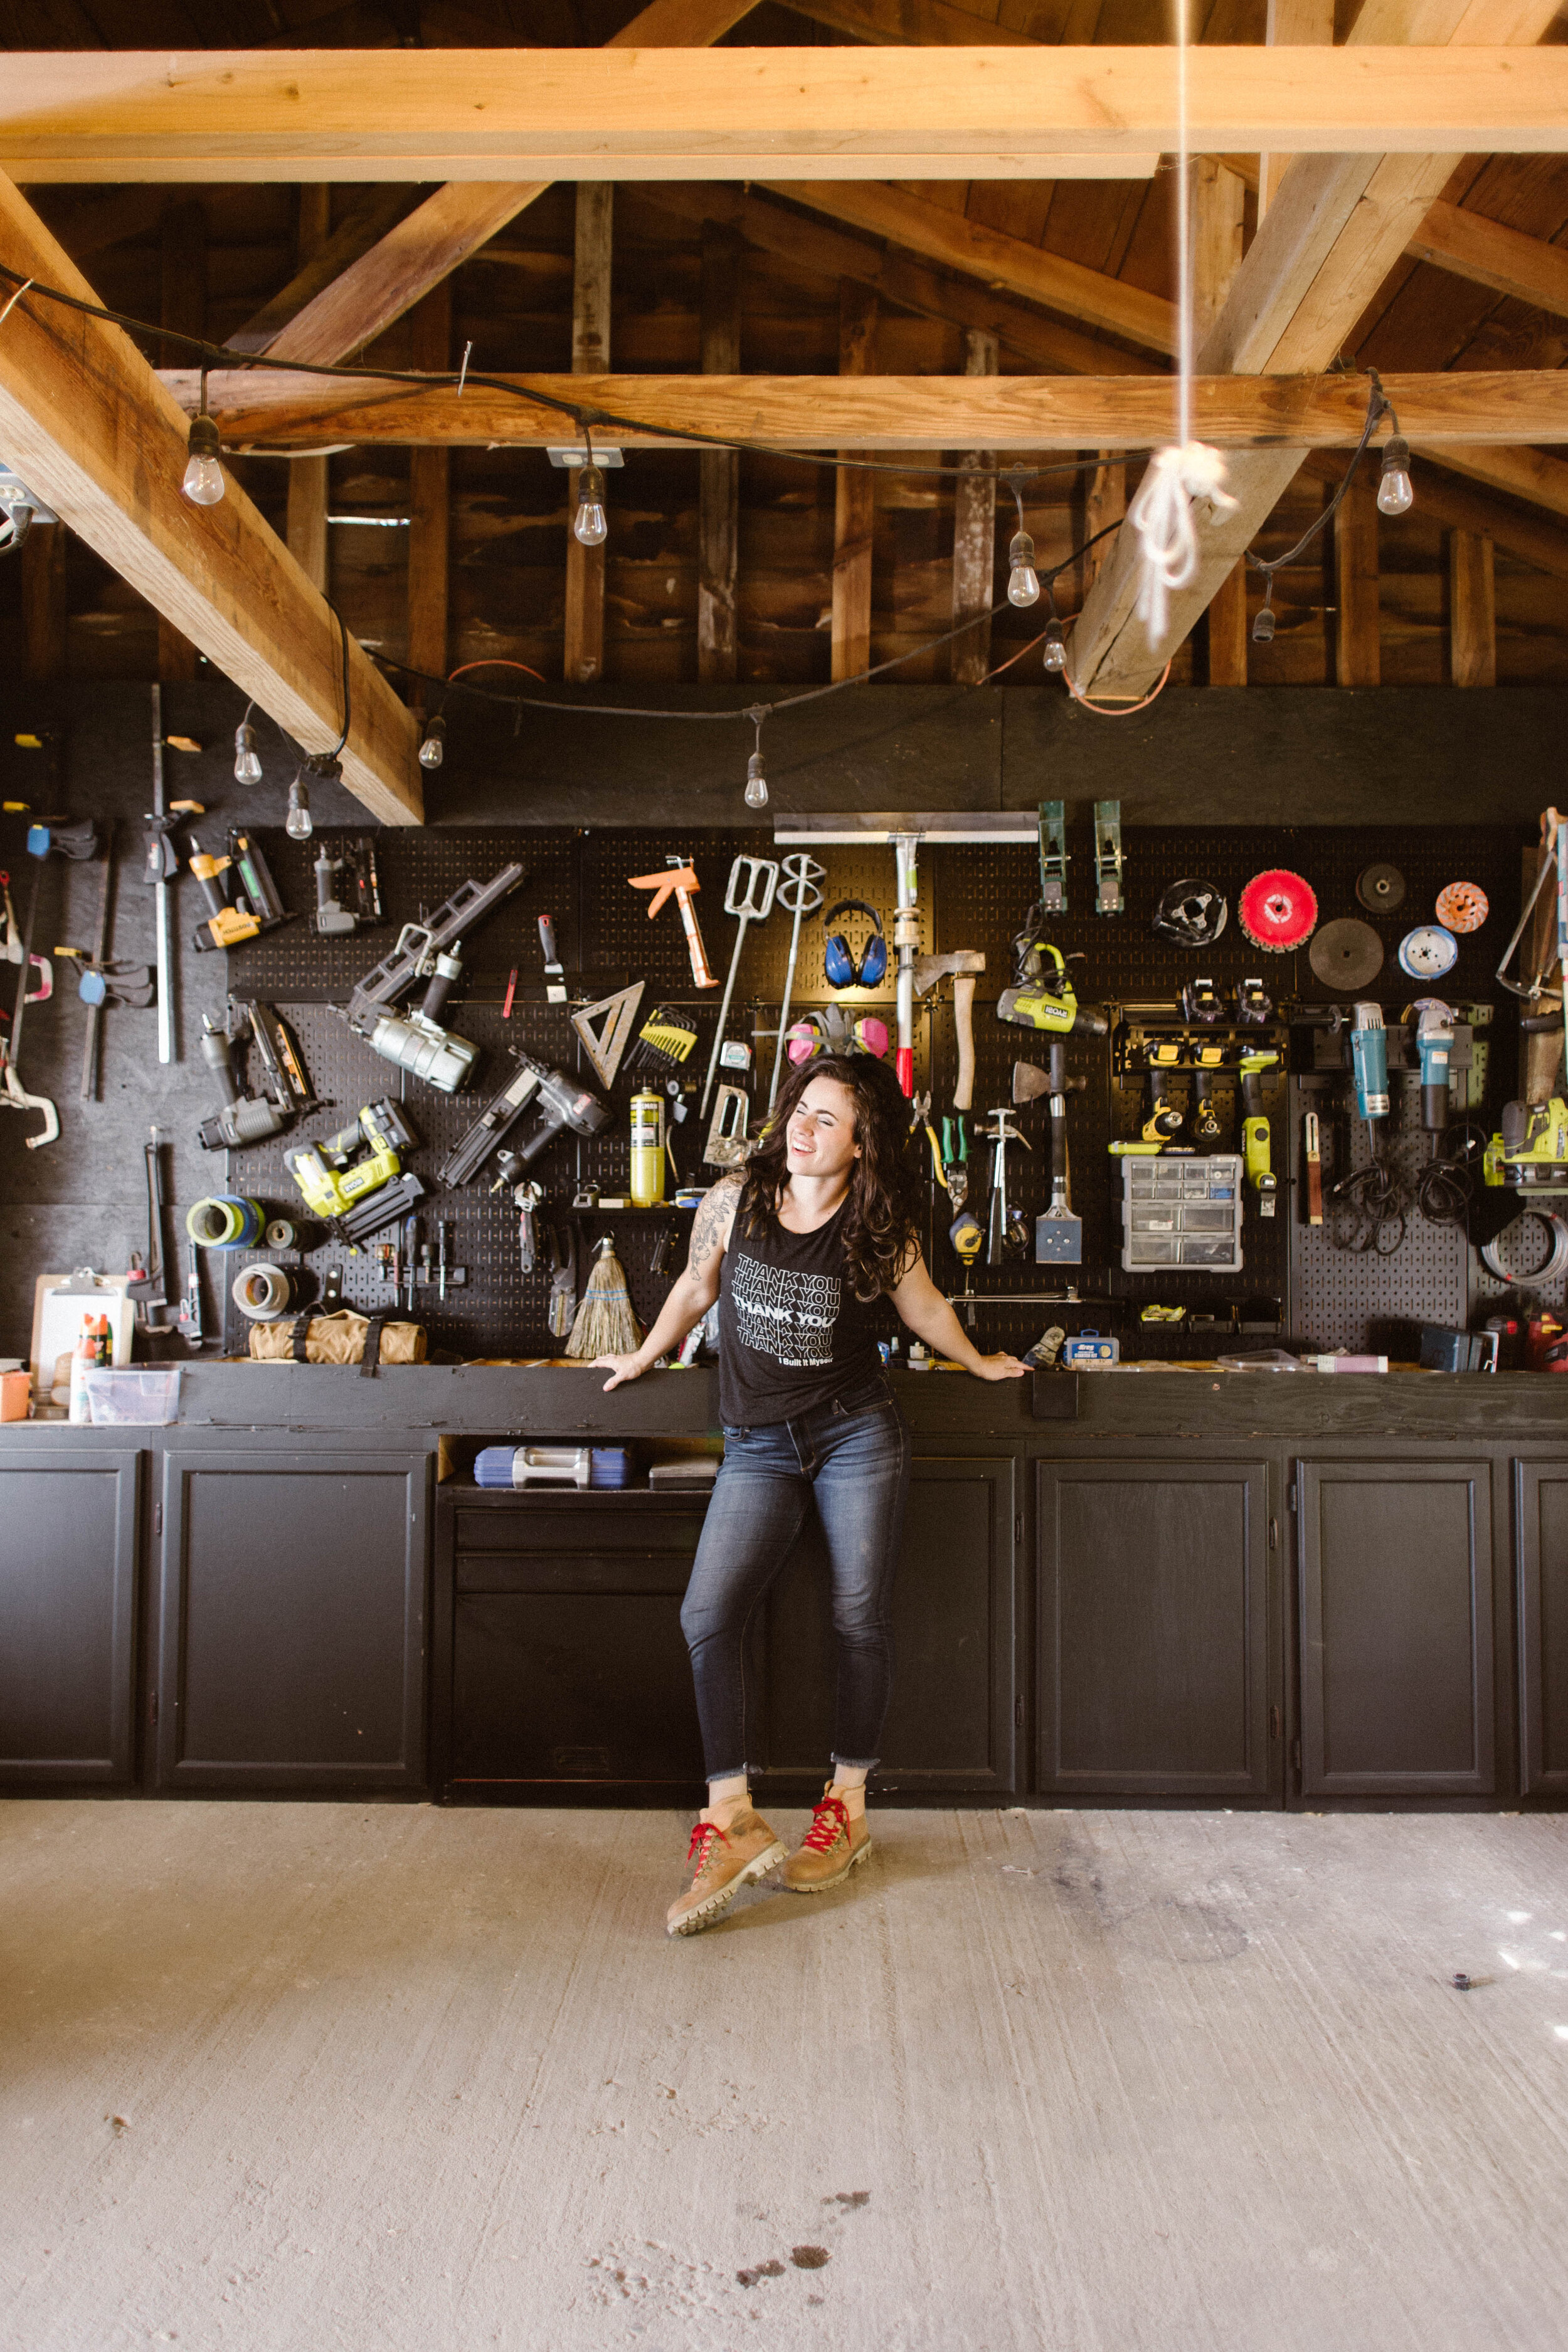
It feels like we’re always in a battle against the garage shop becoming total chaos, but we made a huge upgrade in the storage situation with these Wall Control panels!
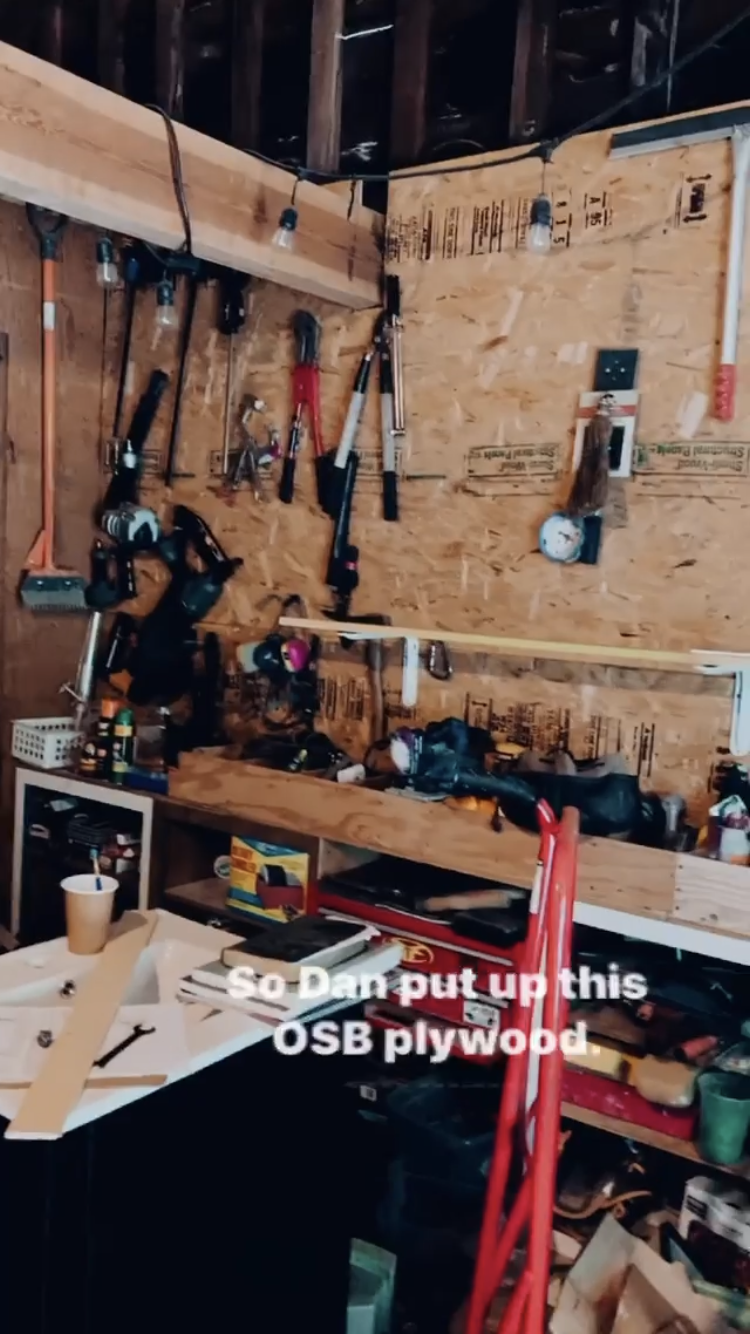
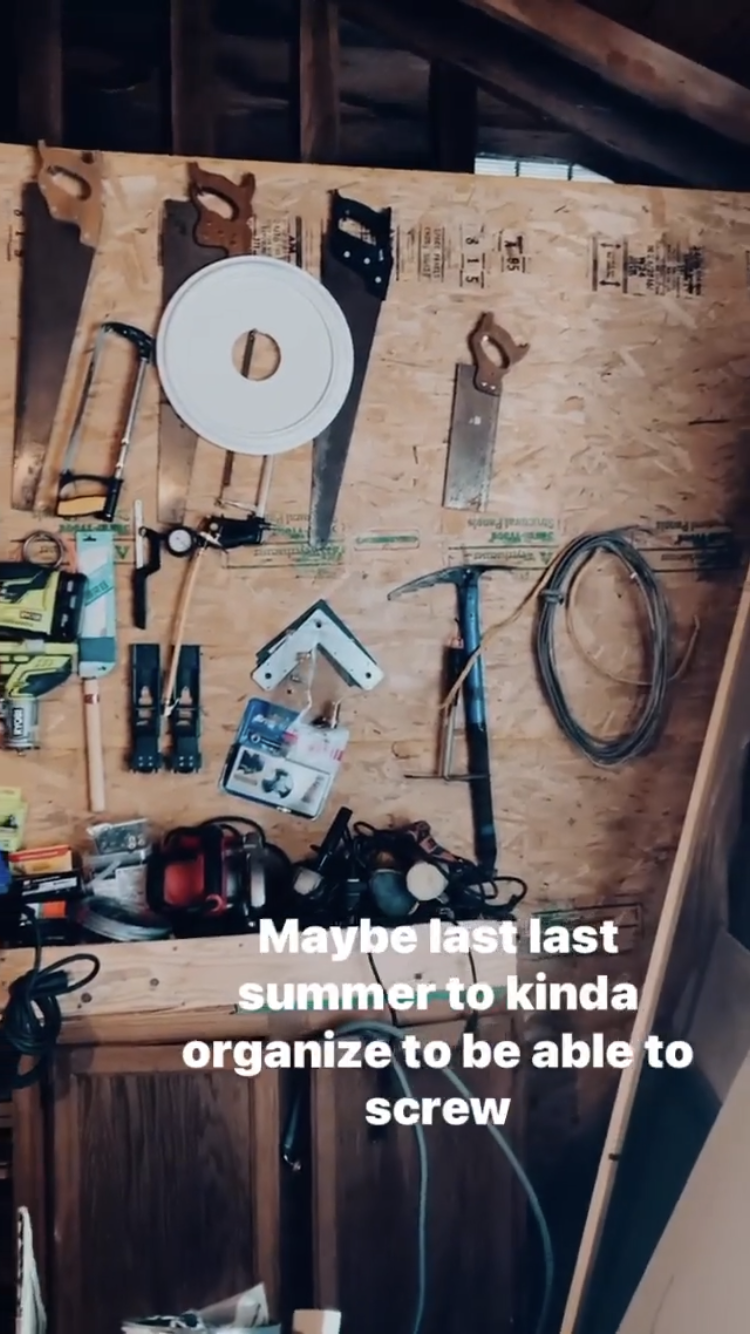
We originally had some screws and nails in the OSB wall that we hung some tools on haphazardly, it worked sort of all right, but it certainly wasn’t anything to write home about. Adding an entire wall of Wall Control panels and hanging accessories made this space work 1000x better, and we’re able to store all of our smaller tools on the wall, giving us so much more floor space in the garage (which is desperately needed).
We were also able to use the cabinets that we salvaged from our kitchen remodel, and used those as base cabinets. These were originally the wall cabinets in the kitchen, so they’re 12” deep (standard base cabinets are 24” deep), which is really nice because things don’t get lost in the back of them and they take up less floor space.
We still have plenty of plans to make this garage/shop as useful and practical as possible, but for now this glow-up has made it feel so much more usable. Now the only challenge is actually getting myself to put my tools away where they belong instead of leaving them in piles around the house…
Here are all the Wall Control products we used to transform this space!
Black Vertical Panels | Black Horizontal Panels | Hooks | Drill Holder | Shelves | Spray Can Holder | Angle Grinder Holder | Hanging Drawer Cabinet | Screwdriver Holder | Long hooks


You may also like


Unique and eclectic sofas under $1000

Couches can be a big expense, and while the quality for sure increases as the price increases, sometimes a several thousand dollar couch just isn’t in the cards yet. Or maybe you do want to save up for a pricer sofa, but in the meantime still want one that matches your design vibe at a lower price point. Here are a few options that are under $1000 that still have a really fun style to them. They’re unique and eclectic, will add to the design of your space, but might not take up your entire furniture budget for the year.

I think my favorites in this group are the top one, the blue one, and the bottom one. I’d for sure get that top one if it was offered in some more colors. Dirty corgi paws + white couch just isn’t a math equation I want to put in my house. I love the color of the orange one, and the fabric looks interest and unique as well. I don’t think it’s a boucle, but it gives that look, which I like.

The orange and yellow ones in this group are slightly over that $1000 cap but I loved them and I think they probably are a slightly higher quality being from Urban Outfitters. I really love the spherical legs on the pink couch though. Such a fun detail that really adds a lot of design interest.
Something fun you can do to customize existing furniture is to replace boring legs with stuff that’s more eclectic. My go-to shop for furniture legs is Pretty Pegs. They make tons of uniquely shaped furniture legs designed for both IKEA furniture and other furniture. They also make drawer/door handles and knobs so you can customize those on your dressers and cabinets as well! It’s a really great resource for DIYers and furniture flippers alike.
You May Also Like


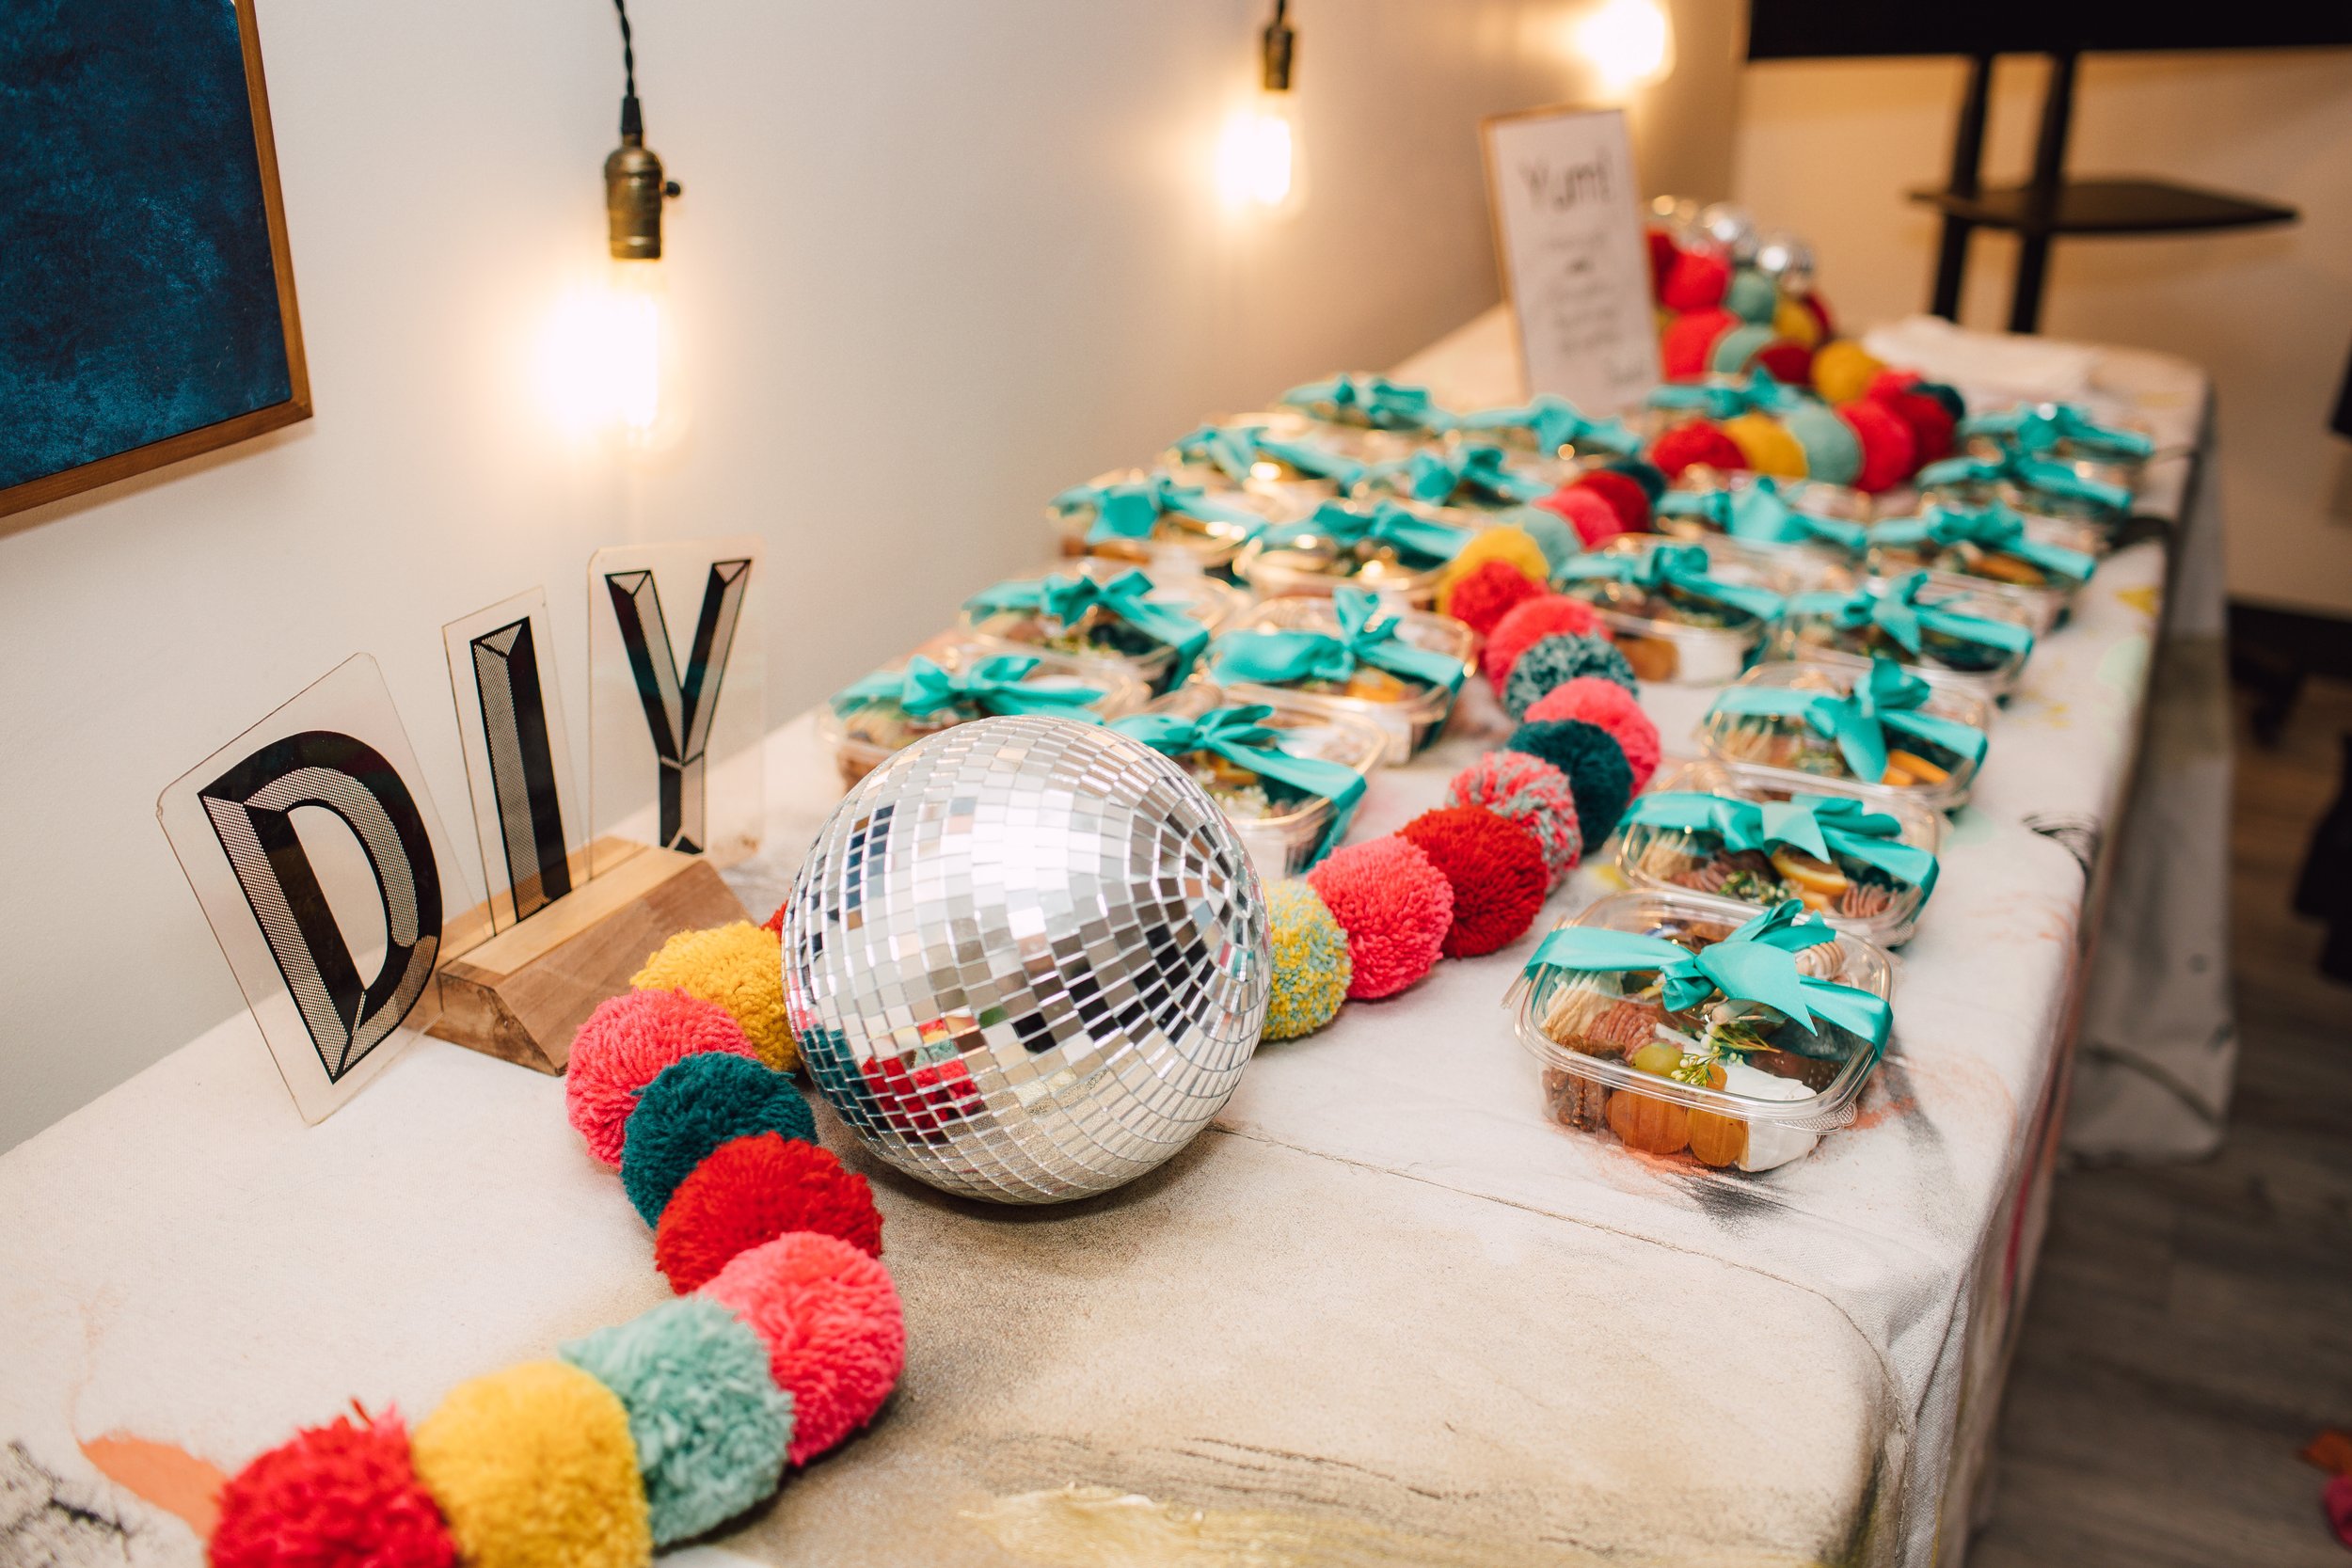
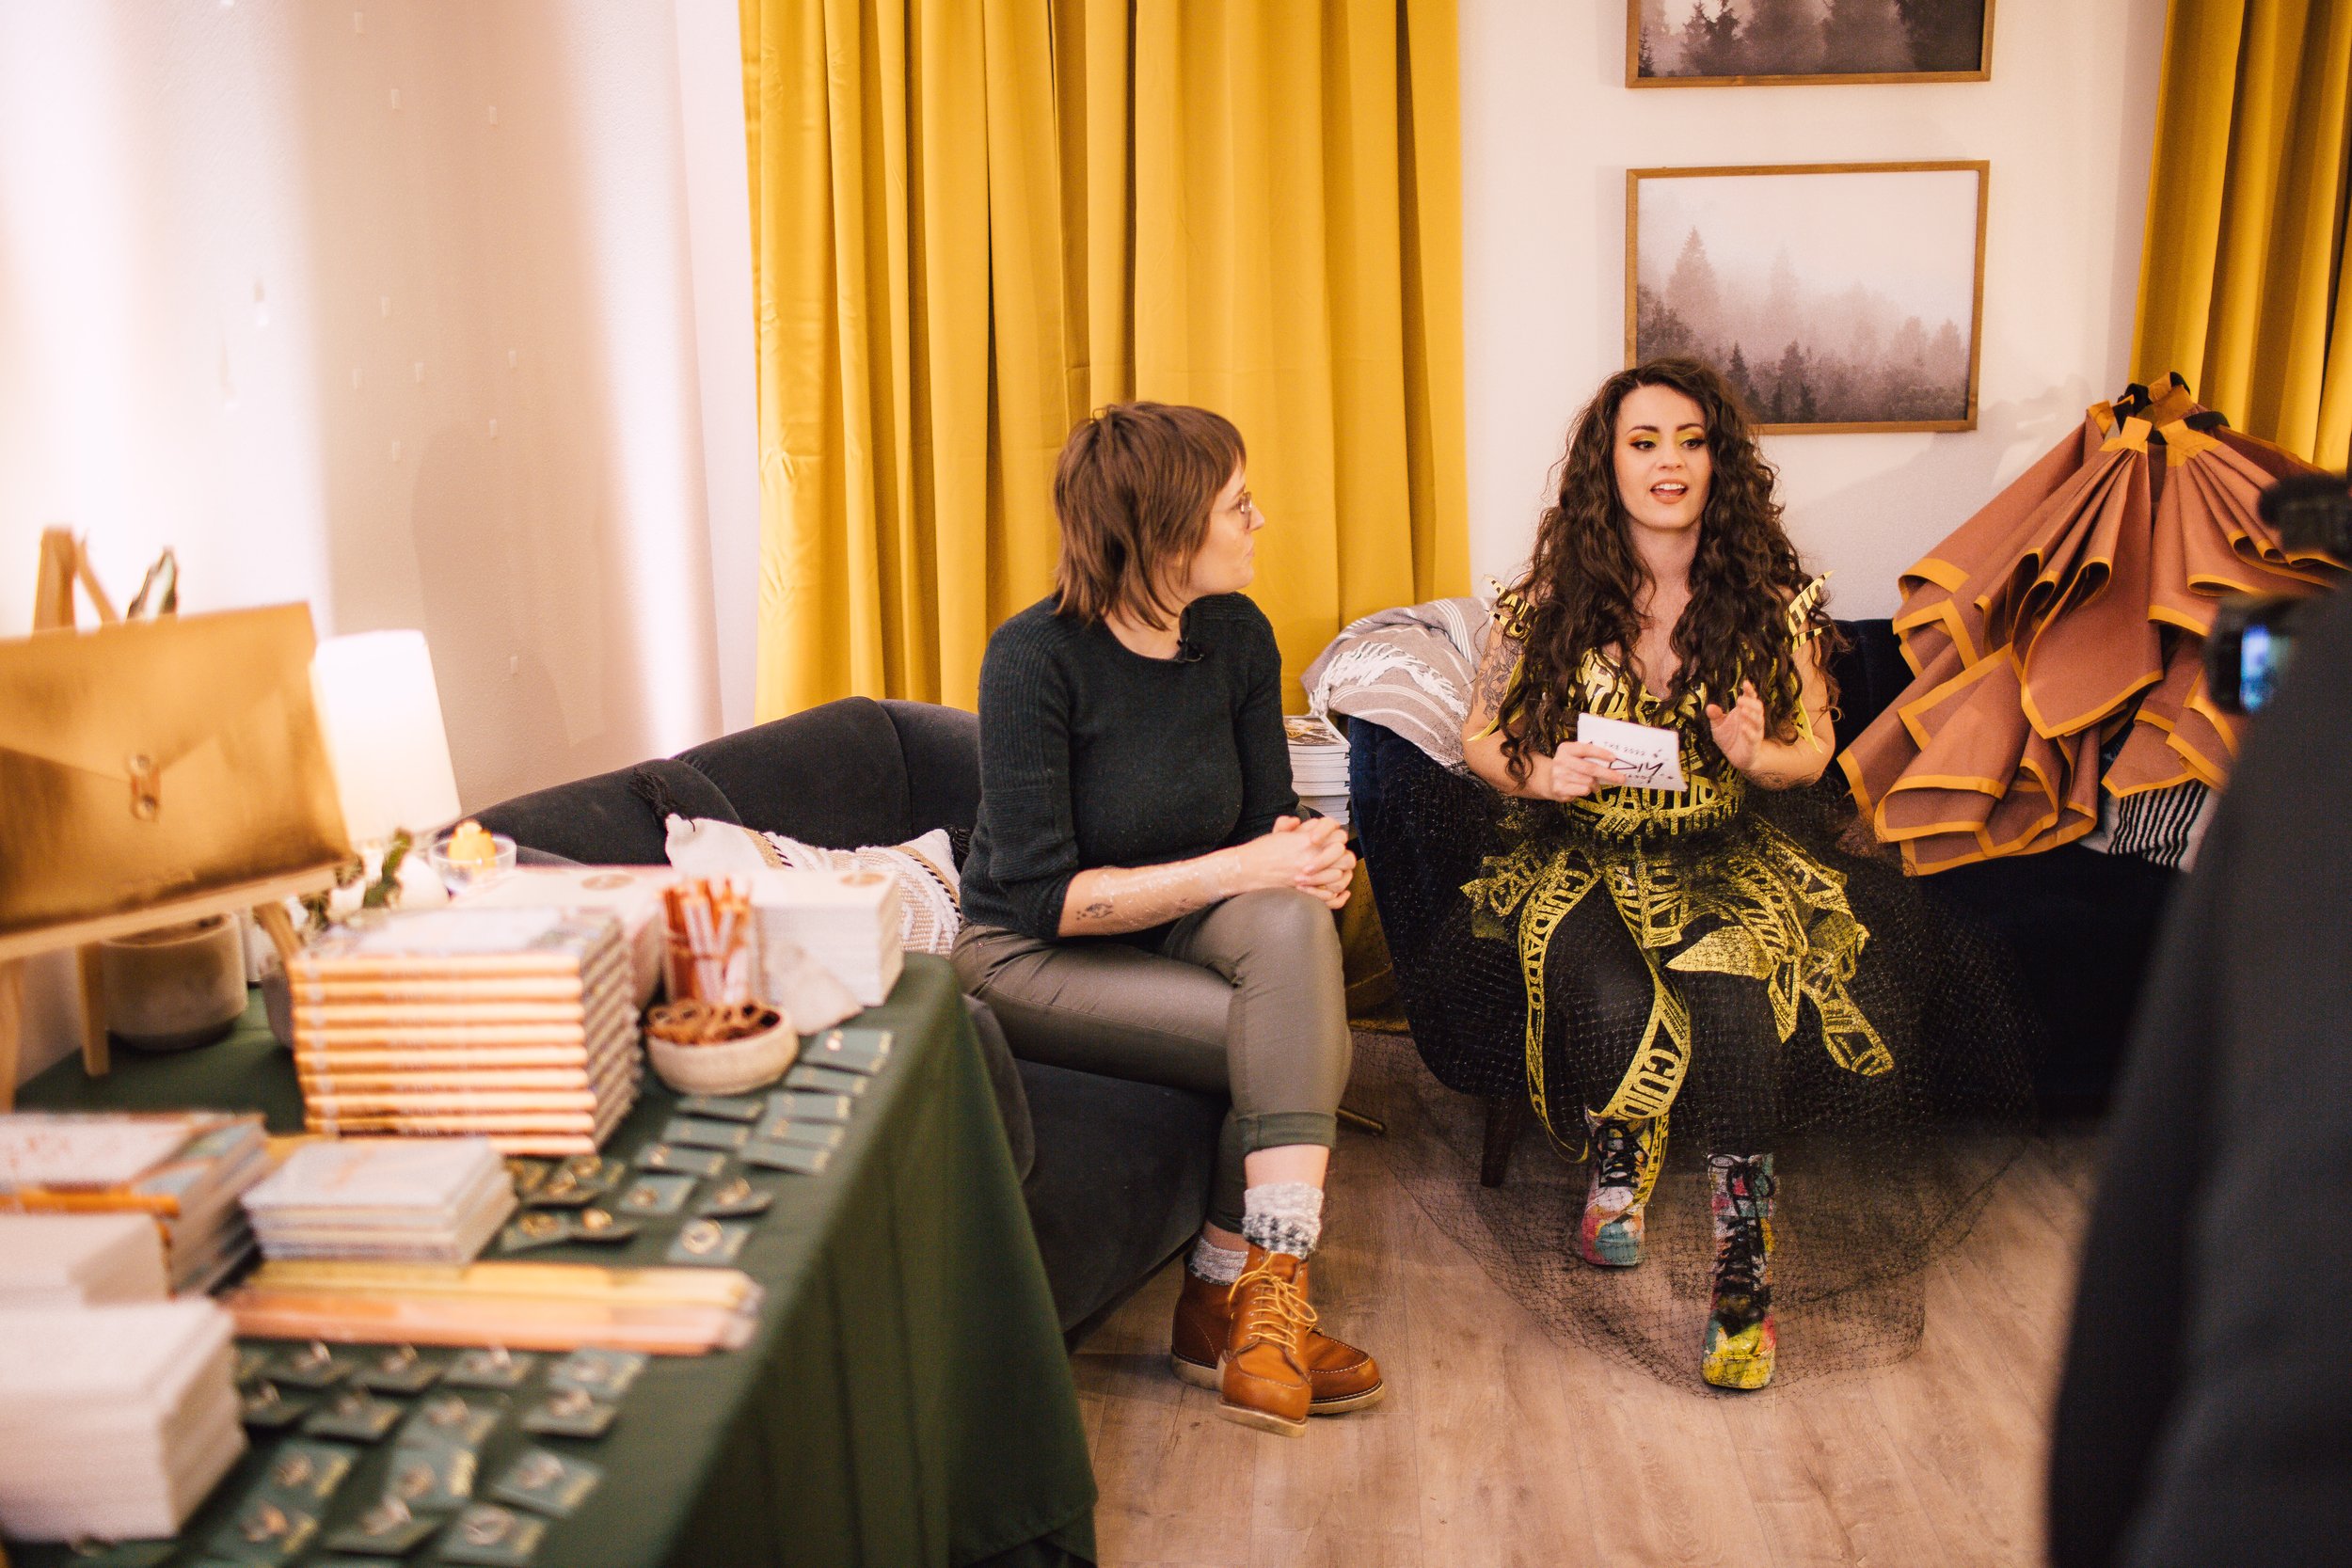
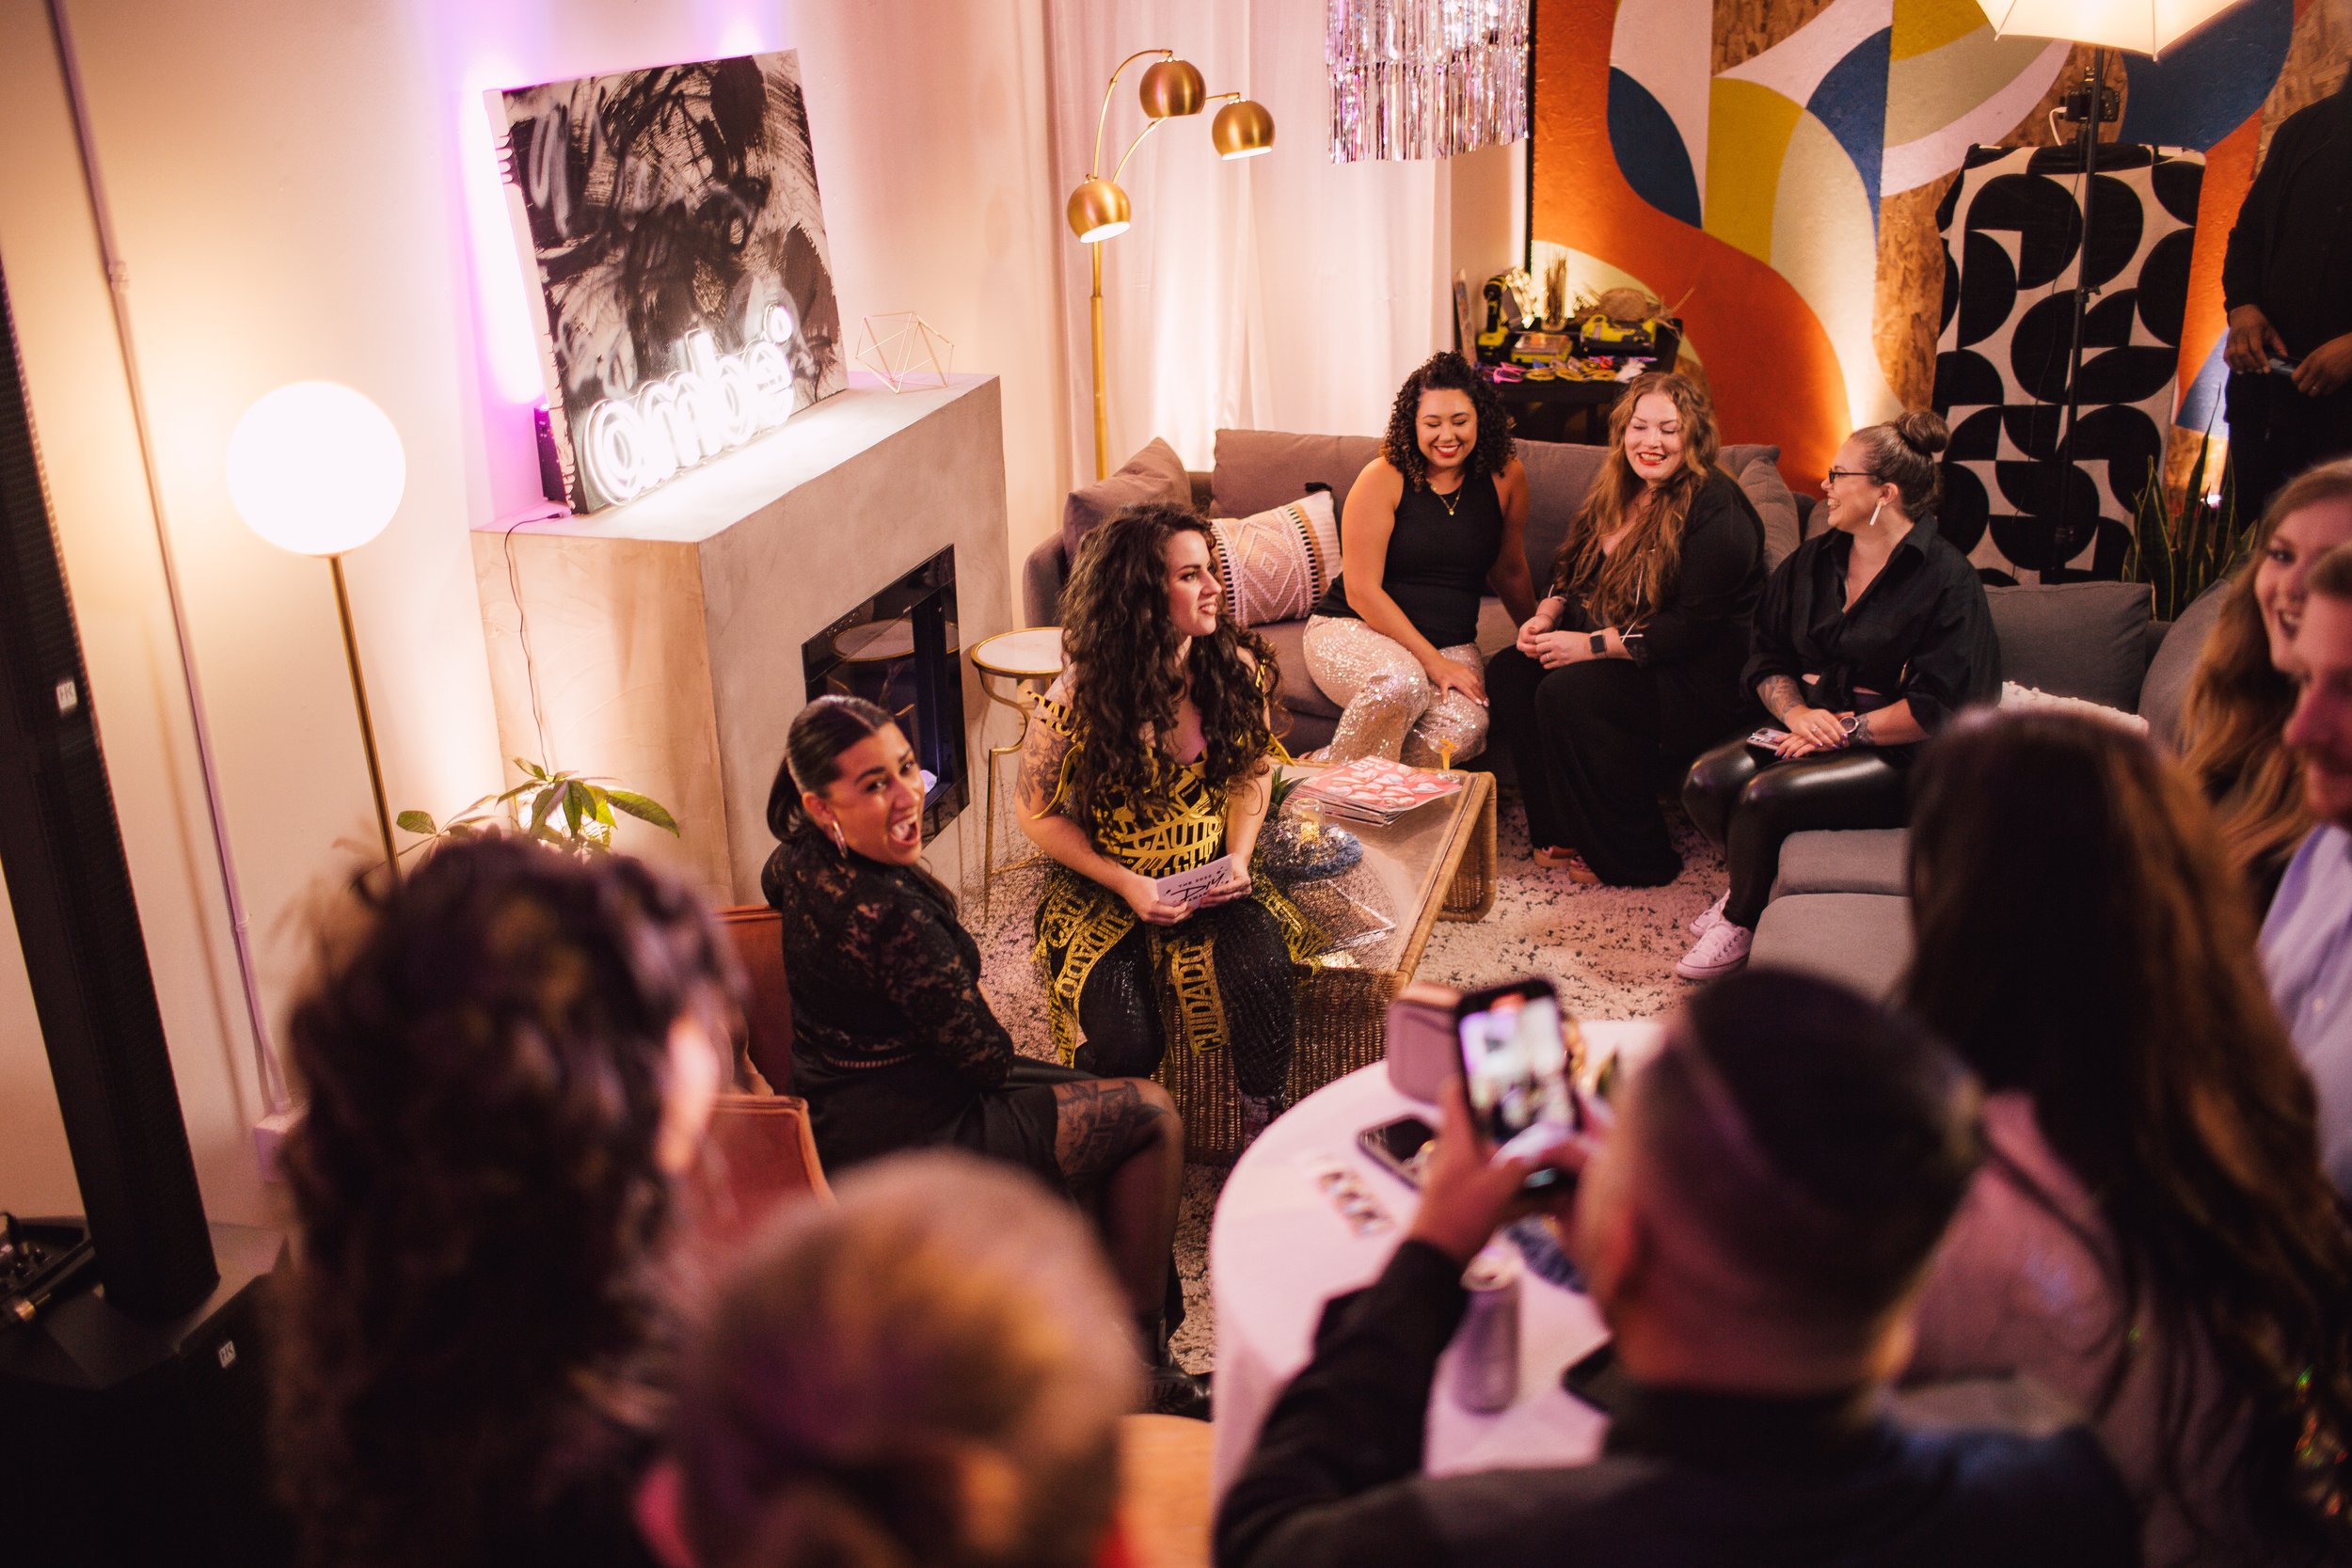
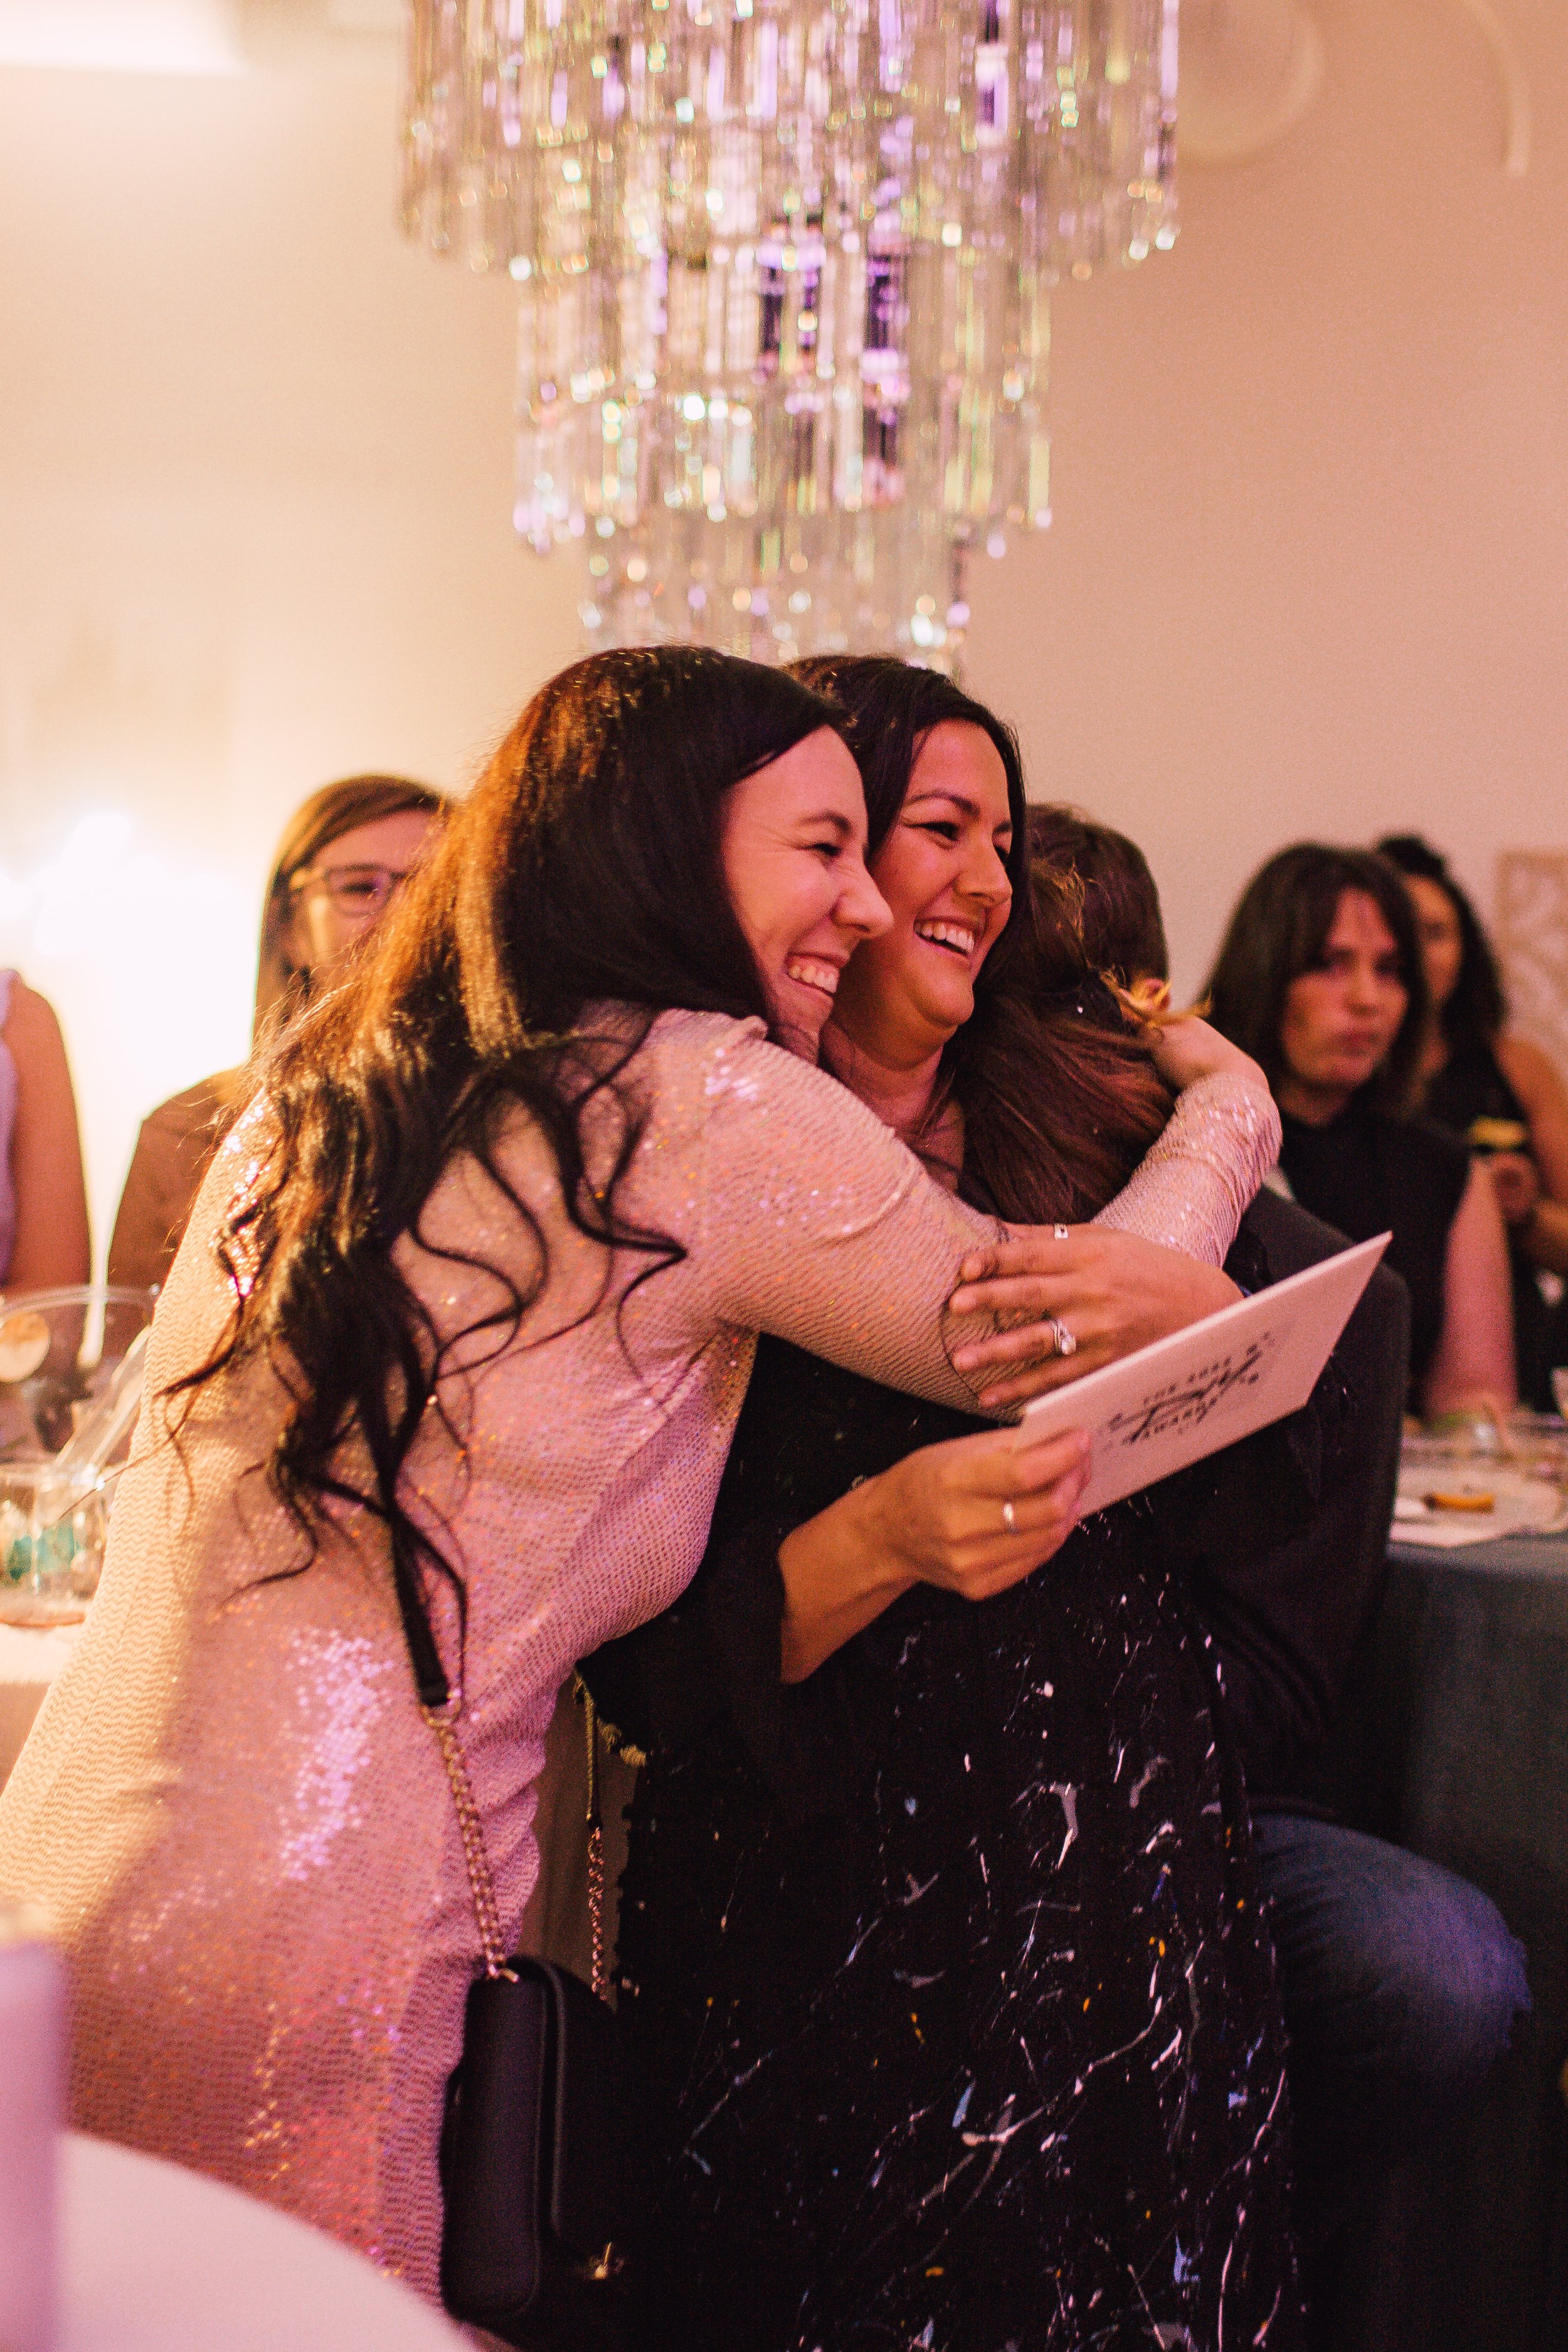
The 2022 DIY Awards Bash

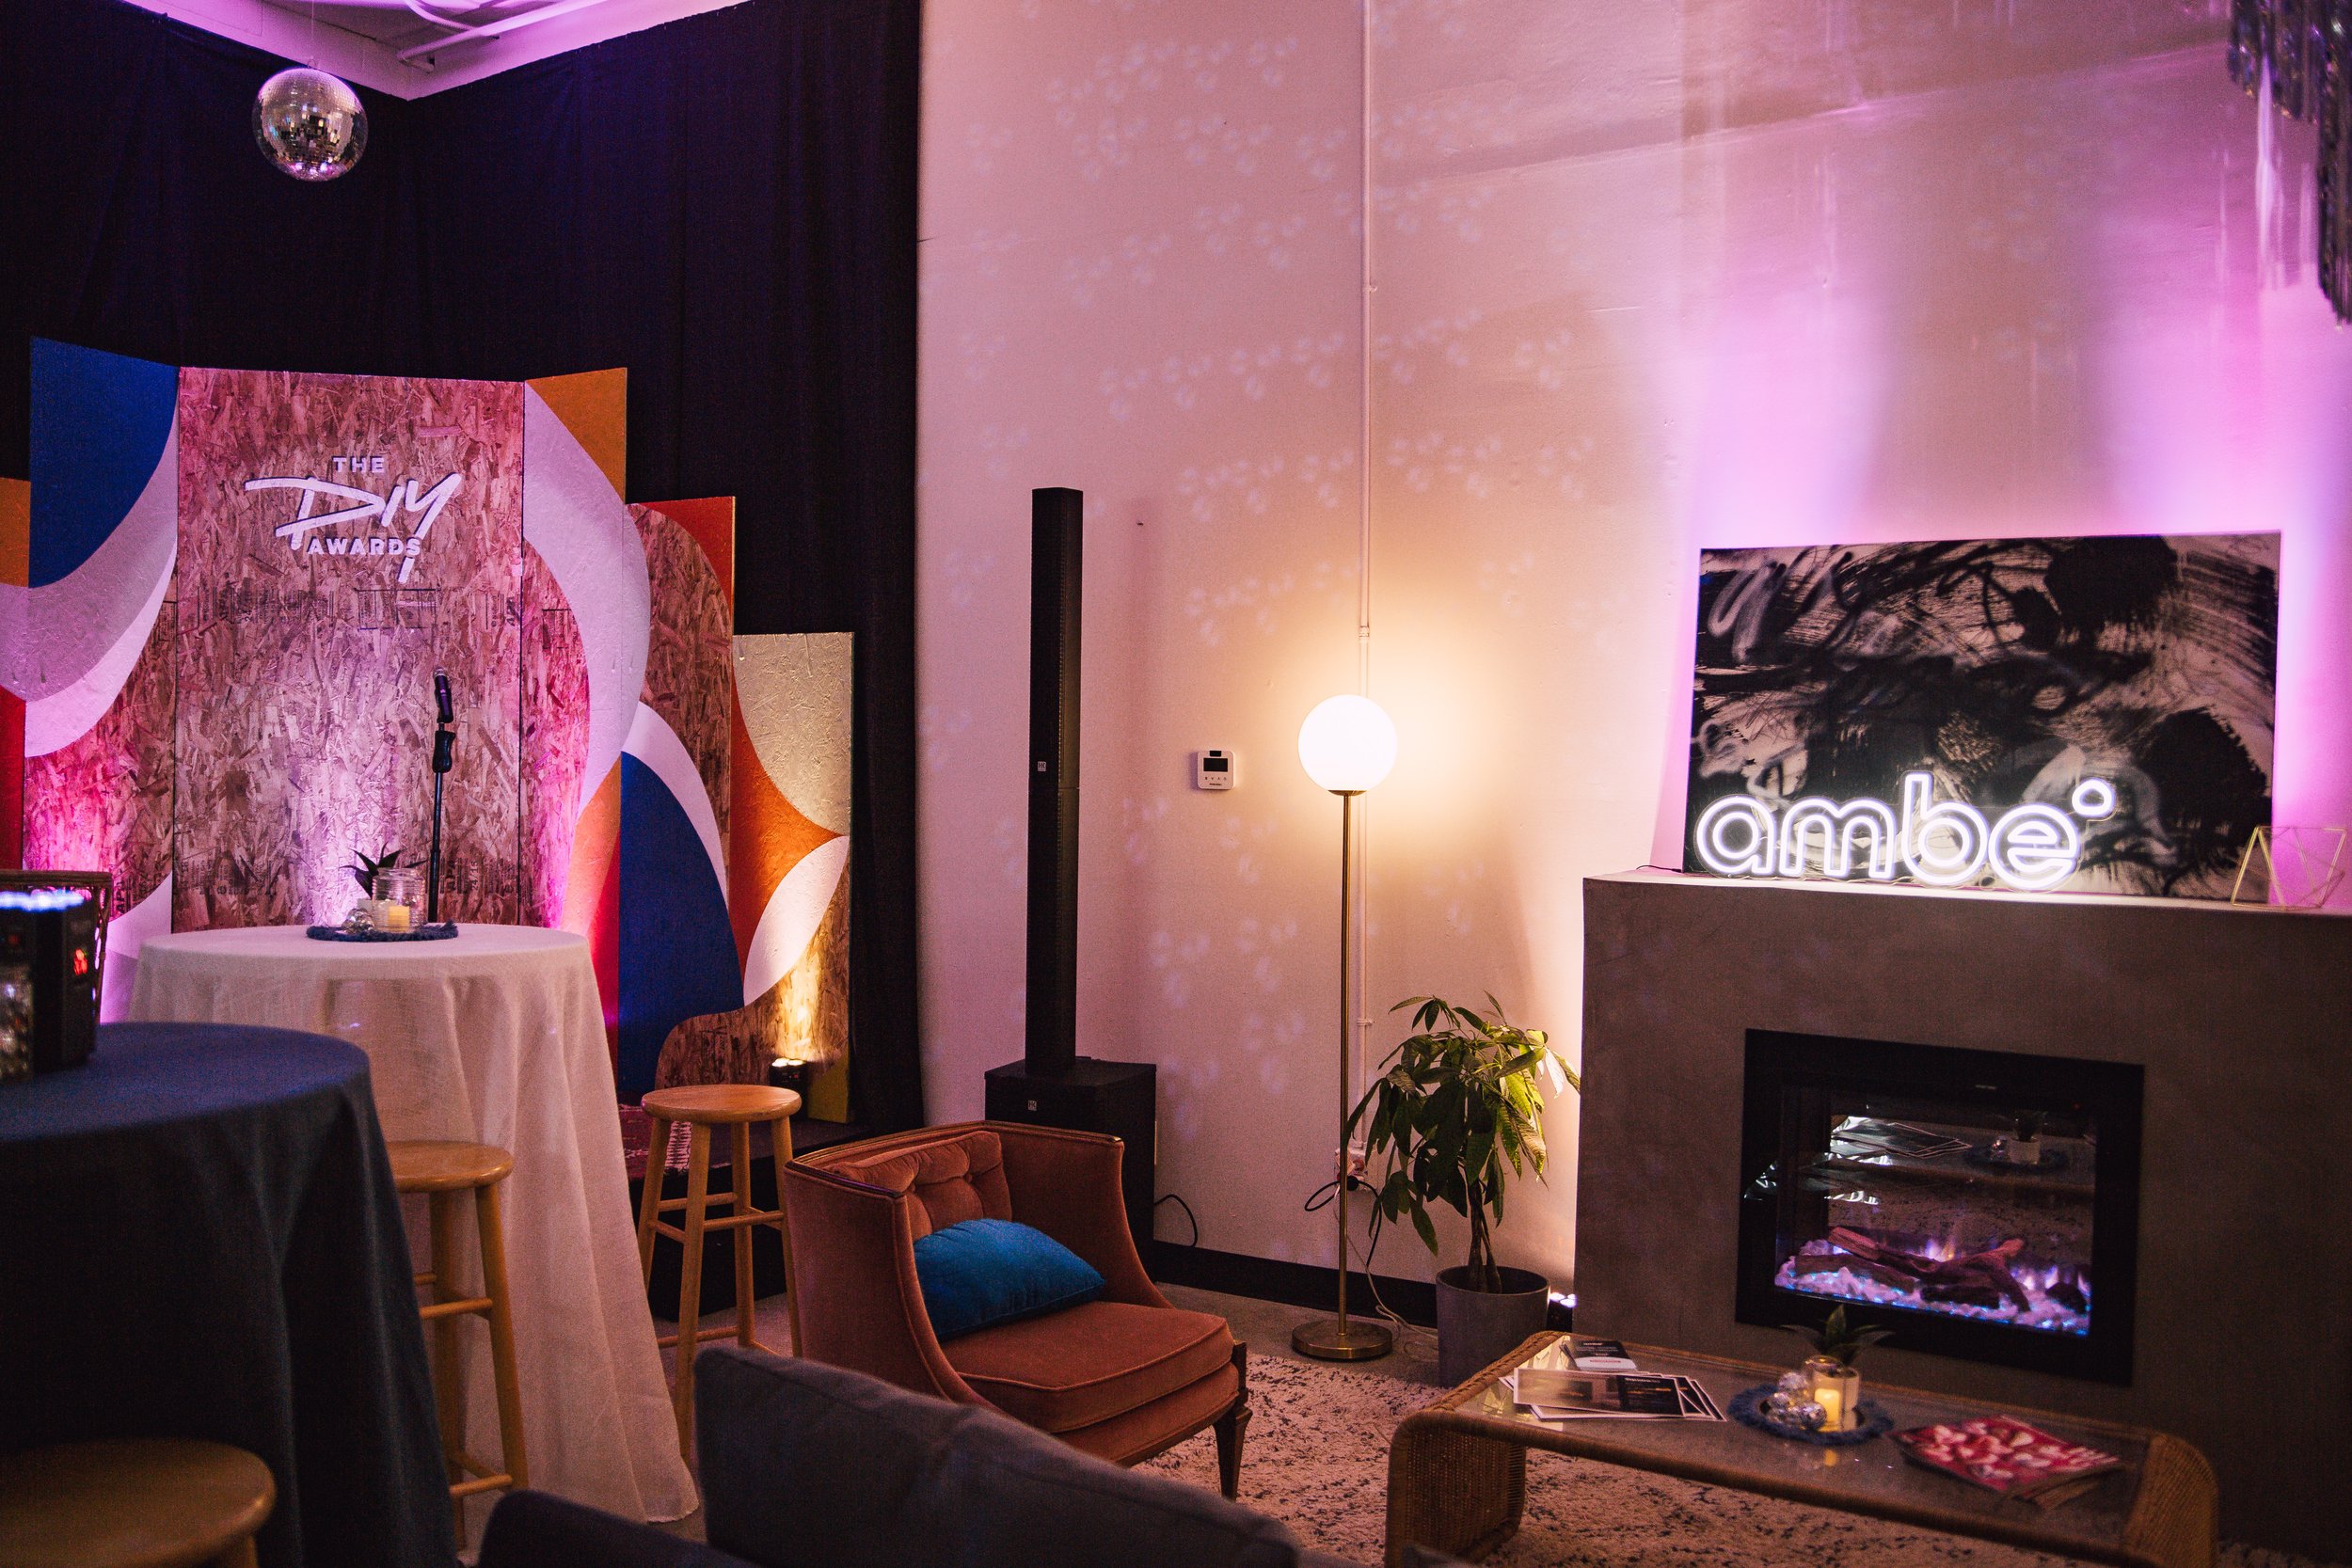
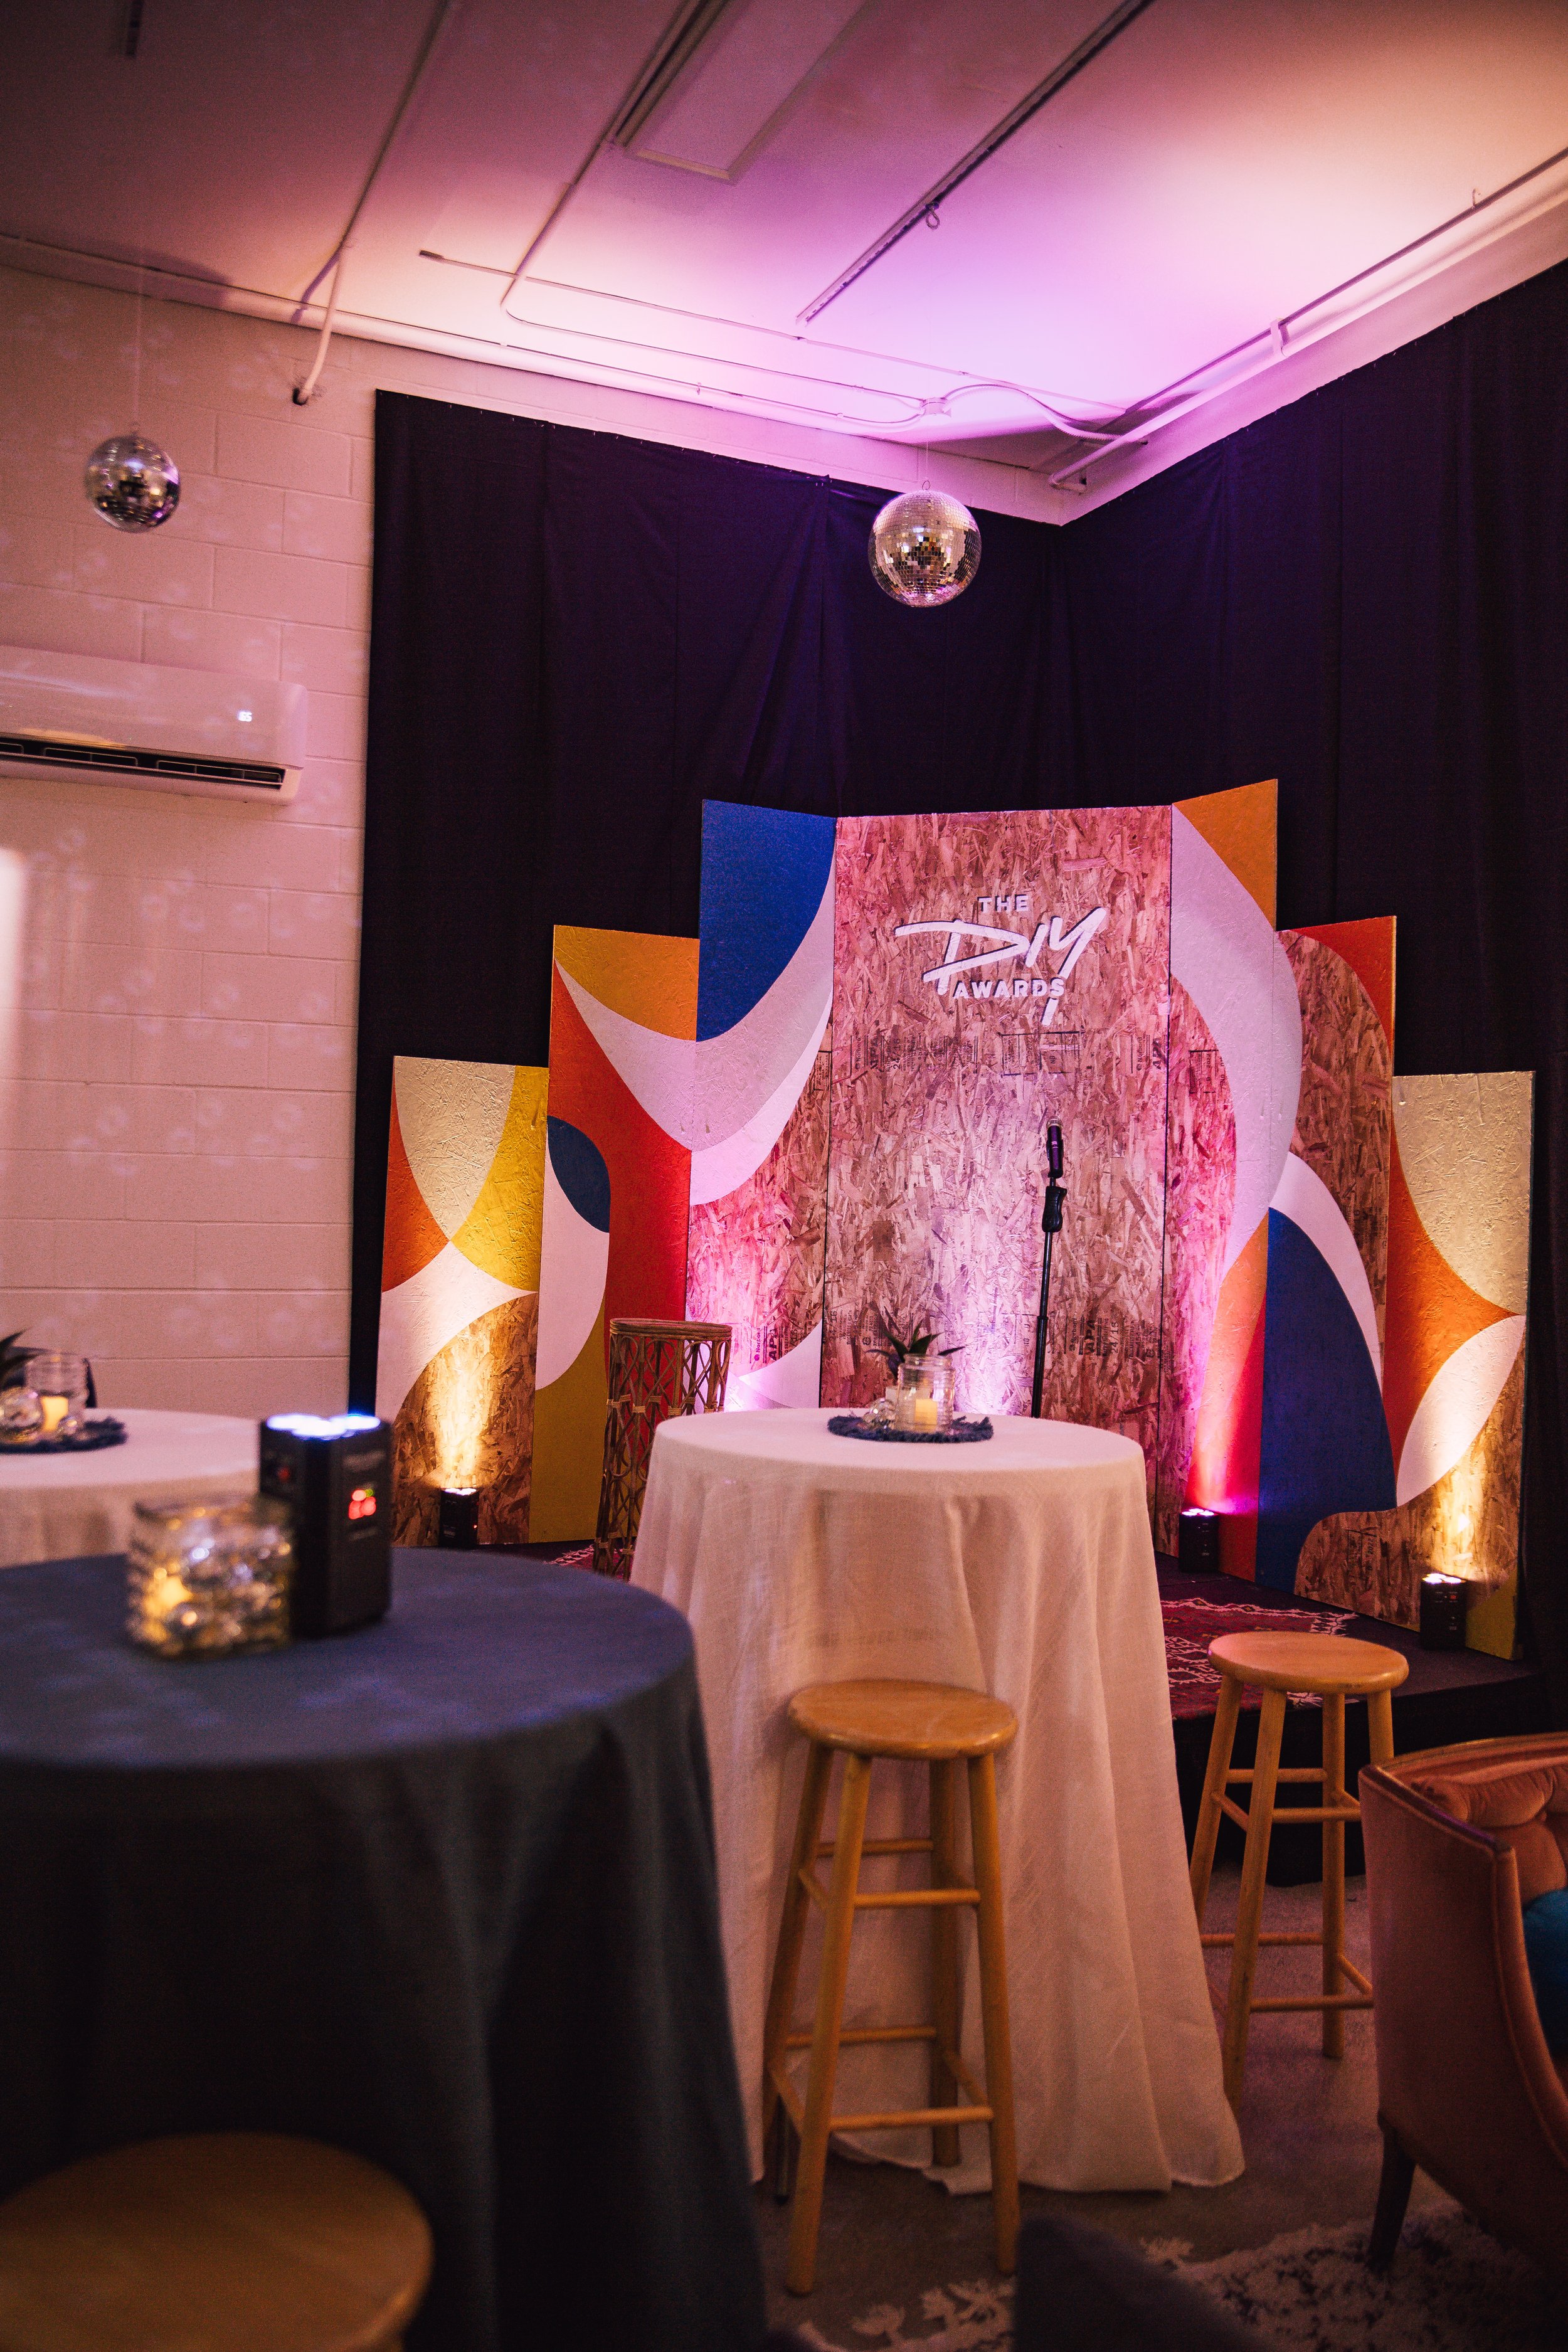
I cannot get over how amazing this night was. So many new and old DIY friends came to celebrate, for the first time ever we were able to present trophies to the winners in person, and it was all around just a super fun night of celebrating the DIY community. This years awards didn’t only have an in-person awards ceremony, but it was also broadcast live online so everyone who wasn’t able to attend IRL was still able to tune in and celebrate as well! We’ve got that broadcast saved so you can go back and watch it and feel like you were right there with us!
Meet your 2022 DIY Awards Winners! Remember, each category has three account size tiers to give DIYers with smaller accounts an opportunity to be recognized alongside those who have larger followings. Just because someone doesn’t have a lot of followers doesn’t mean they aren’t doing incredible work! We had such amazing nominees this year, if you want to see all the folks who were nominated, pop over here to meet (and follow) all the nominees!
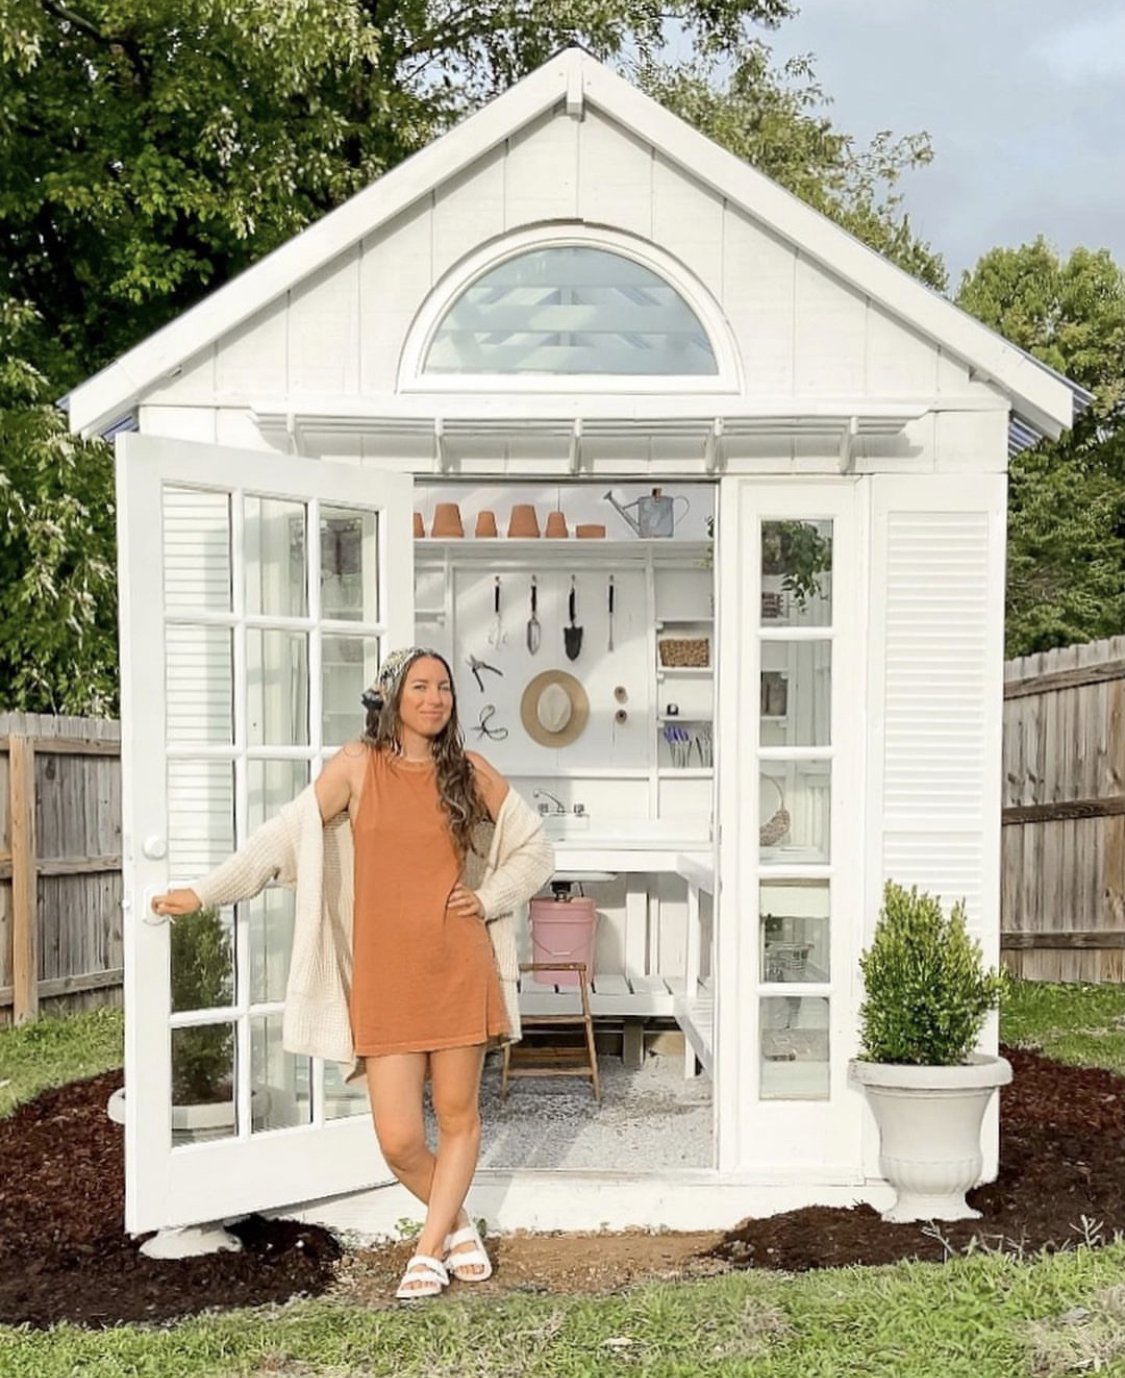
Best DIY Room Transformation:
0-10K Winner
10-50k winner:
50k+ Winner
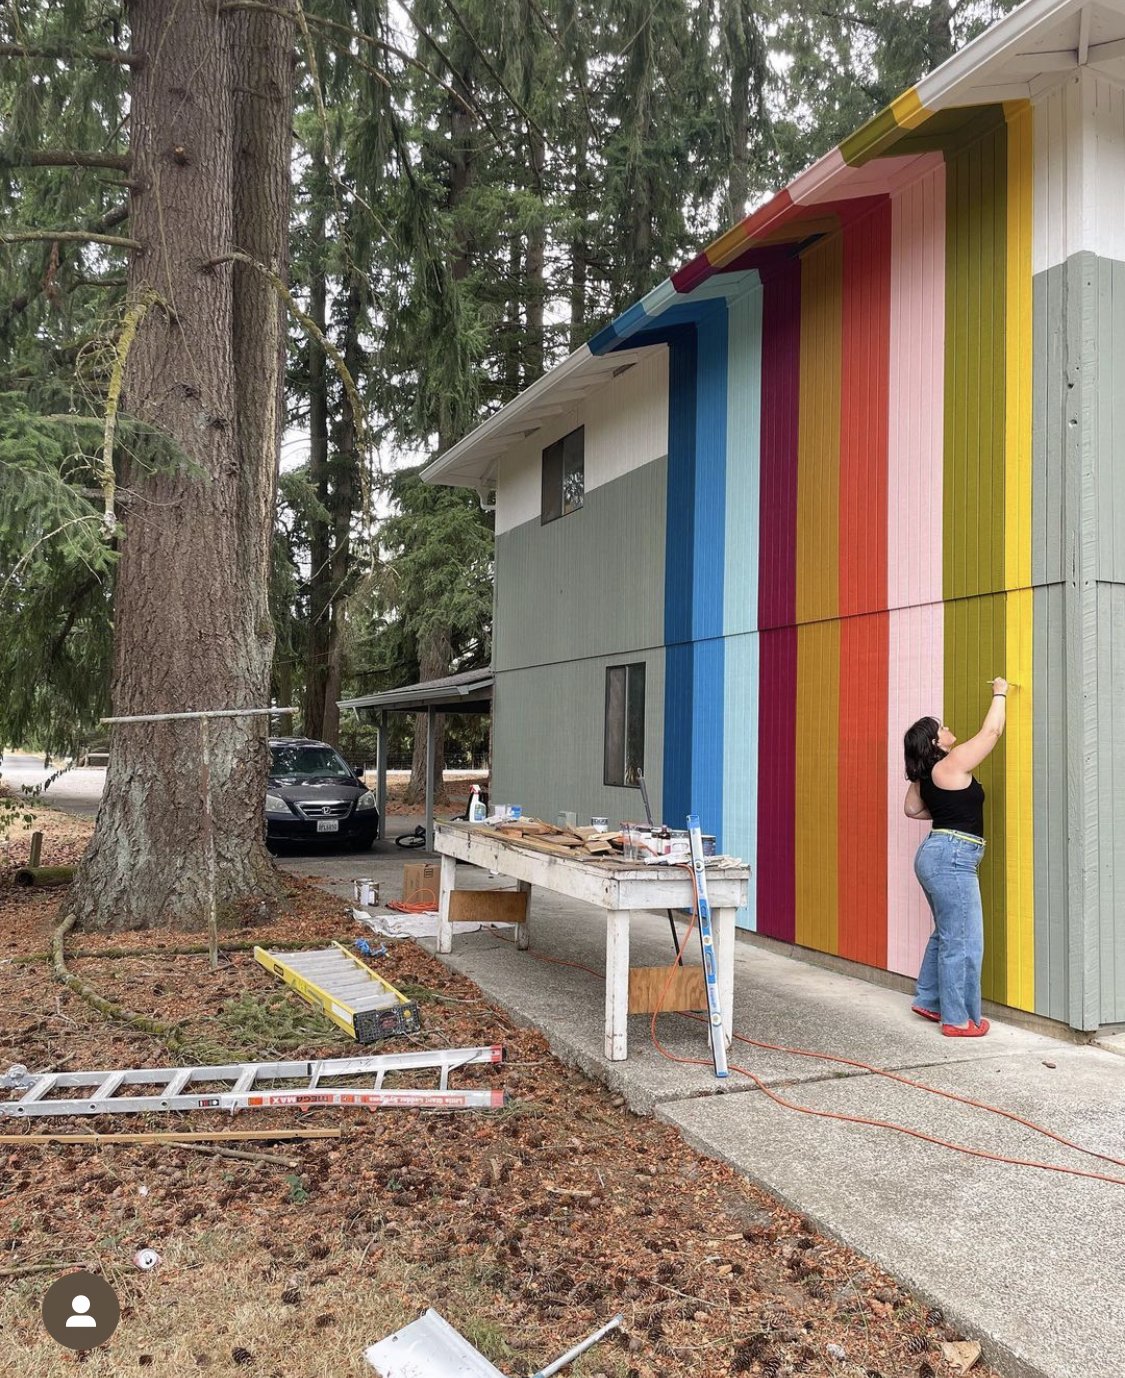
Best DIY Paint Transformation
0-10k winner
10-50k winner

50k+ winner
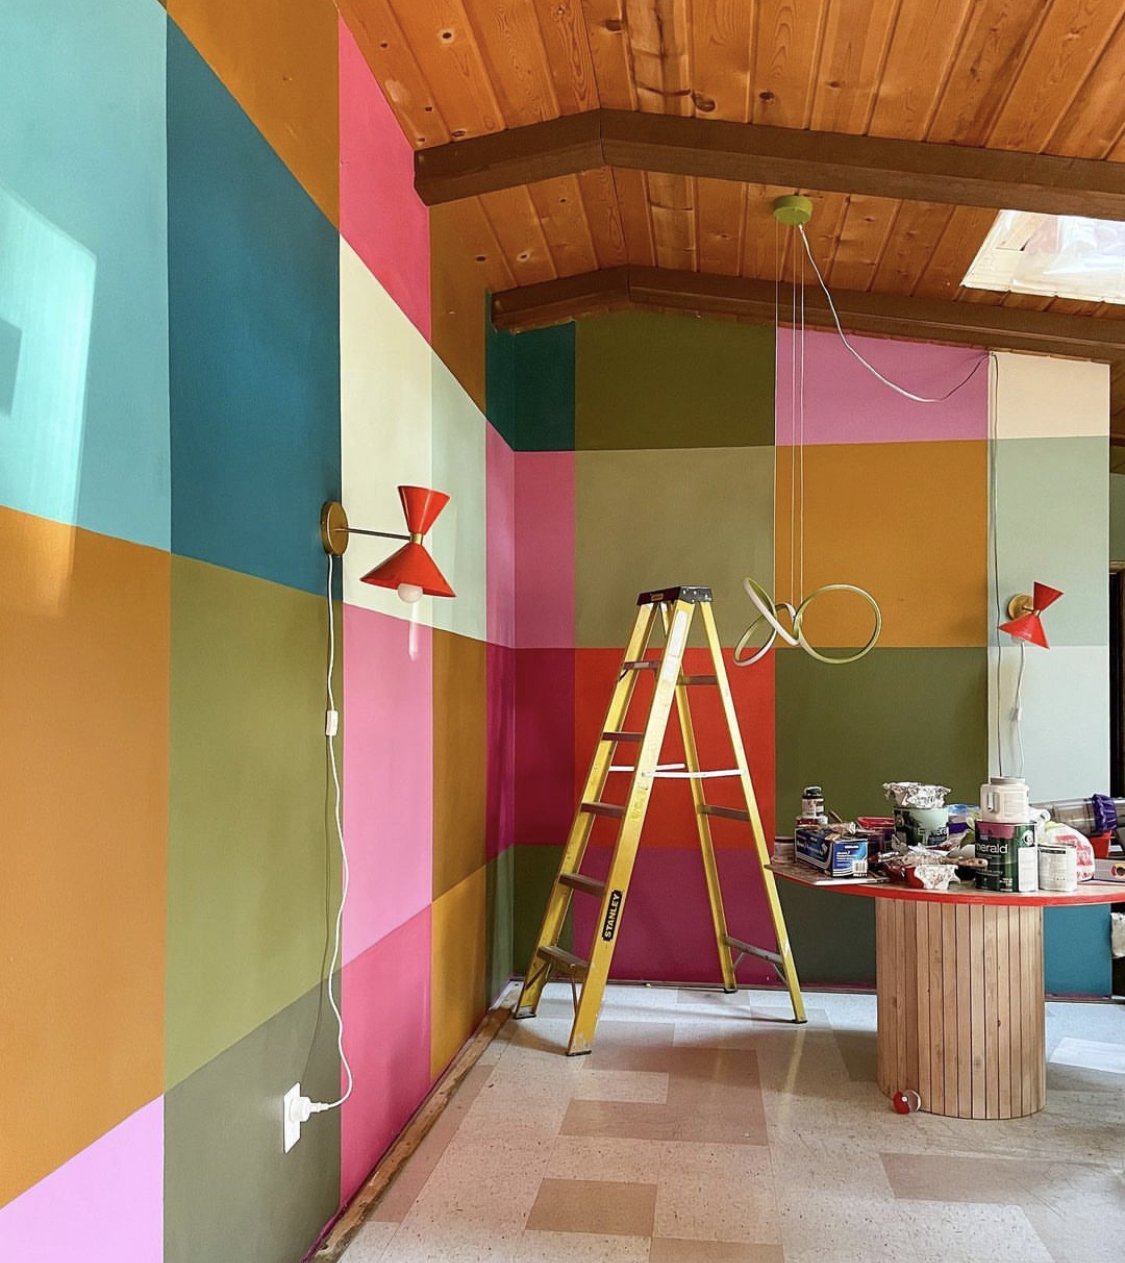
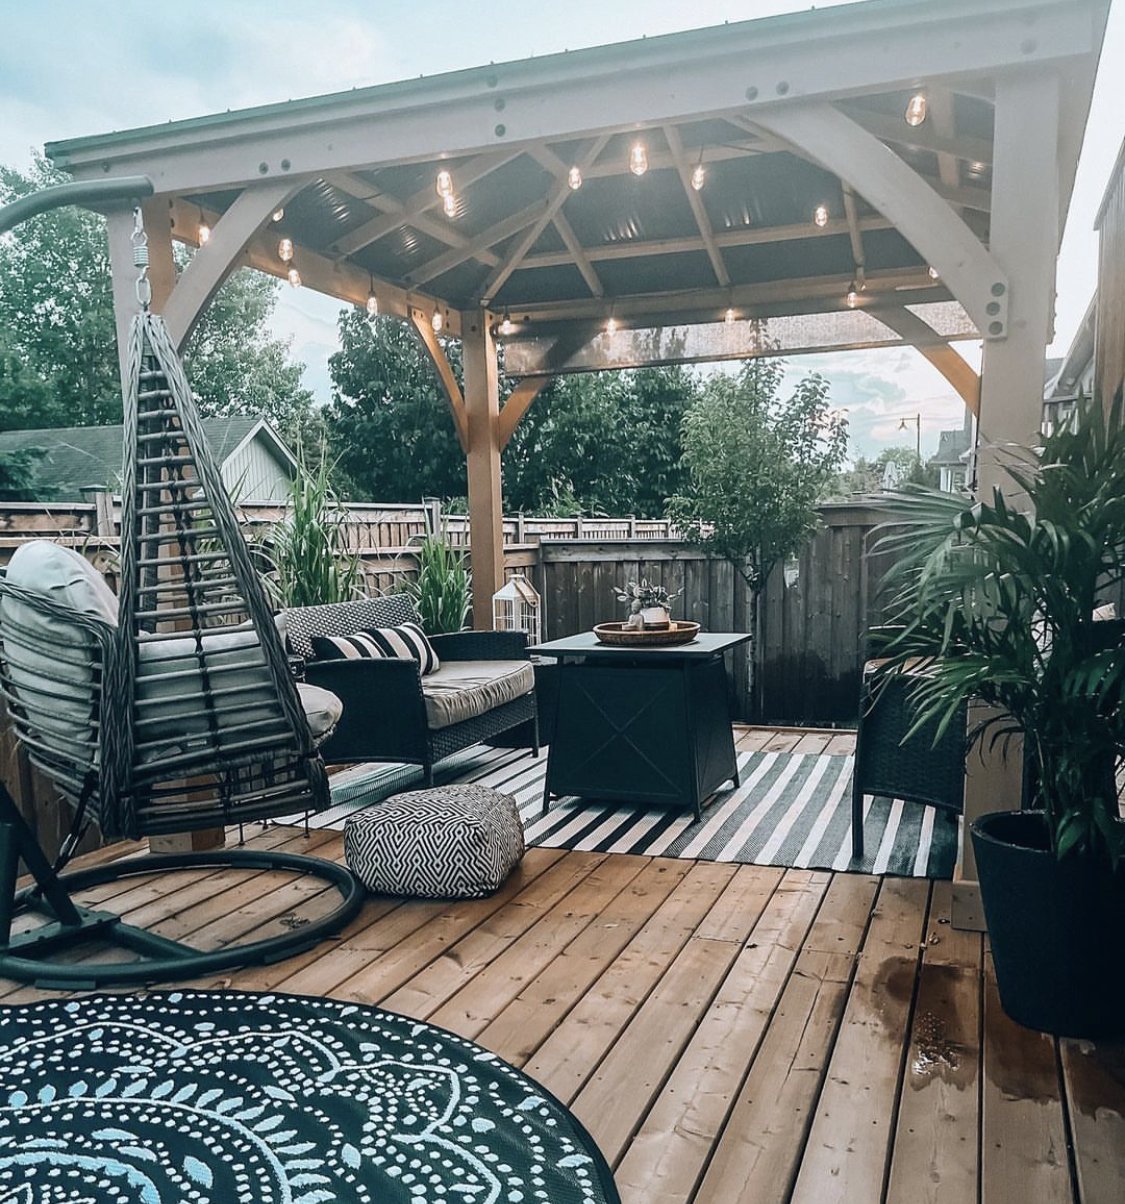
Best DIY Outdoor Transformation
0-10k winner
10-50k winner
50k+ winner
best budget friendly diyer
0-10k winner
10-50k Winner

50k+ winner

Best Rental Friendly DIYer
0-10k winner
10-50k winner

50k+ winner
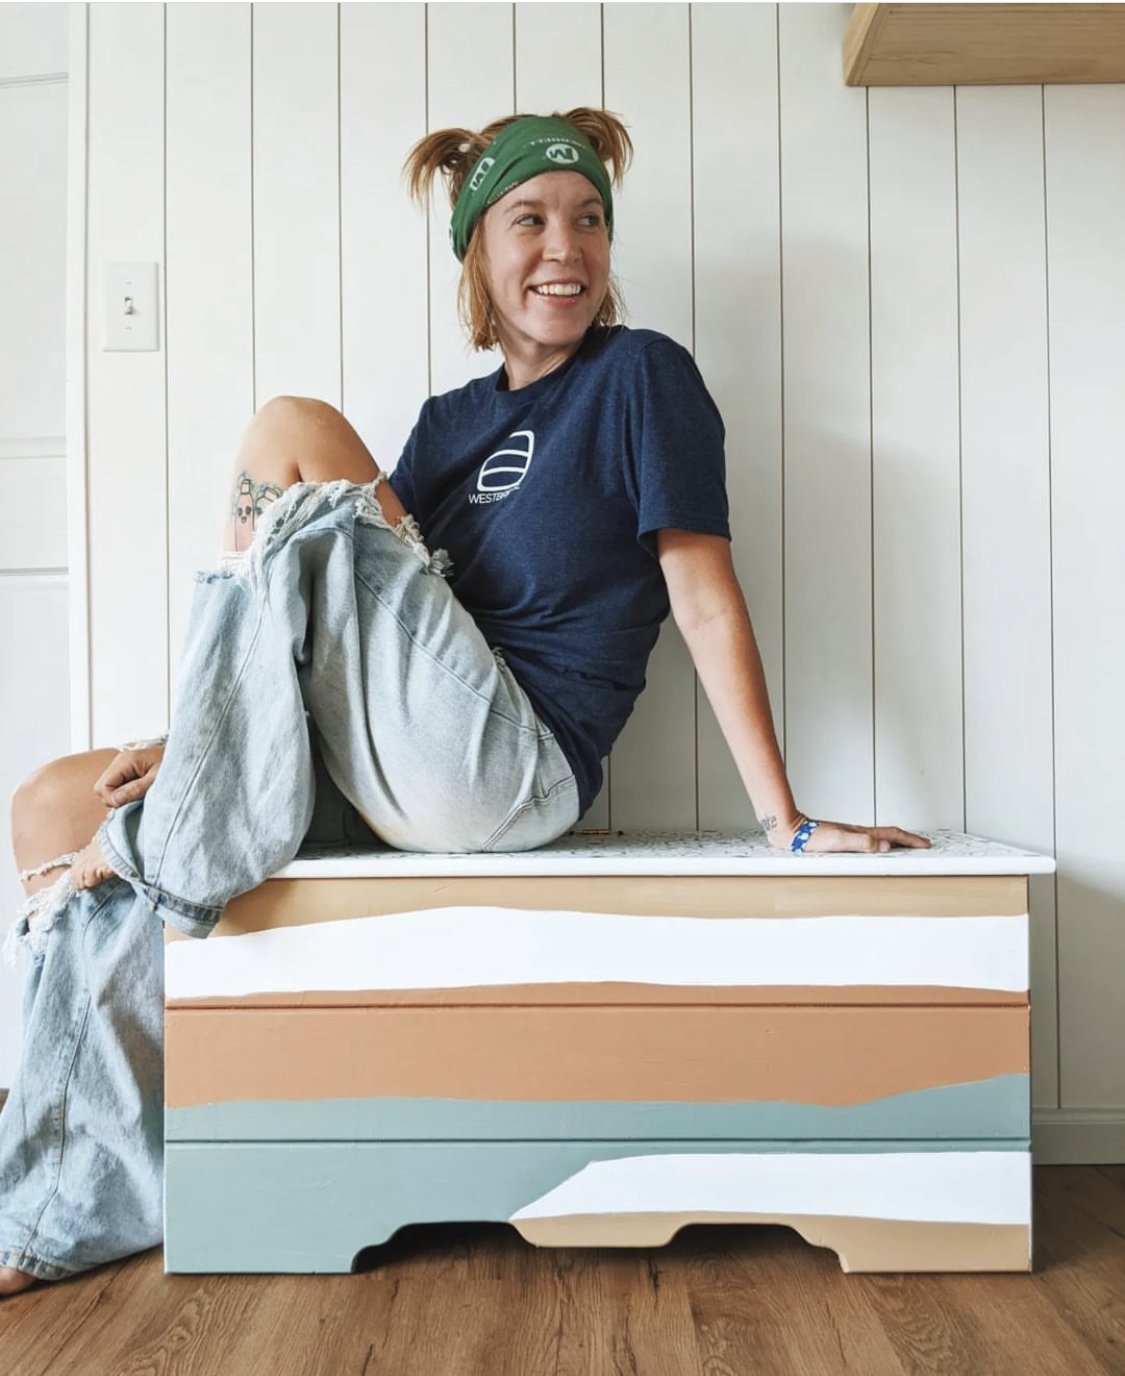
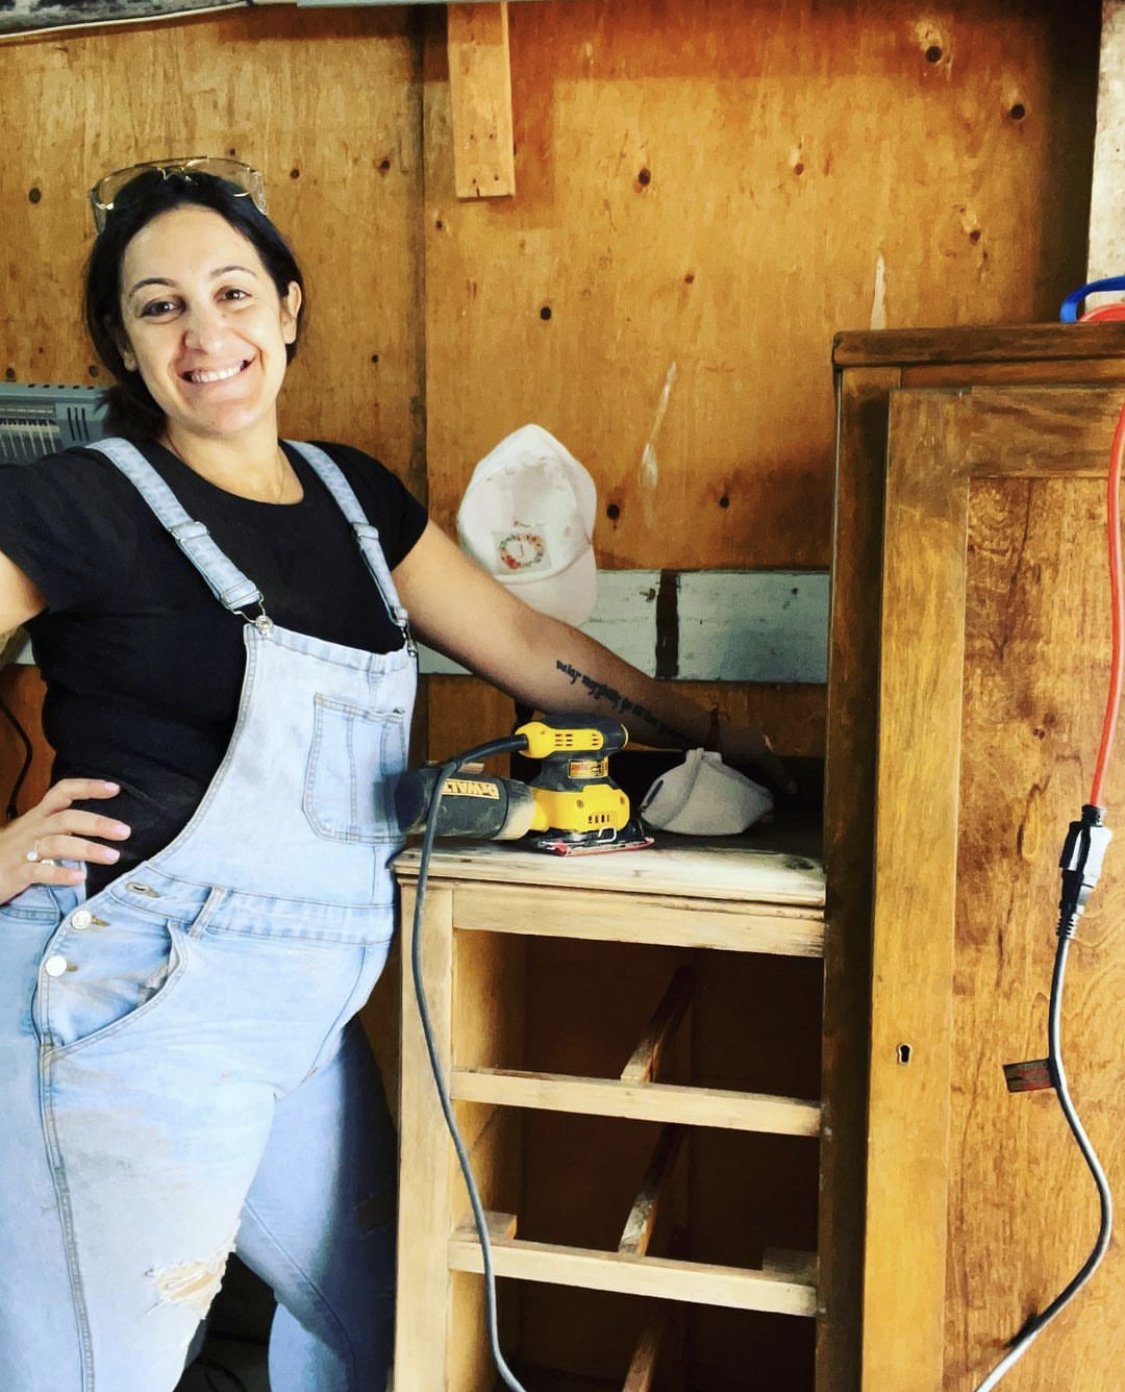
Best All Around DIYer

@deardarlenee
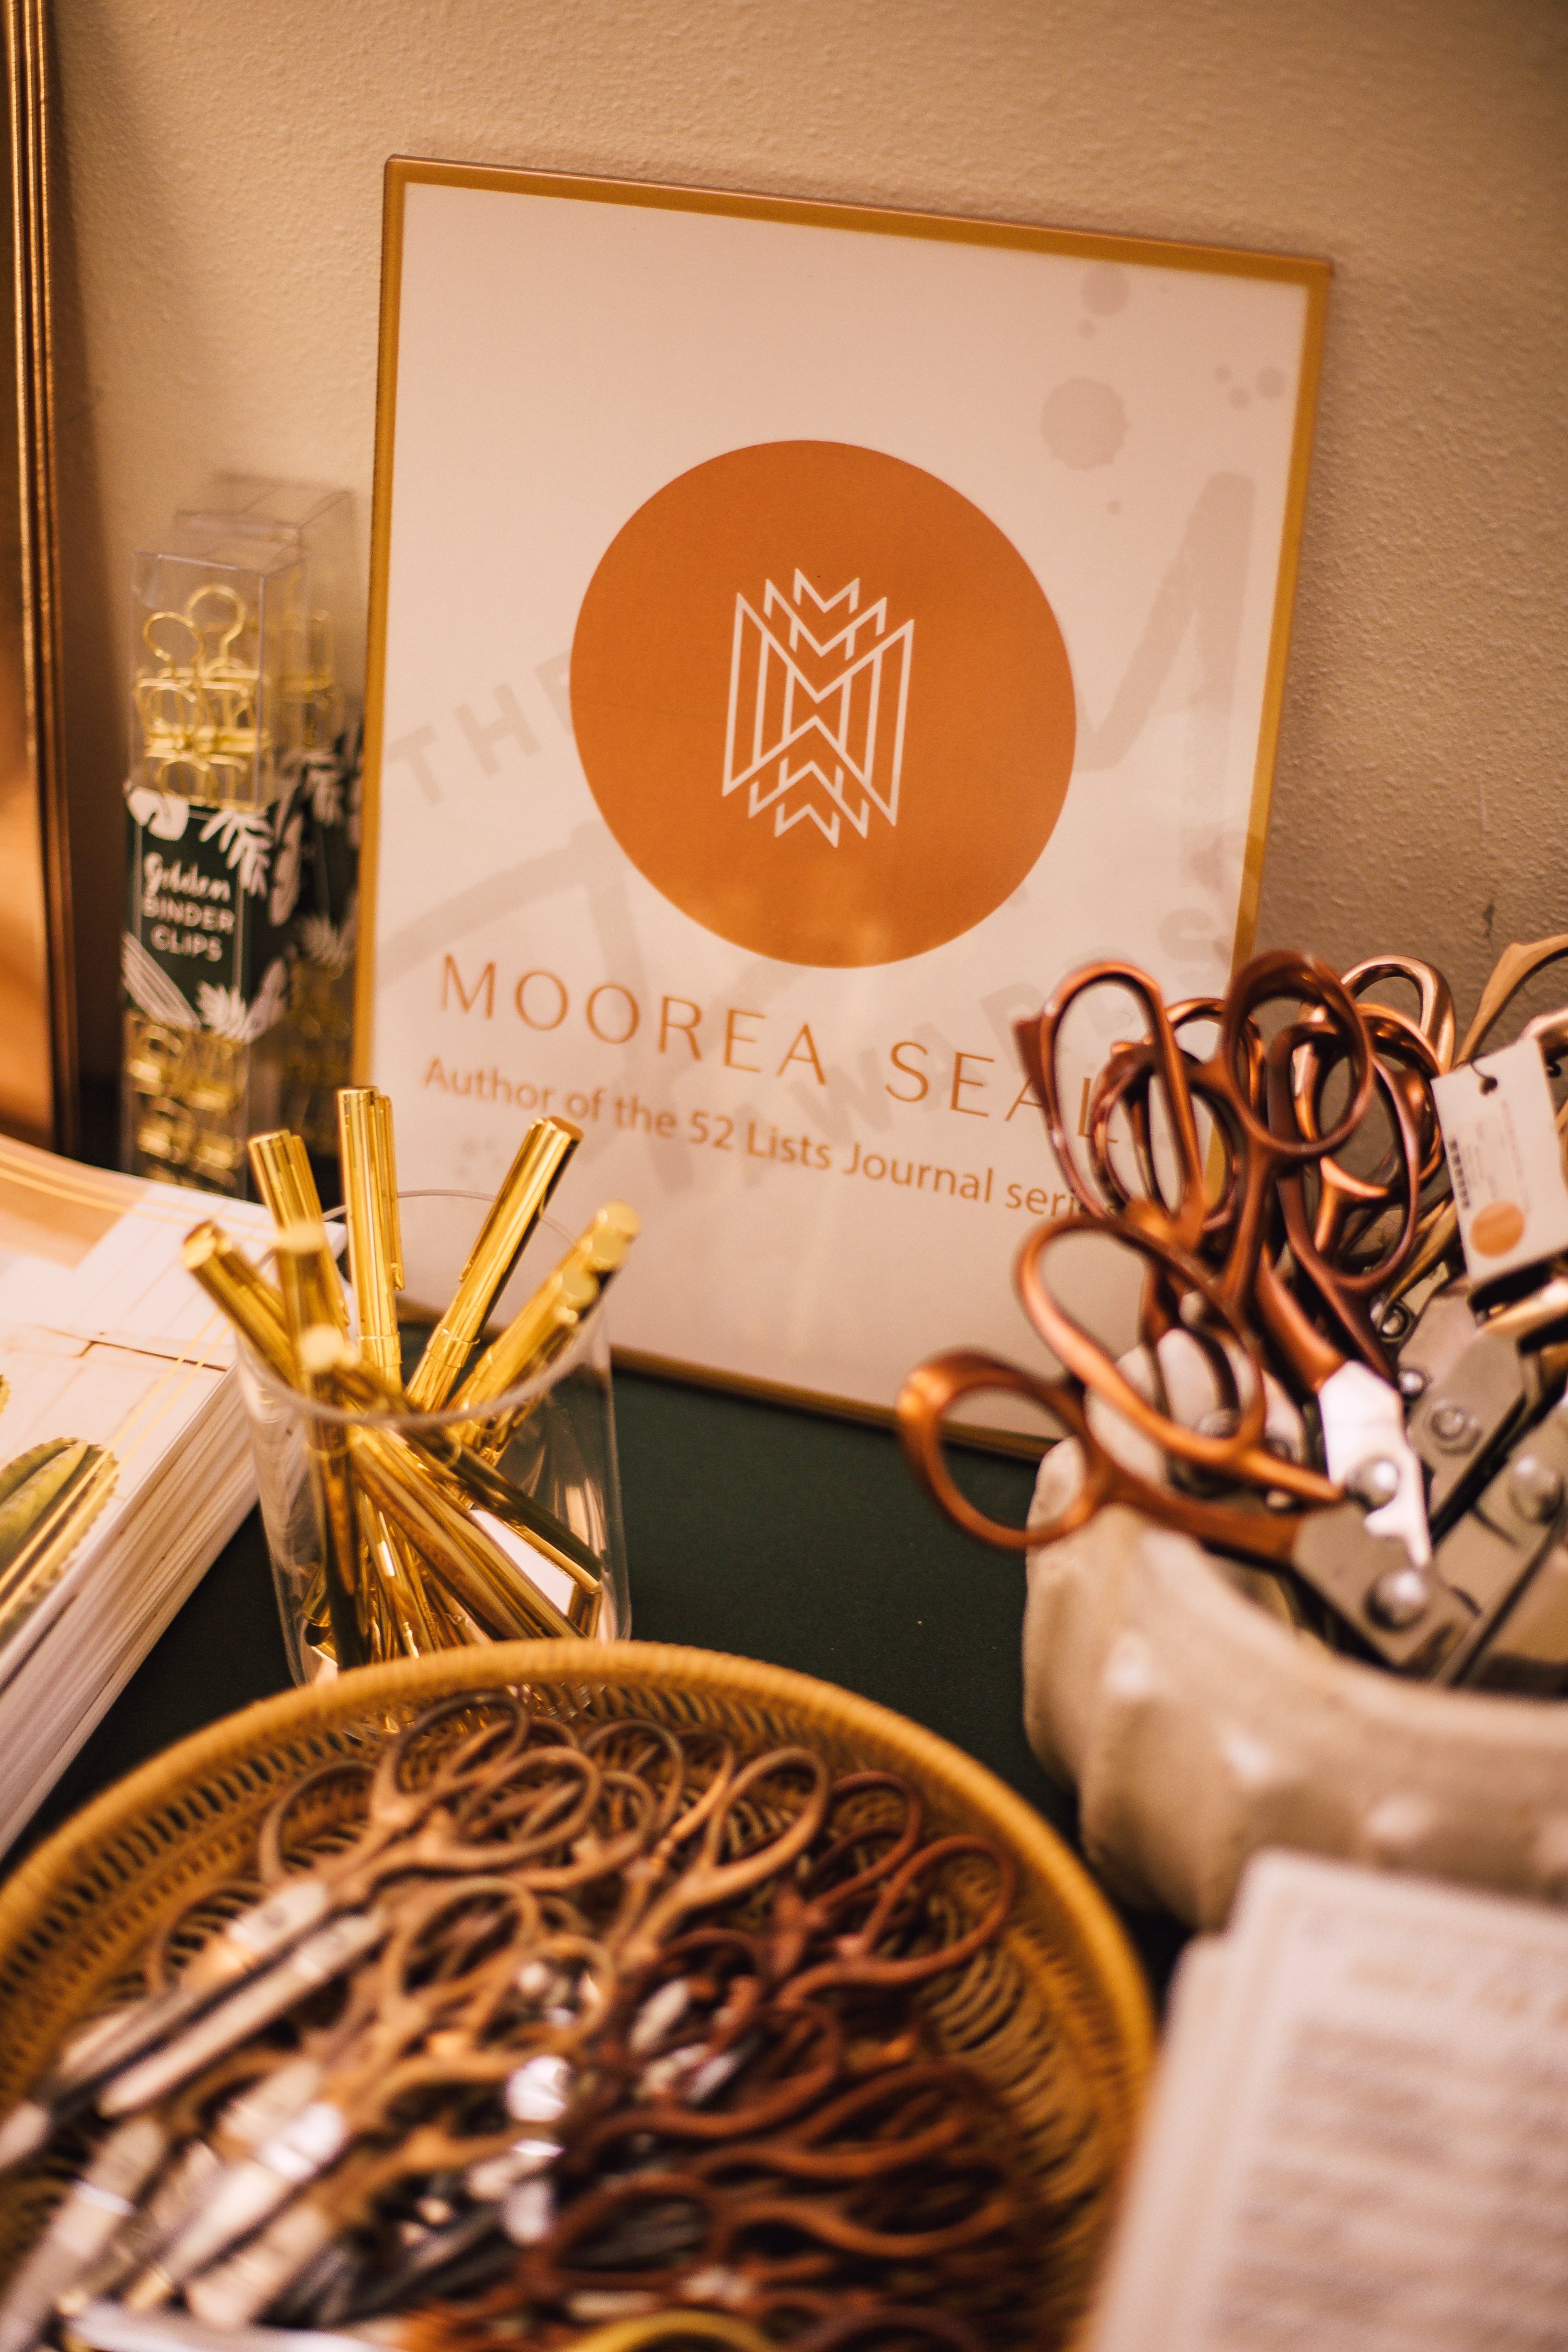
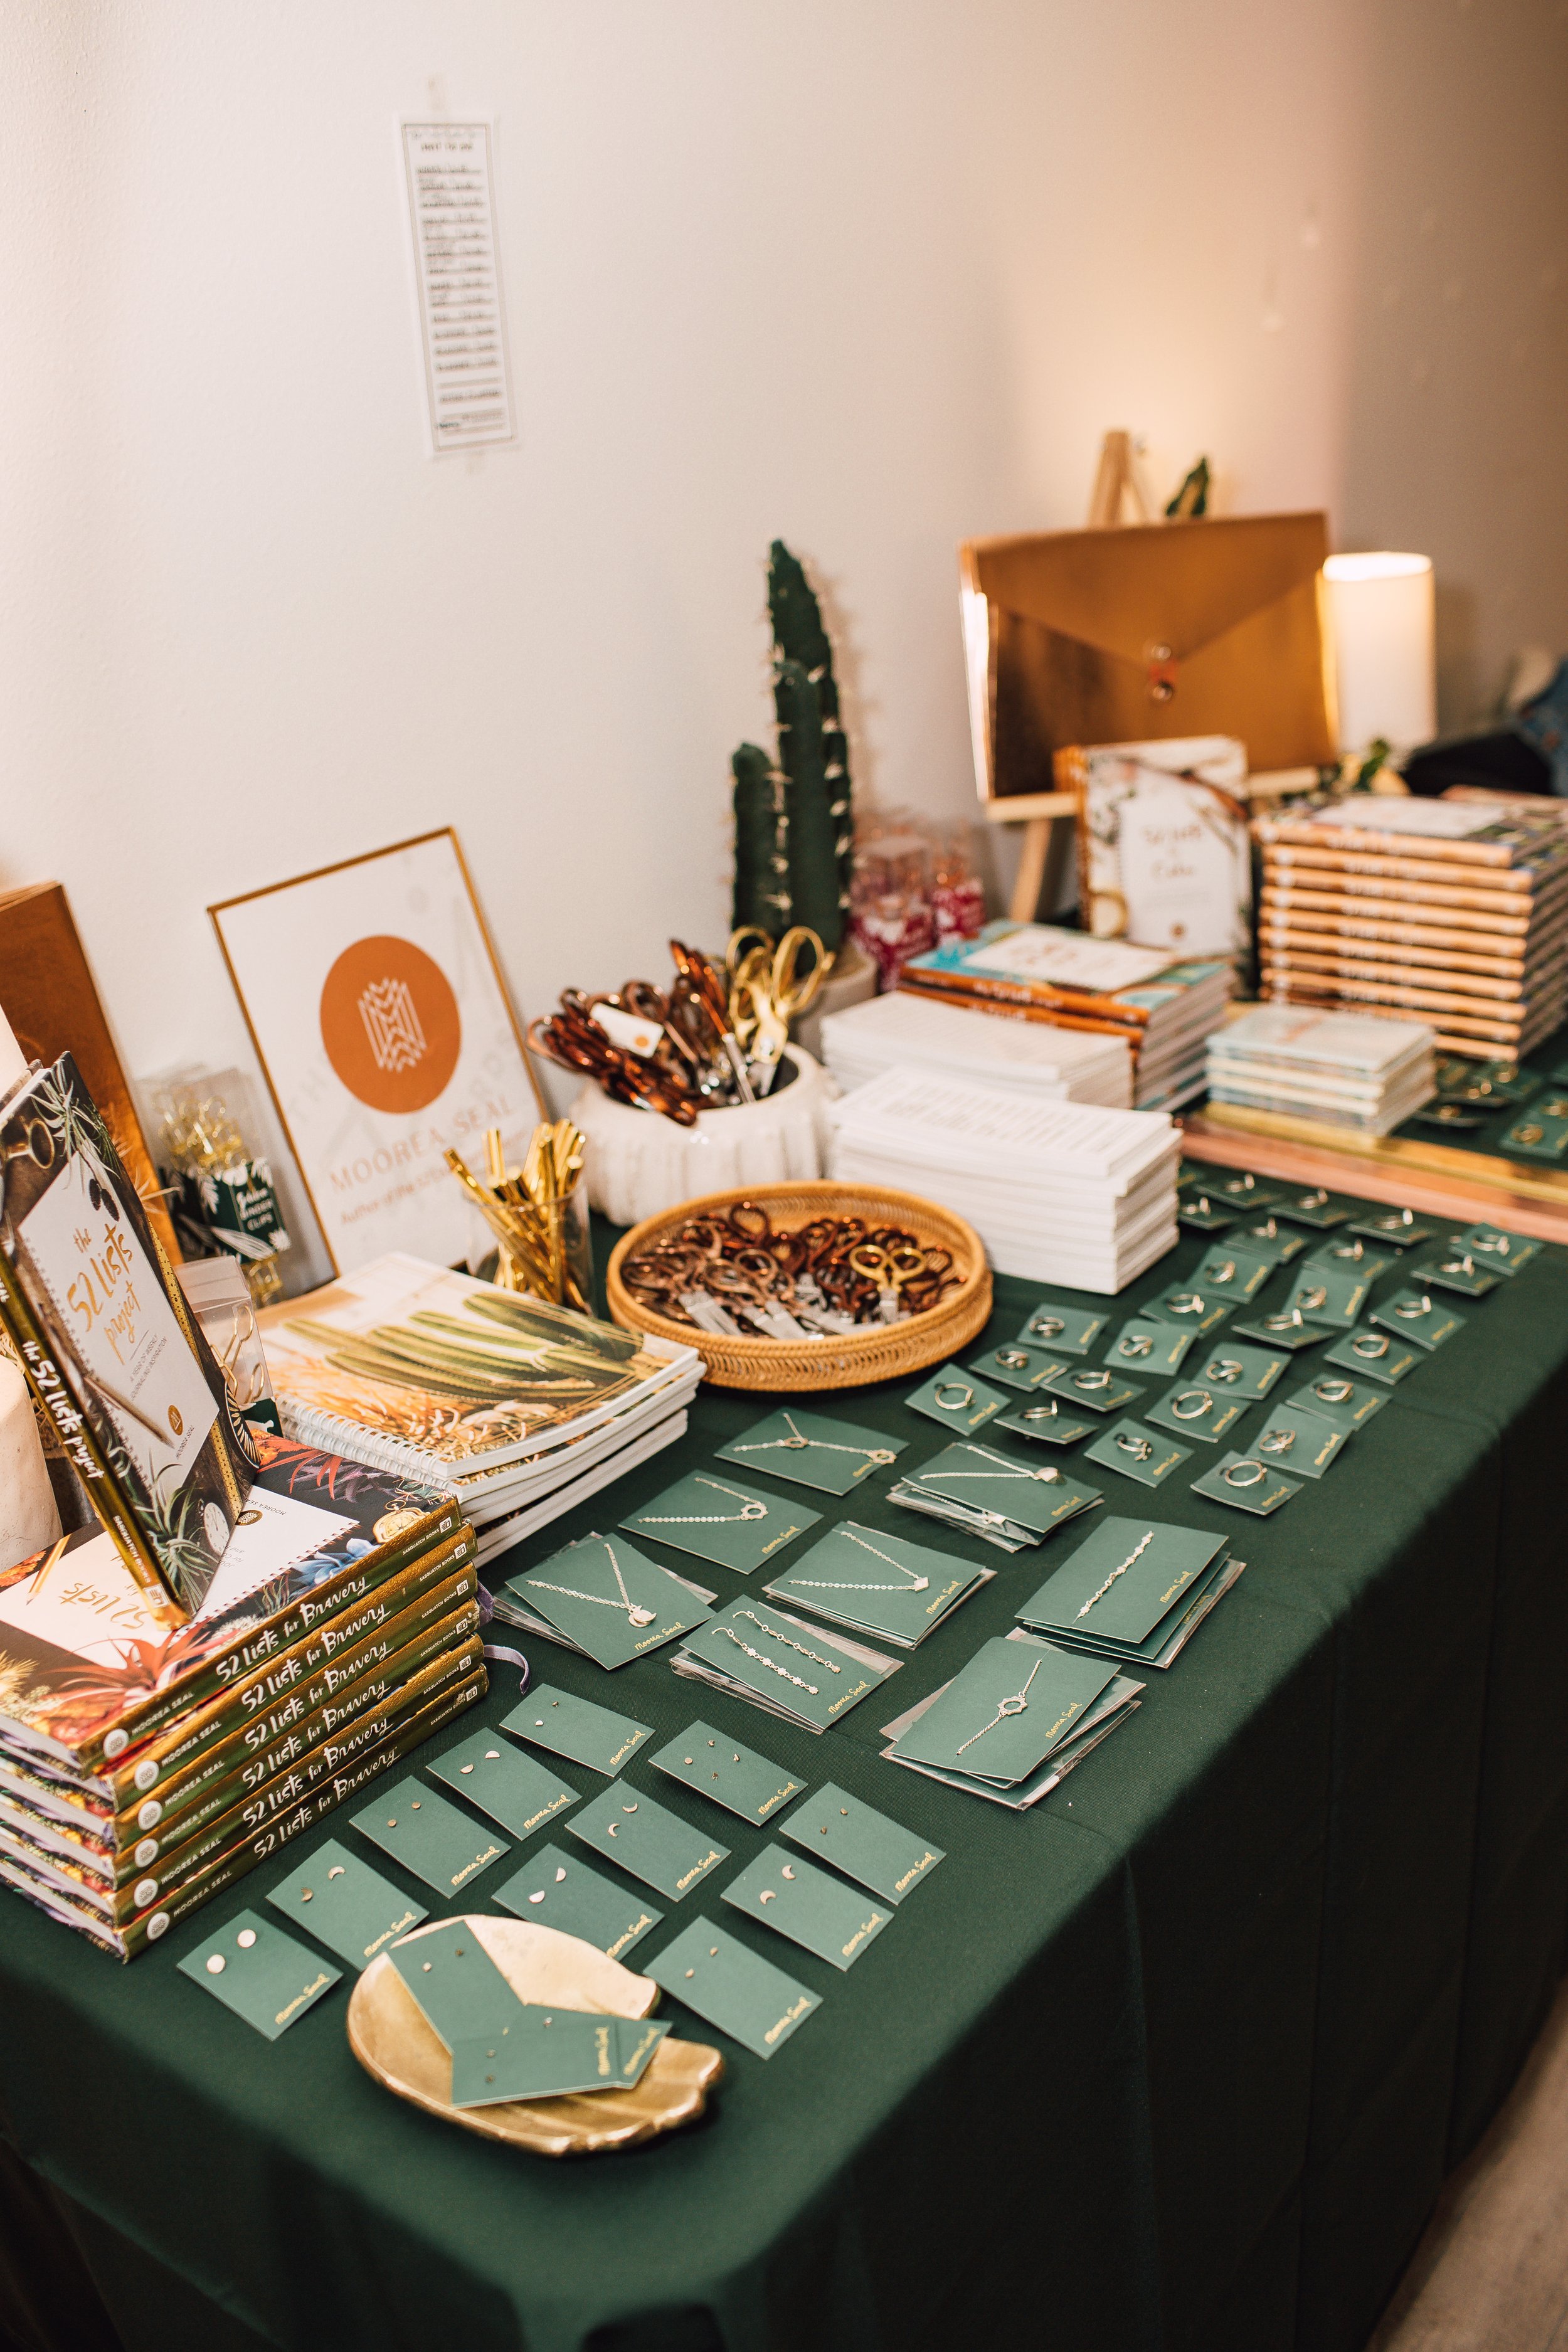
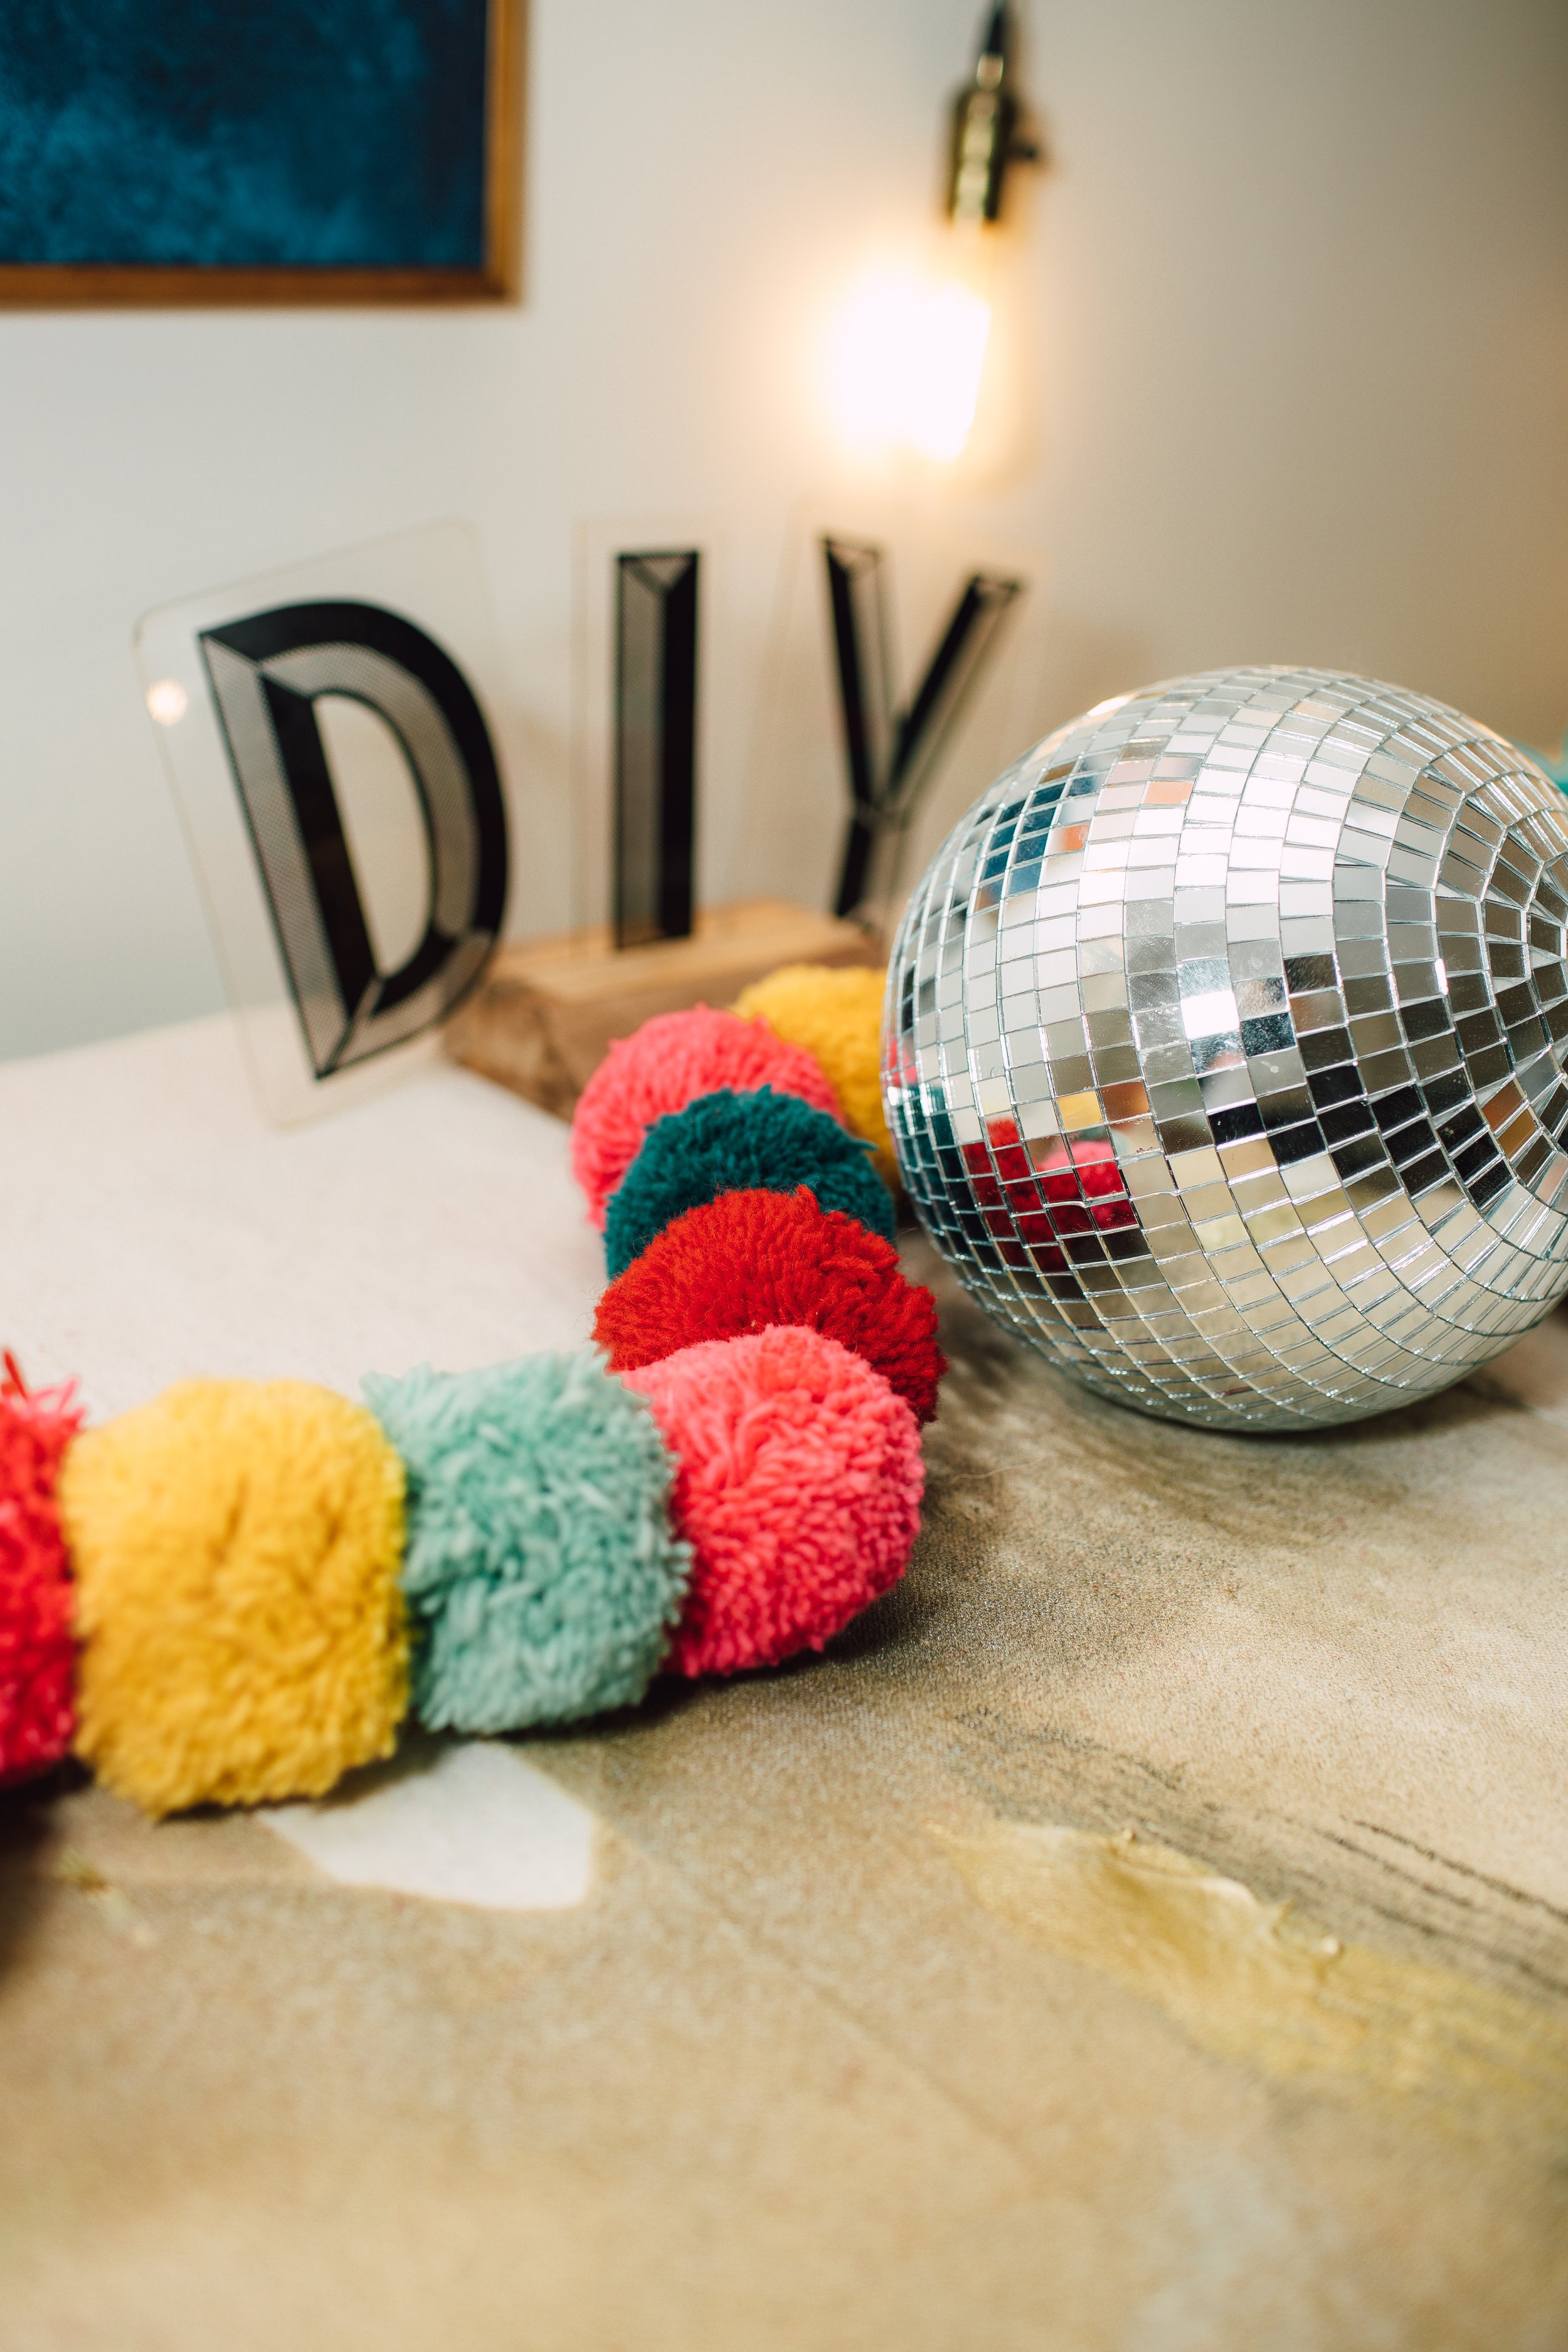
The DIY Awards Bash was a blast! In addition to the awards ceremony, we also had a photobooth, a mini red carpet, a delicious signature cocktail (make it yourself at home!), a (REAL) tattoo booth with DIY themed mini tattoo flash, and a pop up shop from Moorea Seal! As per usual, I made my own DIY dress for the event and there were a bunch of other folks who joined in and DIYed their looks as well! It was so much fun seeing the outfits everyone came up with. Scroll down to get a peek at the festivities.


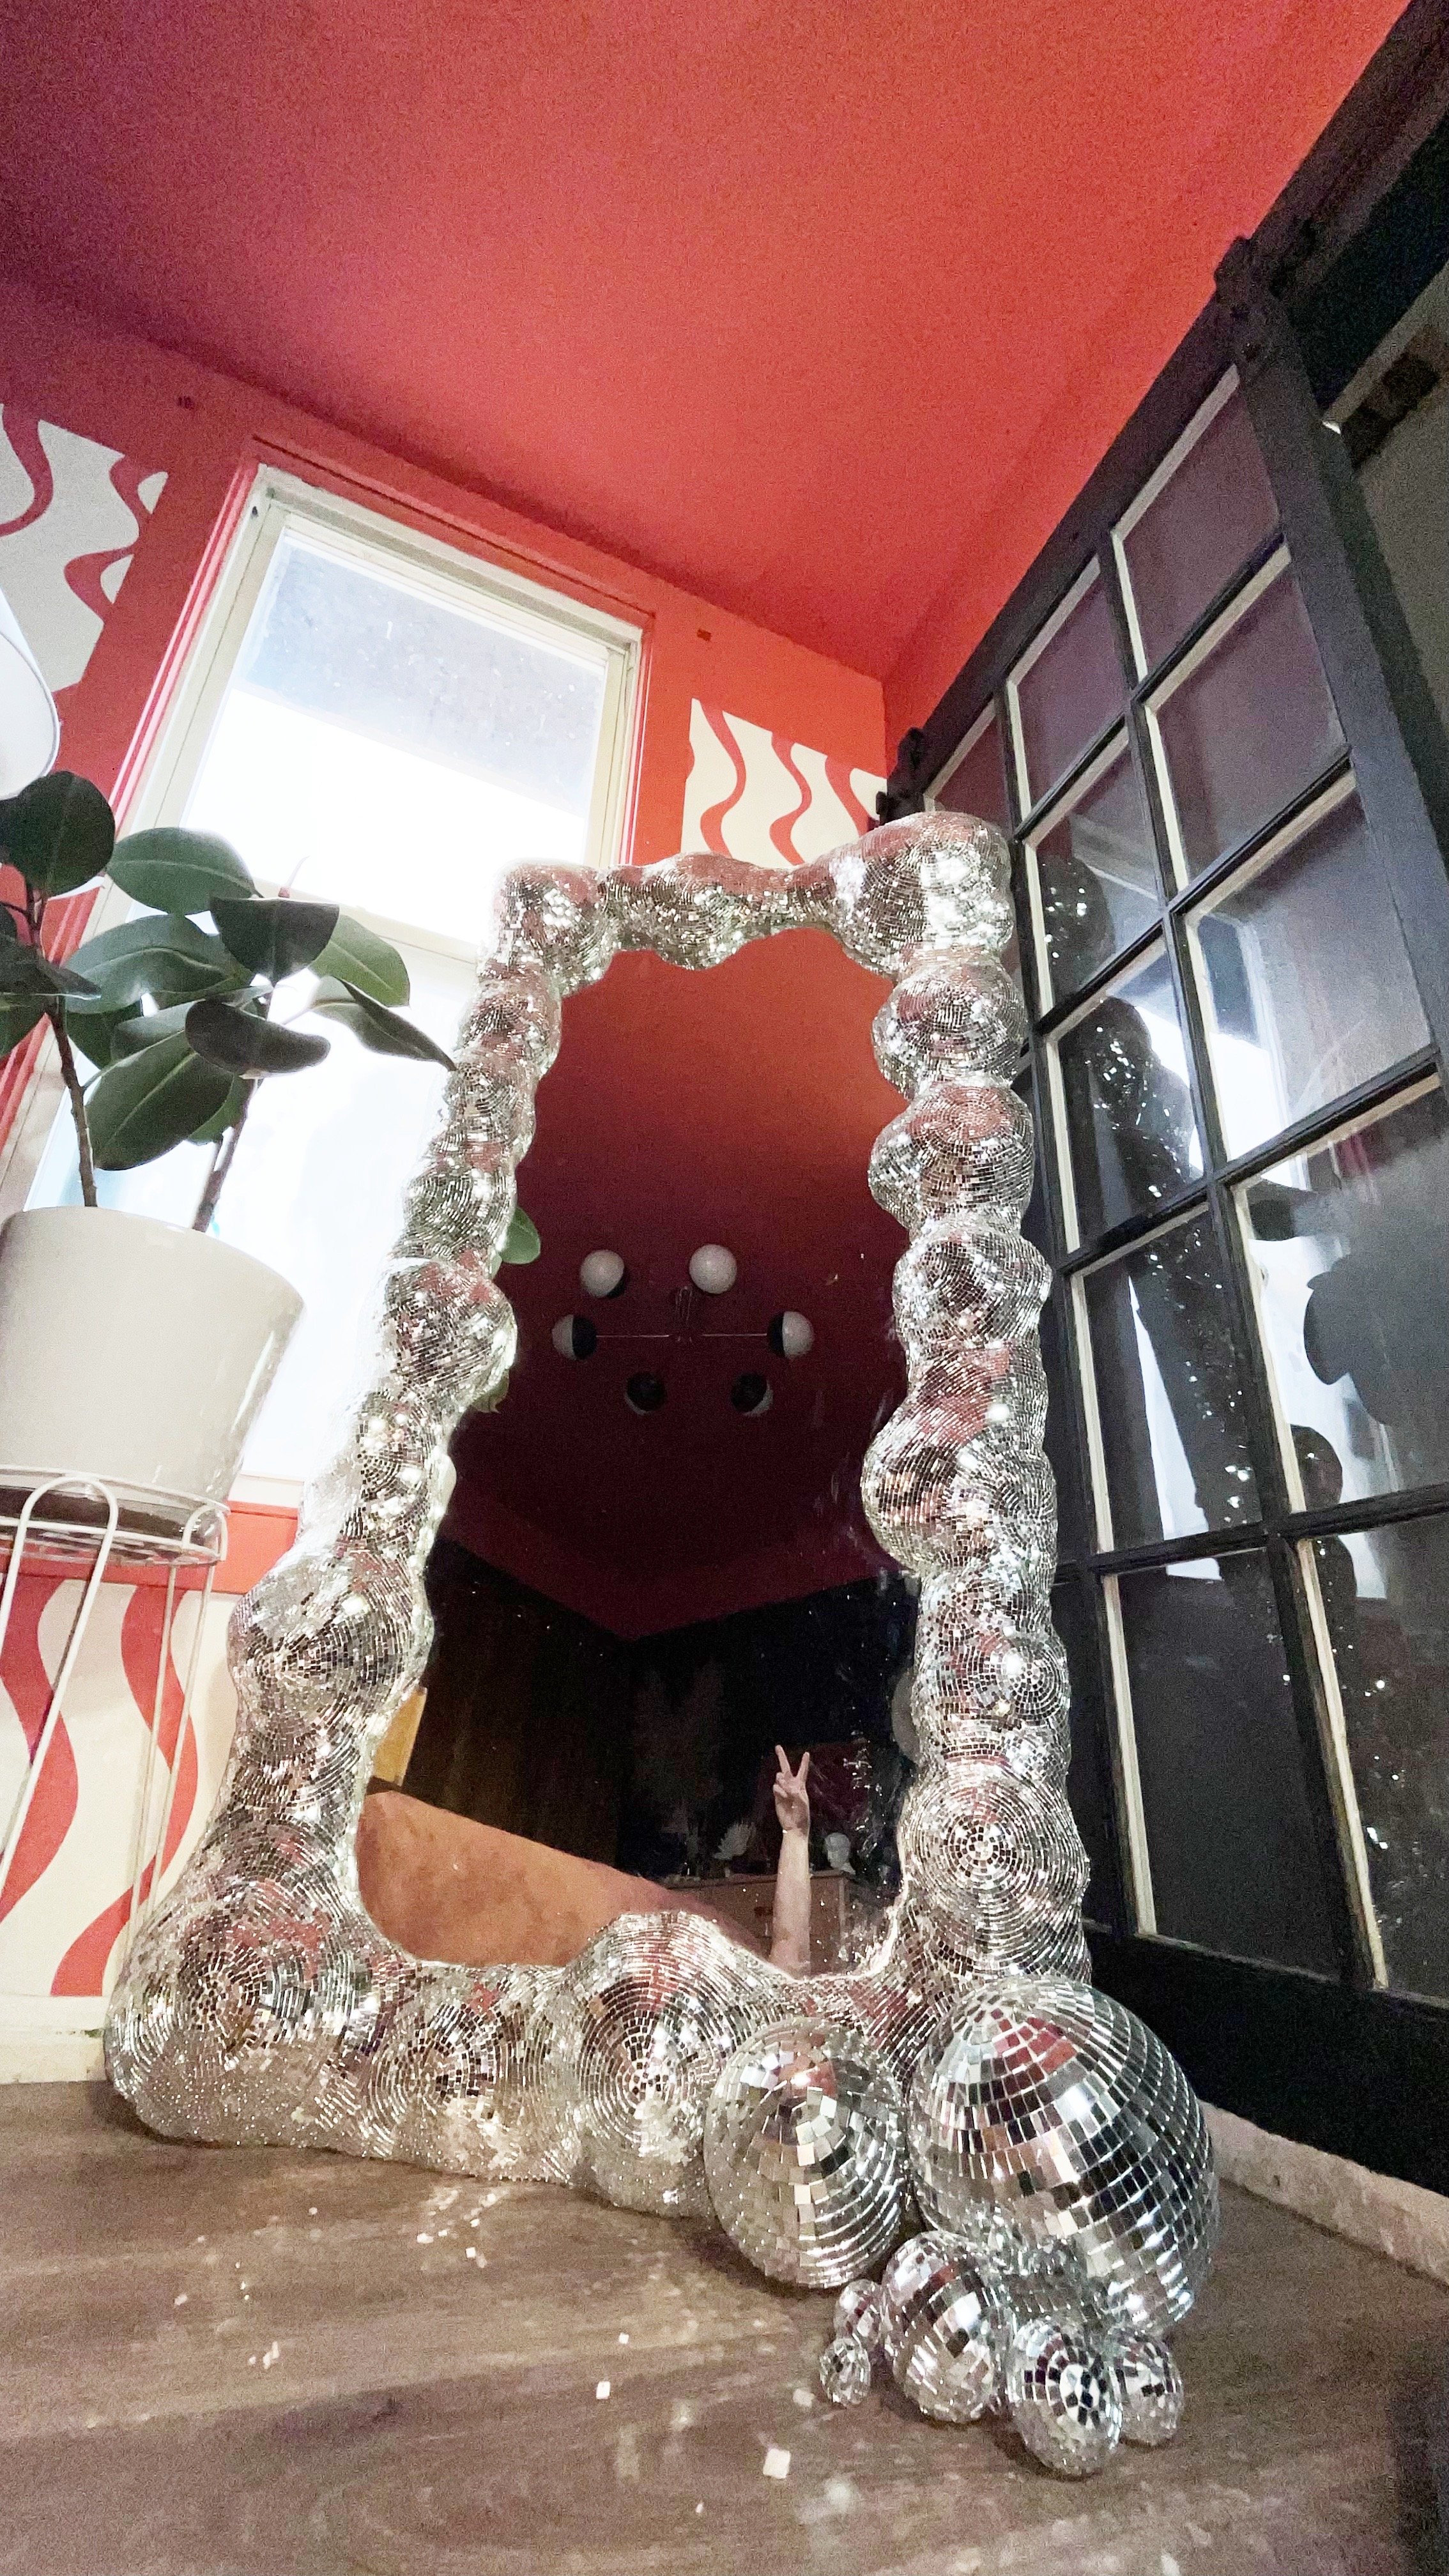
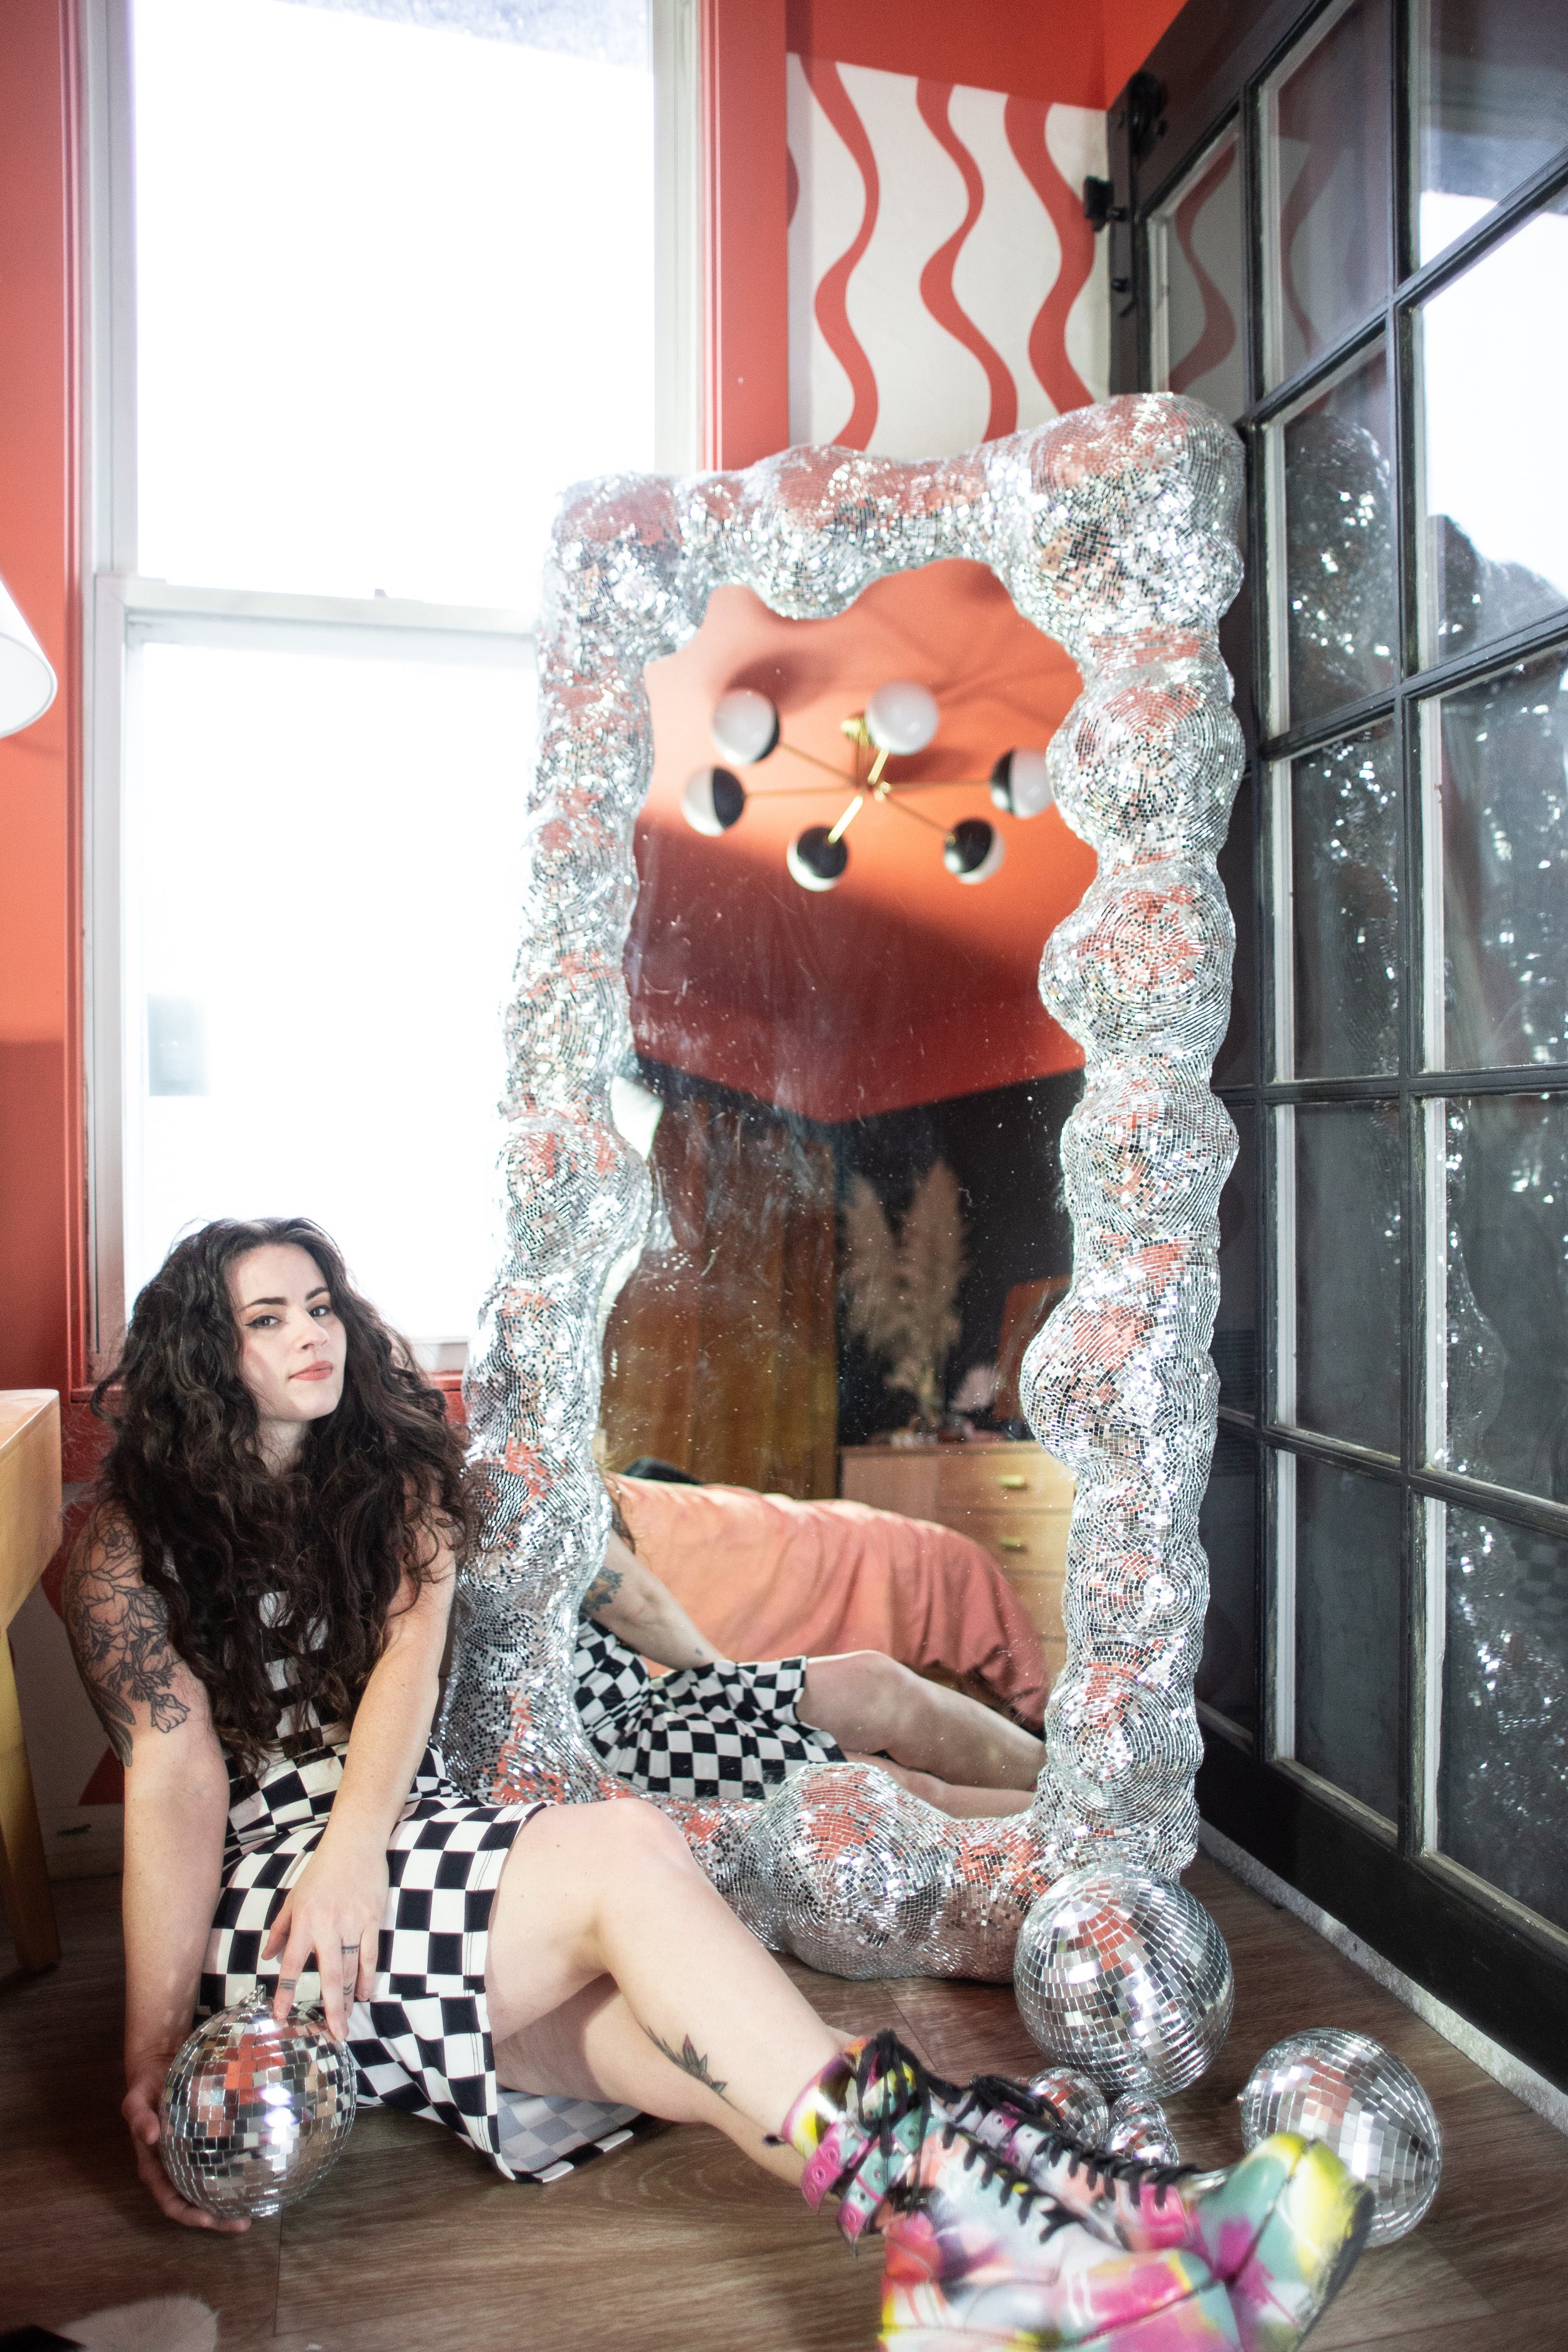
The DIY Disco Mirror

This is what happens when you buy a mirror off of craigslist to customize, with no real plan, and then go completely off the rails. I had a few different concepts when I was trying to decide what I wanted to do with the mirror and of course landed on the most time consuming and expensive option: melty disco ball frame.
What I used:
Disco Mirrors (I used appx 40,000 mirrors)
GemTac Glue (I used appx 2 4ox bottles)
Spray Foam (I believe I went through five 12oz bottles)
Joint Compound
Cheesecloth
I explain the process in the above videos, but basically: the base shapes are made out of spray foam, then joint compound to fill in any gaps and smooth the surface. I sanded to smooth the bumps, then primed, and from there on out it was just a never ending process of sticking mirrors on. I bought 5mm mirrors, which were smaller than I’d anticipated, so if I was doing this over again I’d probably get 10mm mirrors. I do love the density of the 5mm mirrors, but it took forever to put that many mirrors on.
The mirrrors I used had adhesive backing, but I didn’t trust that adhesive to stick well enough, especially with the undulating shapes I was applying them to (they felt strong enough to apply to smooth, flat surfaces), so I used GemTac glue to apply each one. In the larger areas I could apply strips of 4 or 5 mirrors at a time, but in the tighter curves I definitely needed to apply them one by one.


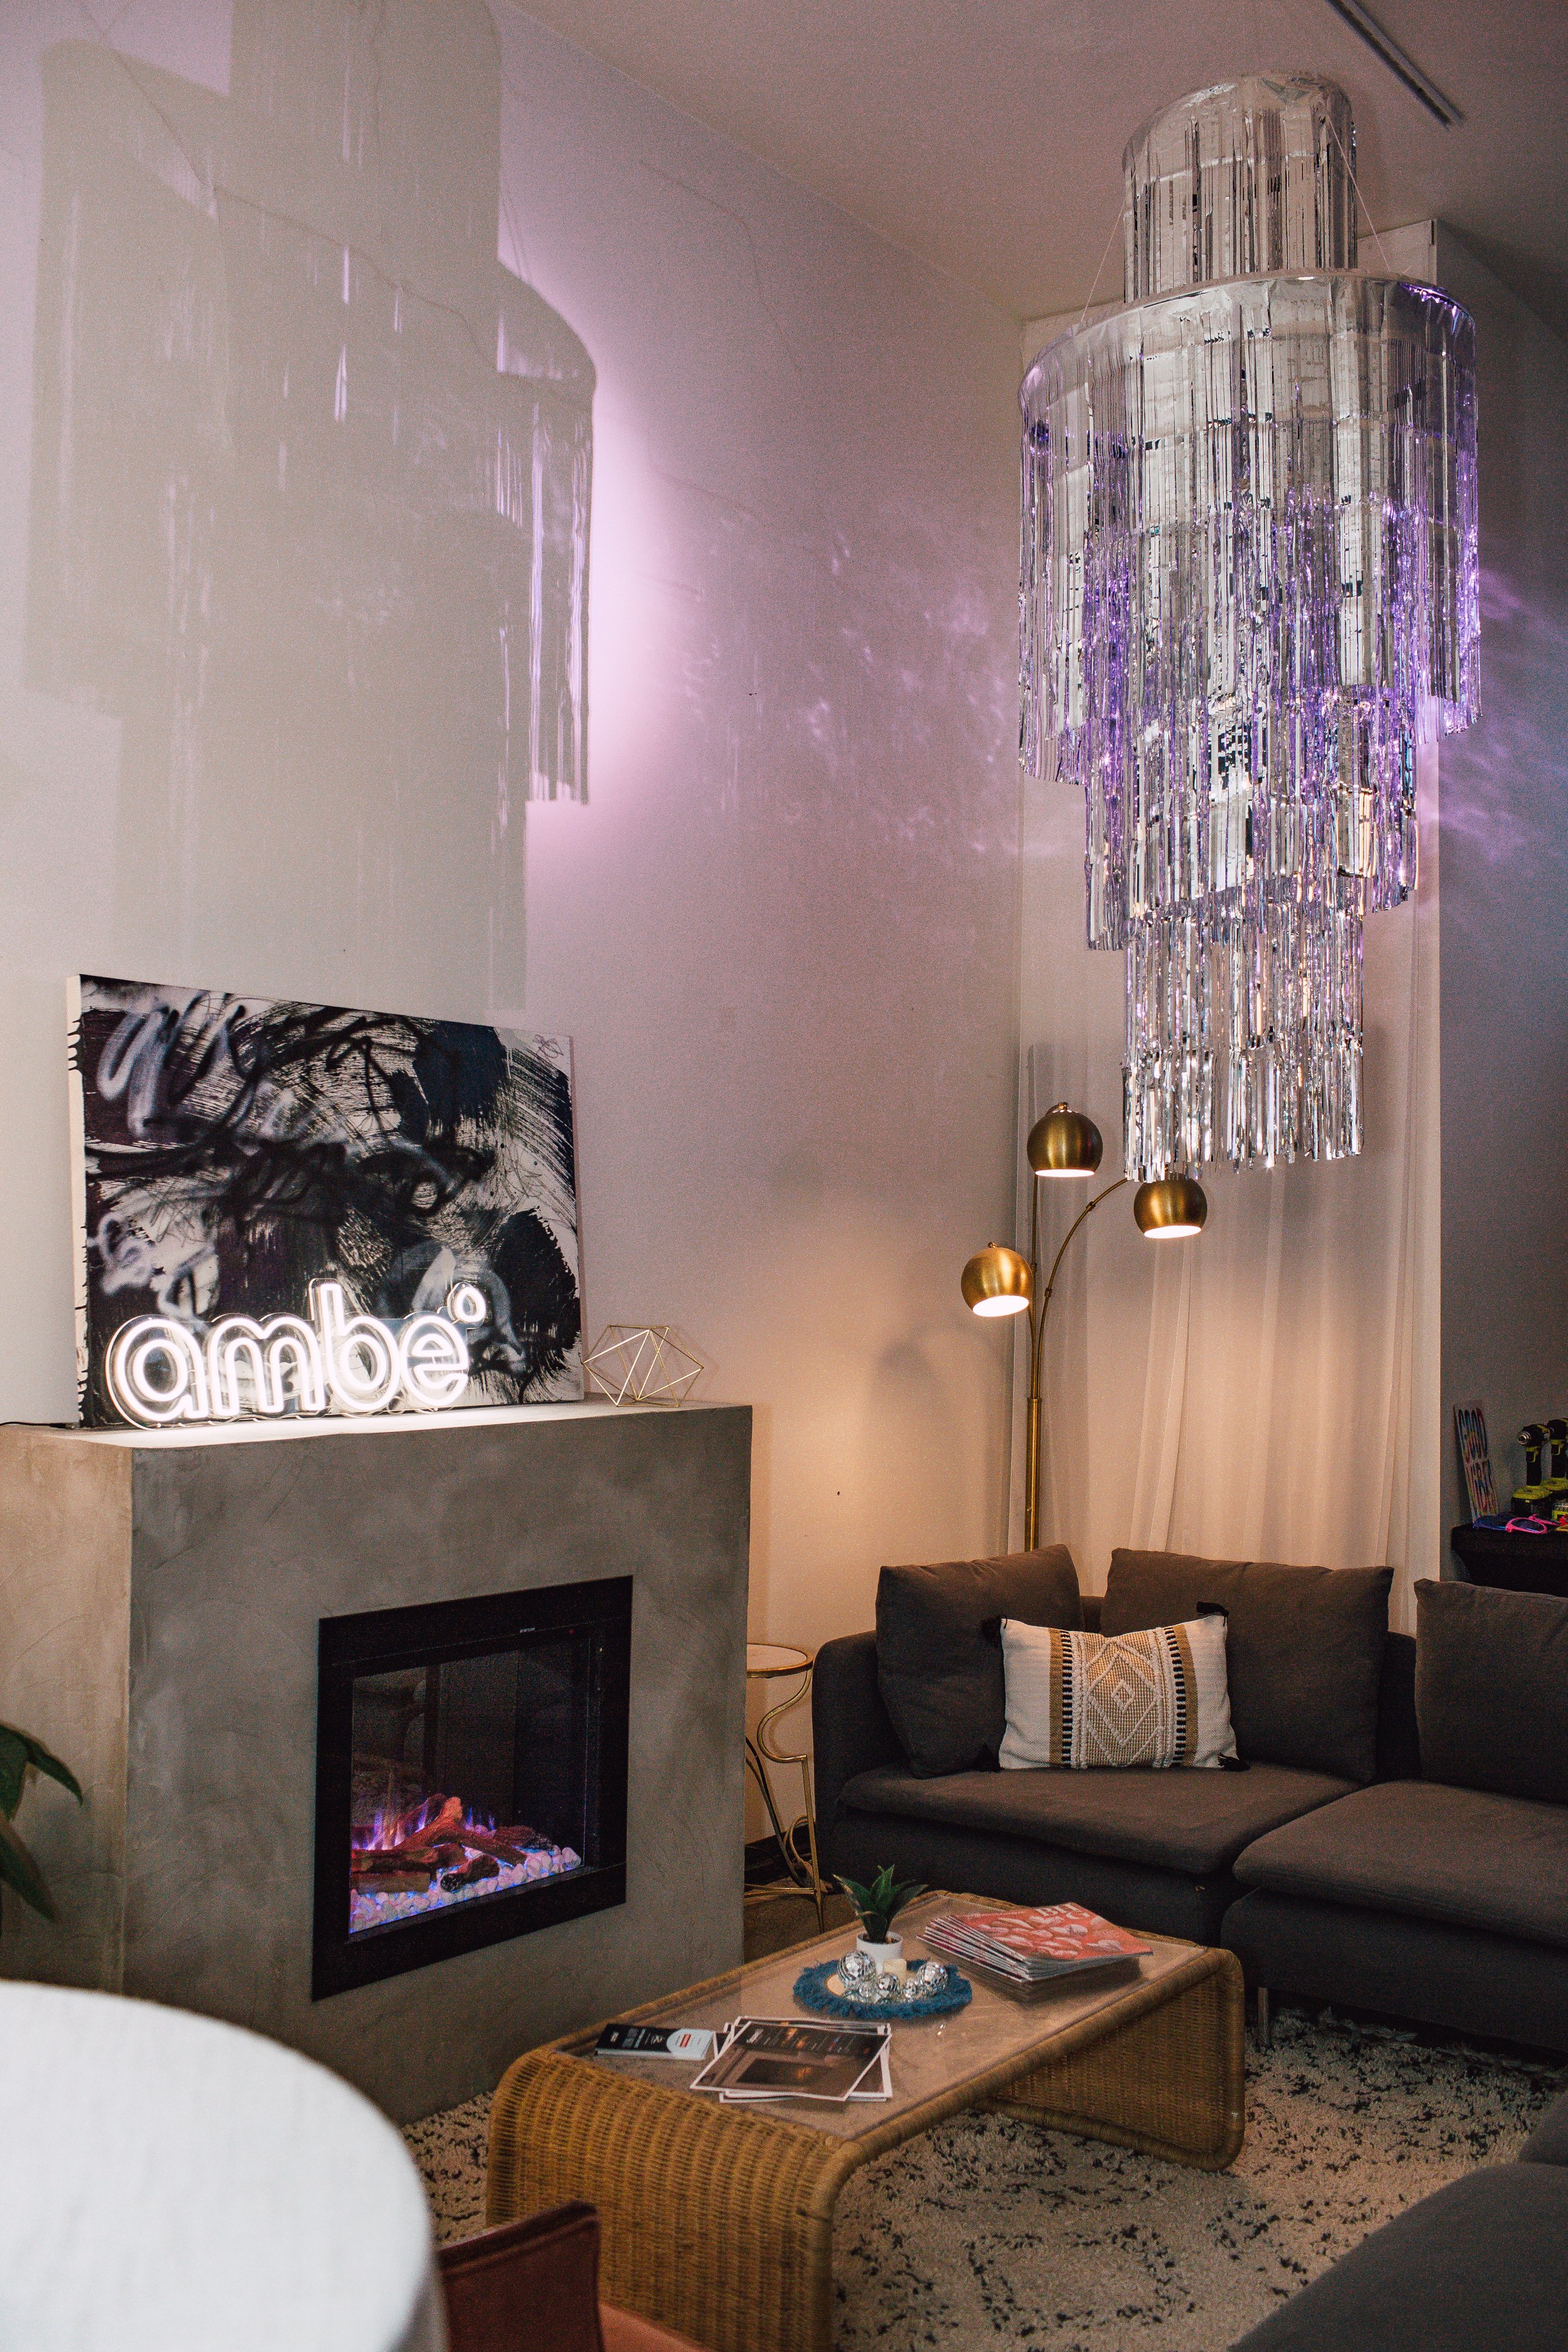
DIY Fireplace build with Ambe Fireplaces
Thank you to Ambe Fireplaces for sponsoring this project
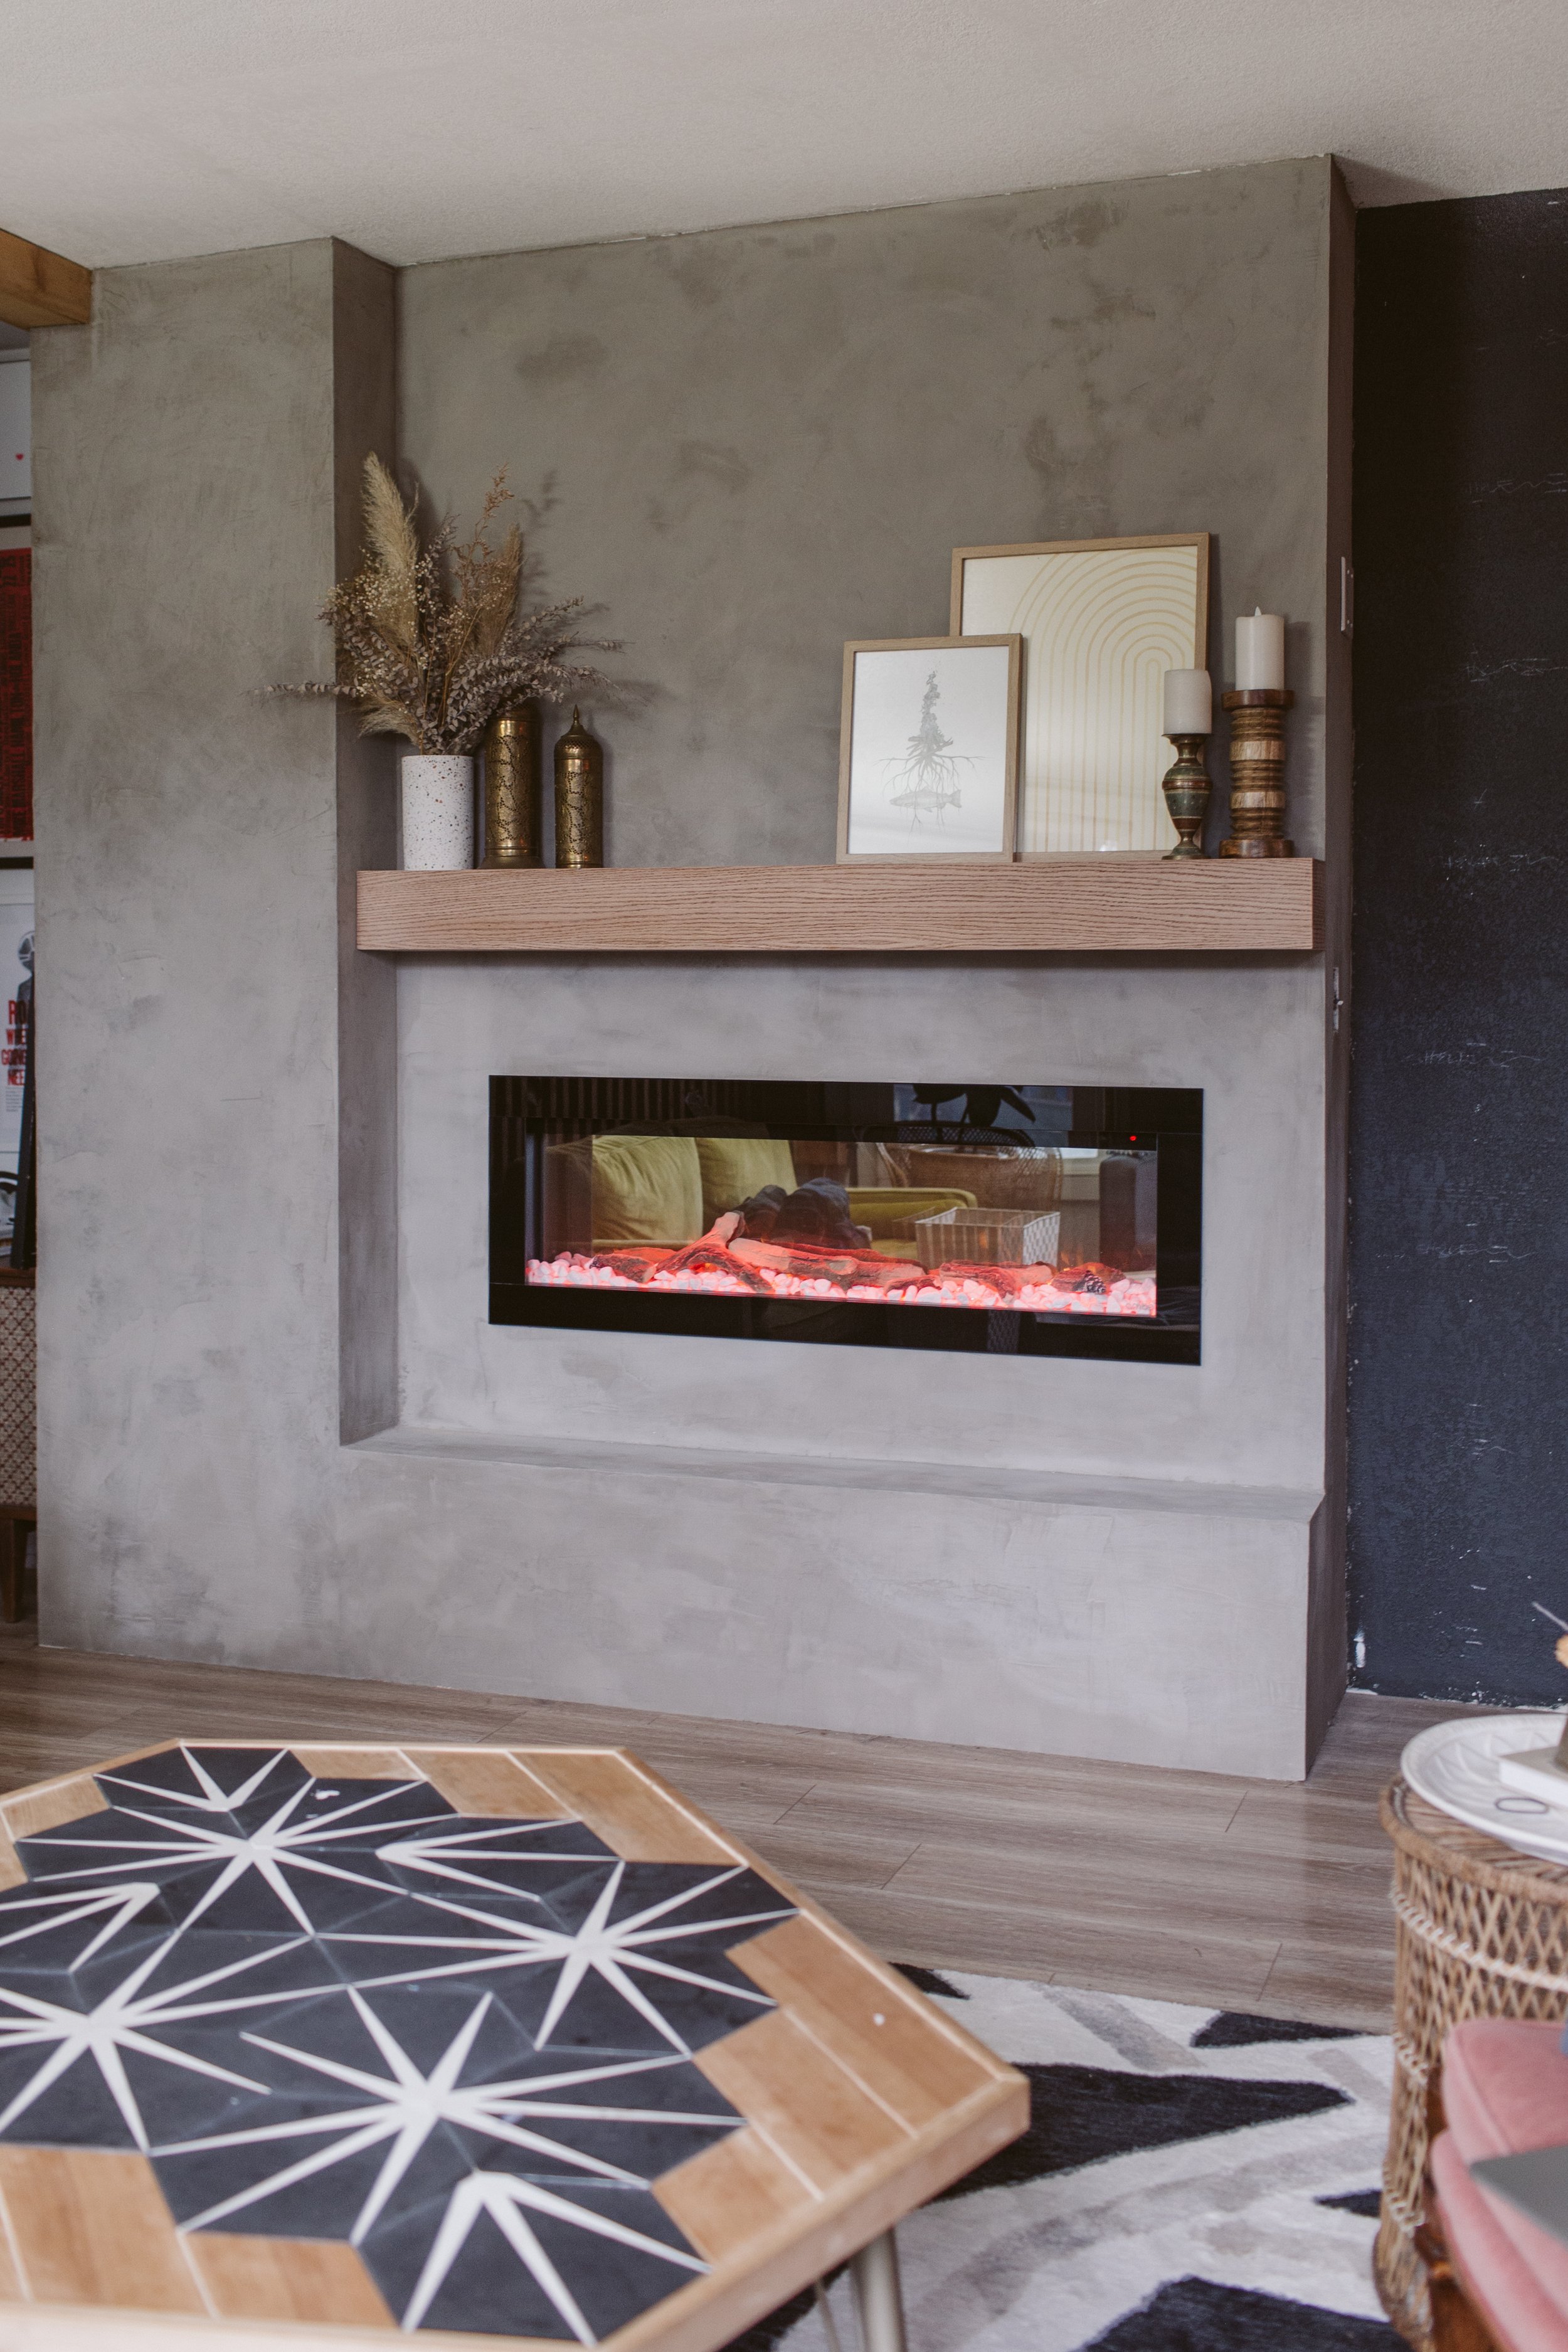
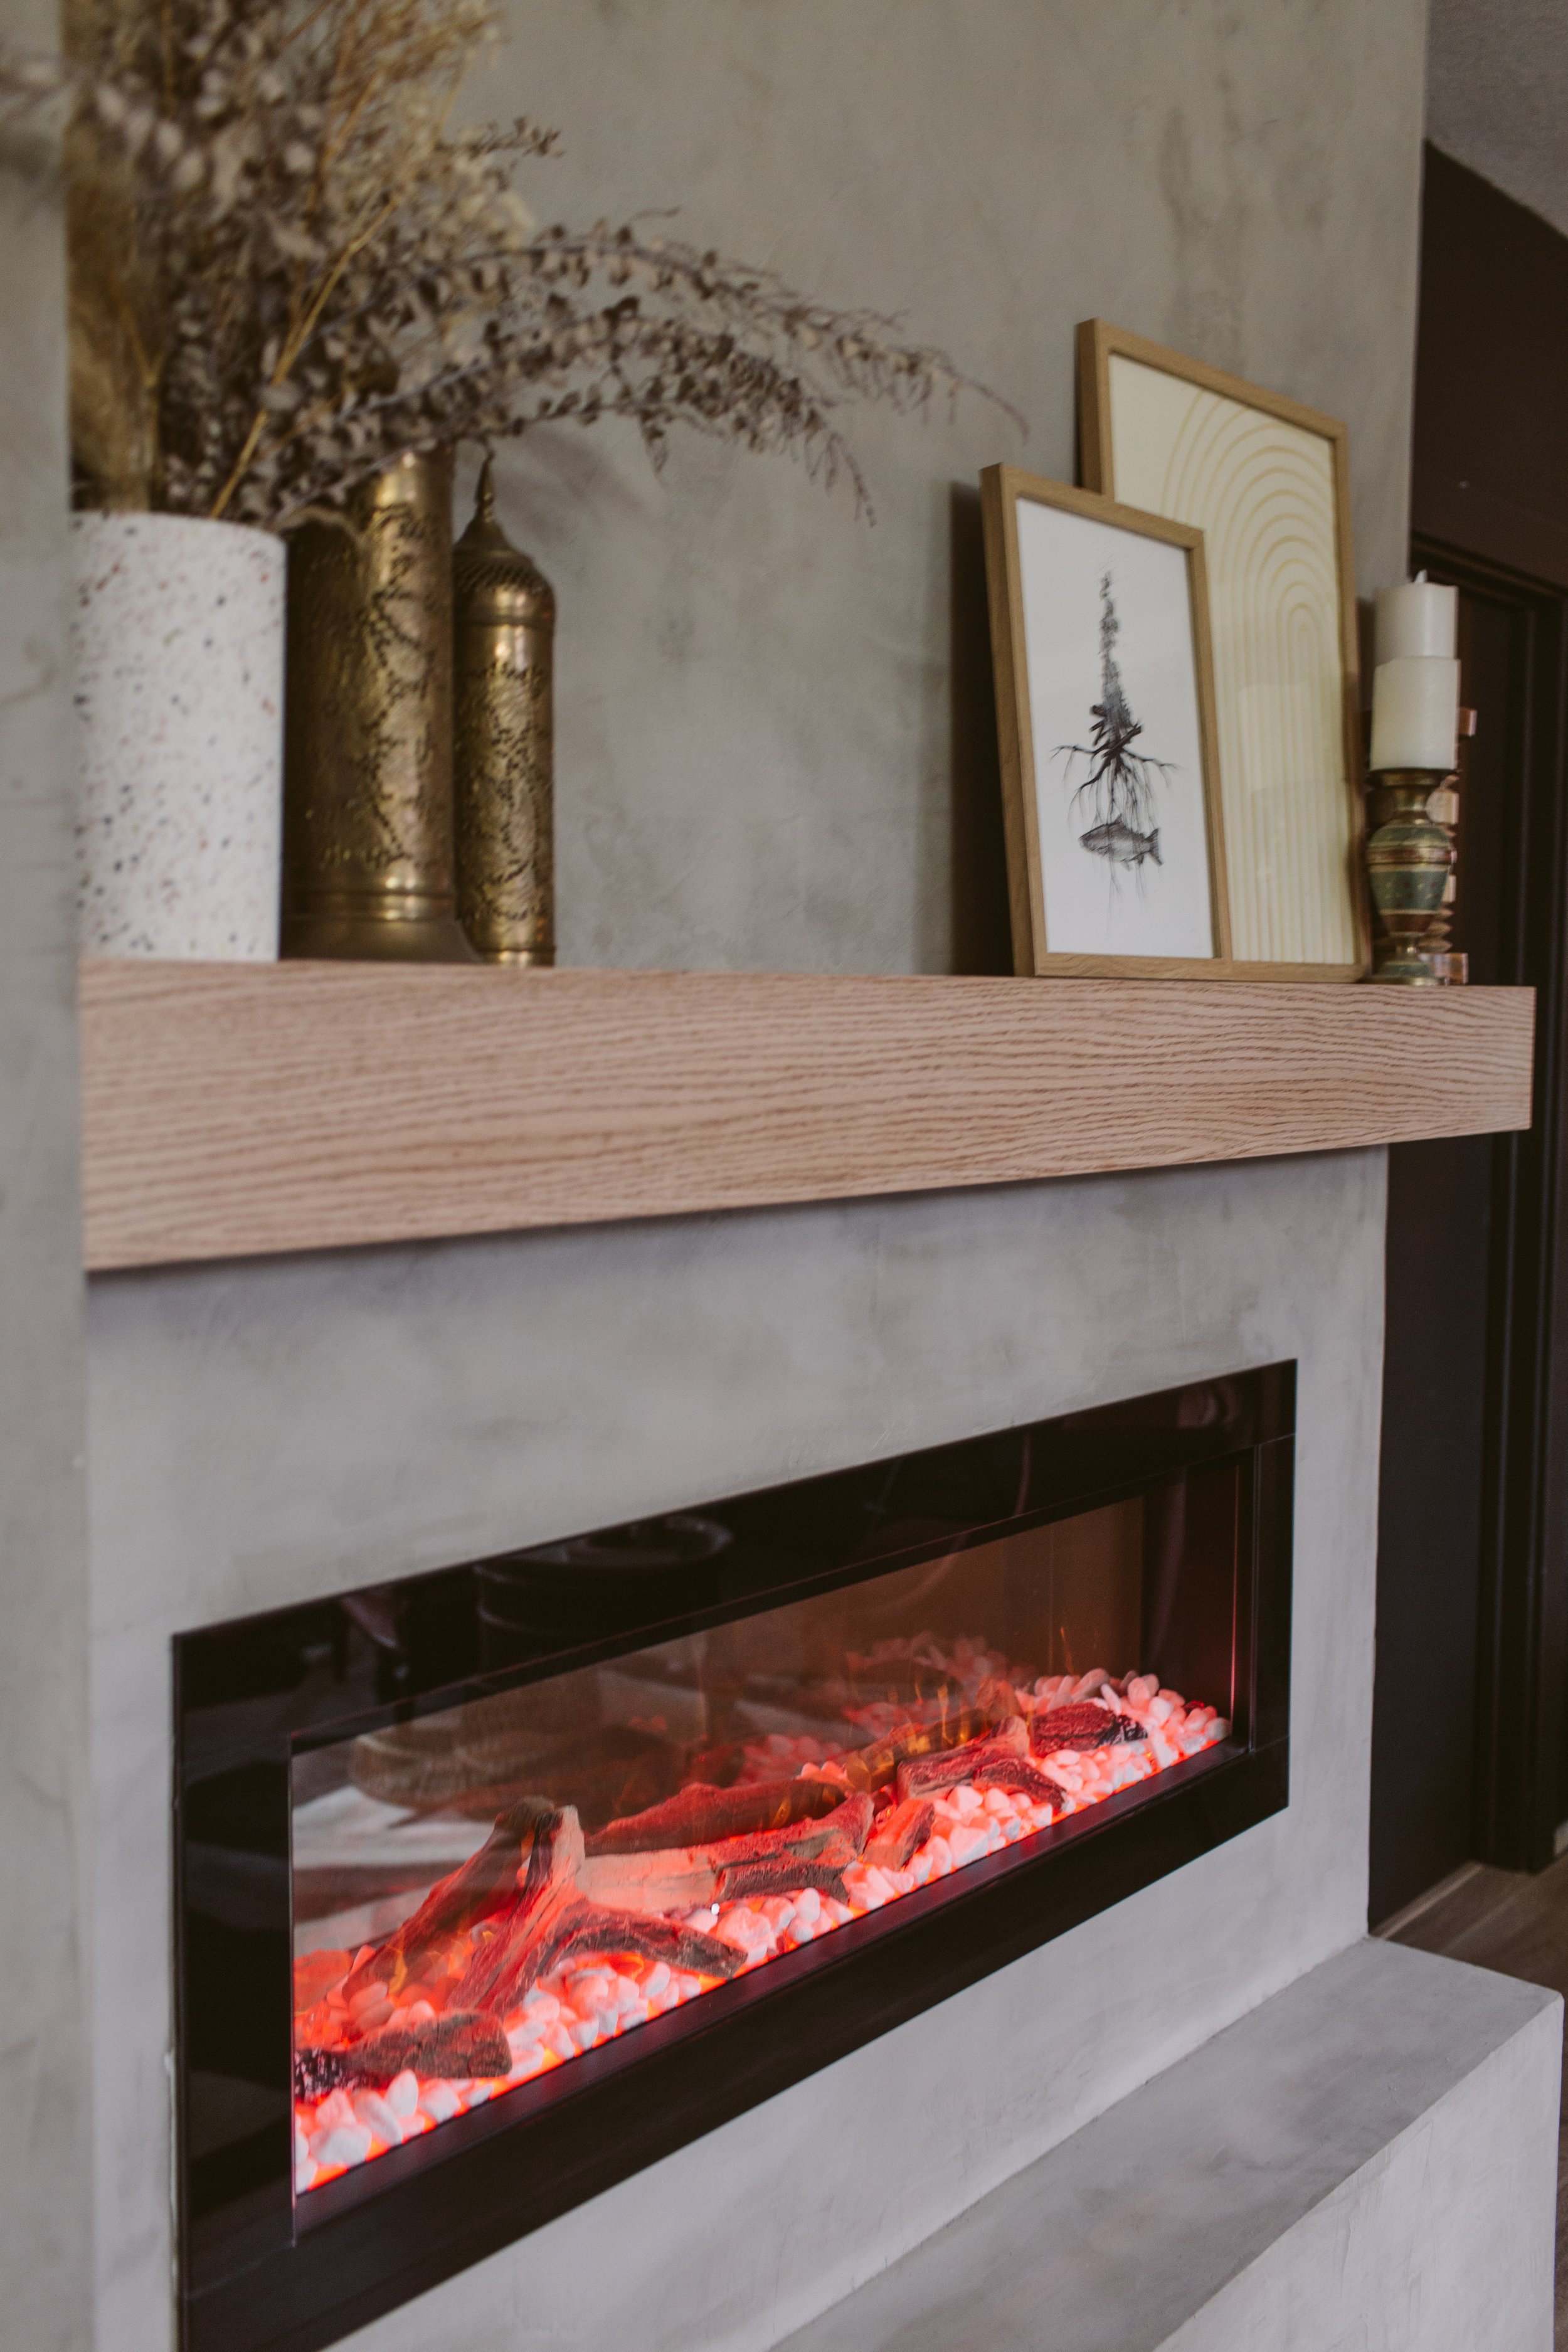
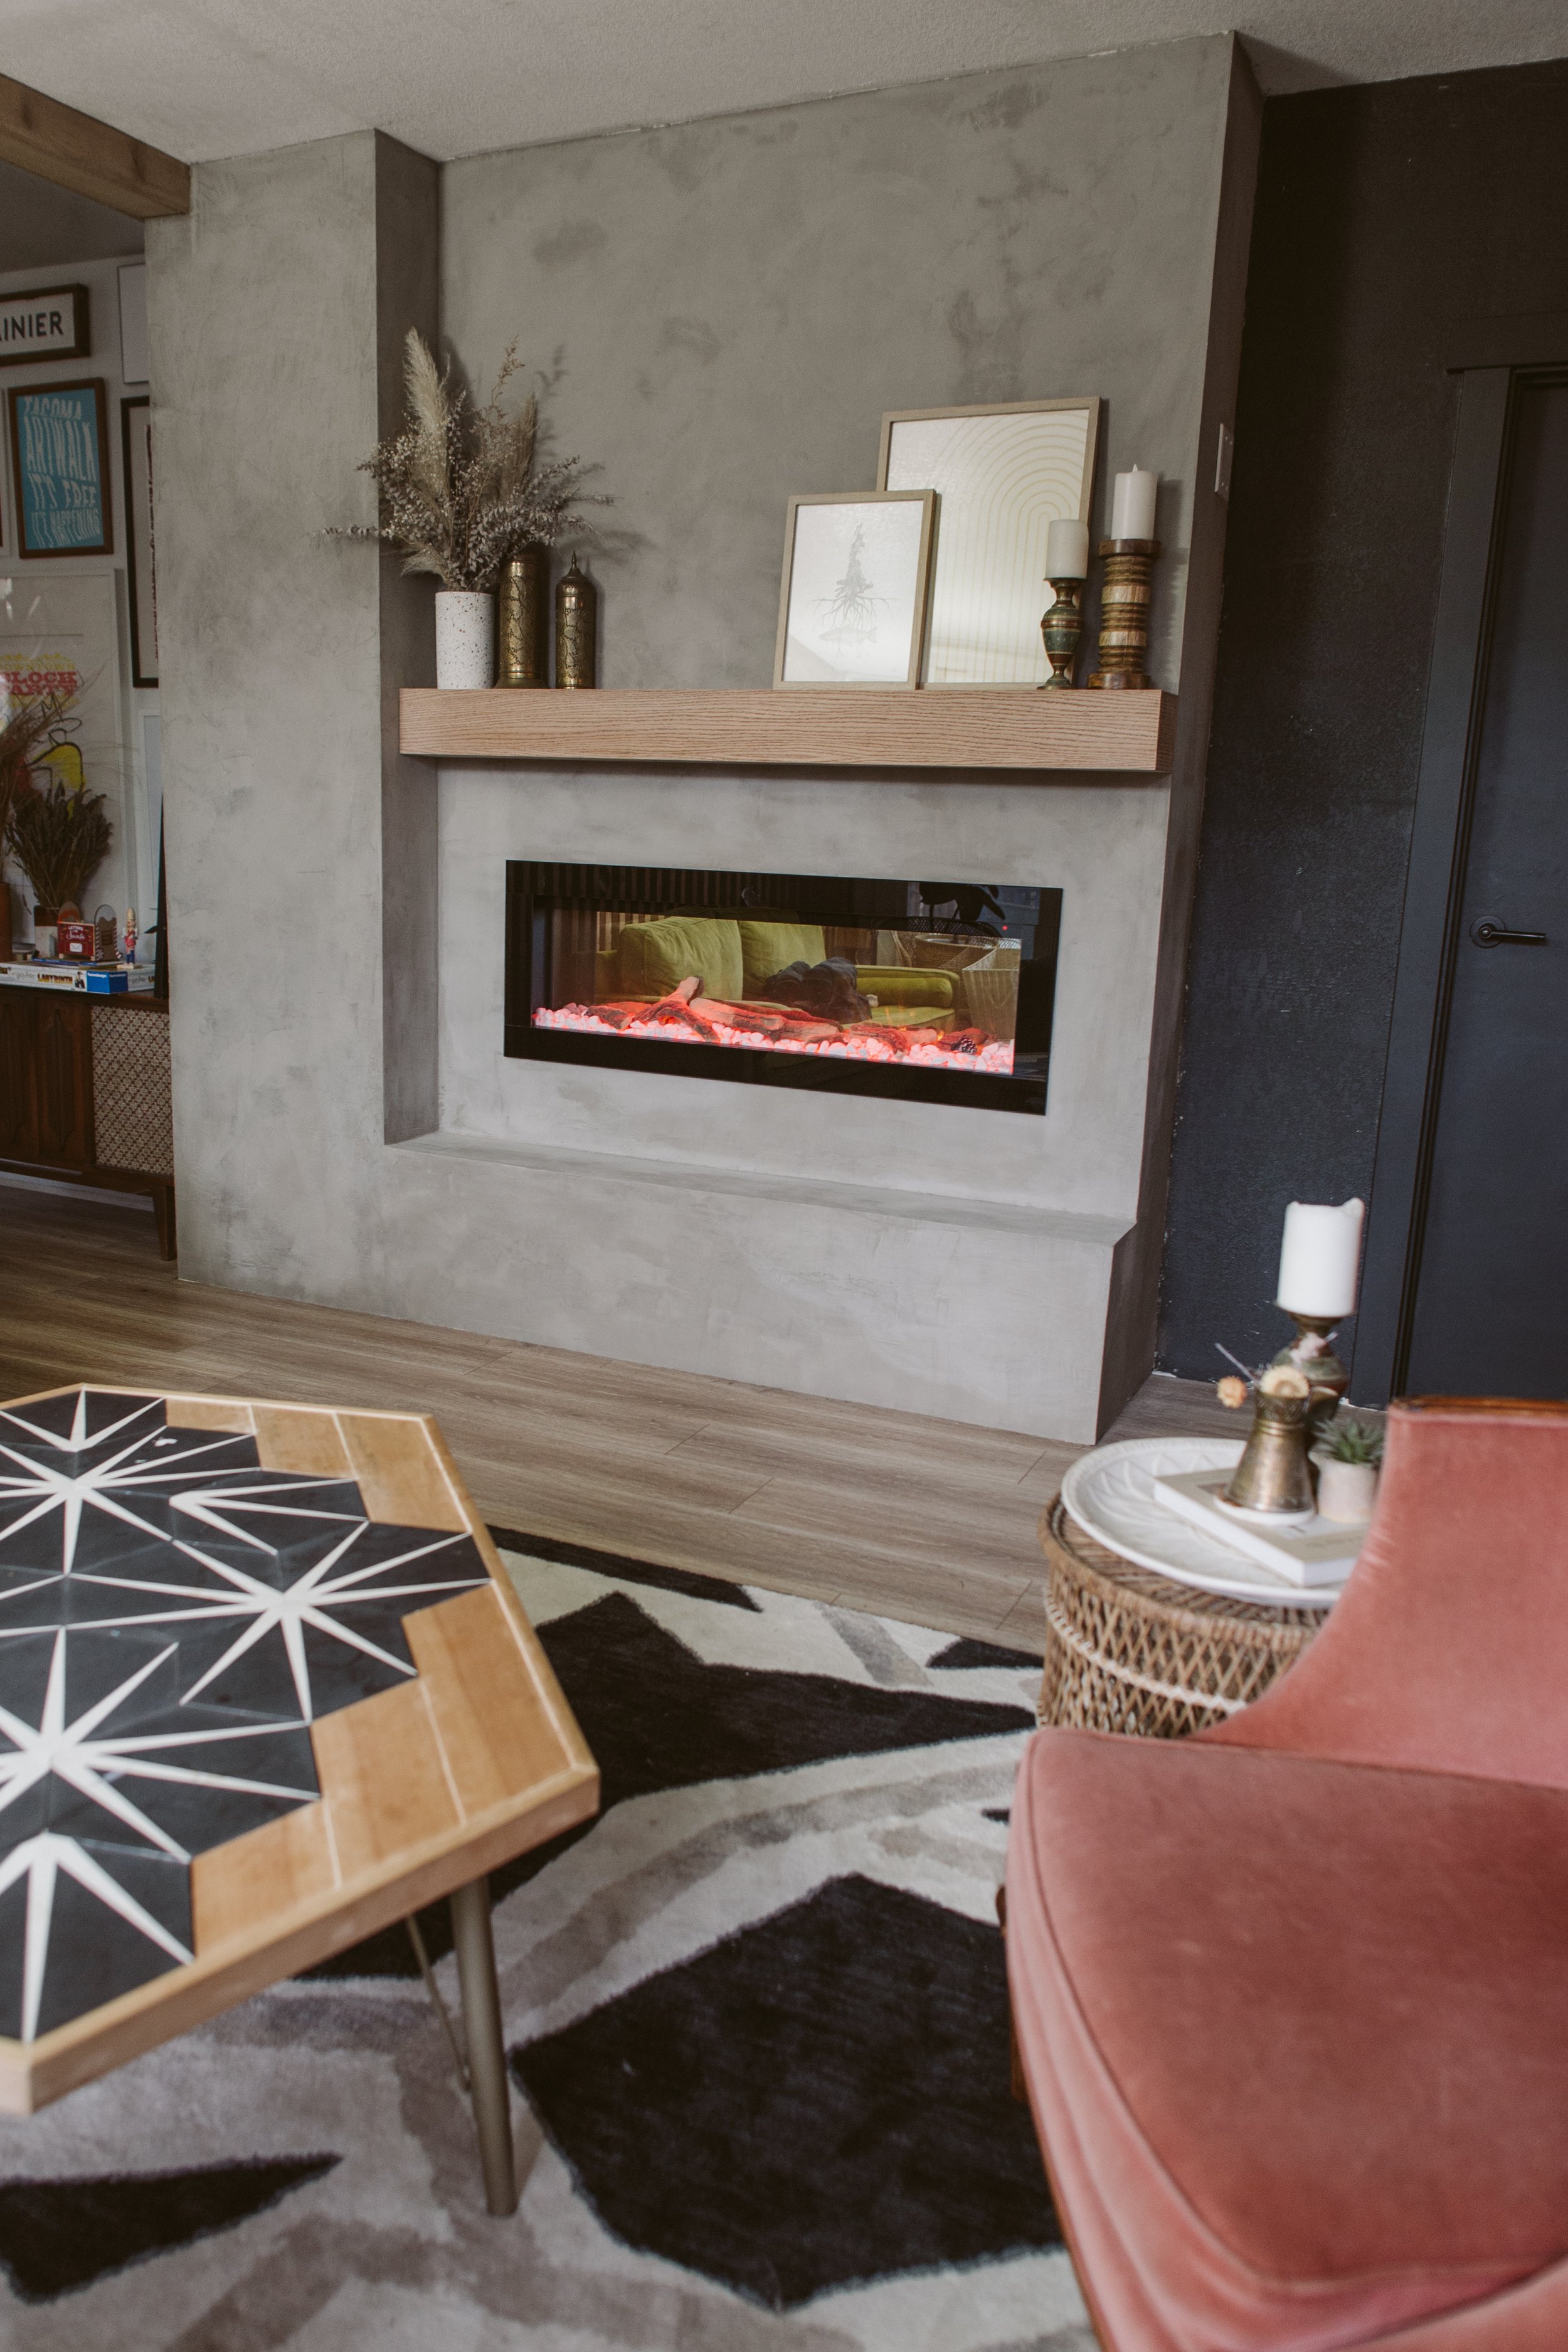
When we first bought this house, it originally had a wood burning stove which was placed super awkwardly in the middle of what was at the time the dining room (we turned this area into the living room). It stuck pretty far into the room and took up quite a bit of square footage, so we ended up removing it and scheming a replacement that would fit the space better both in terms of size/placement, as well as design.


I came up with an idea to transform the whole wall with a modern concrete fireplace and built-in bookcase. After a few years of updating this house, it’s taken on an eclectic modern look so I knew this combination would not only fit the style of the house, but also add a ton of functionality.


I decided to recess the right side about 10 inches to create a raise hearth, as well as create space for a mantel so that the mantel wasn’t sticking out into the room, since the fireplace would be along the main traffic route through the house. It also made it so that if we (or a future owner) ever wants to put a TV above the mantel, it also won’t be sticking out into the room. This design feels like it takes a wall that was blank and unused and gives it so much storage and usability.
Ambe Fireplaces are electric which meant that we didn’t have to do any kind of messing around with the existing chimney, or putting in gas lines. There was already an existing outlet right where we wanted to place the unit, and since Ambe Fireplaces use a standard 120v outlet, we didn’t have to do any electrical to wire it up. They have a few different shapes and sizes, but I really loved the linear style and the 50in was the perfect size for our spot (though they also have a 72in version too!).
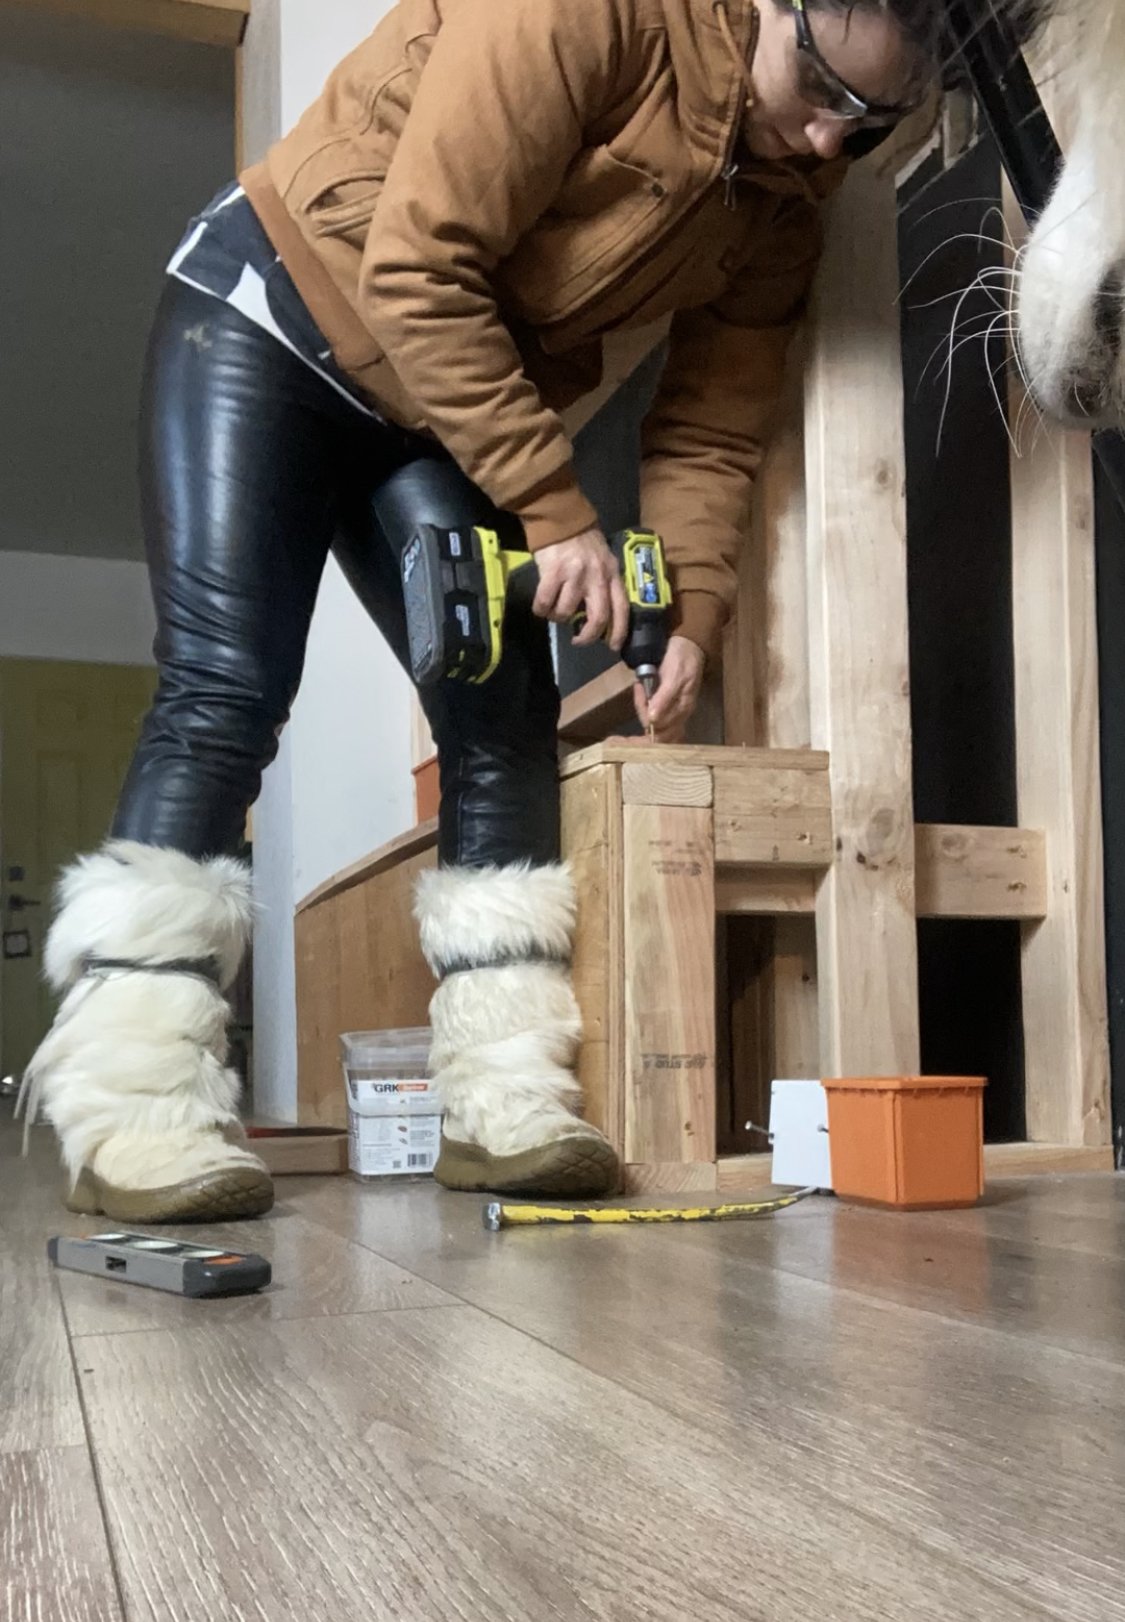
The directions were straightforward and included all the dimensions for framing out the hole for the unit, so I sketched up a framing plan and we got to it!
USE code 20lizmorrow
for 20%off!

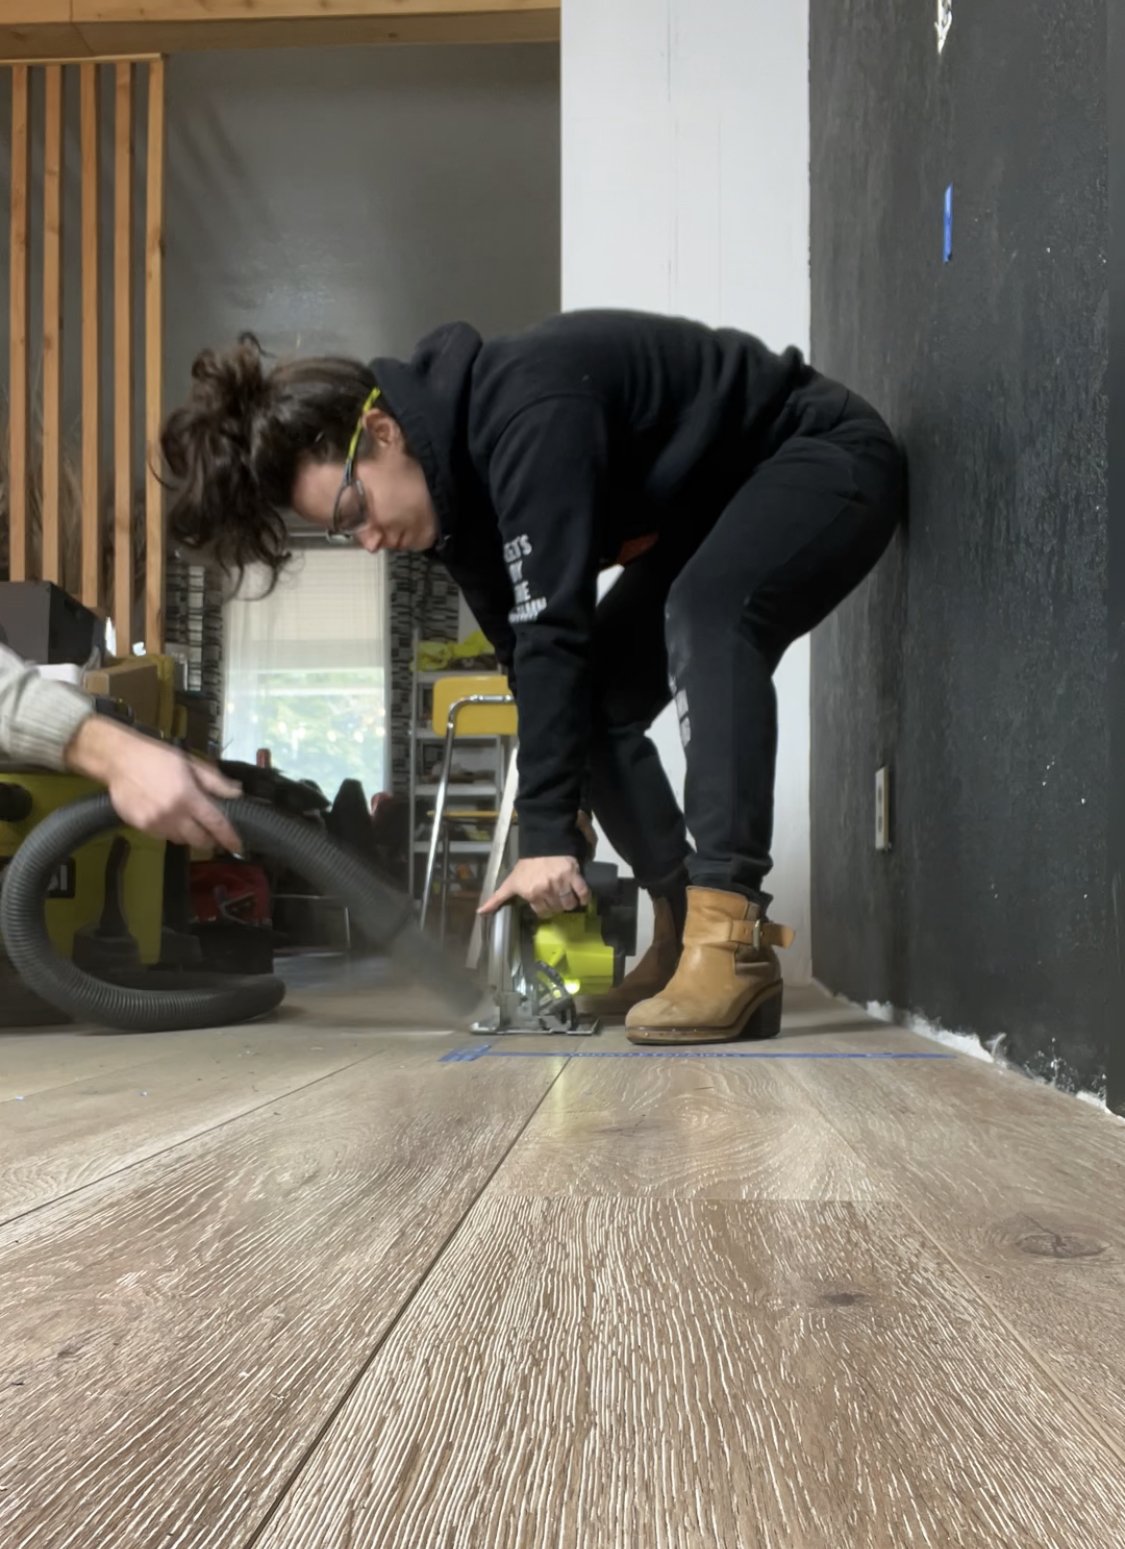
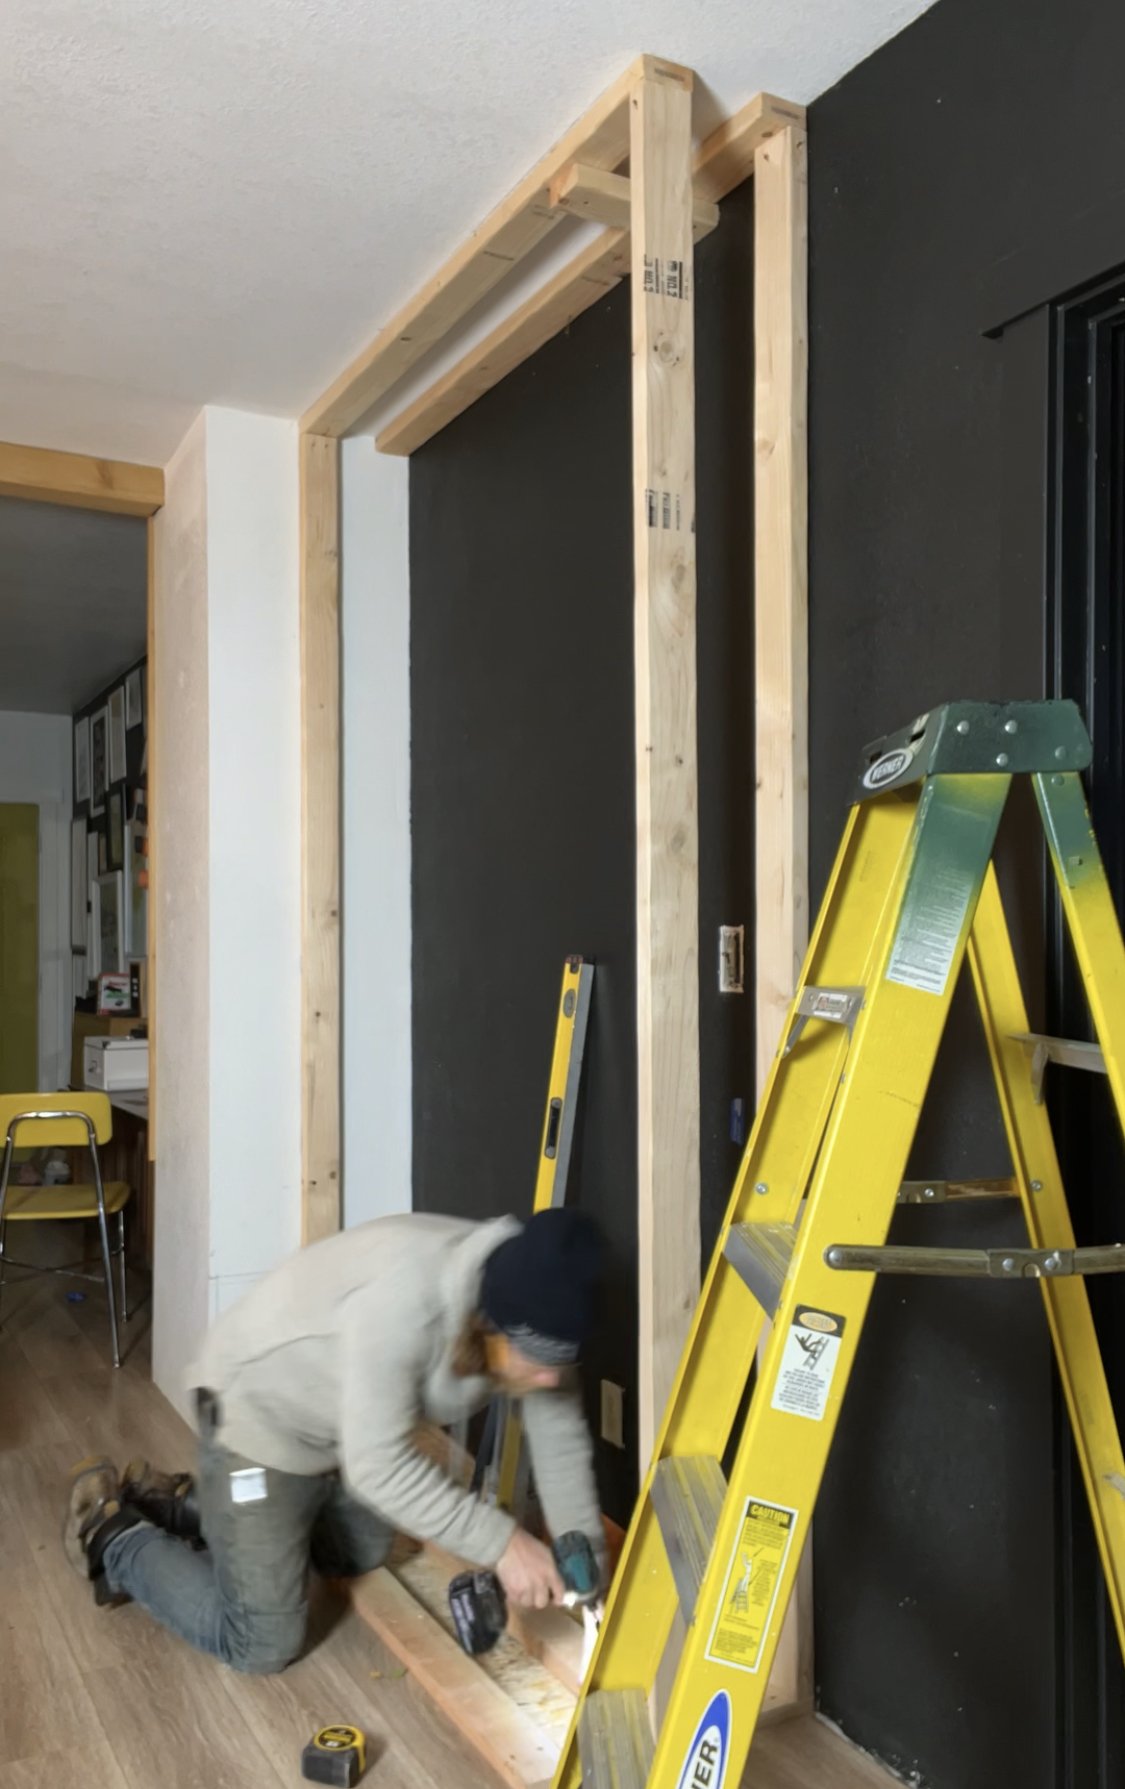
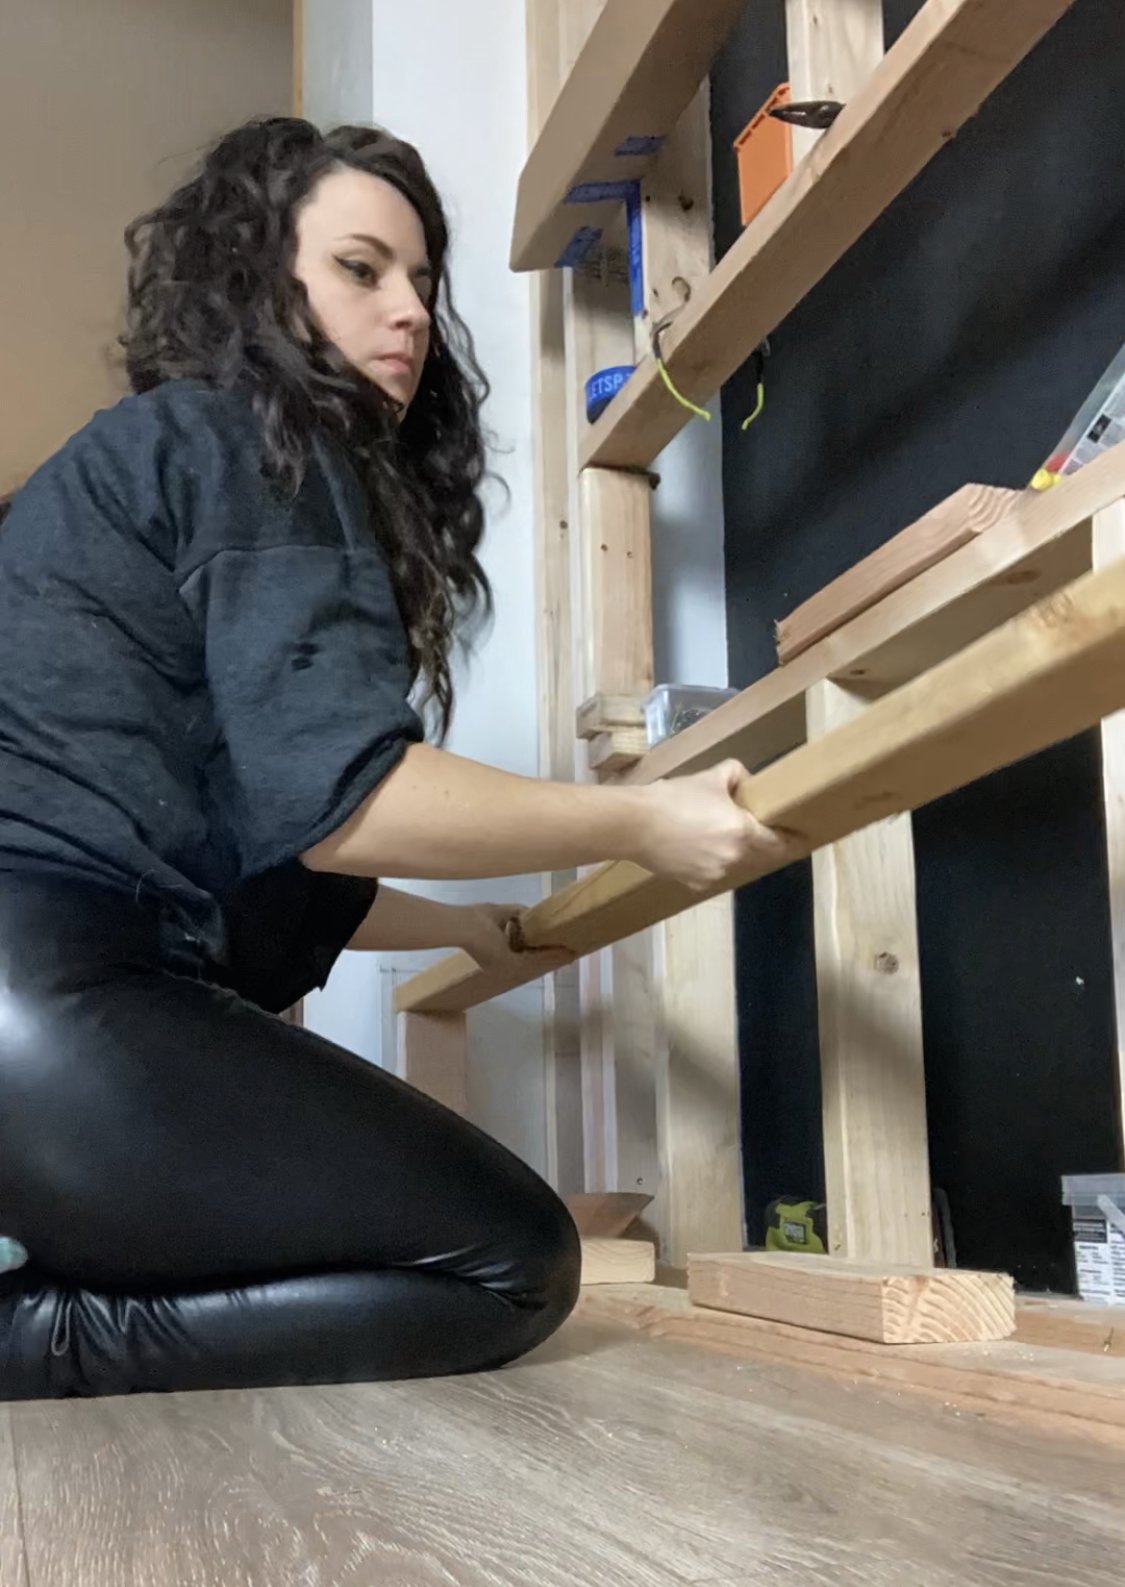
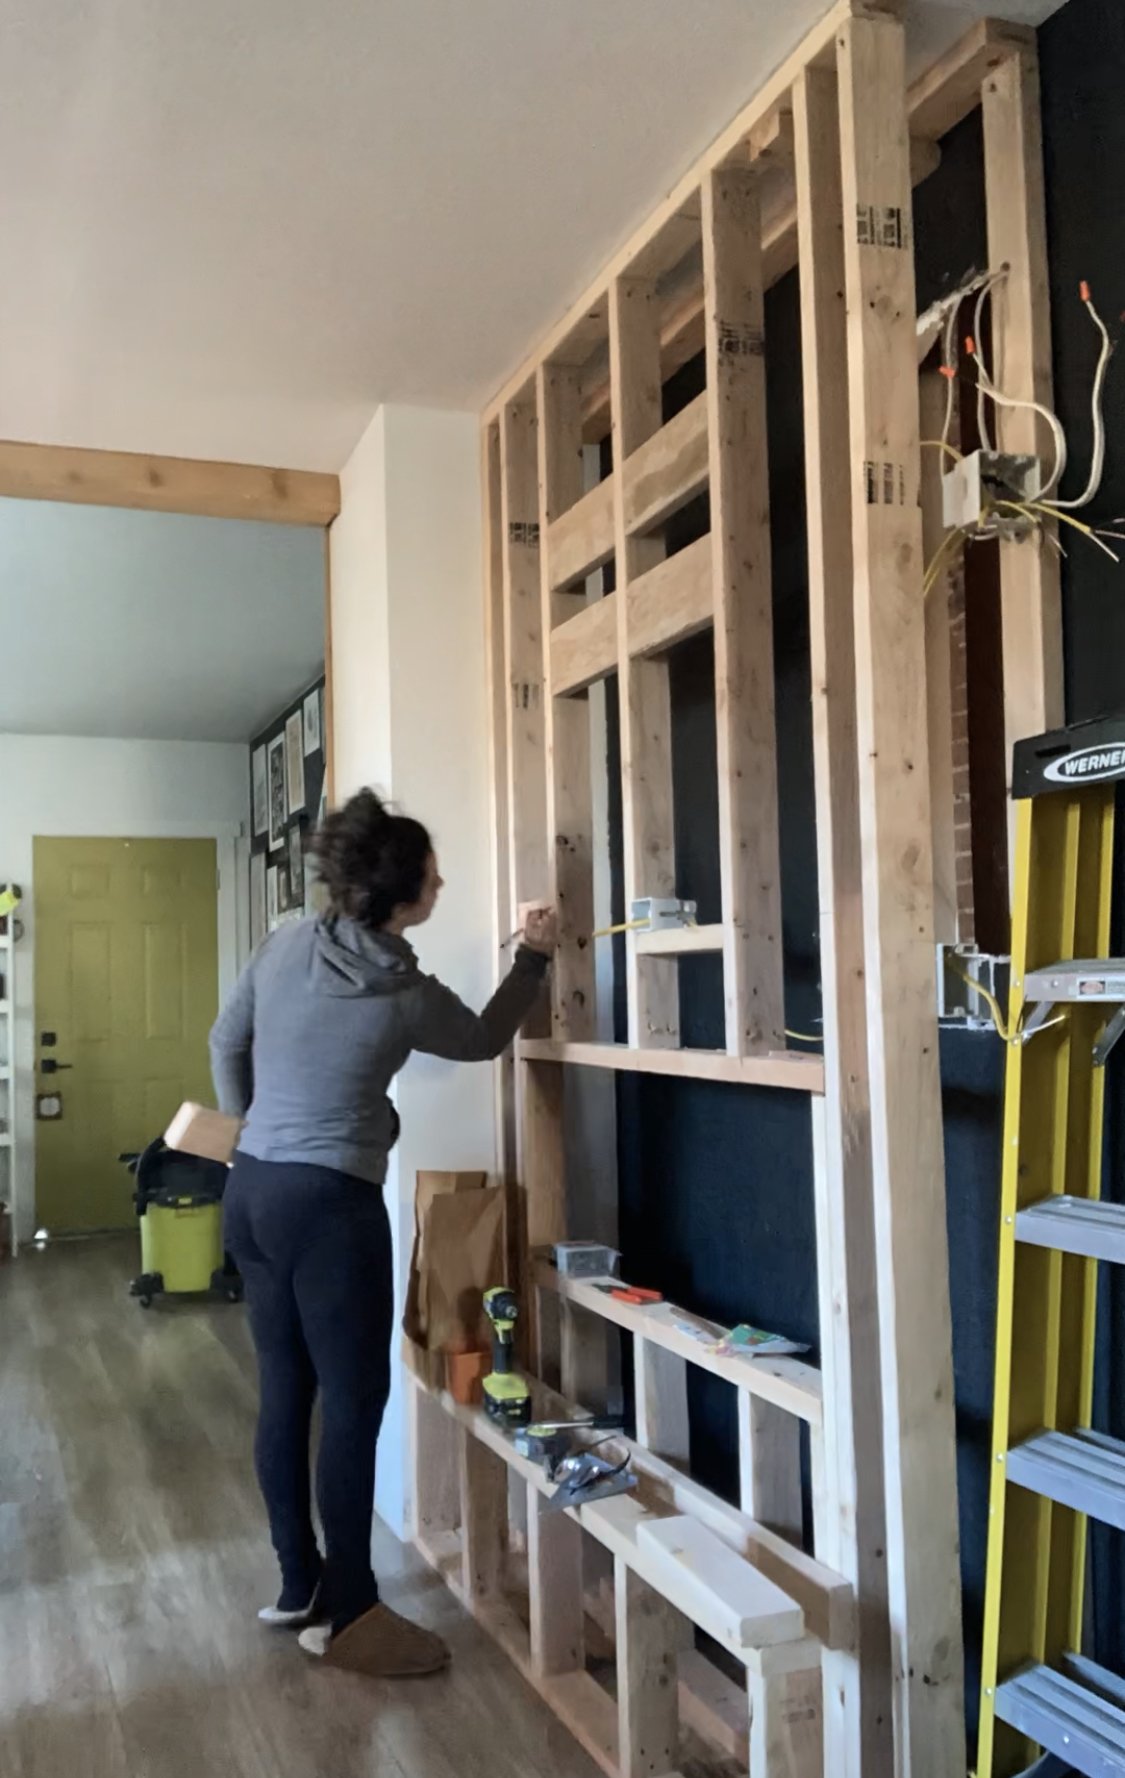
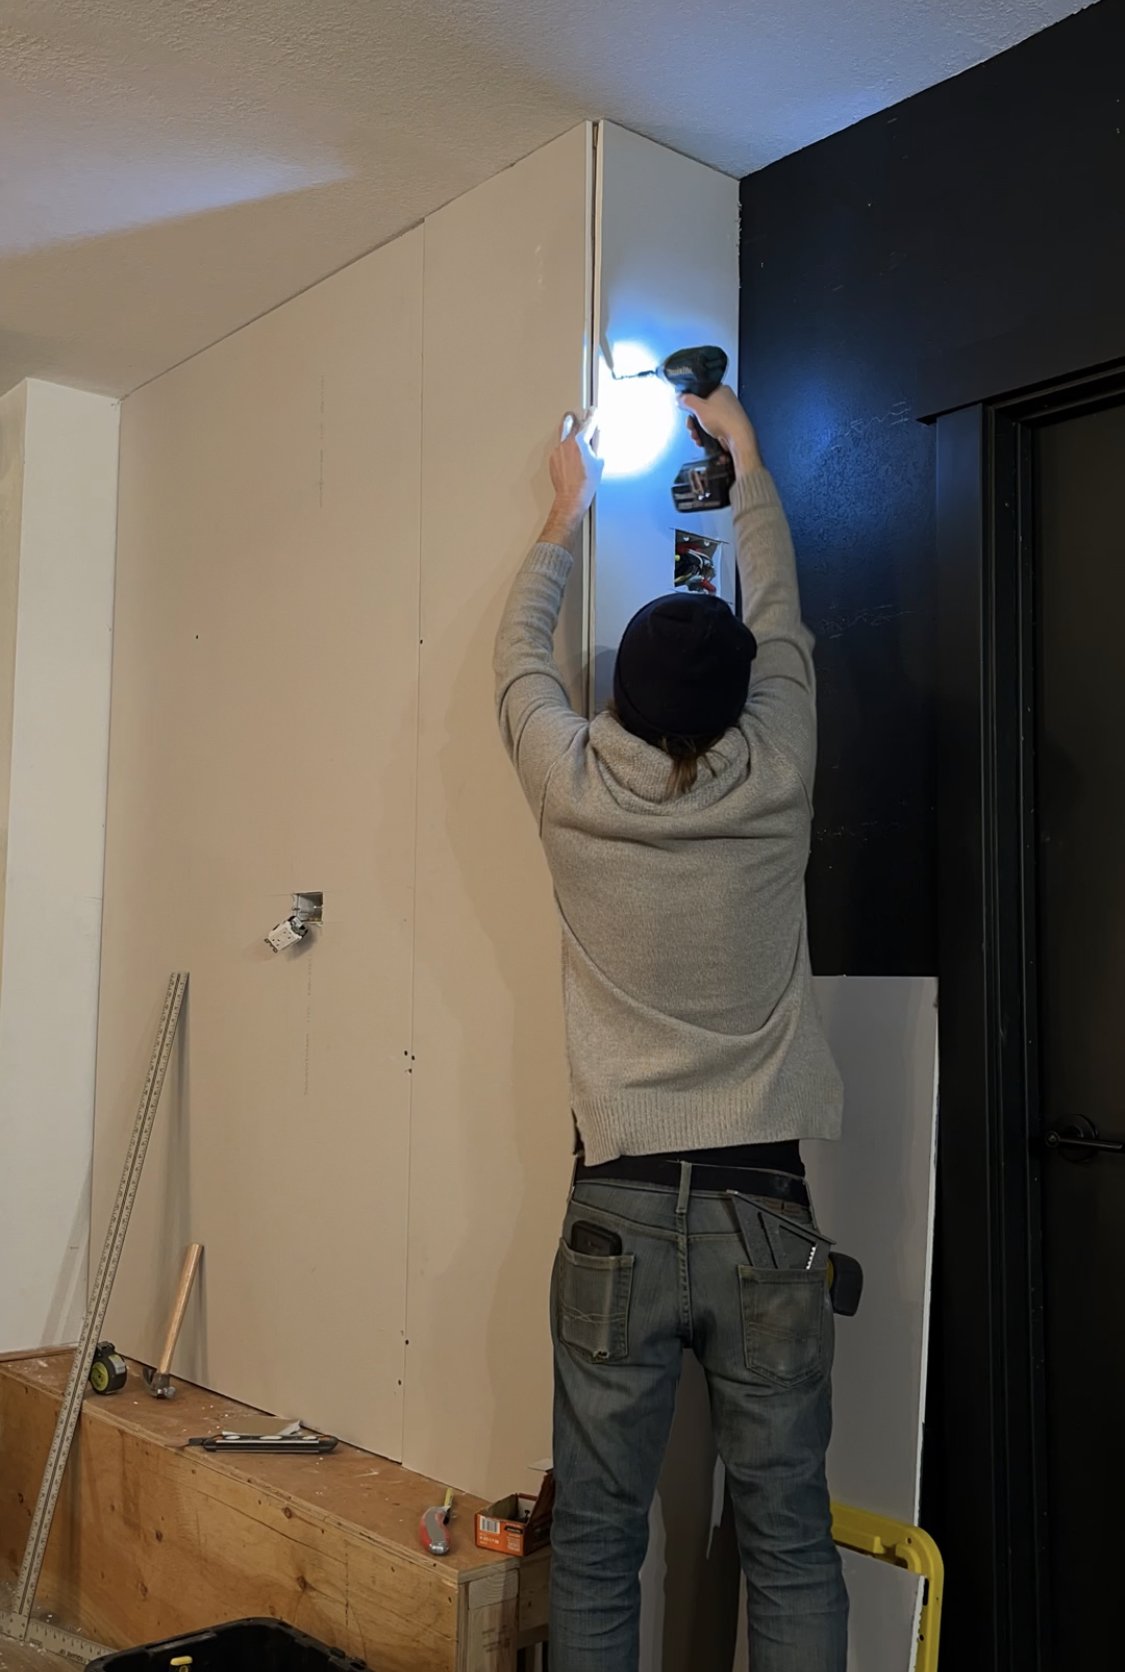
We started by cutting out the flooring where the fireplace was going. since it’s a floating floor, we wanted to remove it so we could attach the framing directly to the subfloor. With the floor out, we framed up the wall for the fireplace. It’s just a decorative wall, so it doesn’t need to be a load bearing wall. We had to move the light switch for the room because otherwise it was going to be behind the area we framed it, and we added an outlet for a TV (which for the time being will be hidden behind the mantel).
Once the framing was done, we did a test fit to make sure the fireplace unit fit and everything was correct, then we drywalled the whole thing in. I covered the raised hearth with plywood instead of drywall so it’s more durable for folks to sit on there.
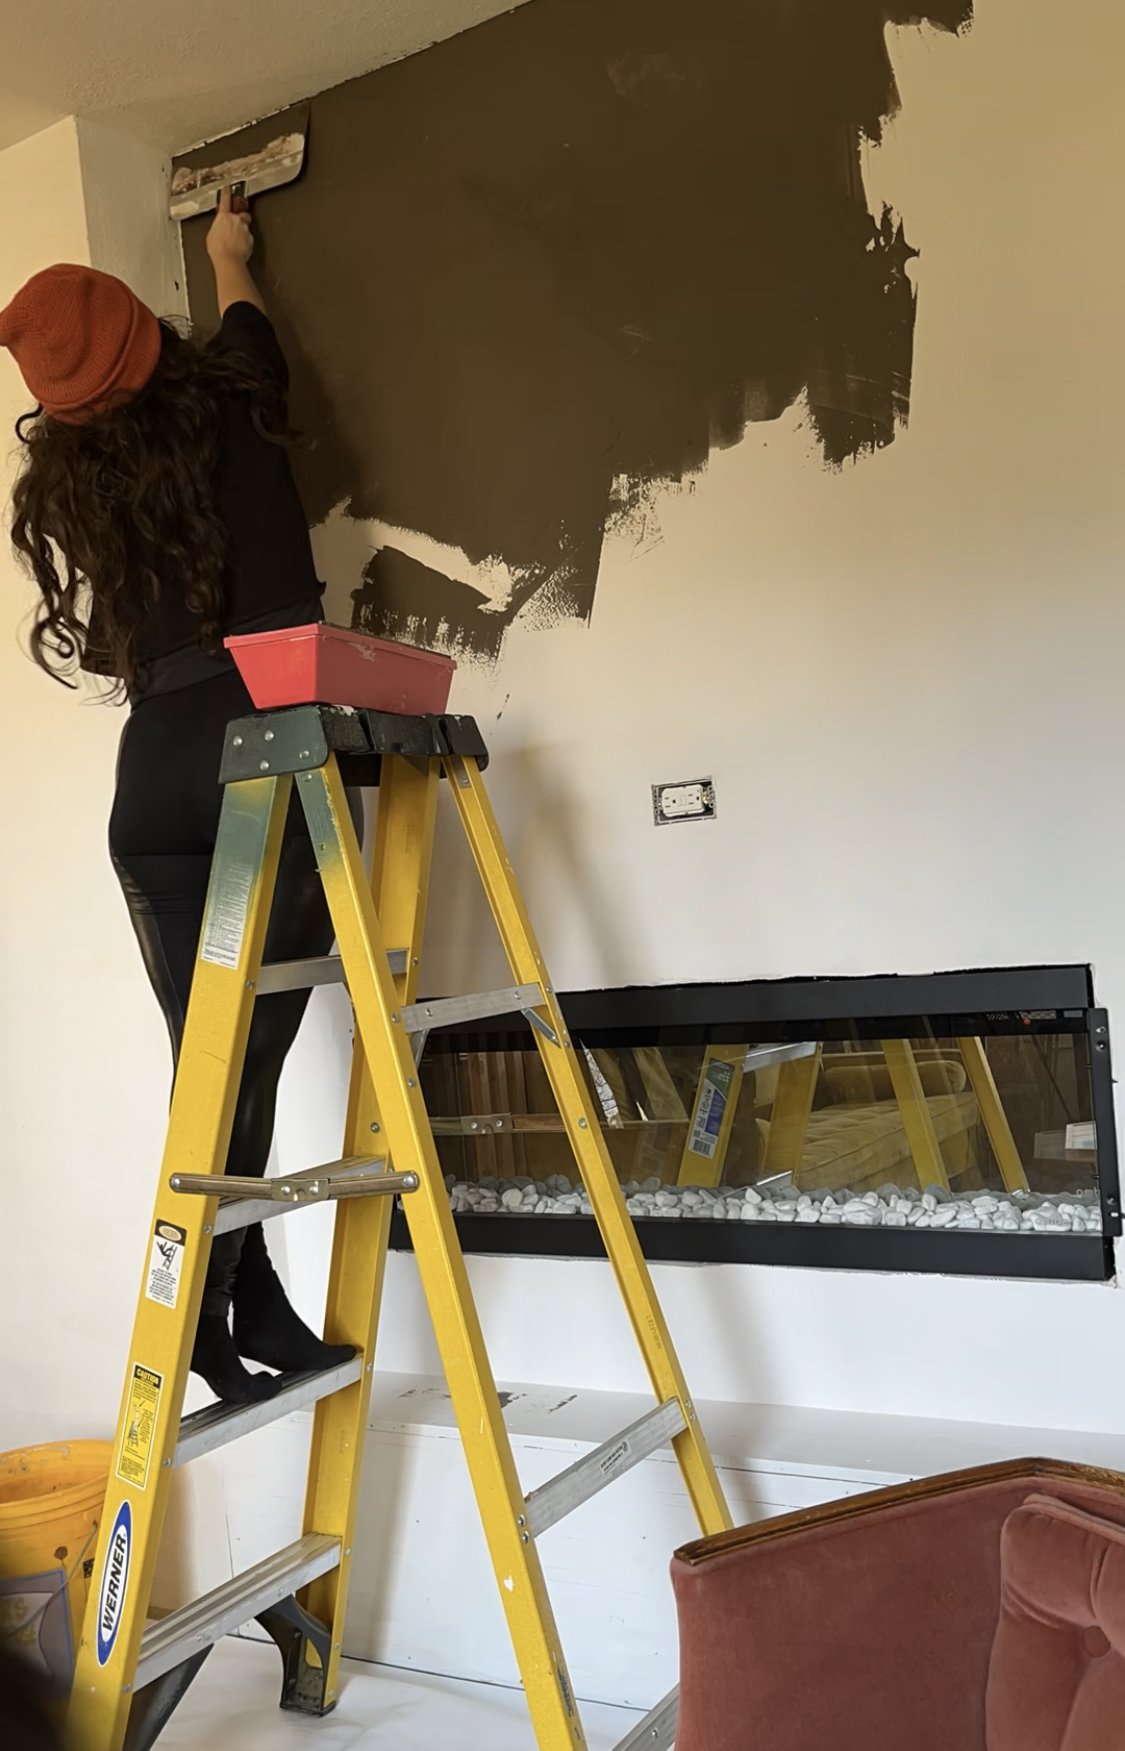
For the concrete finish, I used Henry Feather Finish and troweled it on. It took two coats and I sanded it down in between coats and at the end to make sure it was nice and smooth. Then the fireplace could go in for good!
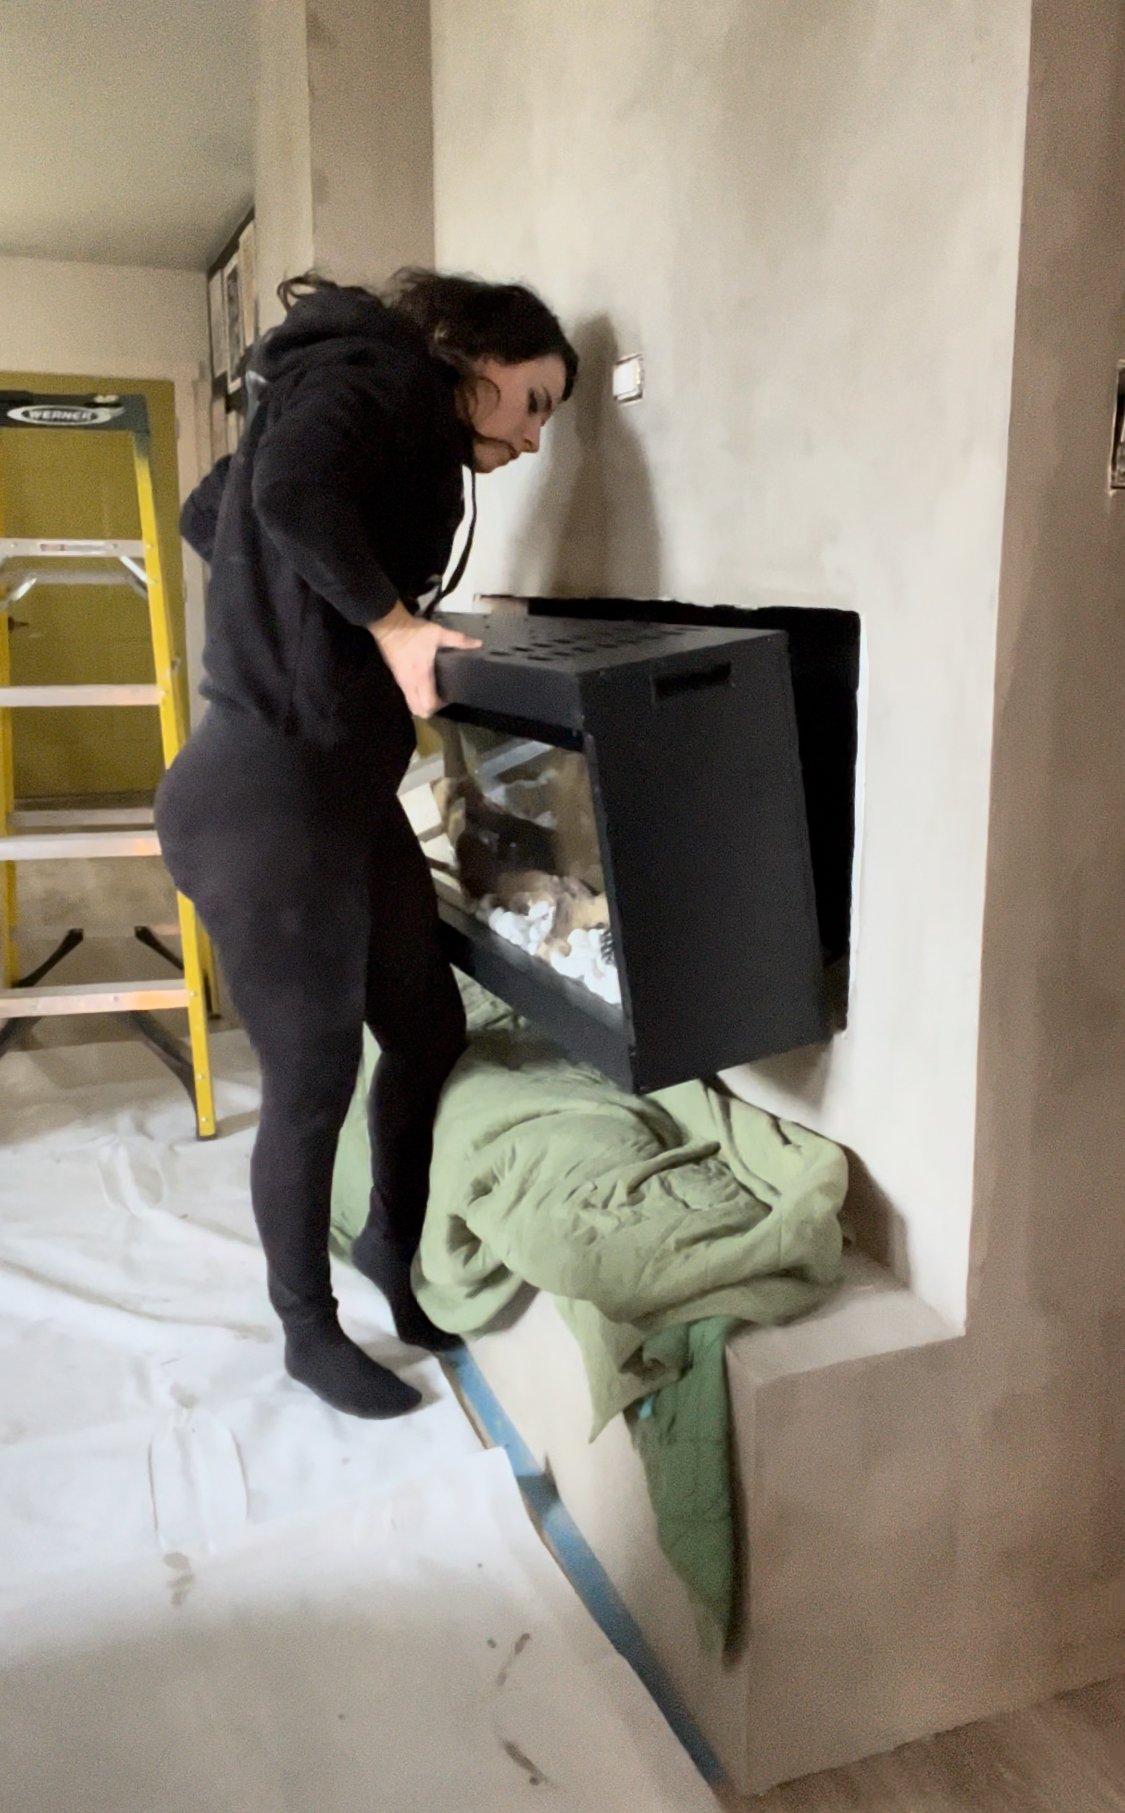
The fireplace comes with a variety of different stones to put in to customize the look of the faux embers, as well as some faux logs. I loved the white stones, so I used those as well as the logs for a really cozy look. Once those are in, you can put the front glass on and it’s ready to install.
Before sliding it in, plug it in (the cord is long enough to make this easy), then slide the fireplace in, making sure each side goes in at the same time. Then you can attach the face frame, and you can turn it right on!
You can customize the color of the flames, as well as an uplight and downlight, which illuminate the rocks. I love a really authentic look so I picked the orange flames and red embers, but they’re super easy to change up with the remote.
The fireplace has a heater which blows warm air out the top of the front, so it does heat your space, but I love being able to have just the “fire” on throughout the day for the ambiance! You can adjust the temperature of the heater, and on super chilly days it was a great supplement to keep the living room warm.
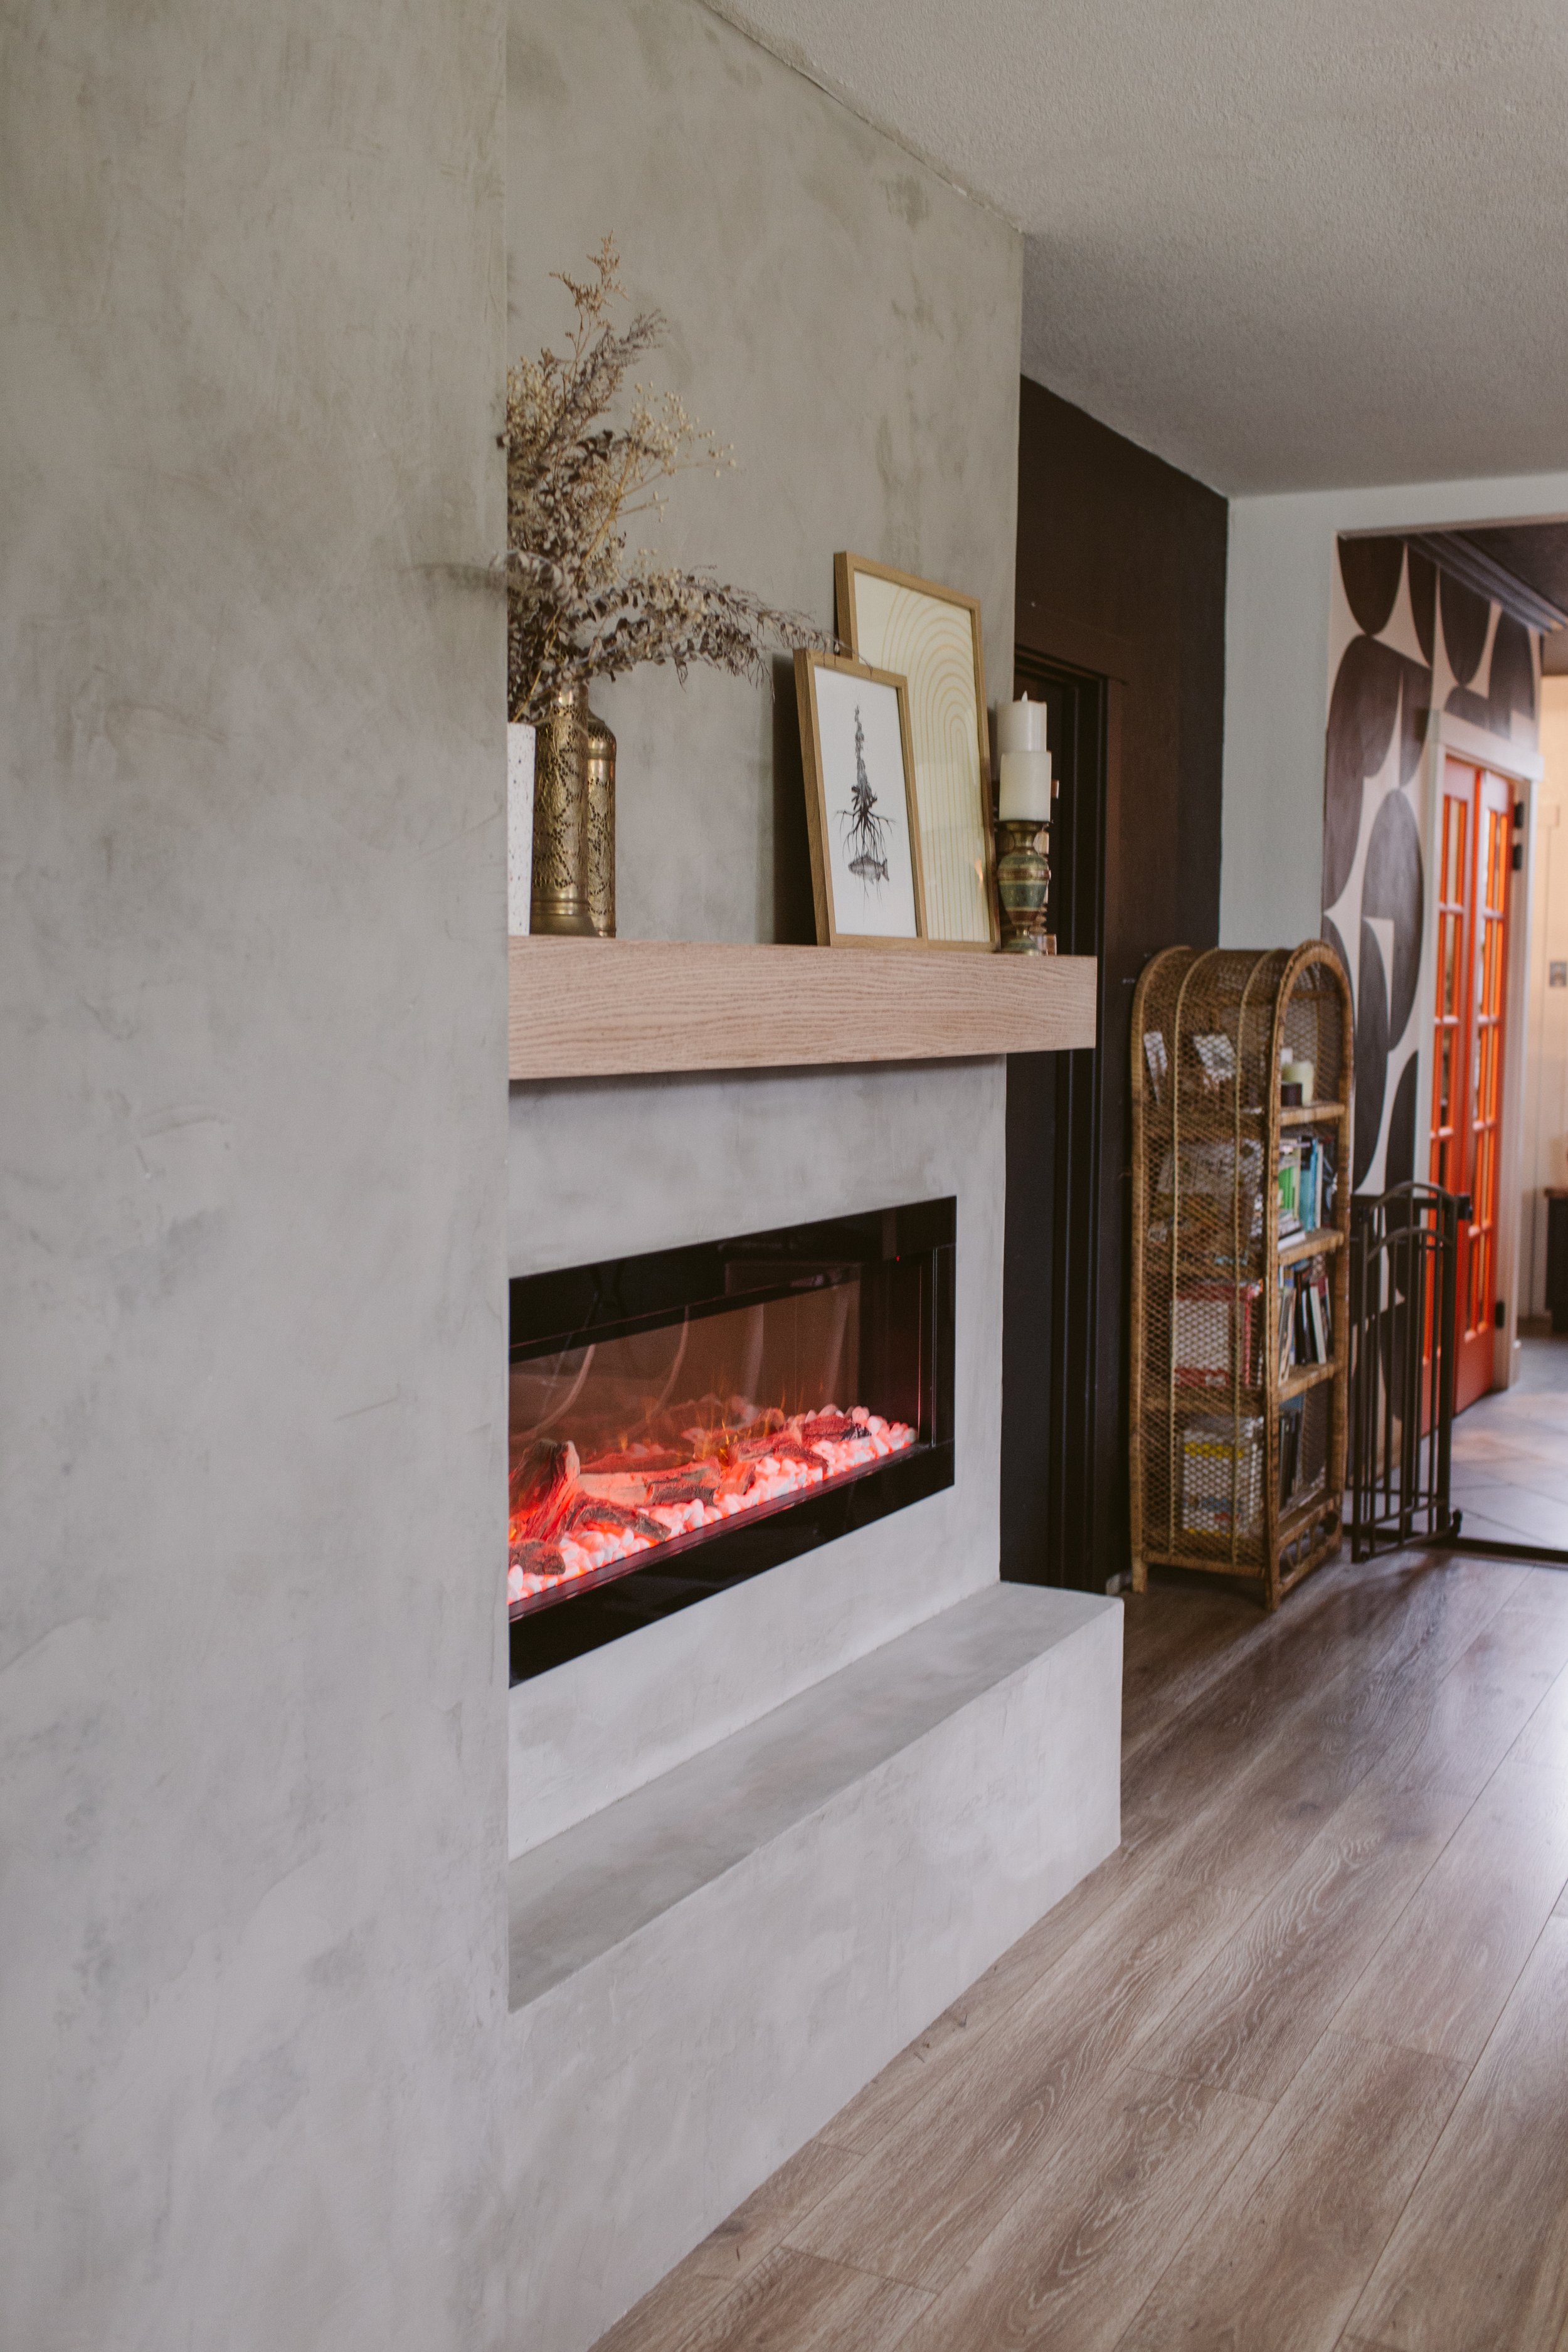
The coziness of a fireplace is so much easier to add to a space than I had previously thought. You could even use an Ambe Fireplace to build a temporary fireplace that’s removable if you’re a renter! Since all you need to do is frame up a box for the unit to go in, and a standard 120v outlet, it can just sit against the wall, without having to permanently attach it to the home.
A fireplace can add so much coziness and be the perfect way to add a focal point to your space. If I had the square footage, I would 100% add another fireplace to my bedroom too!

Hi, I’m Liz
I'm an artist, writer, designer, DIY renovator, and … well basically I like to do all the things. If it’s creative I’m probably doing it. I’ve spent over 30 years voraciously pursuing a life steeped in creativity and I wholeheartedly believe creativity and joy are inextricably linked.
Read more…


Explore The Archive
- July 2025
- May 2025
- January 2025
- December 2024
- August 2024
- July 2024
- May 2024
- April 2024
- January 2024
- December 2023
- October 2023
- September 2023
- July 2023
- June 2023
- May 2023
- April 2023
- March 2023
- February 2023
- January 2023
- December 2022
- November 2022
- October 2022
- August 2022
- June 2022
- May 2022
- April 2022
- March 2022
- November 2021
- October 2021
- August 2021
- July 2021
- May 2021
- January 2021
- November 2020
- October 2020
- September 2020
- August 2020
- July 2020
- June 2020
- May 2020
- April 2020
- February 2020
- January 2020
- November 2019
- October 2019
- August 2019
- July 2019
- June 2019
- May 2019
- April 2019
- February 2019
- January 2019
- December 2018
- November 2018
- October 2018
- September 2018
- August 2018
- July 2018
- June 2018
- May 2018
- April 2018
- February 2018
- January 2018
- November 2017
- September 2017
- August 2017
- July 2017
- June 2017
- May 2017
- April 2017
- March 2017
- February 2017
- January 2017
- December 2016
- November 2016
- October 2016
- September 2016
- August 2016
- June 2016
- May 2016
- April 2016
- March 2016
- February 2016
- January 2016
- December 2015
- November 2015
- October 2015
- September 2015
- August 2015
- July 2015
- June 2015
- May 2015
- April 2015
- March 2015
- February 2015
- January 2015
- December 2014
- November 2014
- October 2014
- September 2014
- August 2014
- July 2014
- June 2014
- May 2014
- April 2014
- March 2014
- February 2014
- January 2014
- December 2013
- November 2013
- October 2013
- September 2013
- August 2013
- July 2013
- June 2013
- May 2013
- April 2013
- March 2013
- February 2013
- January 2013
- December 2012
- November 2012
- October 2012
- September 2012
- August 2012
- July 2012
- June 2012
- May 2012
- April 2012
- March 2012
- February 2012
- January 2012
- December 2011
- November 2011
- October 2011
- September 2011
- August 2011
- July 2011
- June 2011
- May 2011
- April 2011
- March 2011
- February 2011
- January 2011
- December 2010
- November 2010
- October 2010
- September 2010
- August 2010
- July 2010
- June 2010
- May 2010
- April 2010
- March 2010
- February 2010
- January 2010
- December 2009
- November 2009
- October 2009
- September 2009
- August 2009
- July 2009
- June 2009
- May 2009
- April 2009
- March 2009
- February 2009
- January 2009
- December 2008
- November 2008
- October 2008
- September 2008
- August 2008
- July 2008

VISIT THE SHOP


PRIVACY POLICY & DISCLOSURE
We are a participant in the Amazon Services LLC Associates Program, an affiliate advertising program designed to provide a means for us to earn fees by linking to Amazon.com and affiliated sites.