
labor days


cheesecake with huckleberry sauce
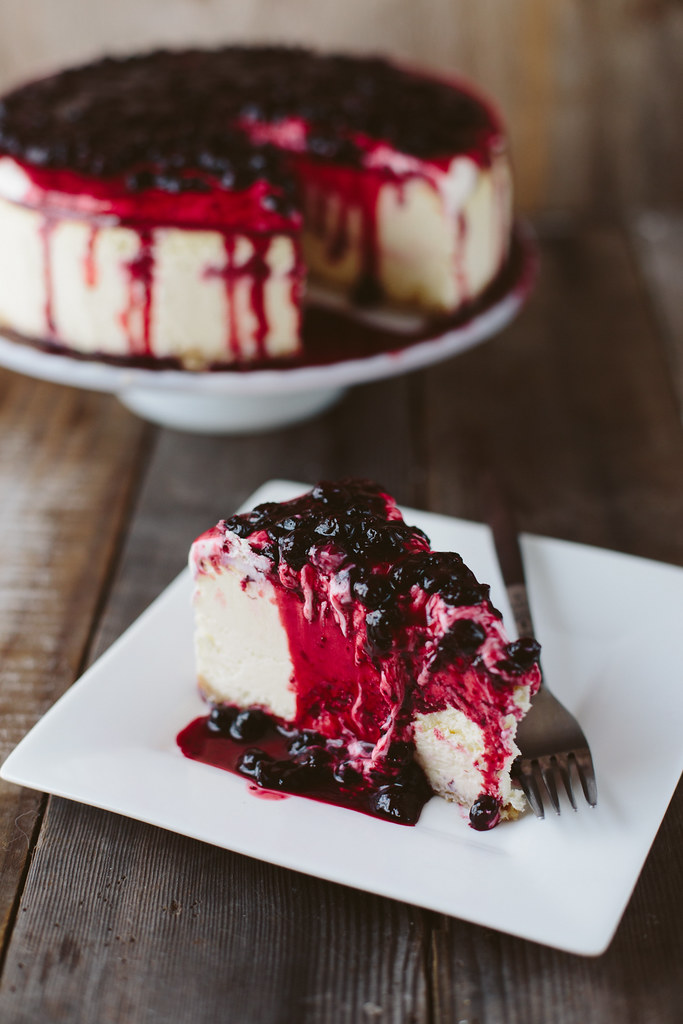


(recipe via simplyrecipes)
Crust
2 cups Graham cracker crumbs
2 tbsp sugar
Pinch salt
5 Tbsp unsalted butter, melted
Filling
2 lbs (4- 8oz packages) cream cheese, room temperature
1 1/3 cup granulated sugar
Pinch of salt
2 teaspoons vanilla
4 large eggs
2/3 cup sour cream
2/3 cup heavy whipping cream
1. The first step is to prepare your springform pan so that no water leaks into it while cooking. Take a large 18 by 18-inch piece of aluminum foil (don't try to get away with the smaller width of foil, it won't be big enough to go high enough on the sides of the springform pan and you'll end up with soggy crust), place the springform pan in the middle of the foil and fold up the sides of the foil around the pan making sure that you don't create any holes in the foil (again, water=soggy, ruined crust). Press the foil around the edges of the pan and repeat with a second 18x18 inch square of foil. Press the top of the foil sheets around the top edge of the pan to secure.
If you want to easily remove the cheesecake from the bottom of the springform pan, before you put the foil on the sides, cut a slice of parchment paper a little larger than the size of the bottom of the pan. With the sides off, place the parchment paper over the bottom of the pan and then secure the sides of the pan, so that the paper sticks out the bottom a bit.
2. Preheat oven to 350°F, with rack in lower third of oven. To make the crust, pulse the graham crackers in a food processor or blender until finely ground. Put in a large bowl, and stir in the sugar and salt, then stir in the melted butter.
3. Pour the graham cracker crumb mixture in the bottom of the springform pan. Using your hands, press down on the crumbs to form a nice even layer at the bottom of the pan (but be careful not to make any holes in the aluminum foil wrap). Place in the oven for 10 minutes, then remove and let cool. Reduce the oven temperature to 325°F.
4. Cut the cream cheese into chunks and place in the bowl of an electric mixer, with the paddle attachment (or grab a spoon and give your arm muscles a go). Mix on medium speed for 4 minutes until smooth, soft and creamy. Add the sugar, beat for 4 minutes more. Add the salt and vanilla, beating after each addition. Add the eggs, one at a time, beating for one minute after each addition. Add the sour cream, beat until incorporated. Add the heavy cream, beat until incorporated. Remember to scrape down the sides of the mixer bowl, and scrape up any thicker bits of cream cheese that have stuck to the bottom that the mixer has failed to incorporate.

5. Place the foil-wrapped springform pan in a large, high-sided roasting pan. I didn't have one so I just went to Safeway and grabbed one of those big, aluminum turkey pans in the baking aisle and it worked great and was cheap. Boil 2 quarts of water. Pour the cream cheese filling into the springform pan, over the graham cracker bottom layer and smooth the top with a spatula. Place the roasting pan with the springform pan in it, in the oven, on the lower rack, then carefully pour the hot water into the roasting pan, to create a water bath for the cheesecake, pouring until the water reaches halfway up the side of the springform pan. Cook at 325°F for 1 1/2 hours.
6. Turn off the heat of the oven. Crack open the oven door 1-inch, and let the cake cool in the oven, as the oven cools, for another hour. This slow cooling will help prevent the cheesecake surface from cracking.
7. Remove the cheesecake from the oven and water bath and tent the top of the cheesecake with foil, making sure it doesn't touch the top of the cheesecake. Chill in the refrigerator for at least 4 hours, or overnight.
Before serving, prepare the toppings for the cheesecake! The options are kind of endless, but since I have tons of huckleberries in my fridge right now, a huckleberry cheesecake sounded perfect.
Cream Topping
2 cups sour cream
1/3 cup powdered sugar
1 teaspoon vanilla
Place sour cream in a medium sized bowl, stir in the powdered sugar and vanilla, until smooth. Chill until you are ready to serve the cake.
Huckleberry Sauce
recipe via foodnetwork
2 cups huckleberries
1/3 cup granulated sugar
2 tablespoons lemon juice
2 tablespoons cornstarch
1 1/2 teaspoons water
In a saucepan over medium heat, add huckleberries, granulated sugar and lemon juice. Bring to a boil reduce heat and simmer for 5 to 8 minutes.
In a small bowl, combine the cornstarch and water. Slowly stir into the huckleberry sauce and heat until thoroughly combined and thickened.
To Serve:
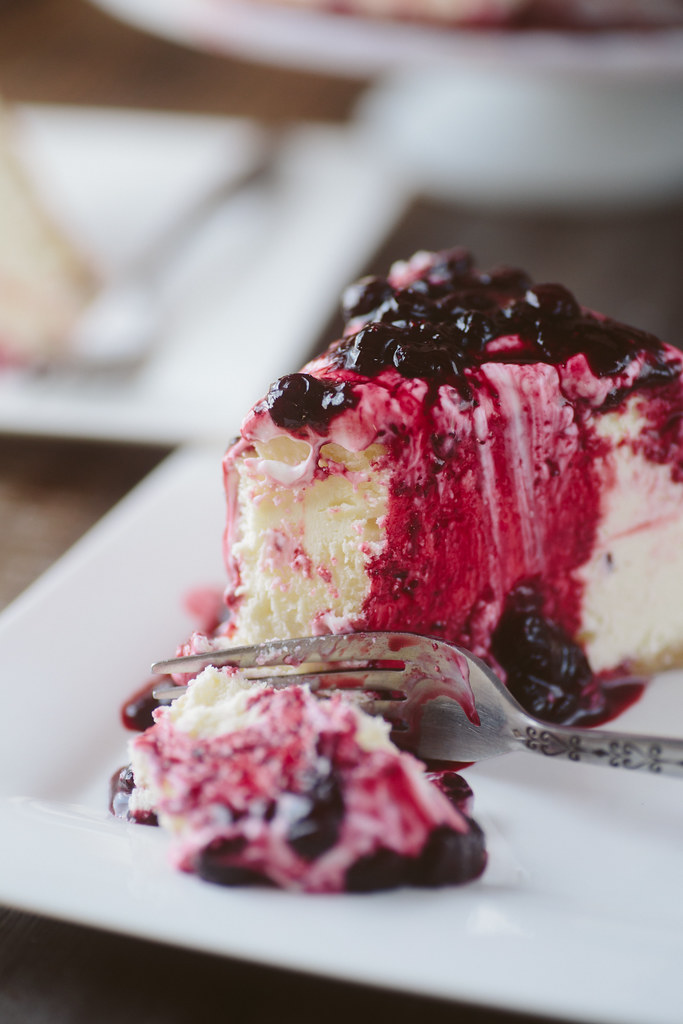
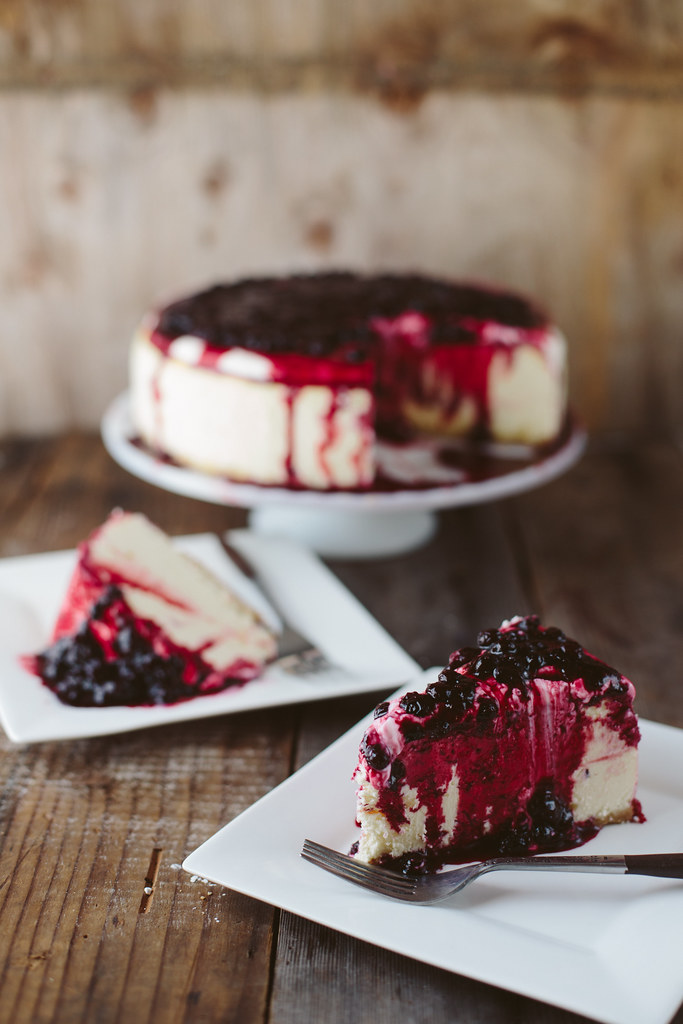
Remove the cake from the refrigerator and remove the foil from the sides of the pan. If you put parchment paper over the bottom of the pan, you should be able to easily slide the cake off the pan's bottom and onto whatever serving plate you'd like. Run a butter knife between the edge of the cake and the pan. Open the springform latch and slowly open the pan and remove the sides. Spread the top with the cream topping and drizzle with Huckleberry sauce. You should have enough Cream and Huckleberry topping to add to slices, too, for extra decadence!
If you don't finish the whole cake, it freezes well so you can save it for later. Or eat it for breakfast all week... I definitely didn't do that at all. Nope.

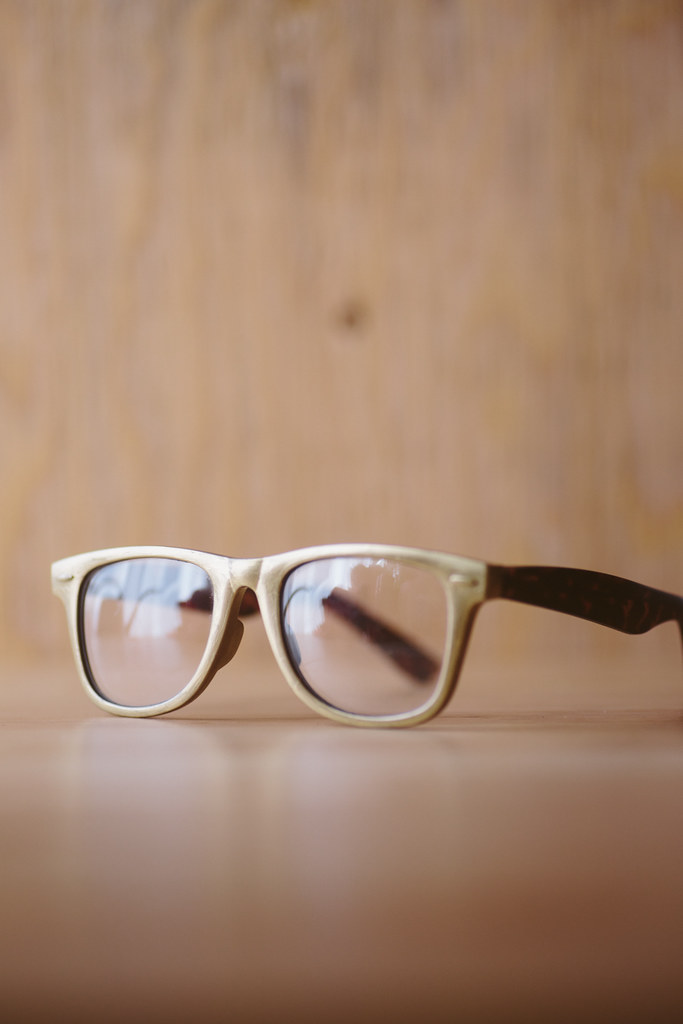
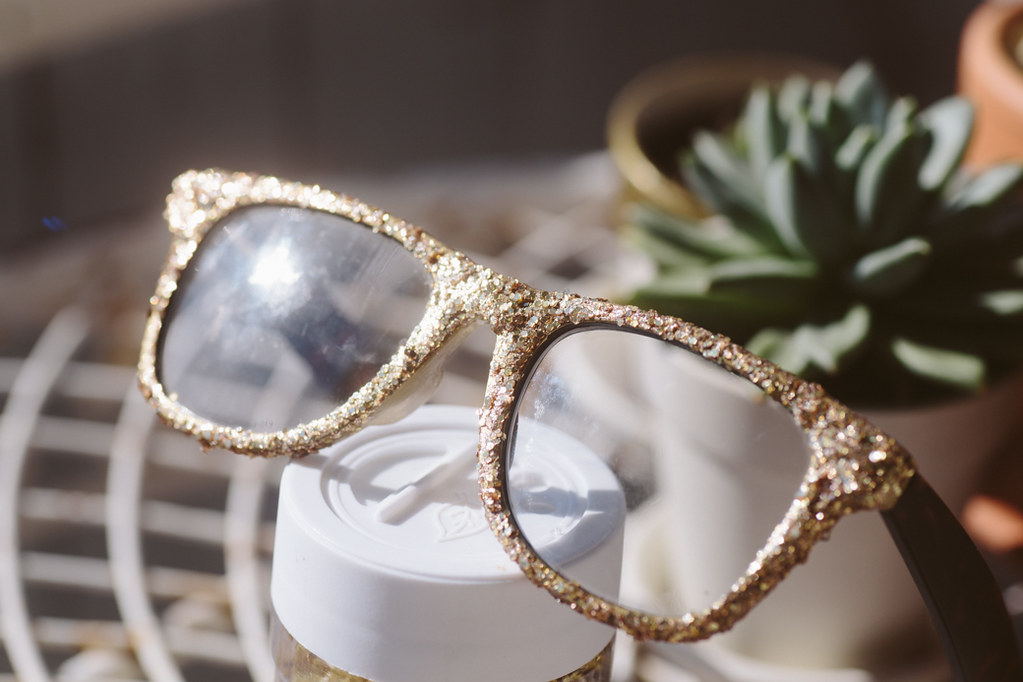
diy gold glitter glasses


ometimes you find a pair of old glasses you never wear and decide they'd be way cooler as gold glitter glasses. And you happen to have gold glitter, gold glitter paint, and gold marker. A few hours later... voila! I mean, come on. What could be more fun than glitter glasses? Well, besides pairing glitter glasses and a super colorful
, that is. Sure they might not be practical for daily wear, but who cares? A pink and purple wig isn't totally practical for daily wear either, but it's hella fun. That's right, I just brought back "hella." Deal with it.
Sure, you might not "need" a pair of glitter glasses, but it's a pretty quick and easy DIY that you can do in an afternoon and they'd be really fun for a photo shoot or photo booth. If you don't have some spare glasses already, you can find some non-prescription glasses at Target, and thrift stores usually have quite an assortment of glasses as well. This would also be an awesome DIY for a pair of sunglasses!


Materials:
Glasses
or nail polish
Glitter Paint
Glitter
1. Paint a base of gold, either with a gold nail polish or gold marker (or whatever color you want the base to be, depending on the color of glitter you're using). Allow the base coat to dry completely, at least 30 minutes. I only did the front portion of the glasses, not the sides, but if you want to do the whole glasses, go for it. I'd recommend not doing the inside, though, since you won't see that when you're wearing it and it'd probably be scratchy.
2. Squirt out a glob of the glitter paint and shake some loose glitter into the glob and mix with a paintbrush. Paint the glitter on as thick as you'd like. I tried to cover the gold base as much as possible without it looking super globby. Again, allow to dry completely. I'd give it at least an hour. Don't paint the glitter on the inside of the nose rest as it'd be super scratchy and uncomfortable to wear. I just left that part with the gold base coat, sans glitter.

3. To really seal everything, paint a layer of nail polish clear coat over the whole glitter and gold layer. This will keep the glitter from flaking off and keep the gold base coat from rubbing off onto your skin. Make sure it's completely dry before wearing! I let mine sit overnight to make sure they were ready to wear.


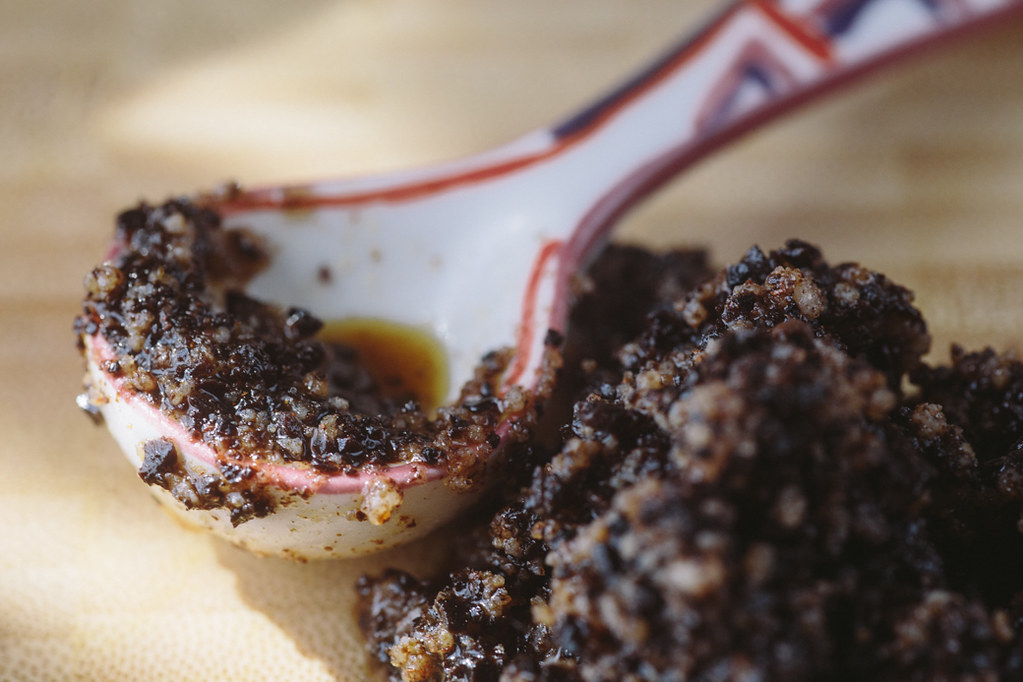
coffee honey sugar scrub


e're coffee drinkers in my house, which means we end up with a lot of used coffee grounds. I've been using a lavender coconut sugar scrub lately, but it's running low, so I thought I'd make one up using my excess coffee grounds! A lot of people claim that coffee scrubs will reduce or eliminate cellulite, but I'm inclined to call bullshit on that. Maybe, just
maybe
, it
slightly
reduces the appearance of cellulite, but I have no reason to believe that it does. Also, for my thoughts on people who think we all need to remove every dimple of cellulite from it's existence on our bodies, just read
, because Amy pretty much summed it up. But I digress. I like coffee. I like the smell of coffee. Hence, I thought a coffee scrub sounded like a lovely and invigorating addition to my showers.
Even if coffee won't magically banish your dimply (glorious) thighs, it is awesome in other ways!
Coffee (obviously) contains caffeine which has anti-inflammatory properties that can help to heal skin and is also has lots of powerful antioxidants. The abrasive texture of the coffee grounds and sugar sloughs off dead skin cells and gives your skin a fresh, radiant glow. The coconut oil in this recipe is all kinds of awesome. It has anti-bacterial, anti-microbial, anti-septic qualities, and can also soothe skin irritations and aid the healing process. Adding essential oils is optional, but I wanted to throw some Tea Tree oil in mine because tea tree oil is pretty crazy awesome. It's known for its antiseptic, anti-fungal, and infection-reducing benefits, has antibiotic properties
and
can help aid against ailments such as skin infections, rashes, burns, dandruff, the list goes on. Seemed like an obvious choice to put in a skin scrub. Lavender is also a great essential oil to use on the skin, but I was skeptical of how lavender and coffee would smell together. But, hey! I didn't try so maybe they'd be great!
Ingredients:
1 c coffee grounds
1 c sugar (for a more coarse scrub, use raw sugar)
1/2 c coconut oil
1 tbsp cinnamon
1 tsp nutmeg
2 tbsp raw honey
10-15 drops essential oil (optional, I used
)
Combine all ingredients and mix thoroughly. Scrub on to the skin in the shower and then rinse If you're worried about your shower drain clogging, cover it with a coffee filter to catch the grounds. Store in an airtight container, like a mason jar, and keep in a cool, dry place. Makes about 16oz of scrub.


spectacle to behold


Hi, I’m Liz
I'm an artist, writer, designer, DIY renovator, and … well basically I like to do all the things. If it’s creative I’m probably doing it. I’ve spent over 30 years voraciously pursuing a life steeped in creativity and I wholeheartedly believe creativity and joy are inextricably linked.
Read more…


Explore The Archive
- January 2026
- July 2025
- May 2025
- January 2025
- December 2024
- August 2024
- July 2024
- May 2024
- April 2024
- January 2024
- December 2023
- October 2023
- September 2023
- July 2023
- June 2023
- May 2023
- April 2023
- March 2023
- February 2023
- January 2023
- December 2022
- November 2022
- October 2022
- August 2022
- June 2022
- May 2022
- April 2022
- March 2022
- November 2021
- October 2021
- August 2021
- July 2021
- May 2021
- January 2021
- November 2020
- October 2020
- September 2020
- August 2020
- July 2020
- June 2020
- May 2020
- April 2020
- February 2020
- January 2020
- November 2019
- October 2019
- August 2019
- July 2019
- June 2019
- May 2019
- April 2019
- February 2019
- January 2019
- December 2018
- November 2018
- October 2018
- September 2018
- August 2018
- July 2018
- June 2018
- May 2018
- April 2018
- February 2018
- January 2018
- November 2017
- September 2017
- August 2017
- July 2017
- June 2017
- May 2017
- April 2017
- March 2017
- February 2017
- January 2017
- December 2016
- November 2016
- October 2016
- September 2016
- August 2016
- June 2016
- May 2016
- April 2016
- March 2016
- February 2016
- January 2016
- December 2015
- November 2015
- October 2015
- September 2015
- August 2015
- July 2015
- June 2015
- May 2015
- April 2015
- March 2015
- February 2015
- January 2015
- December 2014
- November 2014
- October 2014
- September 2014
- August 2014
- July 2014
- June 2014
- May 2014
- April 2014
- March 2014
- February 2014
- January 2014
- December 2013
- November 2013
- October 2013
- September 2013
- August 2013
- July 2013
- June 2013
- May 2013
- April 2013
- March 2013
- February 2013
- January 2013
- December 2012
- November 2012
- October 2012
- September 2012
- August 2012
- July 2012
- June 2012
- May 2012
- April 2012
- March 2012
- February 2012
- January 2012
- December 2011
- November 2011
- October 2011
- September 2011
- August 2011
- July 2011
- June 2011
- May 2011
- April 2011
- March 2011
- February 2011
- January 2011
- December 2010
- November 2010
- October 2010
- September 2010
- August 2010
- July 2010
- June 2010
- May 2010
- April 2010
- March 2010
- February 2010
- January 2010
- December 2009
- November 2009
- October 2009
- September 2009
- August 2009
- July 2009
- June 2009
- May 2009
- April 2009
- March 2009
- February 2009
- January 2009
- December 2008
- November 2008
- October 2008
- September 2008
- August 2008
- July 2008

VISIT THE SHOP


PRIVACY POLICY & DISCLOSURE
We are a participant in the Amazon Services LLC Associates Program, an affiliate advertising program designed to provide a means for us to earn fees by linking to Amazon.com and affiliated sites.