
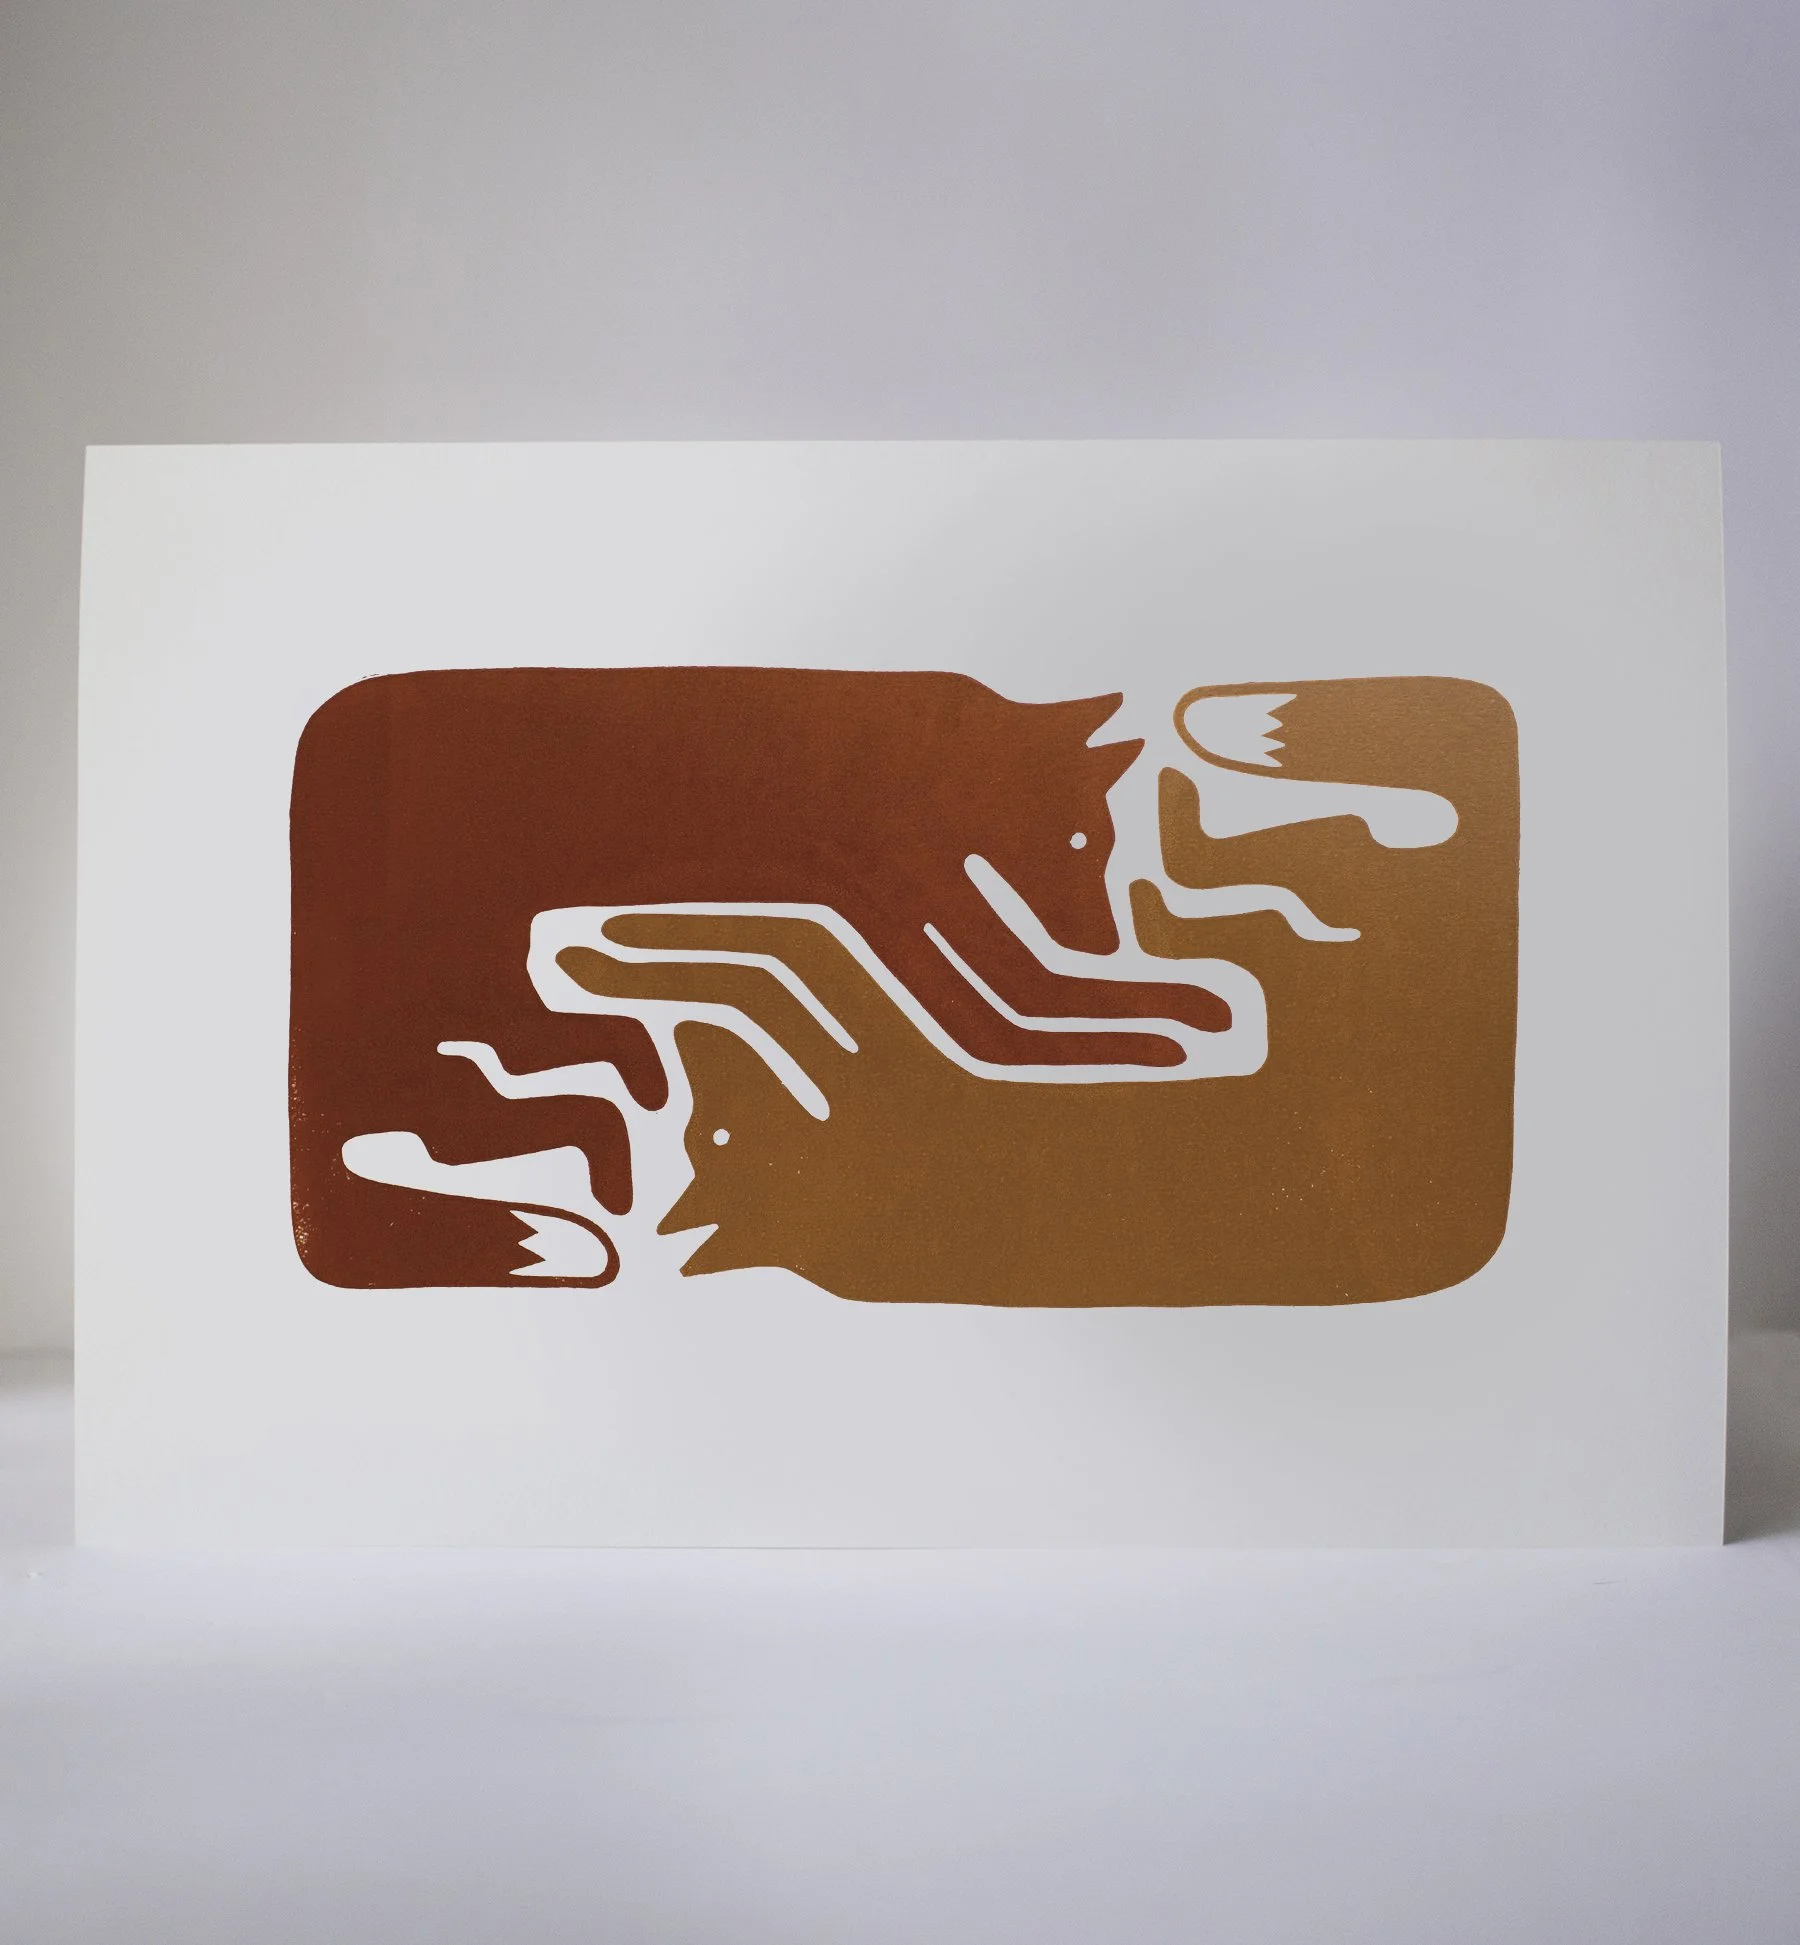
New T-Shirts! Rep the DIY life!

In an effort to not turn my entire wardrobe into paint splattered, sawdust encrusted DIYing clothes, I decided to make some cute (and, okay, a little kitschy) DIYing shirts for me and you! If you need a little somethin to throw on for your weekly— or if you’re like me, daily— Home Depot run, this is it right here.
Scroll down to check out all the new designs!


Elevating interiors using the senses
Thank you WoodWick Candles for sponsoring this post.
Finding inspiration for the design of a space is all about creating a mood.
Taking your design to the next level means creating a space that makes you feel a certain way when you enter that space, not just putting together pretty things. It's that design je ne sais quoi, you know?
Including WoodWick Candles in my home has elevated the spaces I've worked hard to build and style, it's like the cherry on top of all the other design elements. I love the scents, but also the soothing crackle of the wooden wick. It's such a lovely added ambiance that helps my house feel like a home.
Something that I like to think about when I'm designing is focusing on the senses. How does the space look, yes, but also: how does is sound? How does it smell? What do the materials feel like when I touch them? What quality of light is there?
When you design from that perspective it informs how you choose your materials, your finishes, your styling. You don't put fluorescent lighting in a cozy bedroom. You don't buy a firm couch for a room where you're going to curl up and read a book for a couple hours.
One of the things that helps me create a solid vision for a space’s design, whether I’m doing a remodel or simply the decor, is creating a mood board. You can do this digitally, or IRL by gathering swatches and elements of your design. This way you can see how all the different elements interact with one another before you commit to them. How does that tile look against the cabinet finish? How do the paint colors compliment the textiles? Does anything clash? Is there too much of one texture that it’s feeling unbalanced? Mood boards are a great way to give you the confidence to fully realize a design.


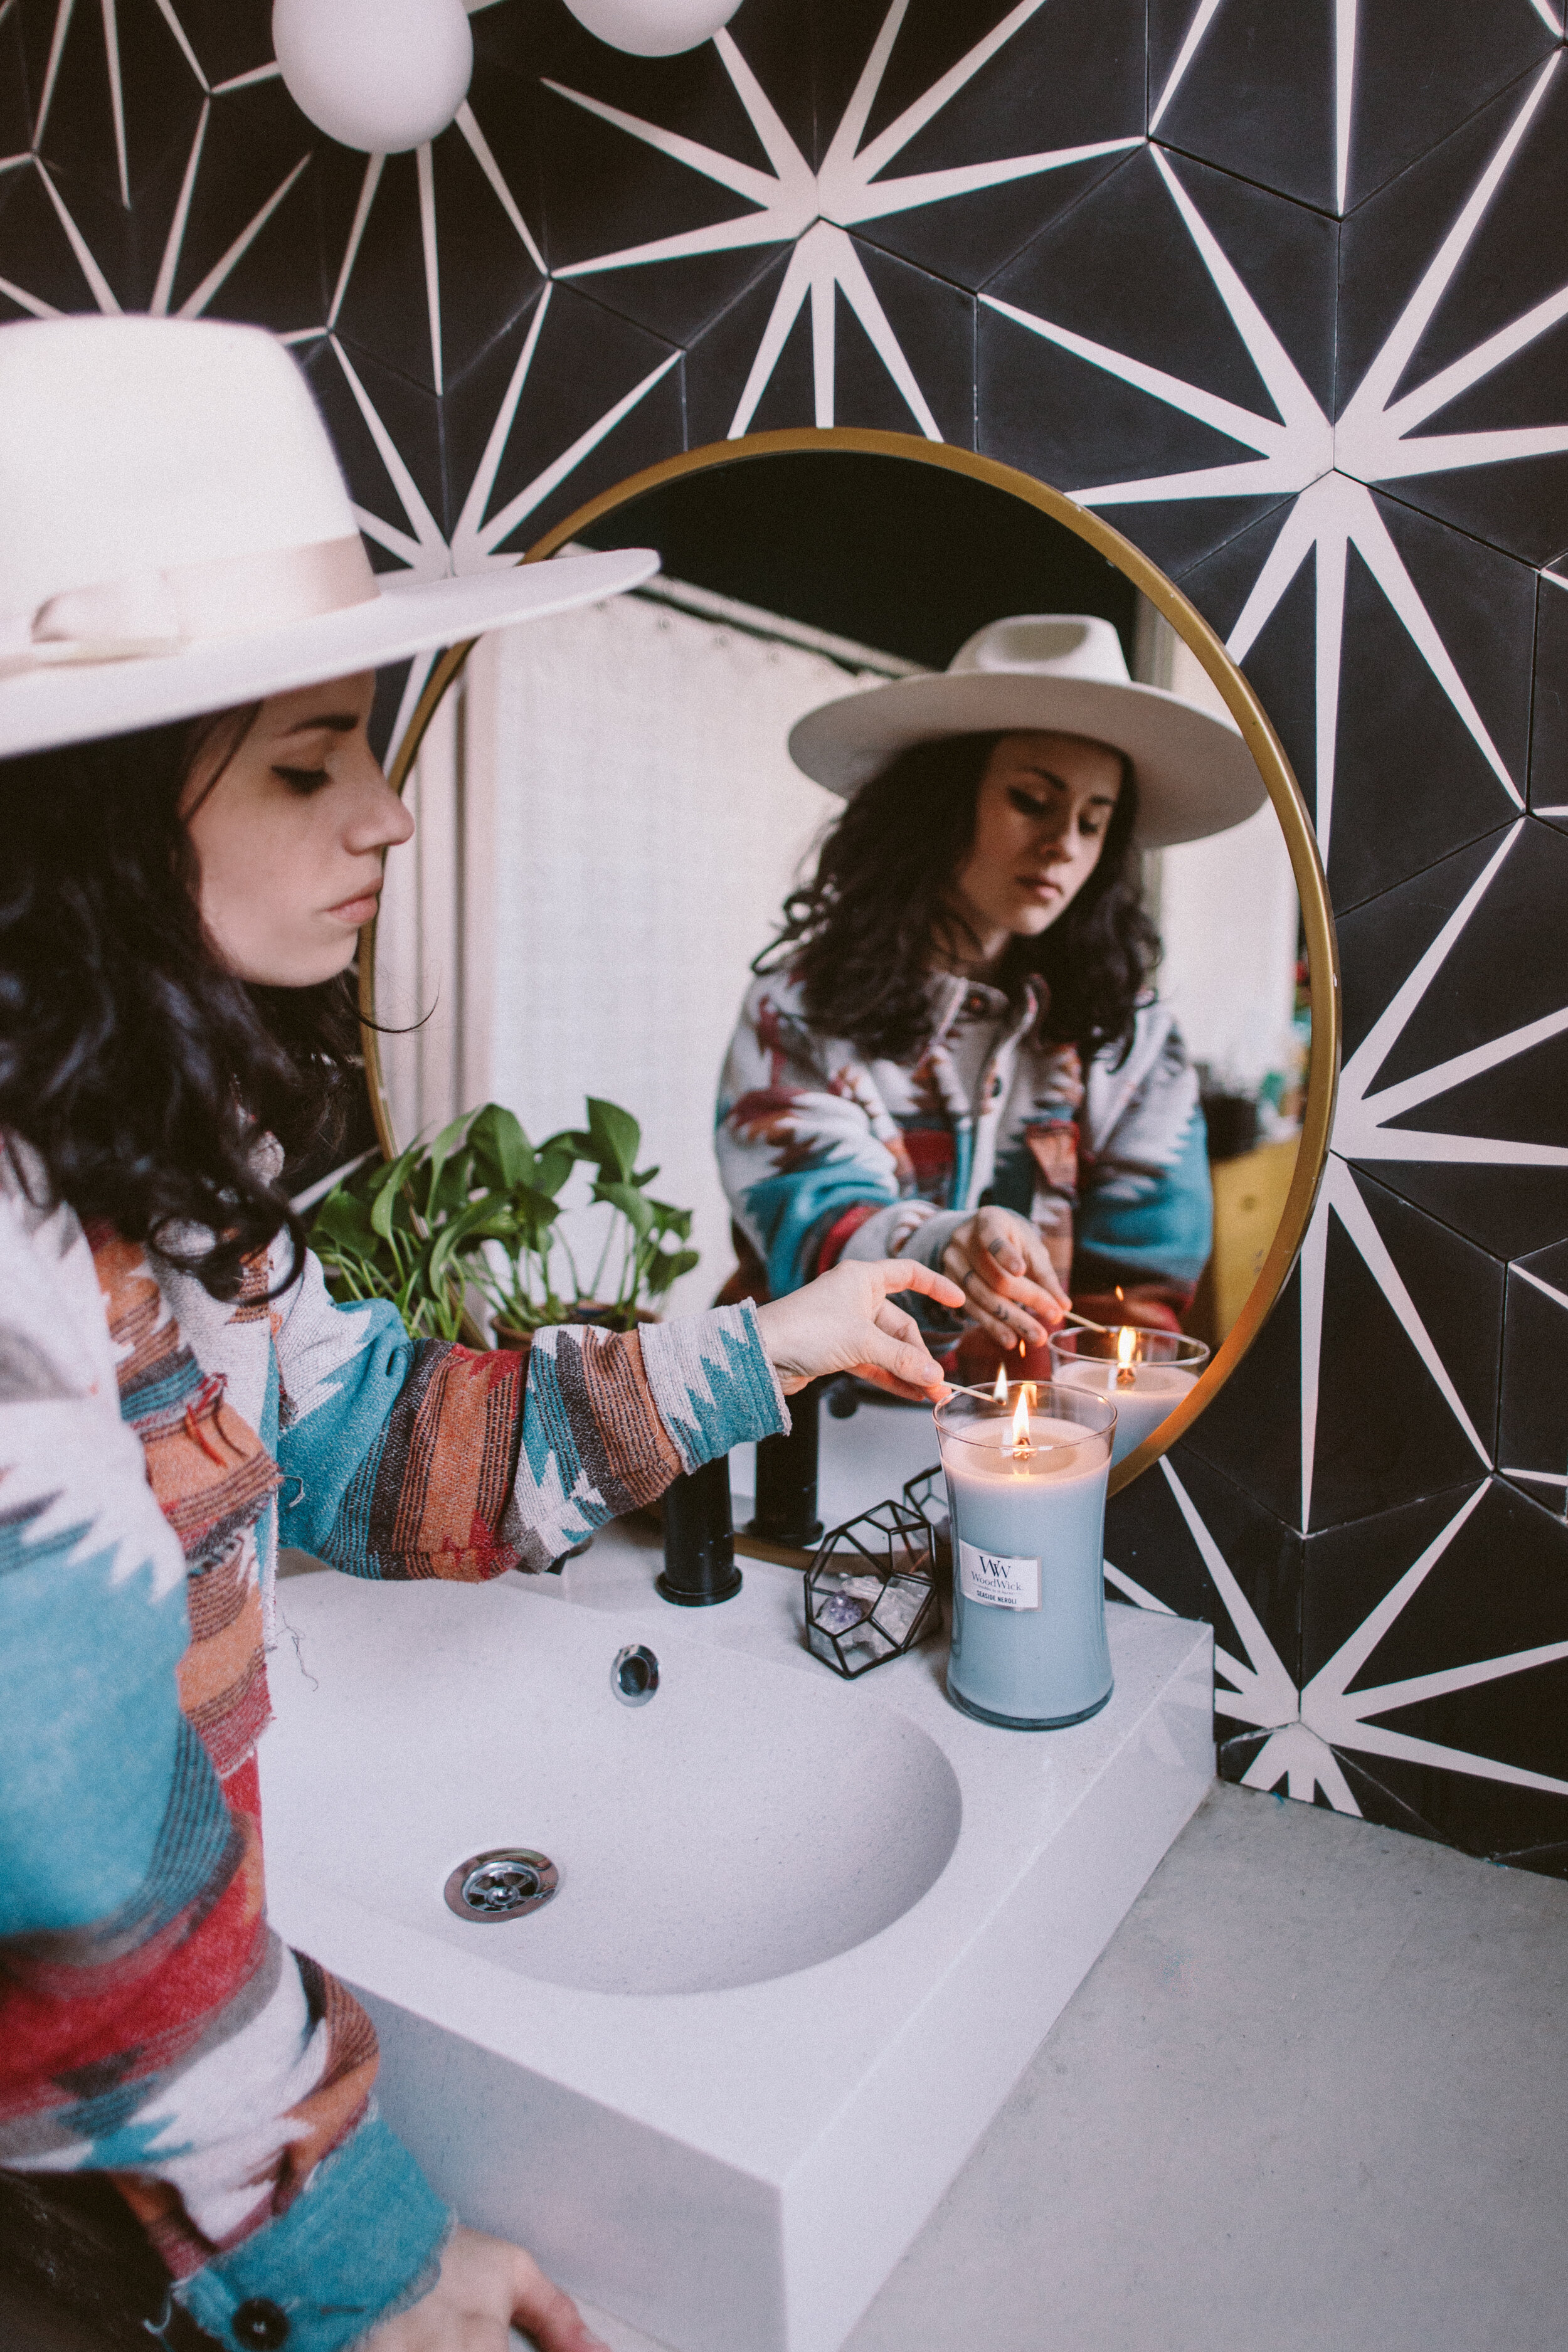
Great interior design incorporates all the senses, and scent is a particularly strong element for us psychologically so I try to incorporate some element of fragrance into each room I create. These WoodWick Candles not only have amazing scents, but they have a wooden wick, which crackles softly as it burns, creating an added element of ambiance, which I love.
I chose the Seaside Neroli candle for our bathroom, which elevates the space so beautifully and gives it a subtle spa-like vibe which is exactly the feeling a bathroom should have, and the Melon Blossom candle has such a bright, fruity scent that has been perfect for the kitchen in these spring months.

For this WoodWick Shoreline Trilogy Candle, I wanted to create a mood board based on the candle, taking inspiration from each of the three scents. This mood board is definitely very organic and natural, with a bright and fresh feel. It’s got the pink and peachy colors inspired by the Melon Blossom scent. Then, there are some more beachy vibes, like the wood tones, shaker cabinet door, and textiles, inspired by the Coastal Sunset scent. Then I brought in some bohemian elements inspired by the Palo Santo scent, with the rose quartz and macrame elements.
Having a mood board like this lets me have an anchor when I’m choosing things like tile, throw pillows, rugs, linens, etc. It’s kind of like a design litmus test: does this element fit in with my mood board? If yes? Go for it!

DIY Painted Faux Tile Backsplash

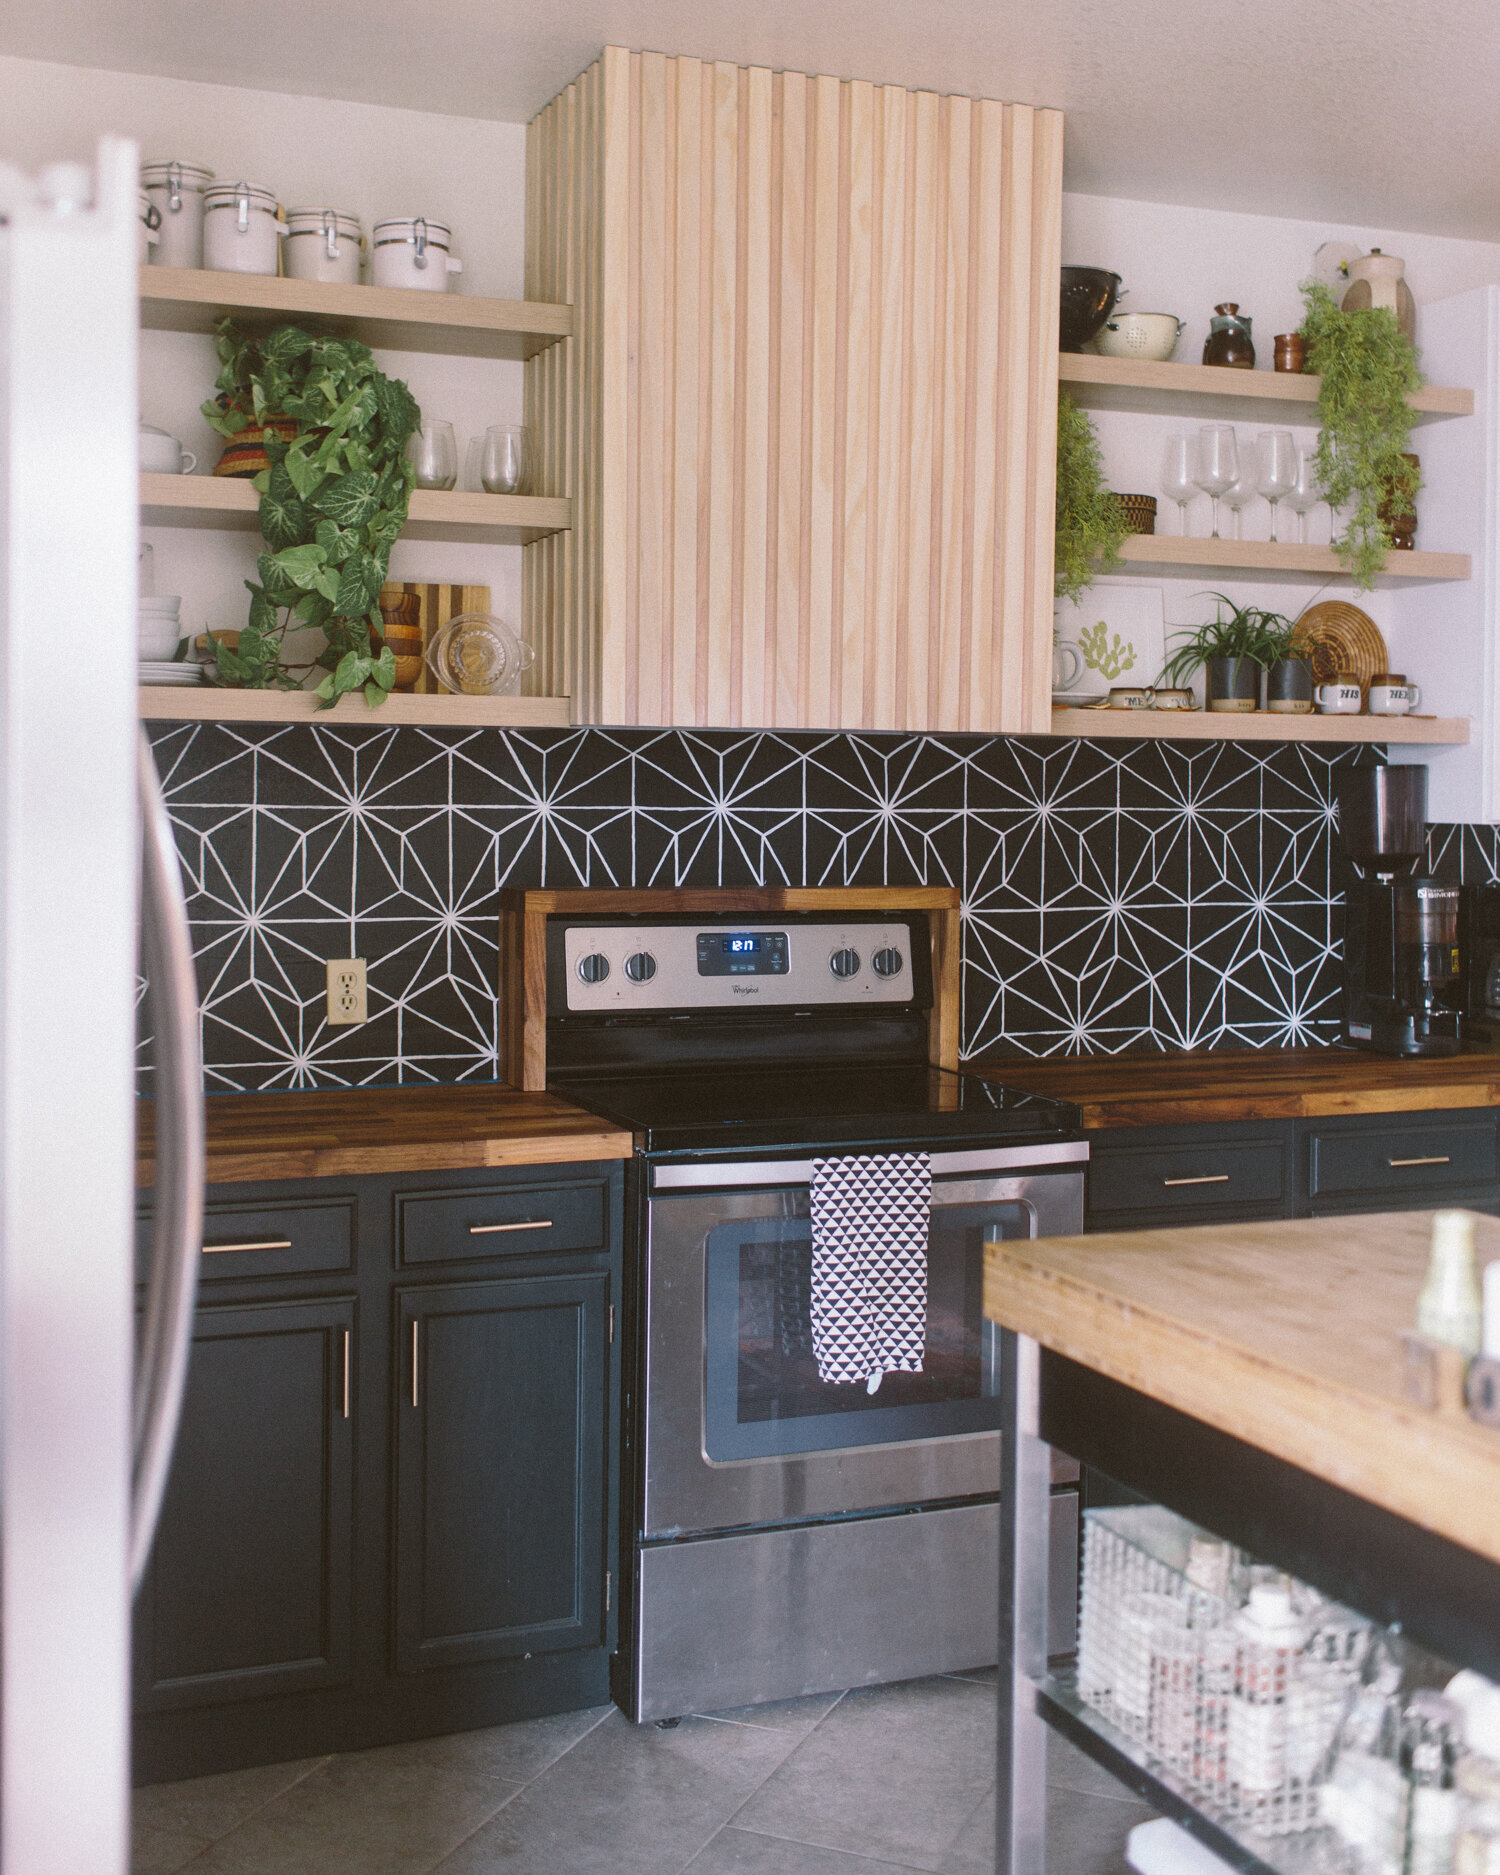
My ultimate plan for our kitchen backsplash involves a gorgeous black zellige tile, but I knew that it would be a while until we got that tile project underway. In the meantime, I decided to have fun with a hand-painted backsplash that gave the effect of a faux tile look. I absolutely love how much depth the dark backsplash adds to the space!
Hand painting isn’t for everyone and there are other affordable but less tedious and time-consuming ways to upgrade your backsplash, like stick-on tiles, removable wallpaper, and paint stencils. You can even get a stencil that mimics this hexagon design!
For my process, I used chalk to trace the hexagon shape onto the wall, then used a straightedge to draw the lines inside the hexagons with chalk. Once that template was on the wall, I used a small craft paintbrush to paint interior latex paint along those lines. Definitely tedious! But I did this in the midst of the post-election madness and a tedious project that needed a lot of focus what a pleasant distraction, haha.

How to make edible paint with Everclear
Let’s be honest, parties are all about being a little EXTRA.
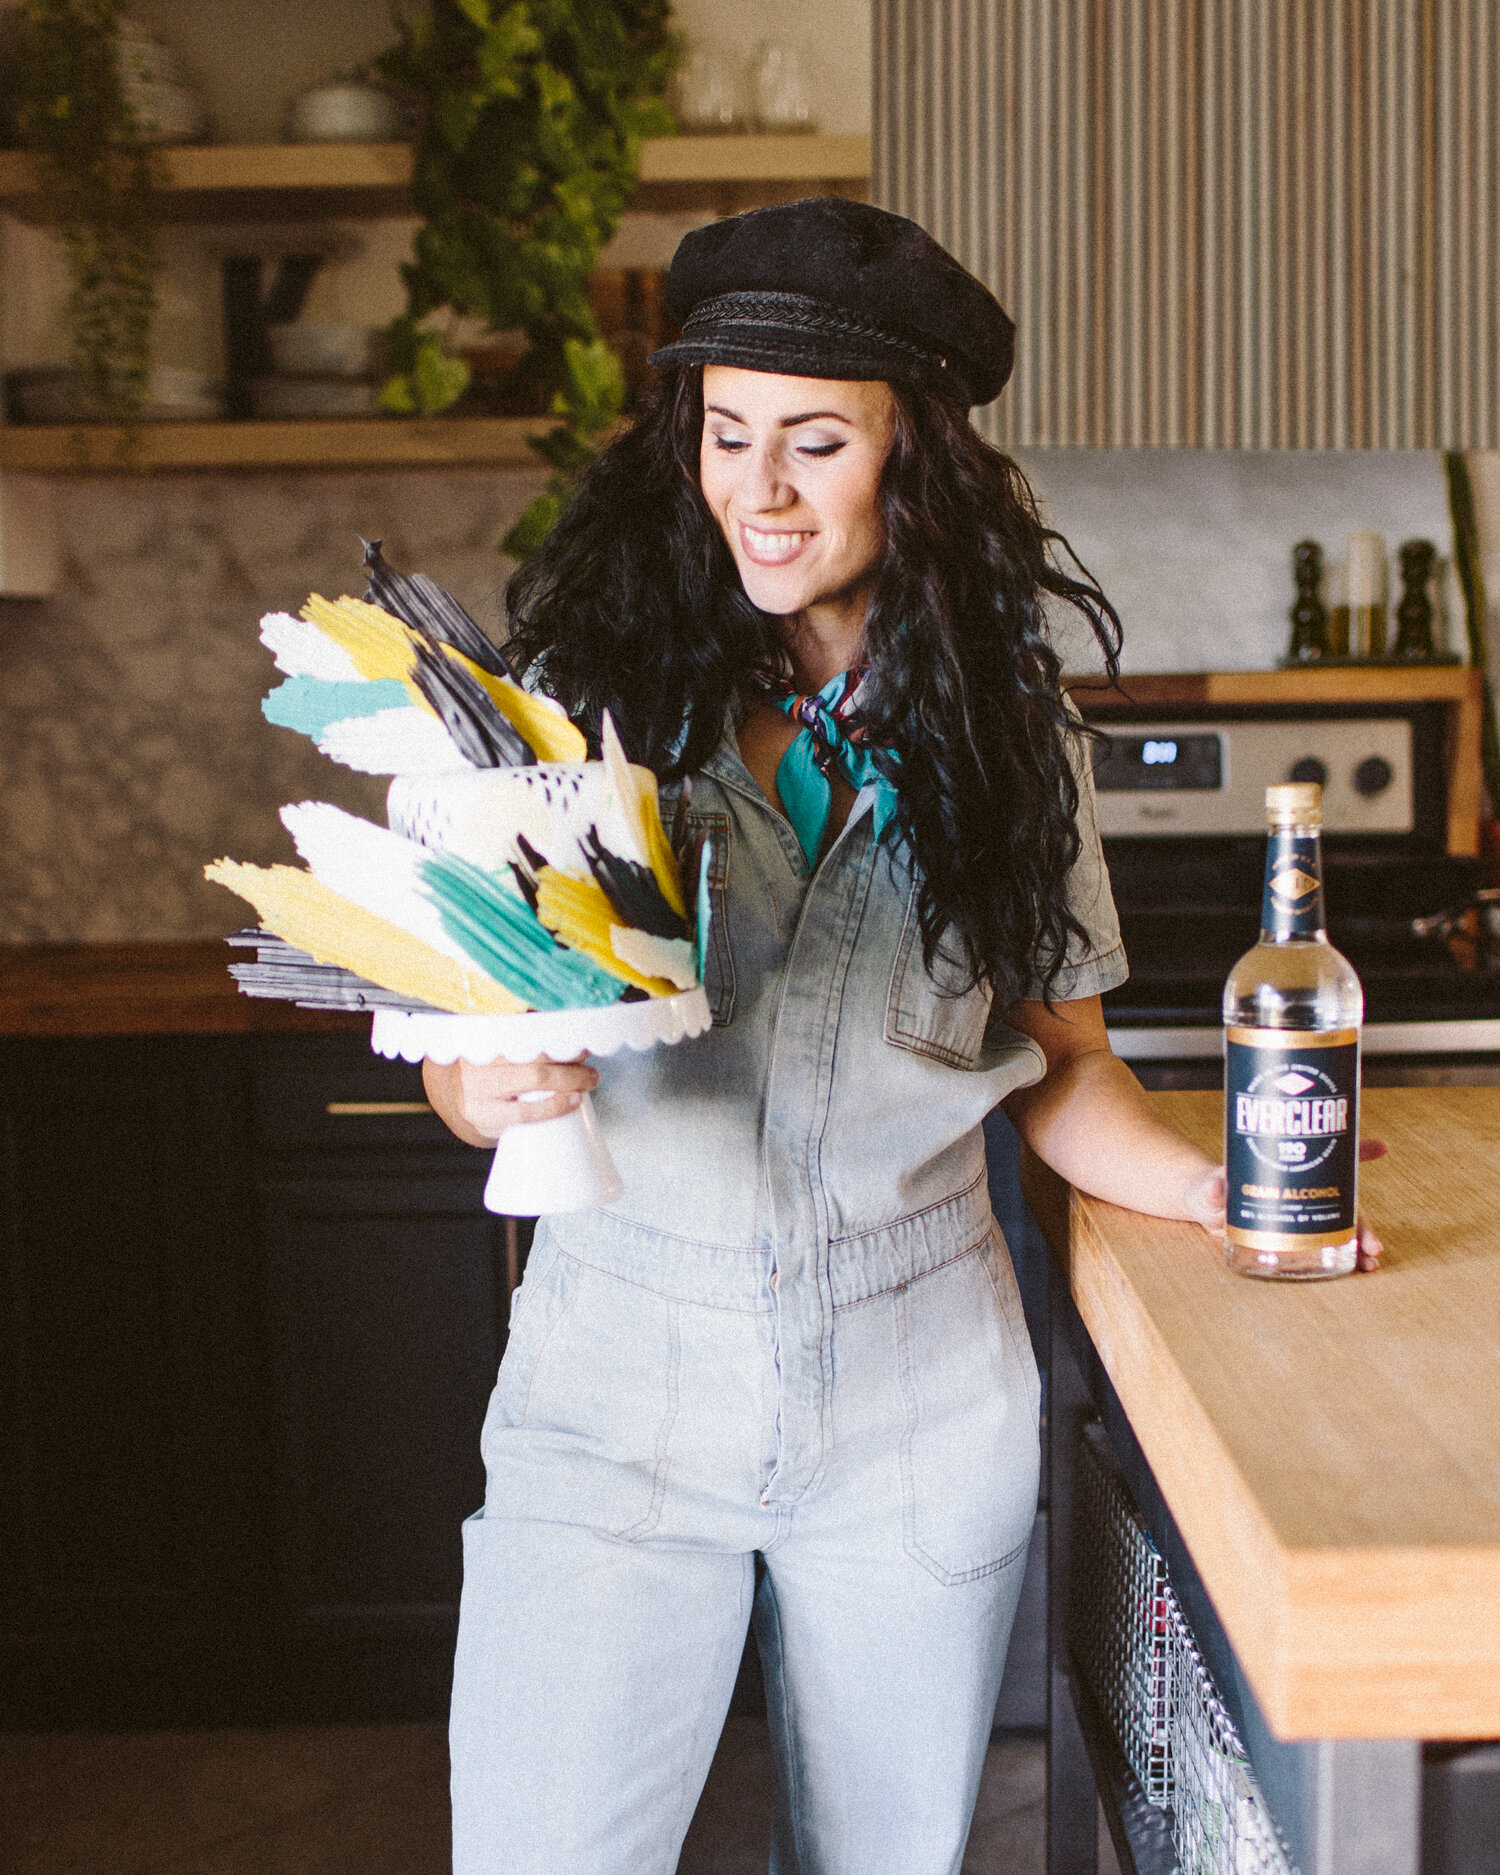
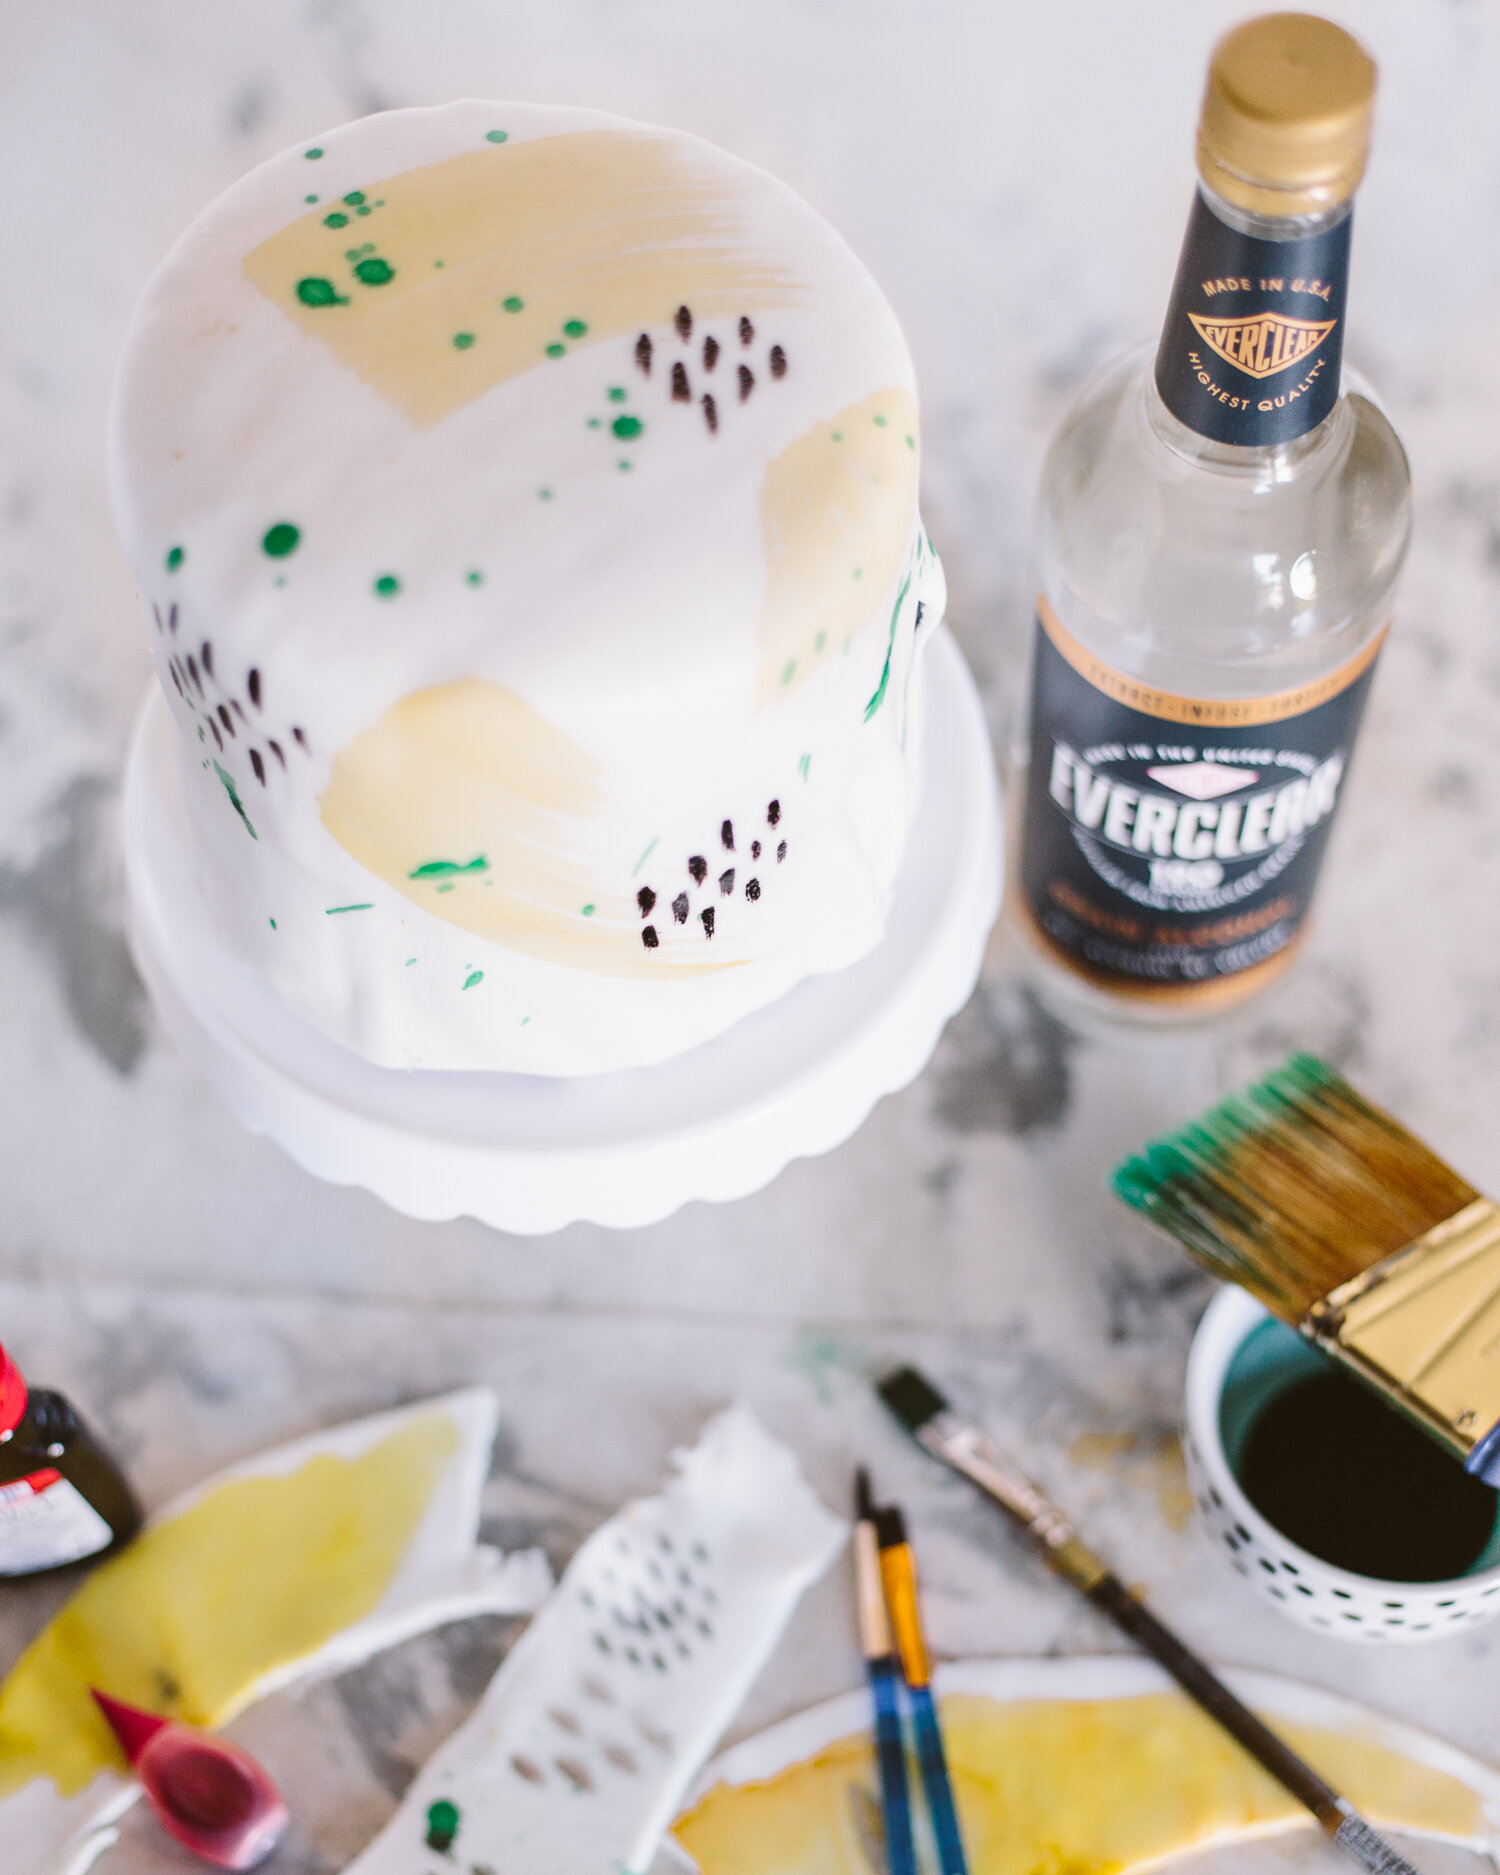
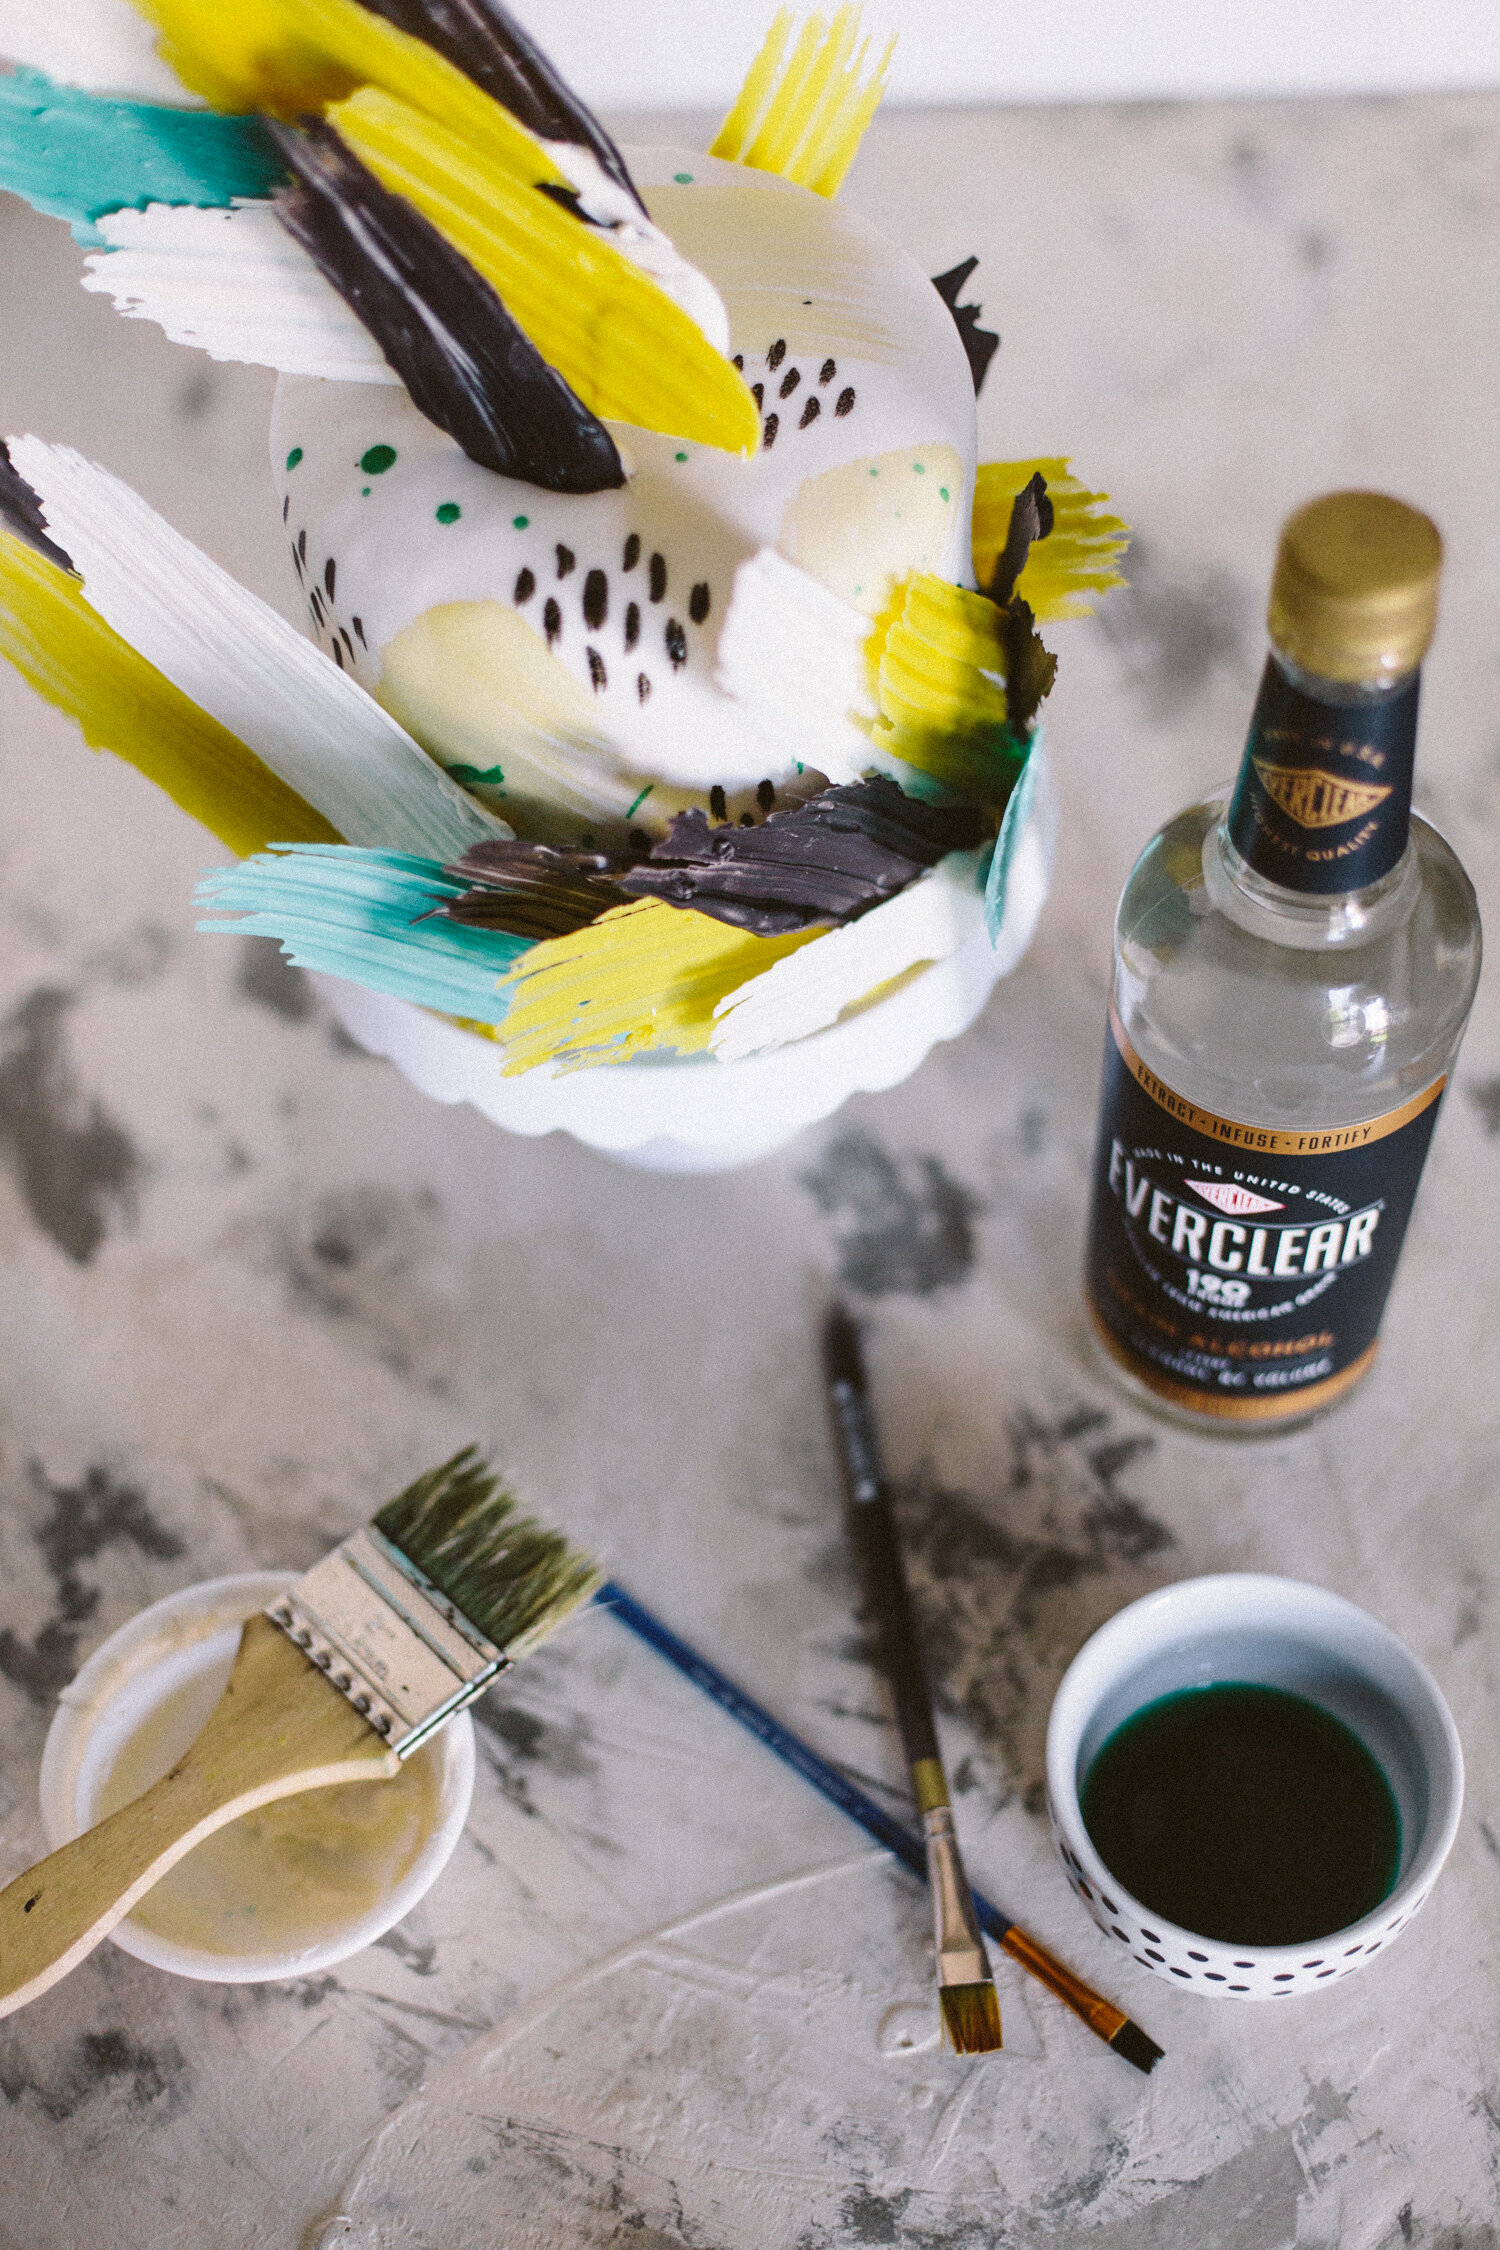
There are tons of occasions for making pretty desserts so I wanted to figure out a way to make something super fun that would stand out from the crowd when it’s sitting on the table, so I decided to make a brushstroke cake! Did you know you can make edible PAINT with Everclear and food coloring? Amazing right?
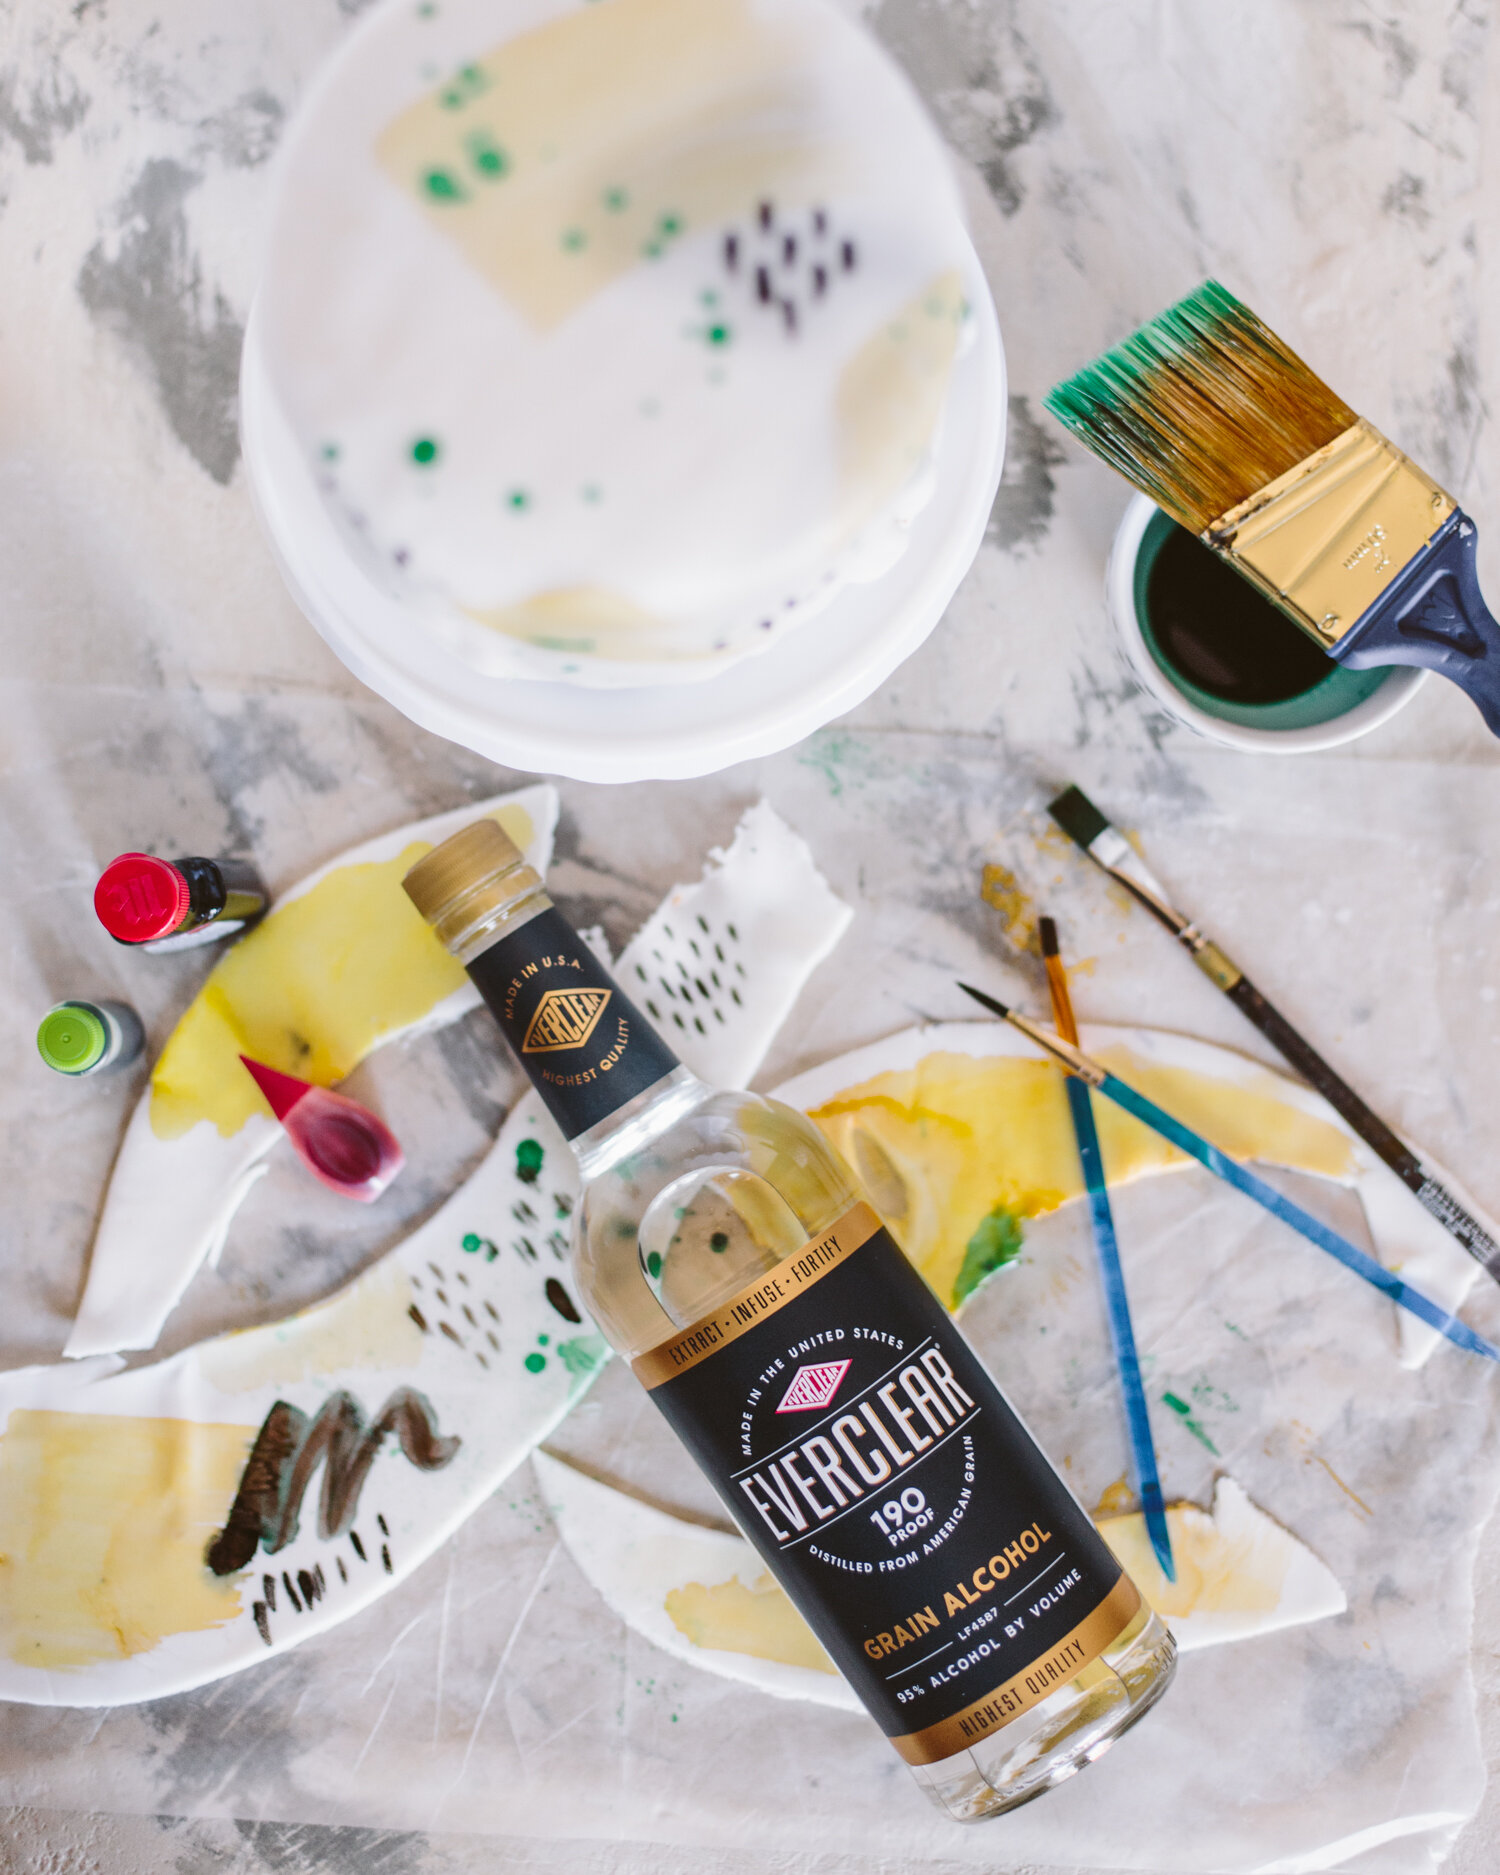
To make edible paint that you can brush on with a regular paintbrush, all you need to do is put a few drops of food coloring into a small bowl, and then pour in a bit of Everclear (use more for a more “watercolor-y” look, then dip your brush into your mixture and paint directly onto your frosting (in my case I used fondant icing).
The Everclear evaporates, leaving the food coloring behind! Since Everclear doesn’t leave behind any odor, color, or flavor, it’s the perfect medium to make your edible paint. It was a perfect technique for my brushstroke painted cake.
I love how many different ways you could utilize this technique: making a watercolor cake, an ombre cake, painting iced sugar cookies, or even painting a scene! Please enjoy responsibly.


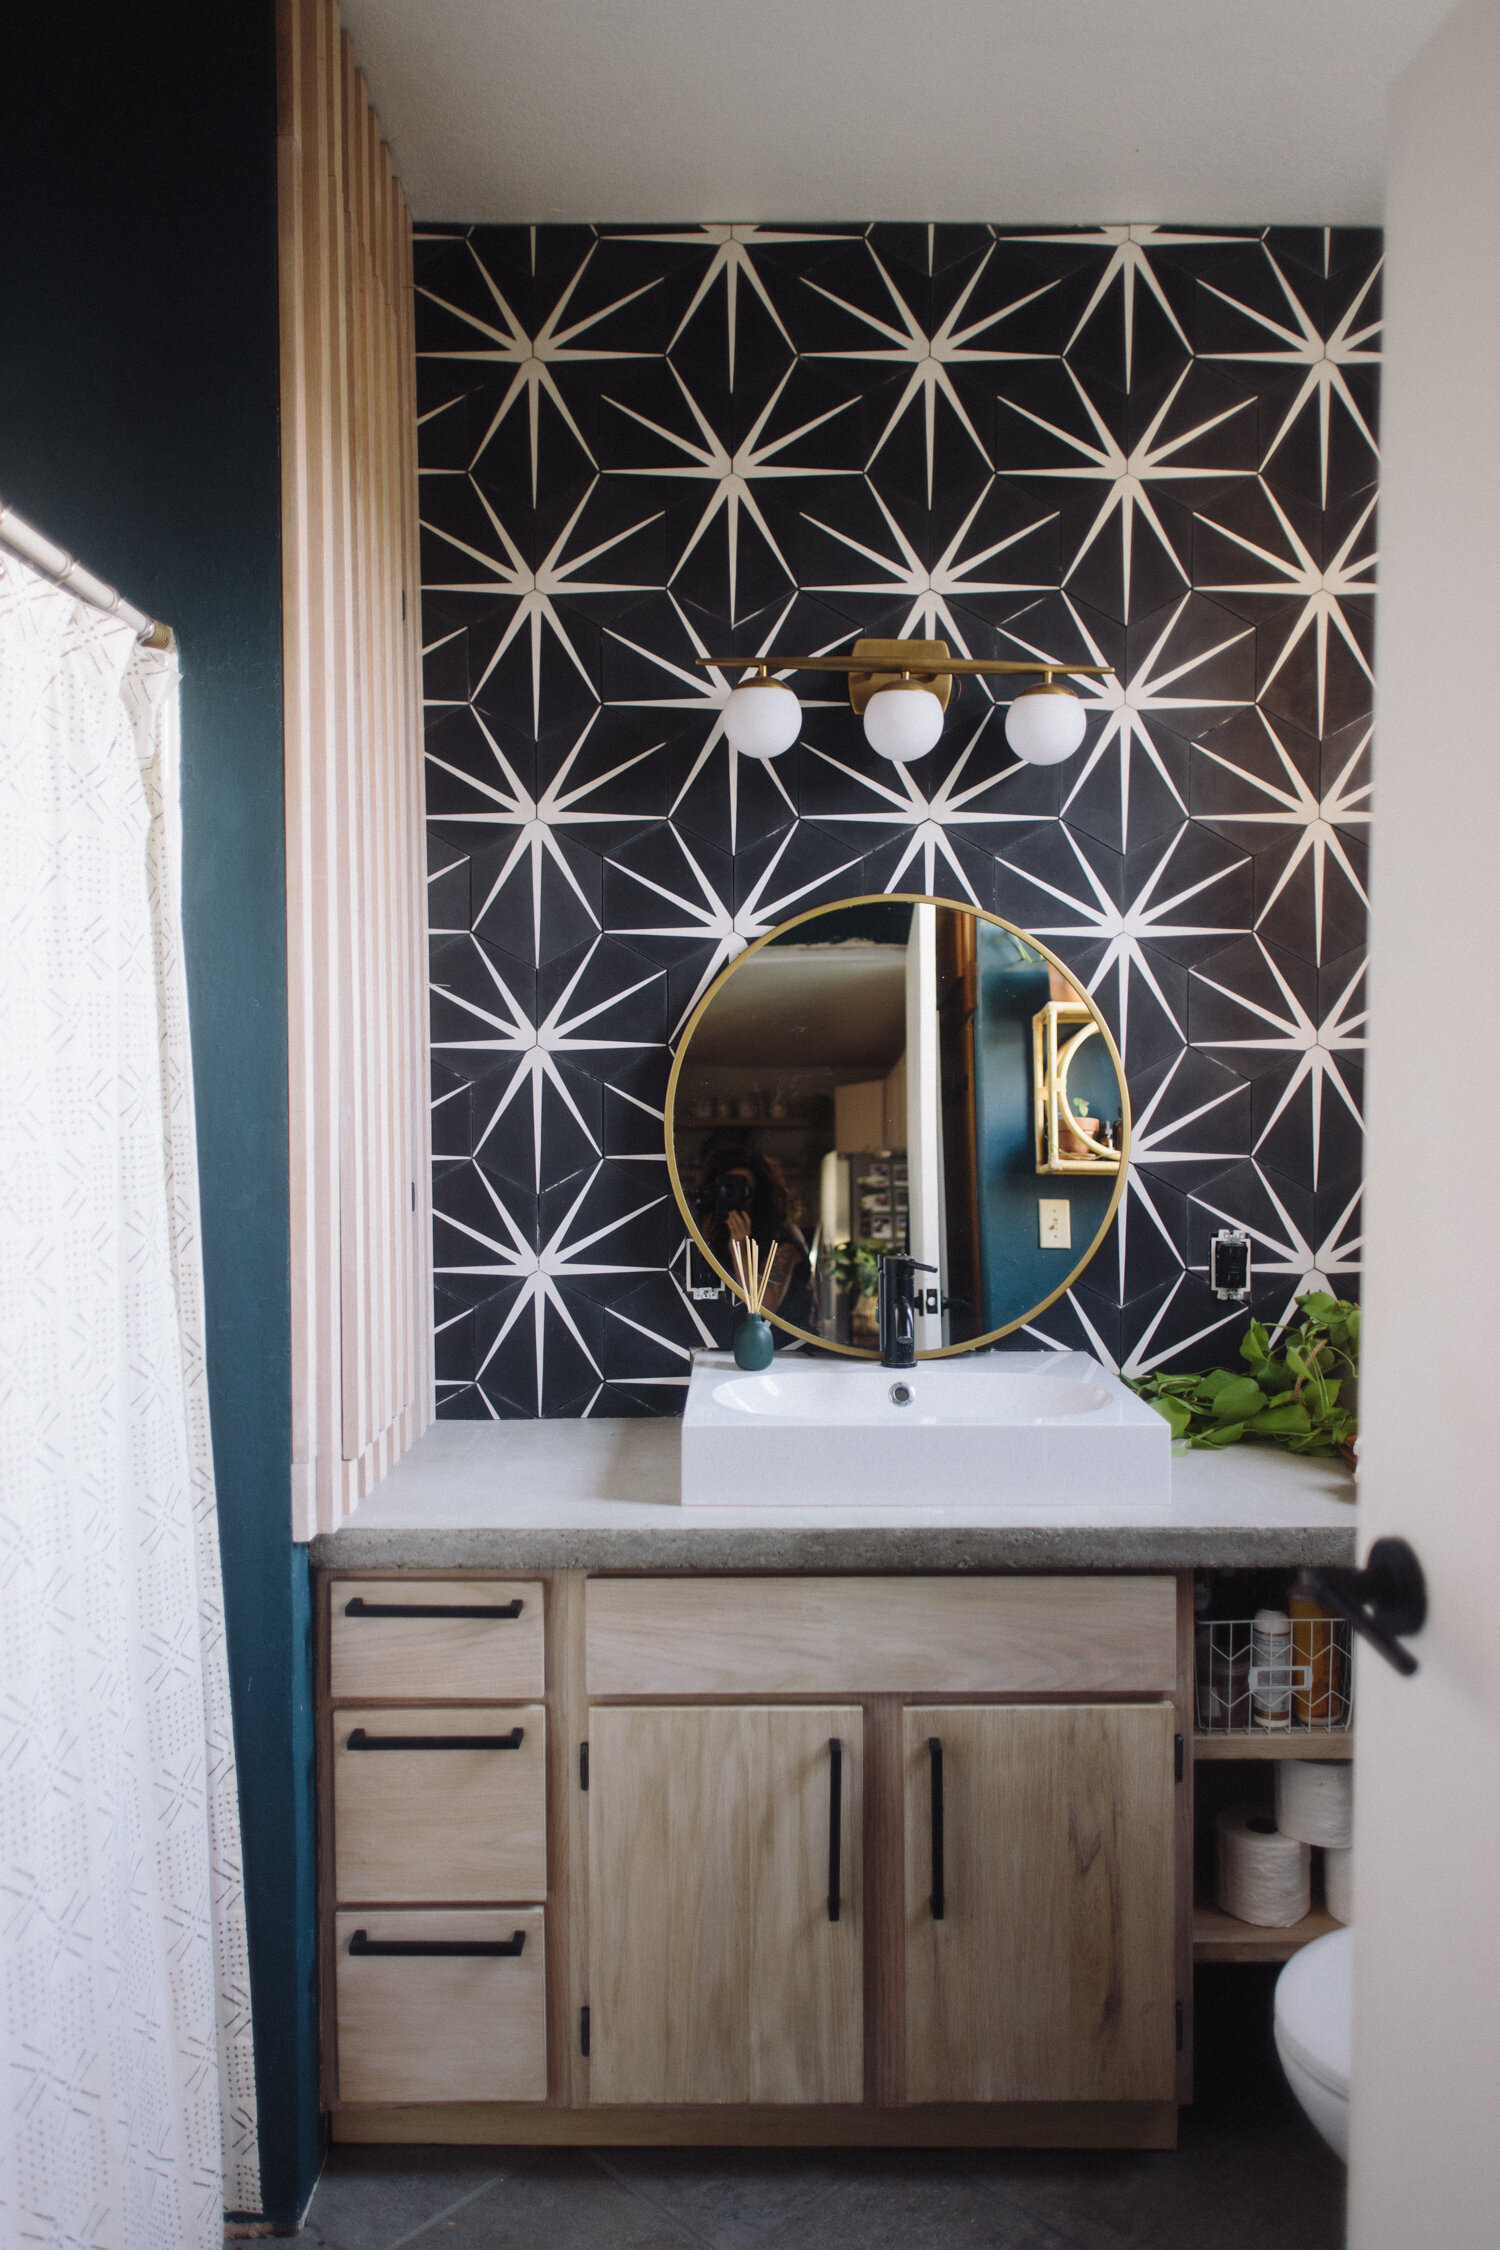
Eclectic Modern Bathroom Remodel

This before and after still rocks my world a little bit. Truth be told it’s not a true after, there are still projects to be done in here. but, I mean, come on. Are these two rooms even the same?! It’s wild. The layout for this room is strange. I’m really not entirely sure what the person who laid out this space was thinking, but gutting it and rearranging just wasn’t in the budget.
We kept pretty much everything and just reworked it. The vanity is the same, but I put new slab doors on, sanded down the original vanity to its natural oak and then whitewashed it to keep the modern light look that the raw wood had (putting poly over the raw wood would have turned it back into the ugly orangey color of the original bathroom— no thanks!).
For whatever reason, the old vanity had a strange vacant cavity next to the cabinet under the counter. What went there? Who knows. Probably just cobwebs and grime. I added some open shelves there which are perfect for holding baskets with hair product (curly girls represent!), and the bottom shelf is the perfect spot for extra TP rolls.
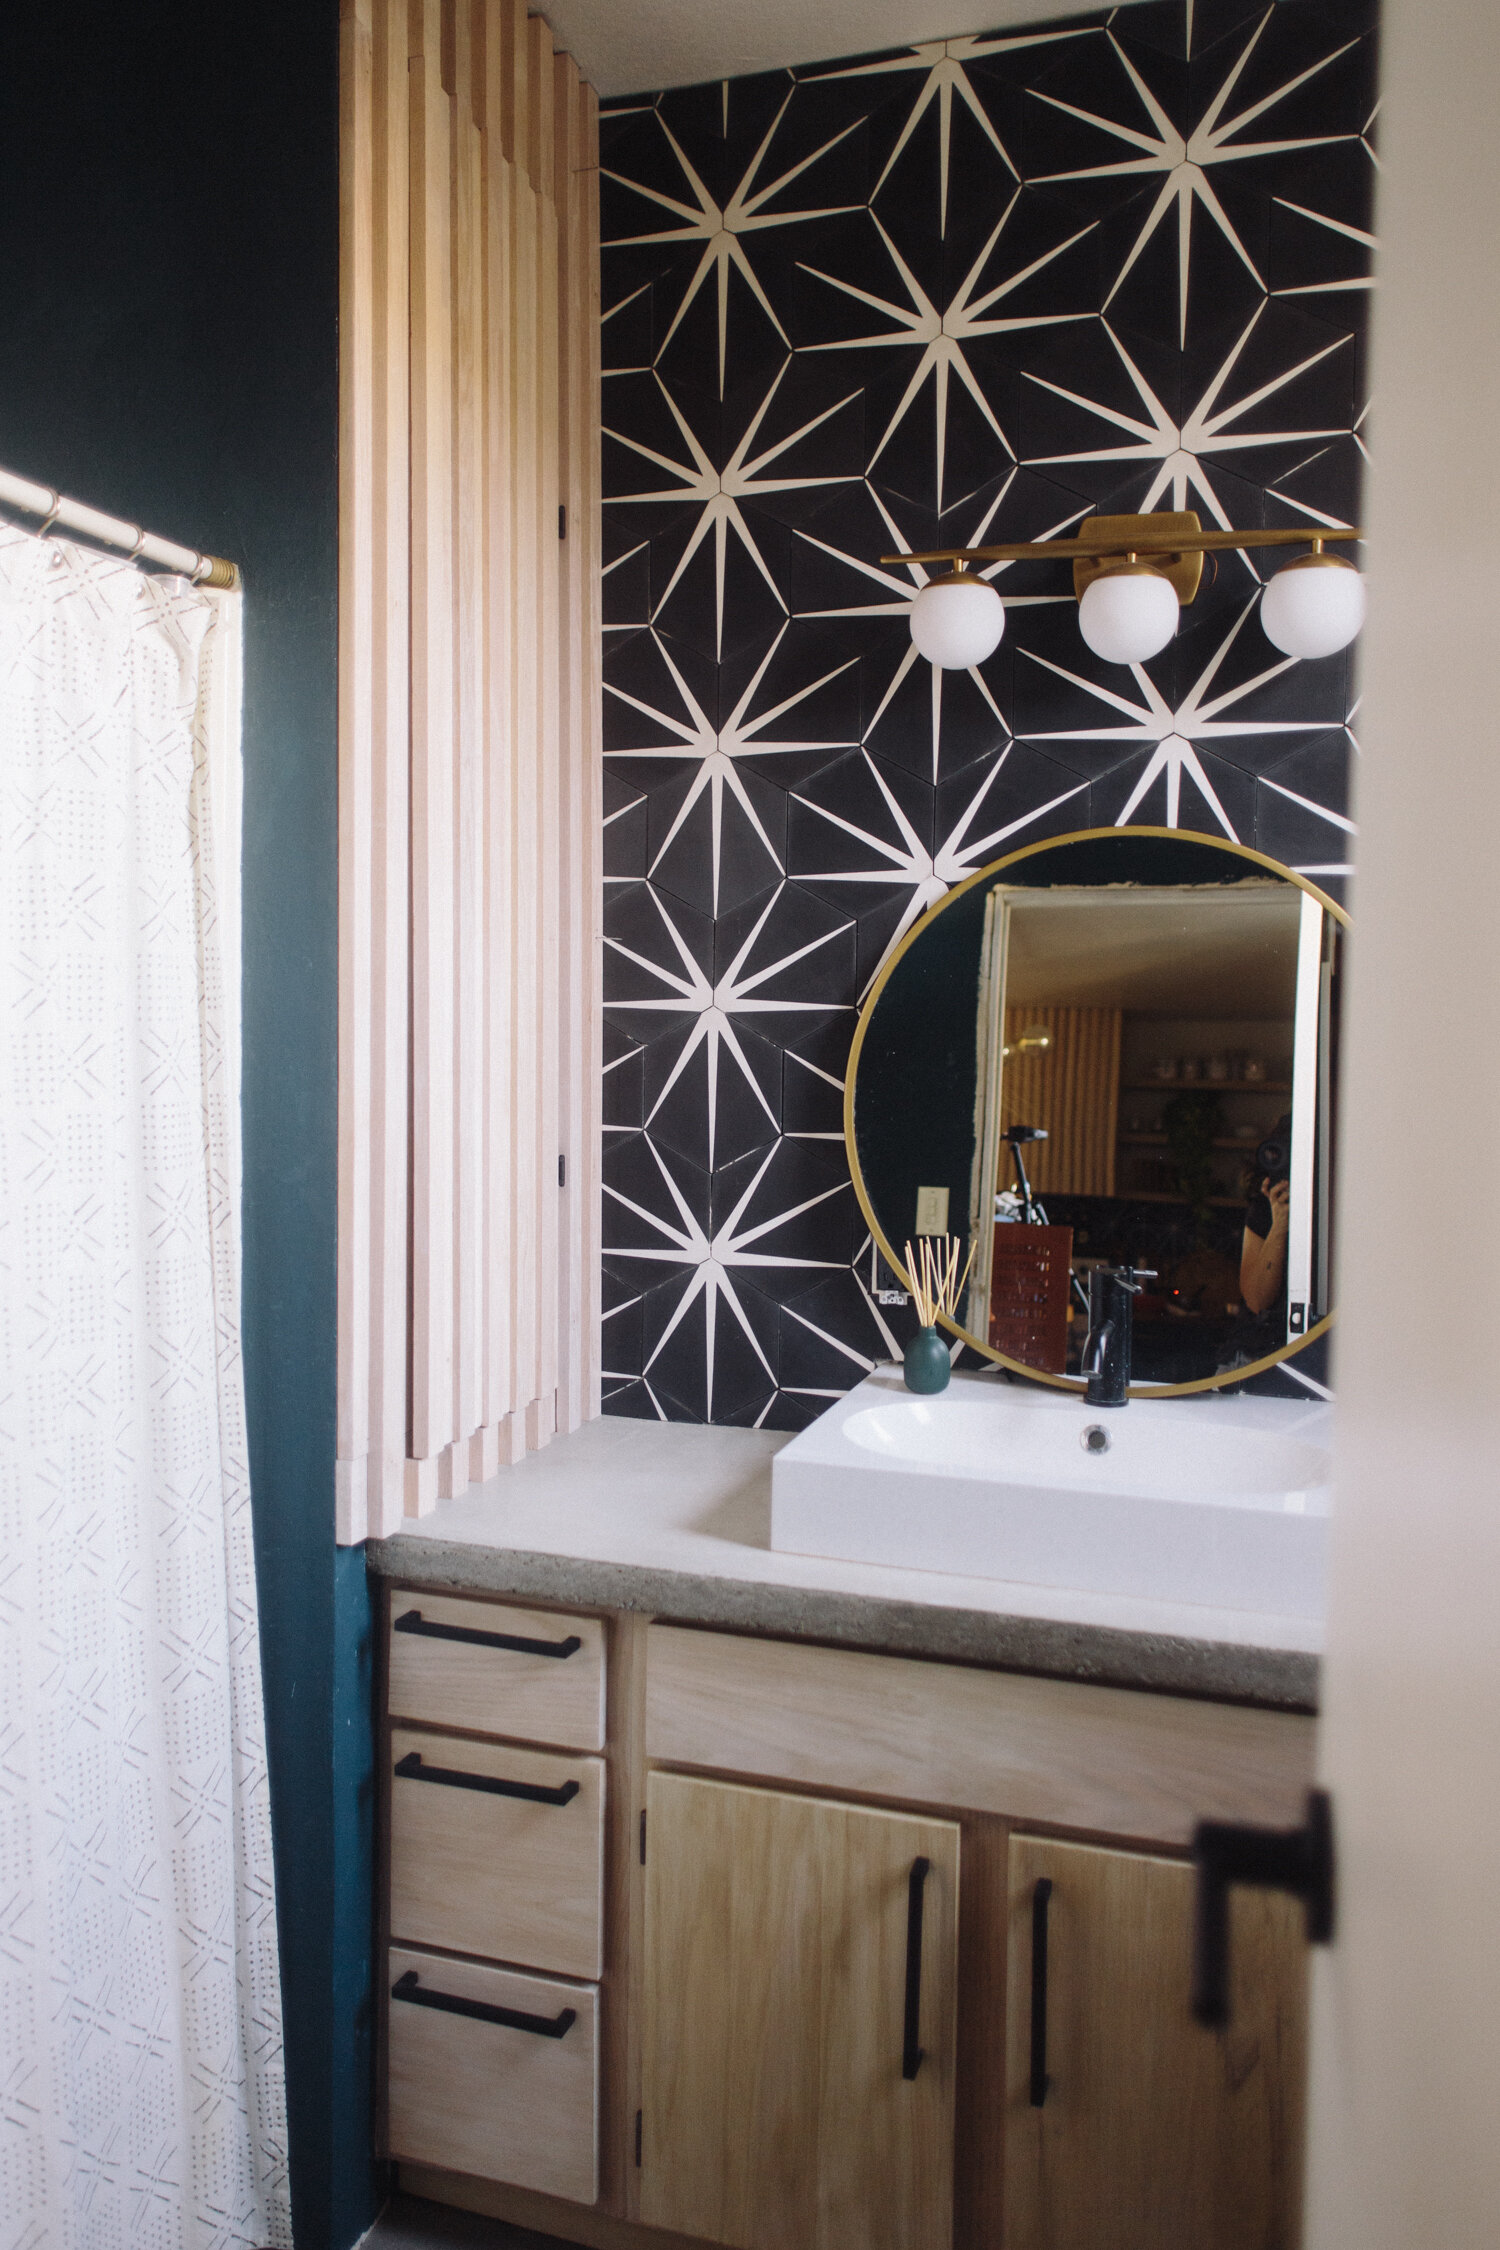
The large linen closet storage on the left side of the vanity got a slatted upgrade, I just refinished the existing door and trim the same way I did the vanity cabinet, and then added oak slats.
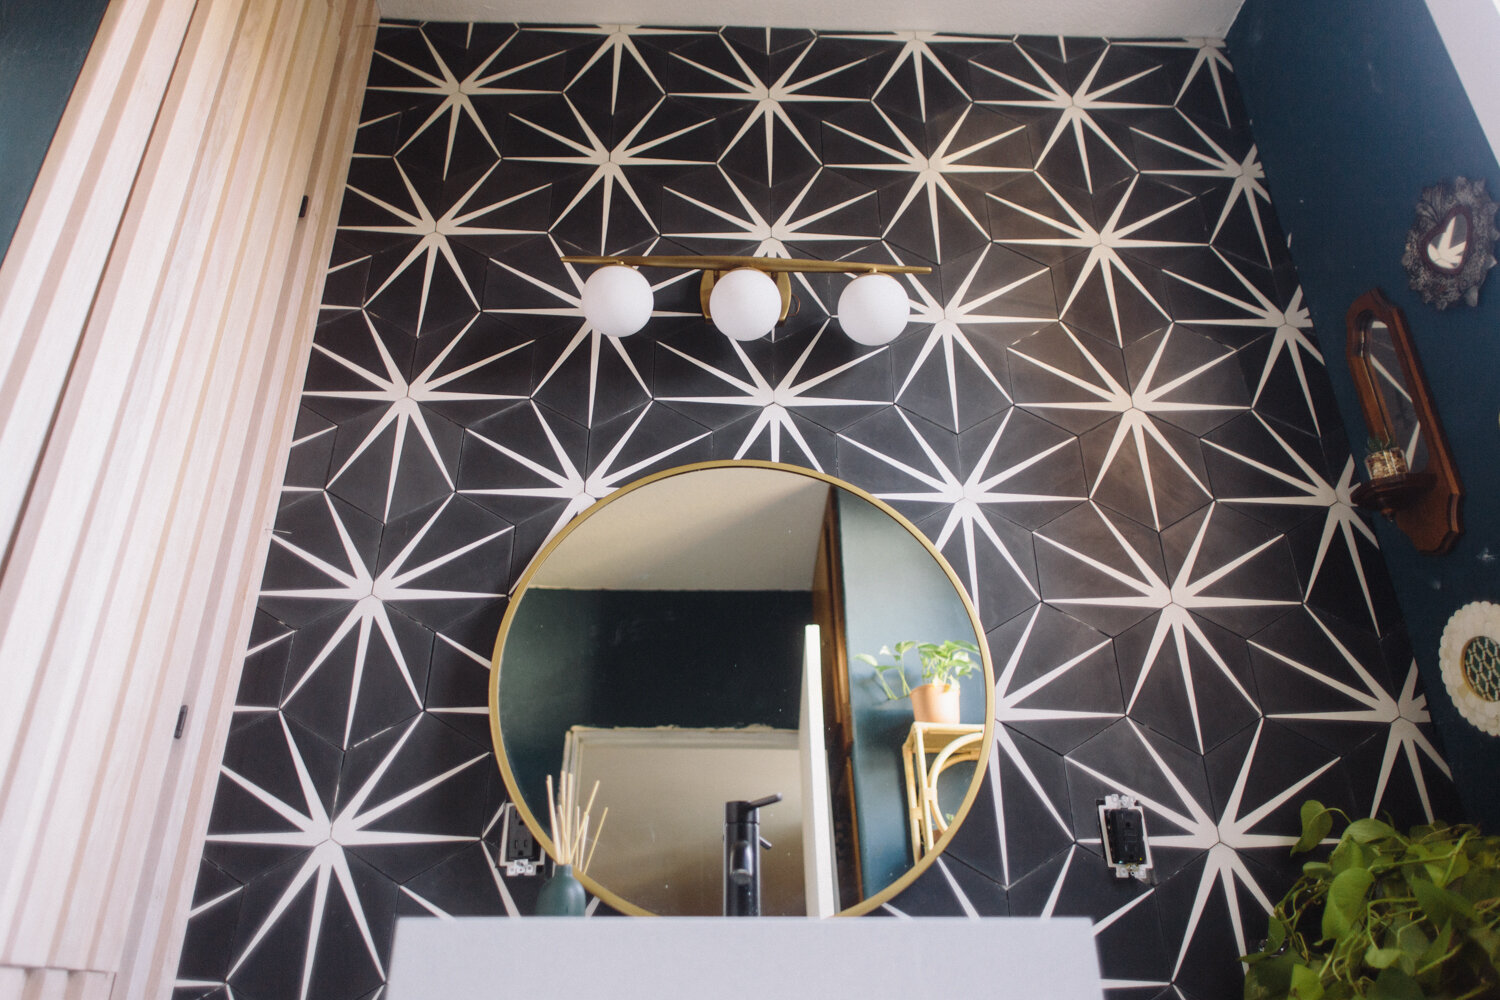
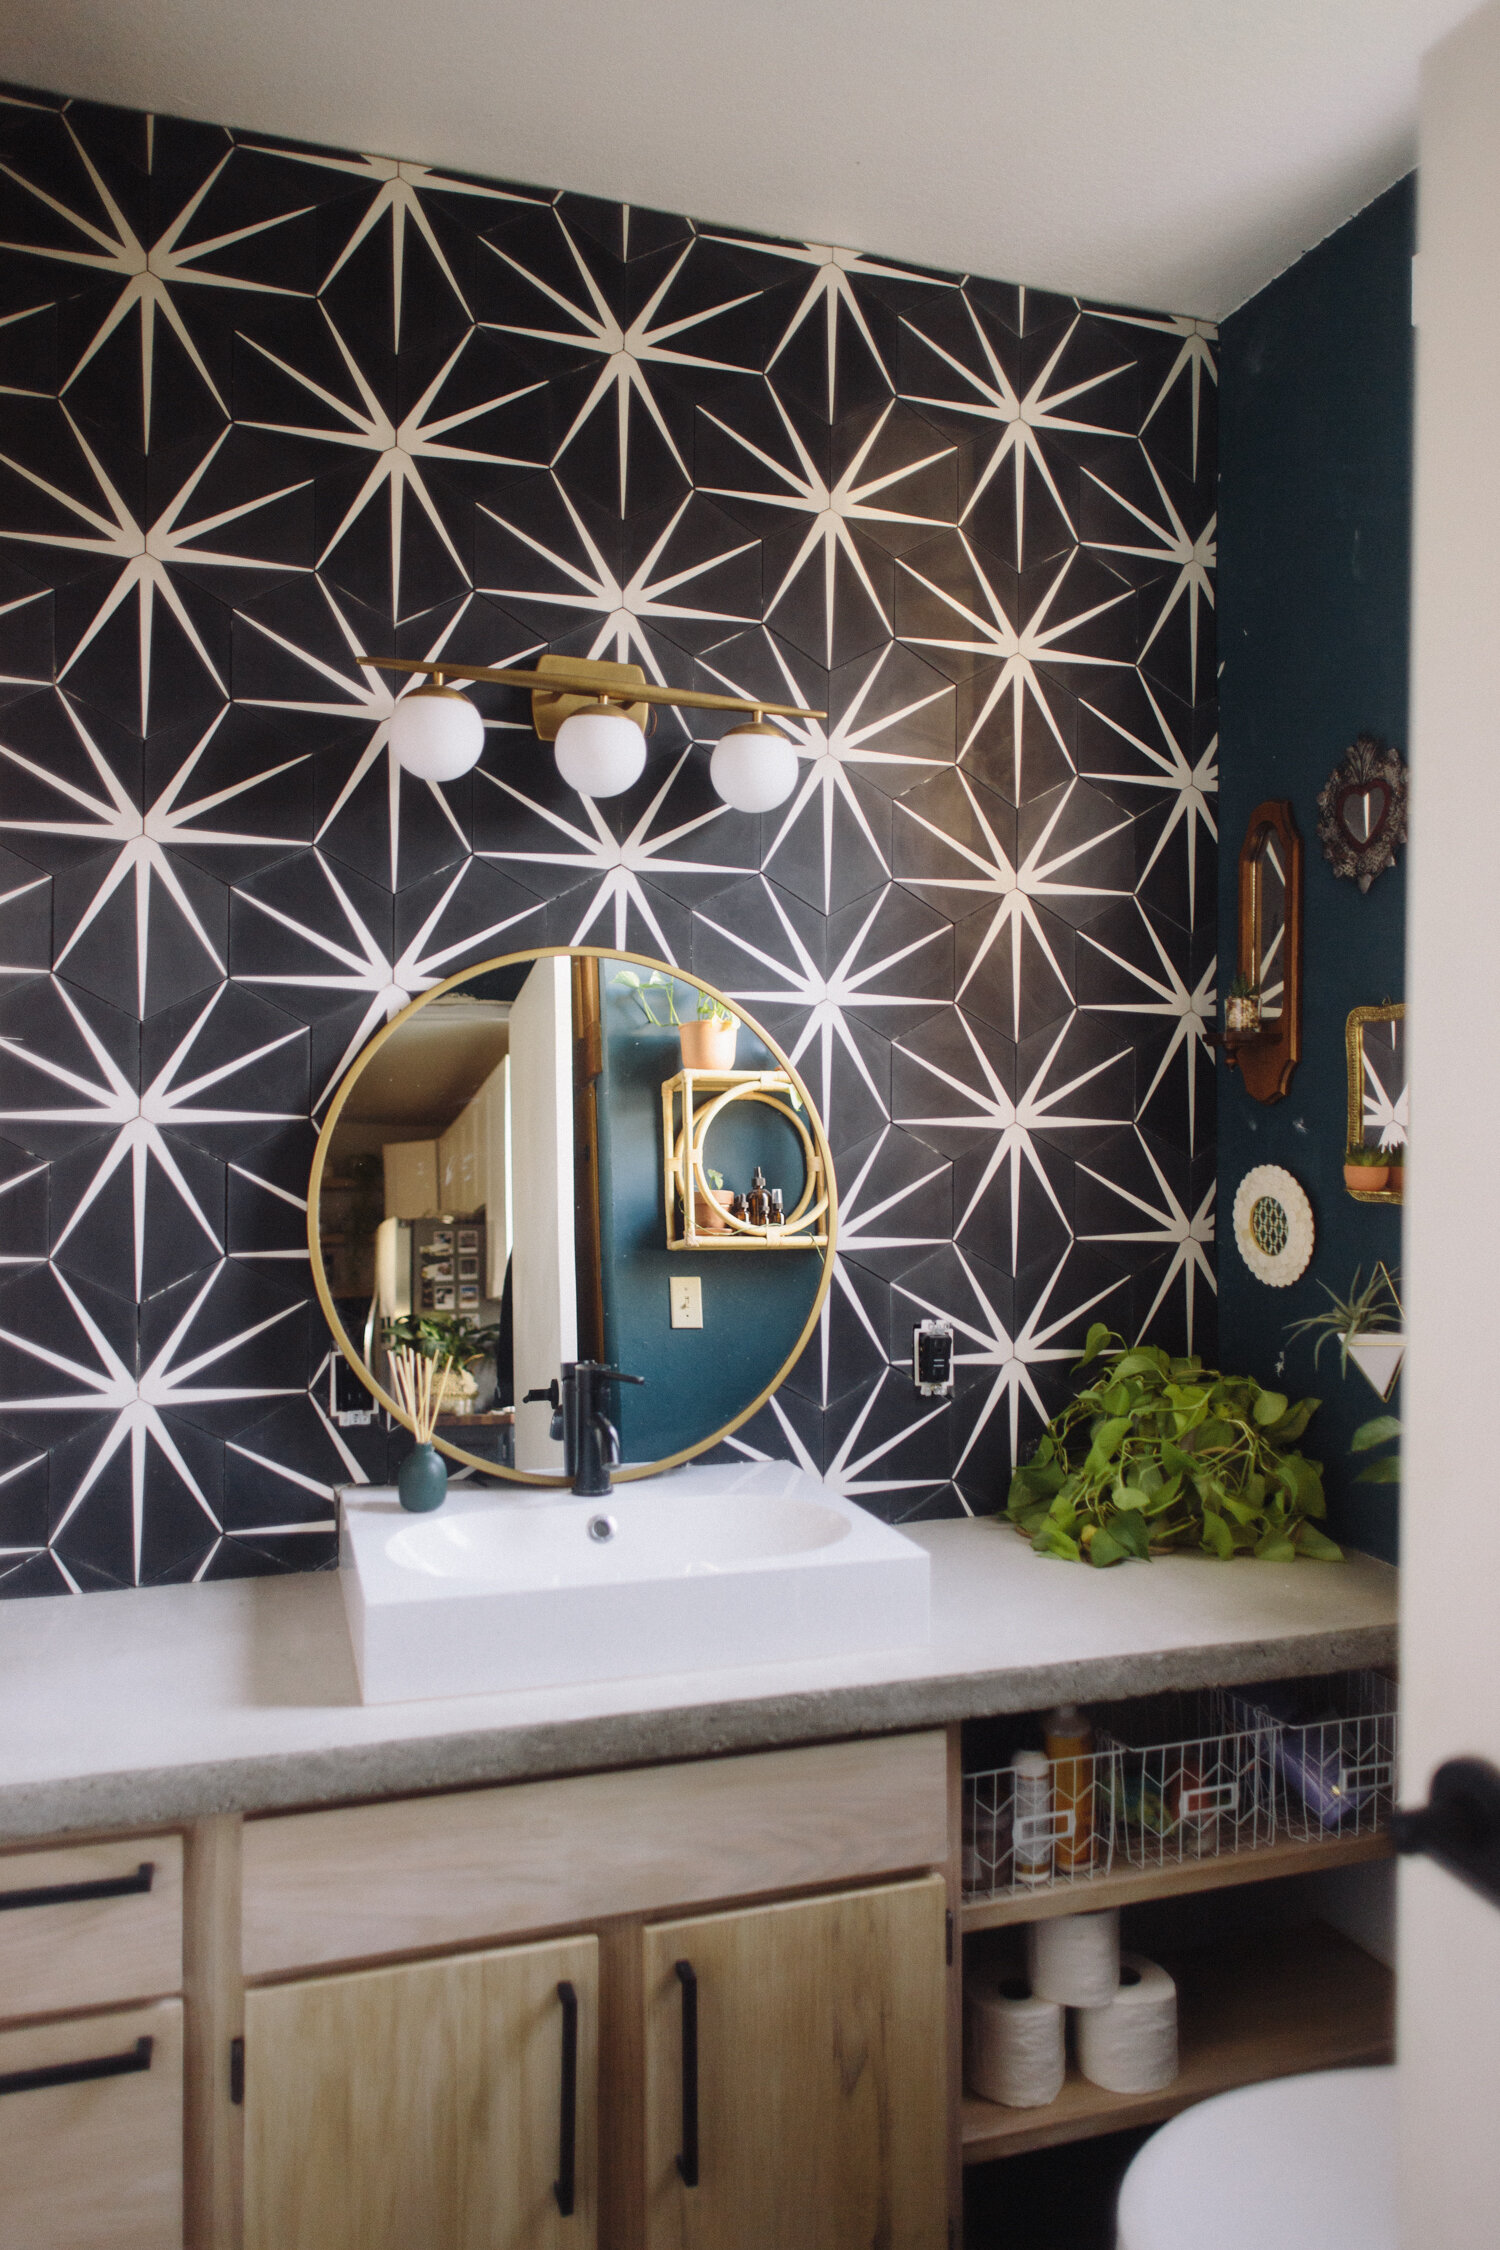
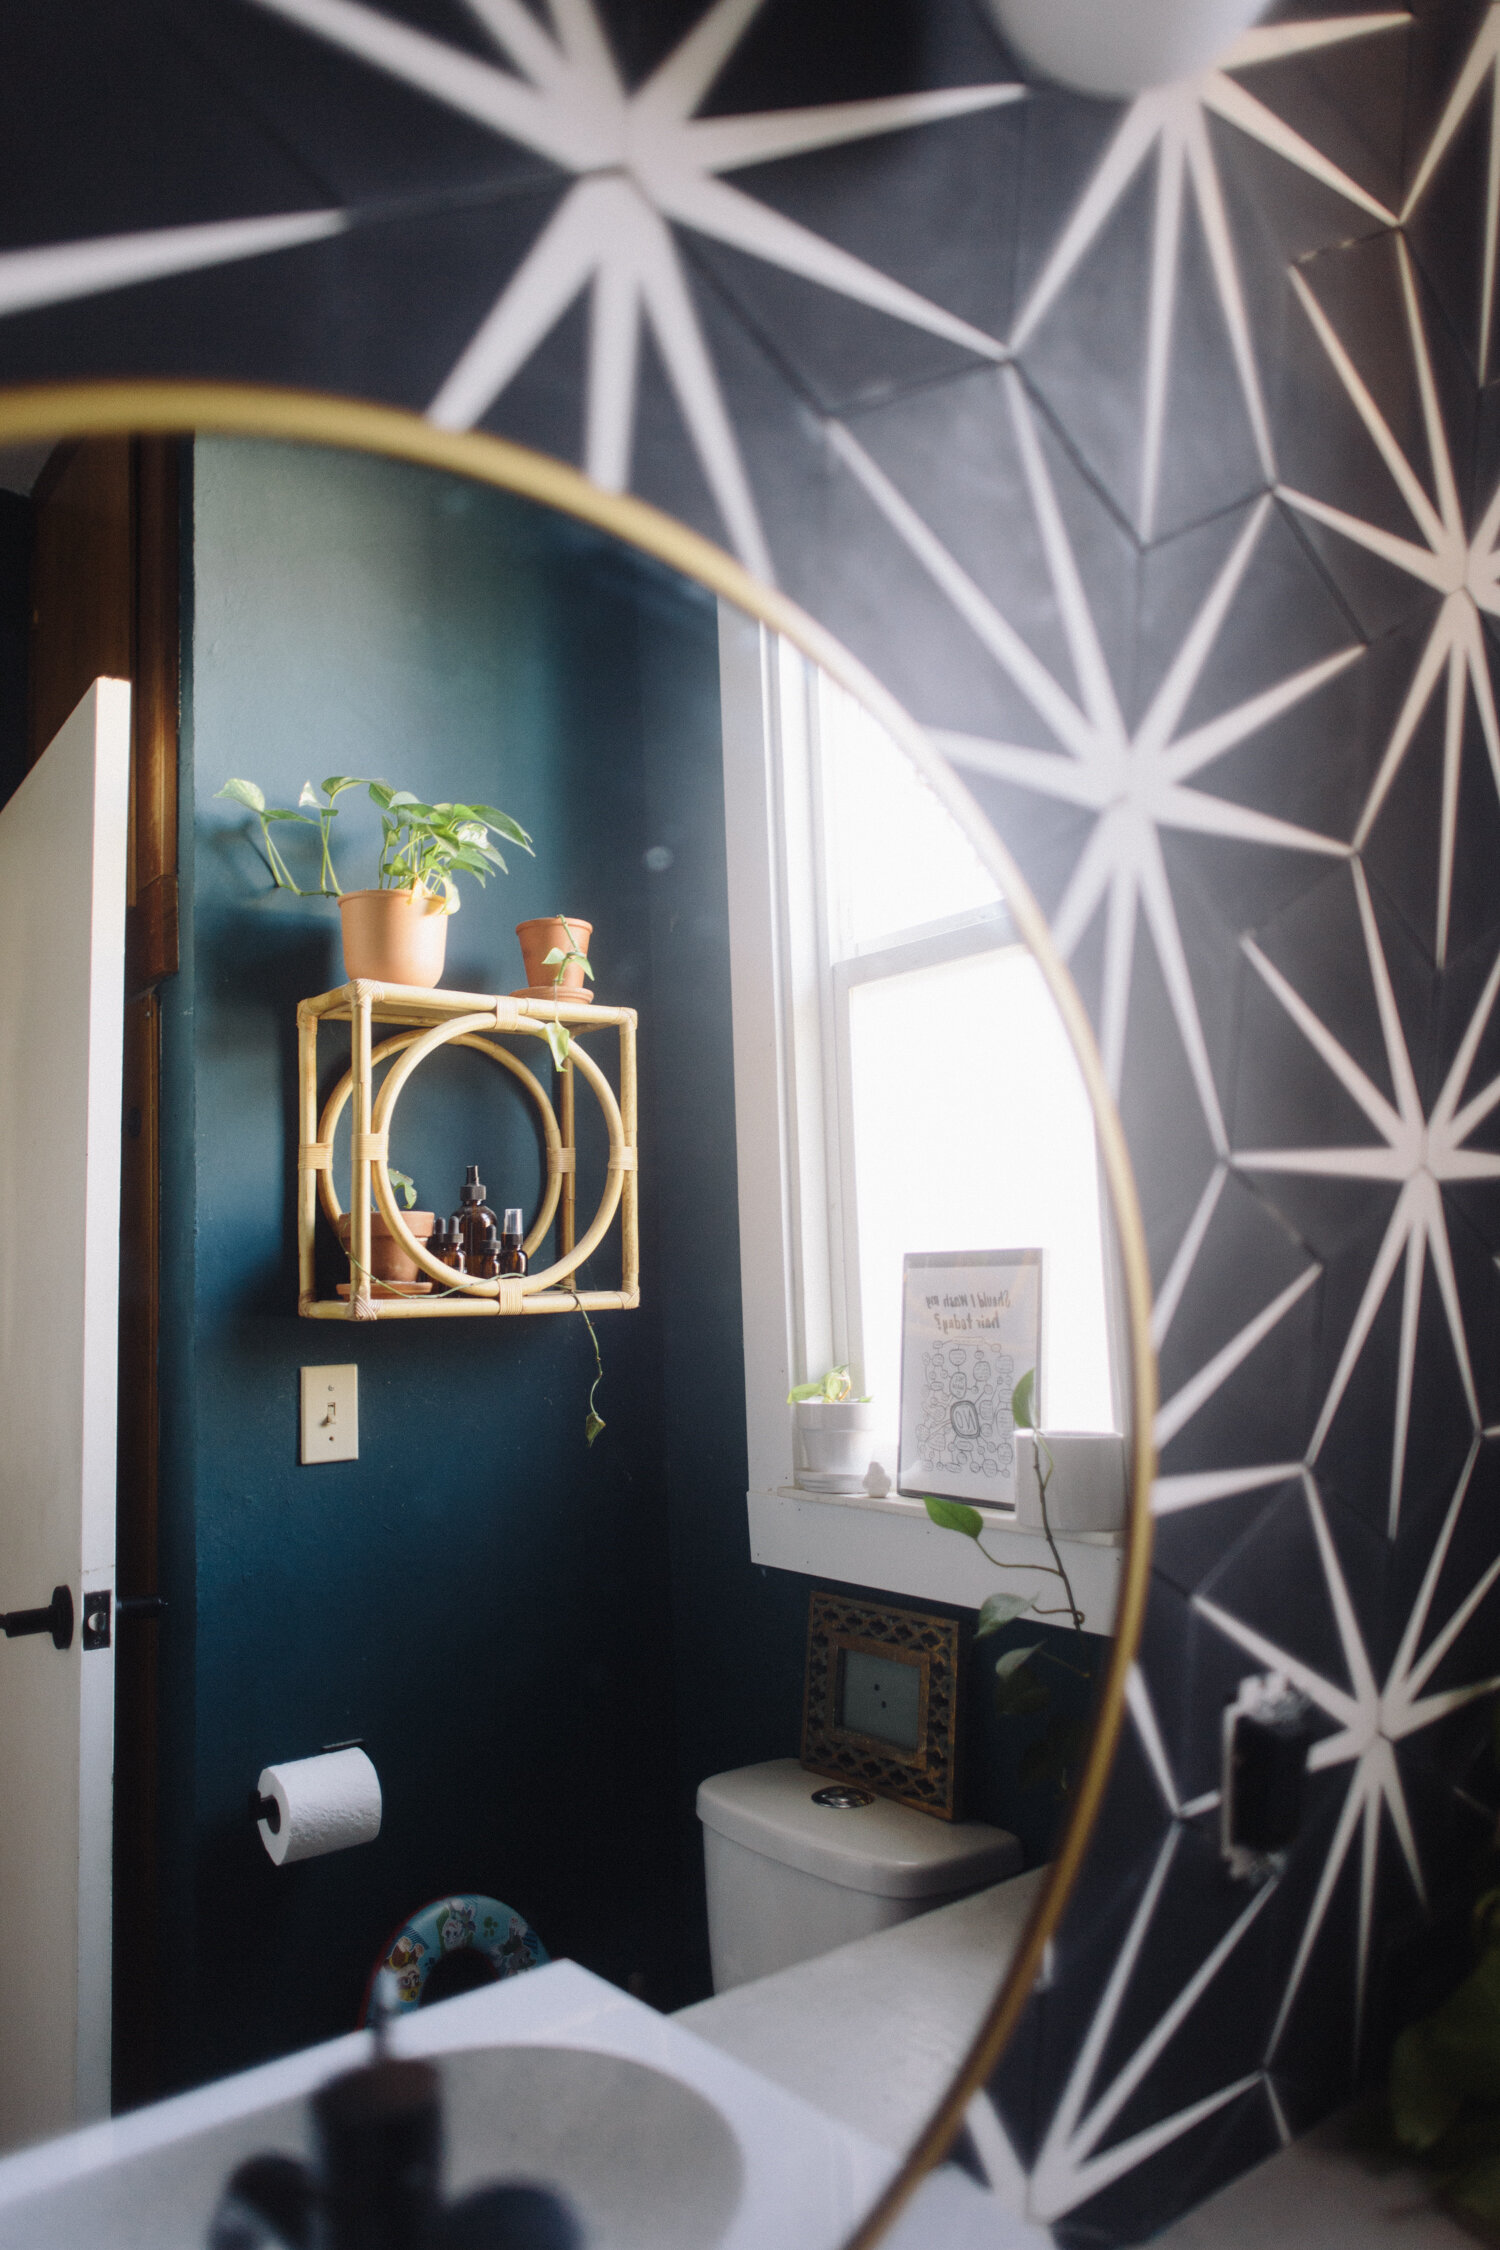
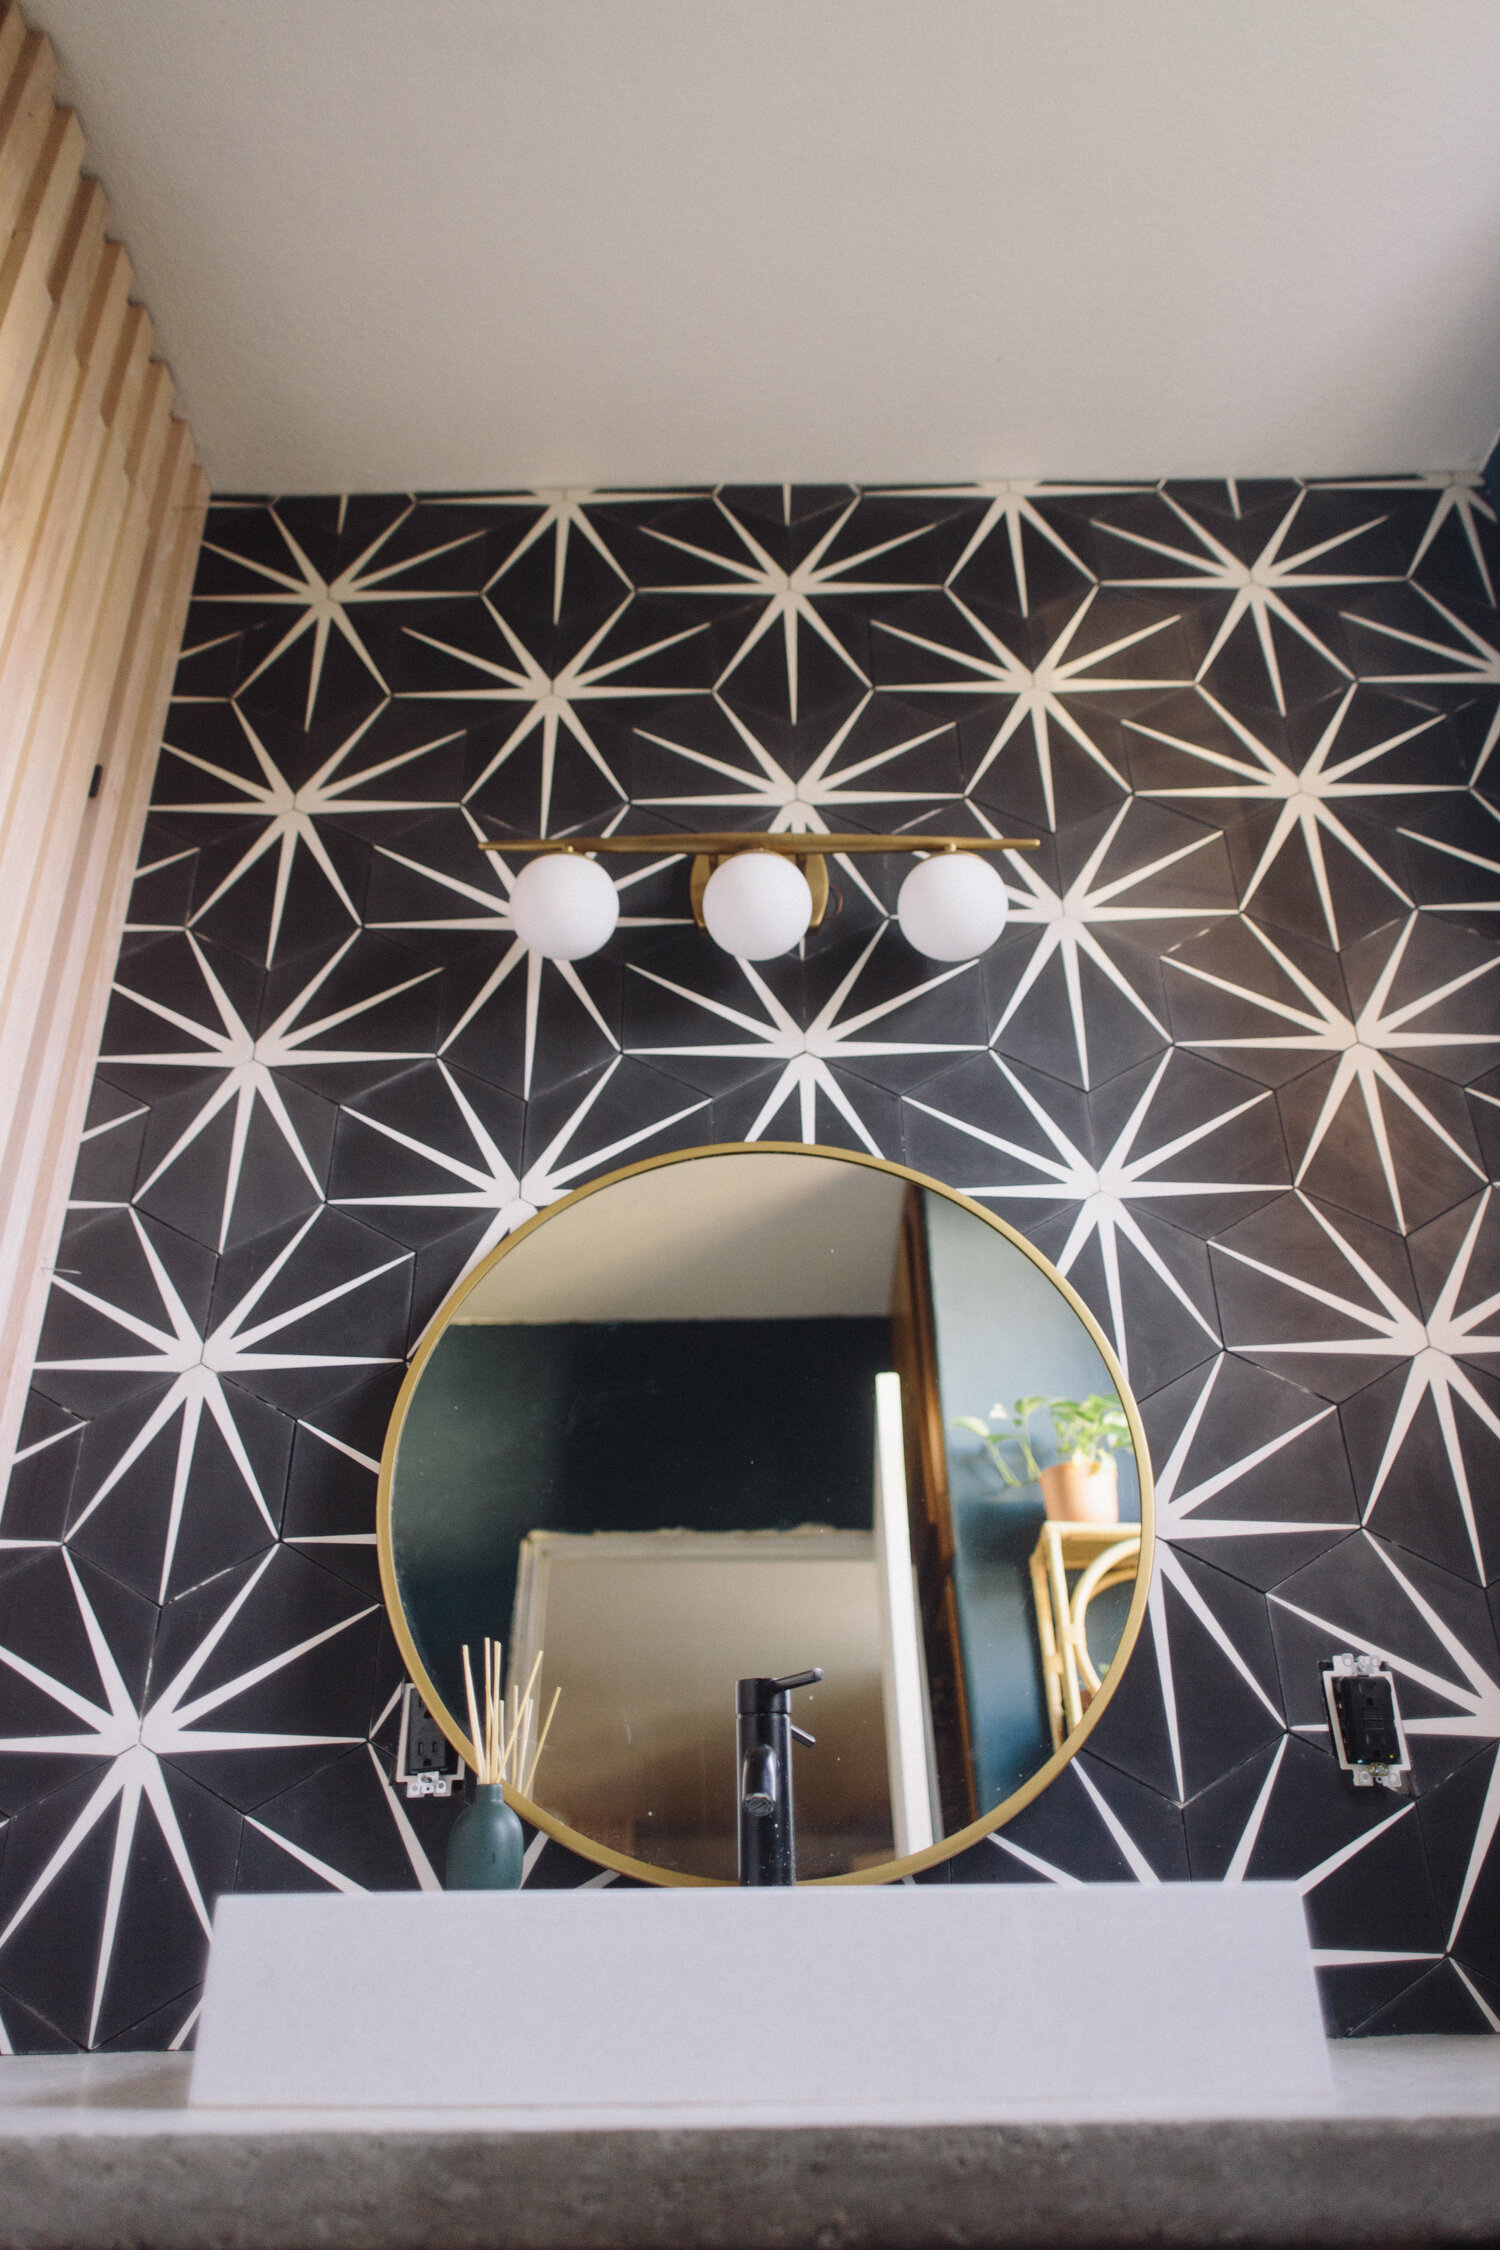
This bathroom is not hurting for storage so the massive medicine cabinet mirror was absolutely not necessary. a streamlined simple brass mirror took it’s place, and the sorely dated vanity lighting got a midcentury modern upgrade.
Dingy white walls be gone! I did a textured wall treatment, giving the walls a plaster-y look to remove the dated orange peel texture, and then painted a moody blue-ish green-ish teal, Valspar’s Everglade Deck.
Obviously the showstopper of the space is the stunning cement hex tile from Riad Tile. I’ve eyed so many styles from Riad for years and this large wall behind the vanity basically begged for a statement wall. I’m absolutely obsessed with how this tile completely transforms the room.
And to replace the old formica counter, we did a poured concrete counter! This whole space was a DIY update, and we did everything we could to do budget friendly updates, use what existing elements we could, and worked around the layout so we could create the maximum update for minimum cost. I did pretty much everything myself, except the poured concrete counter and the floor tile, which my husband took on (though I did cut the floor tile, so we’ll call that one a joint effort).
If you want to see the before images, scroll down!
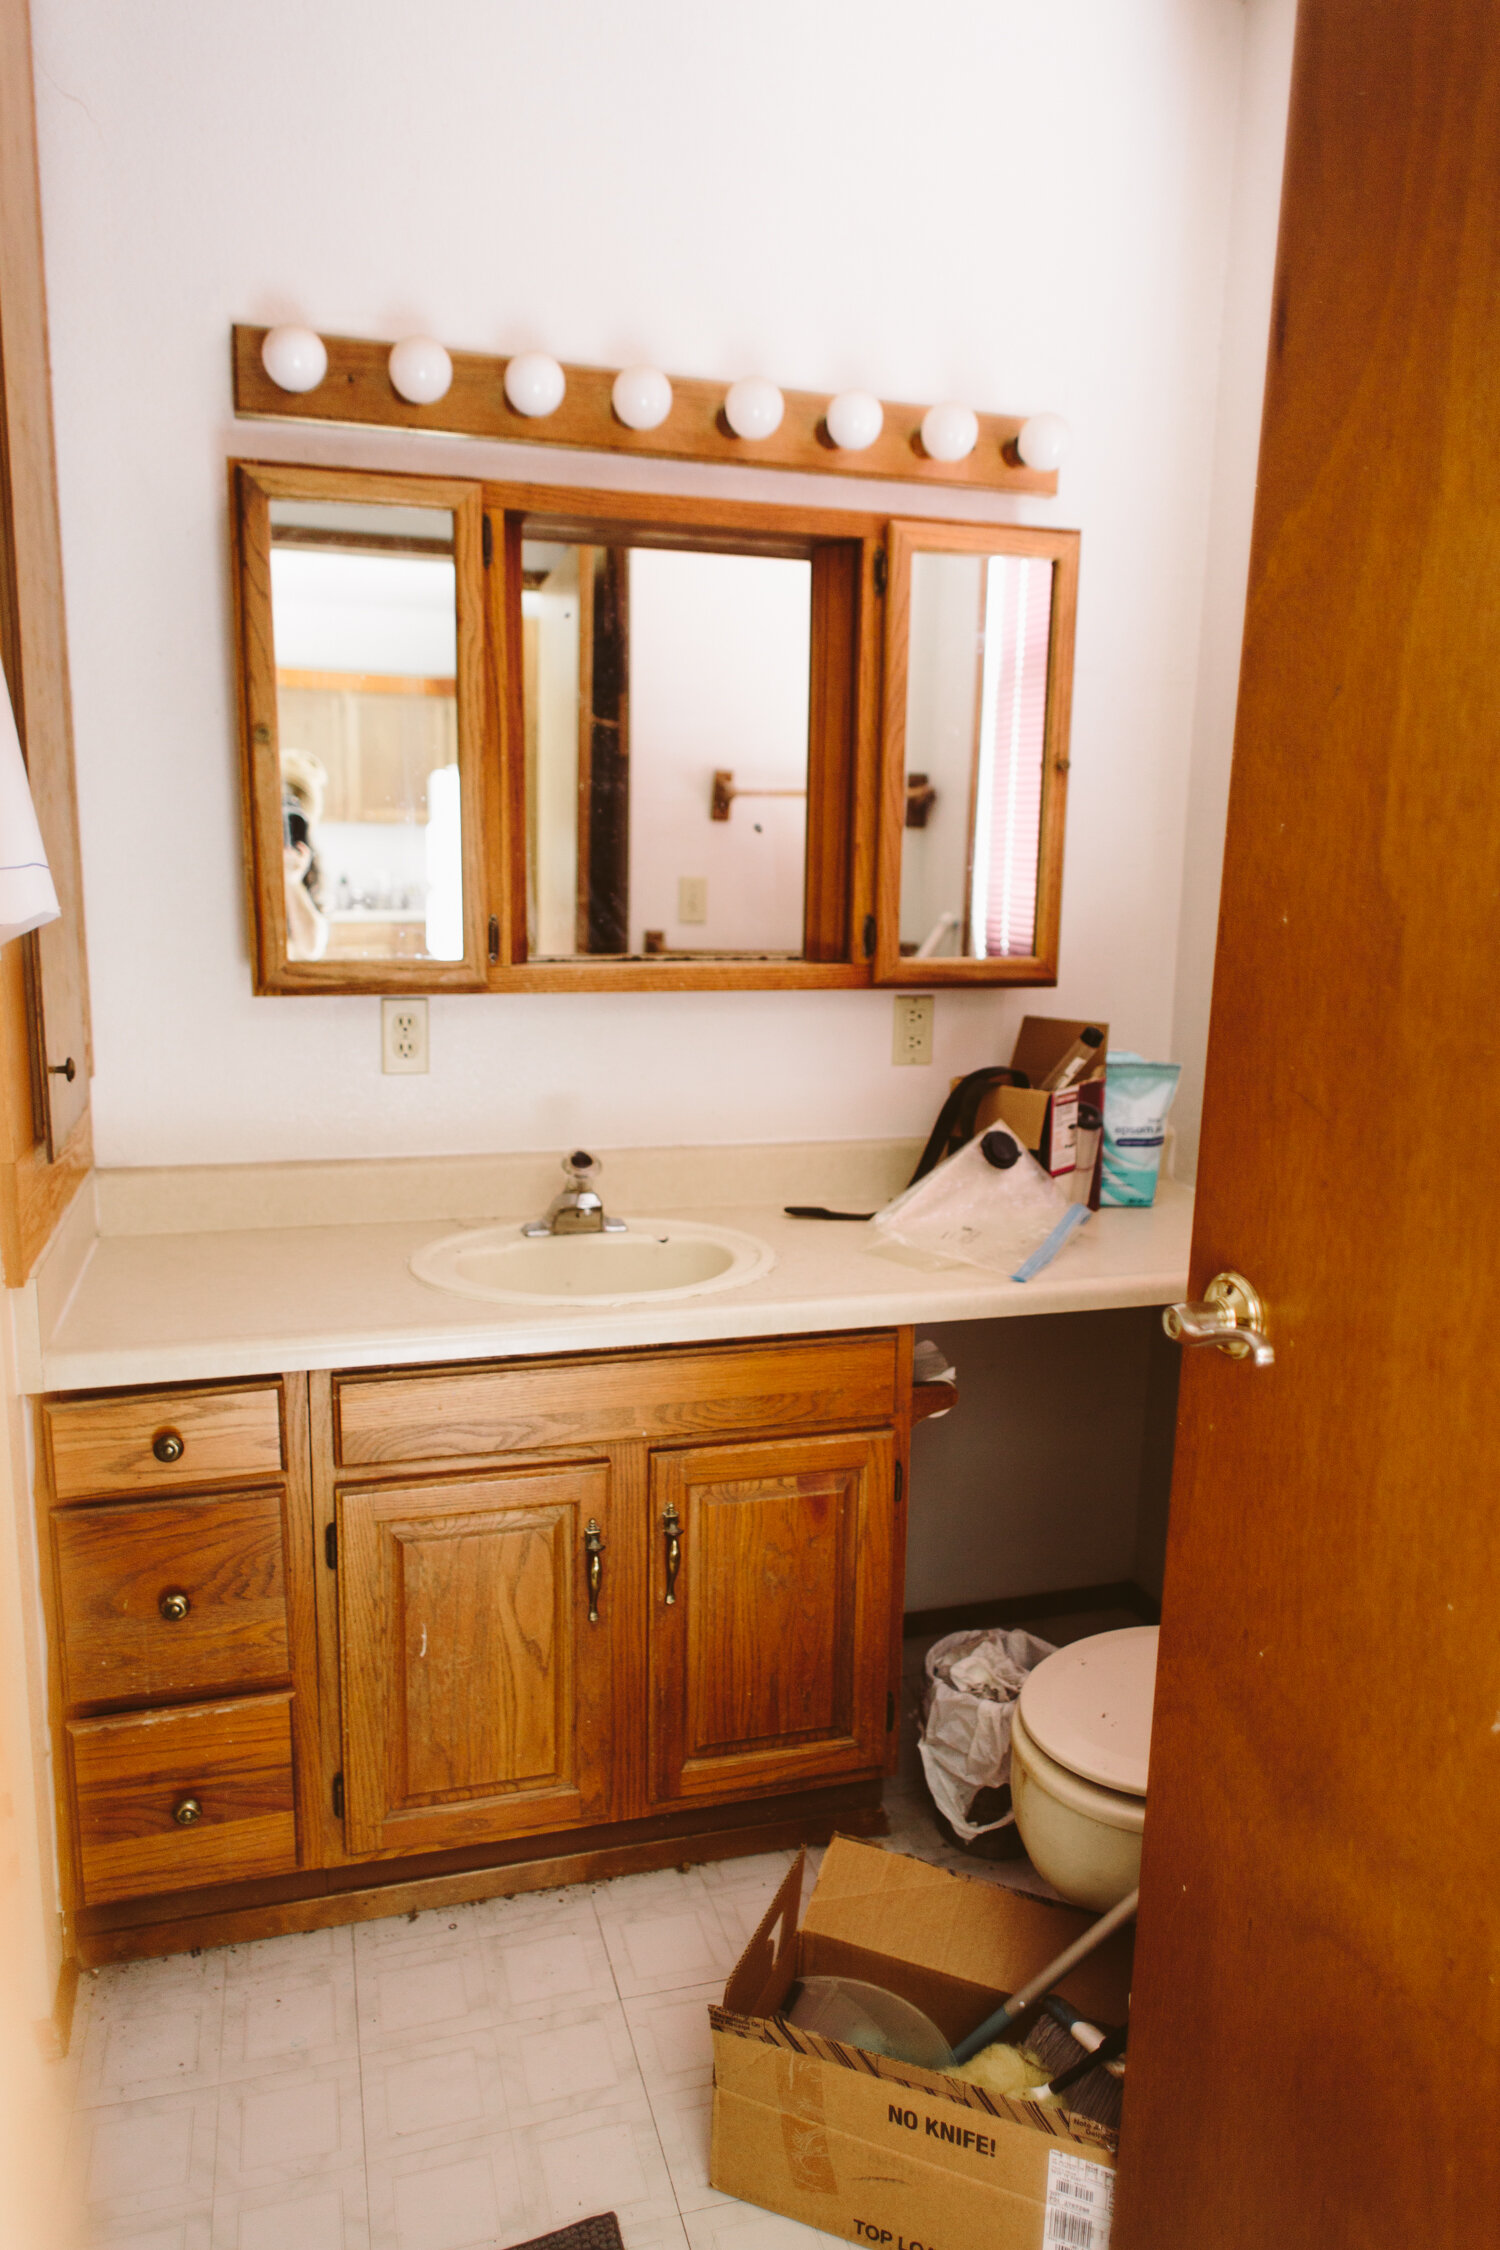
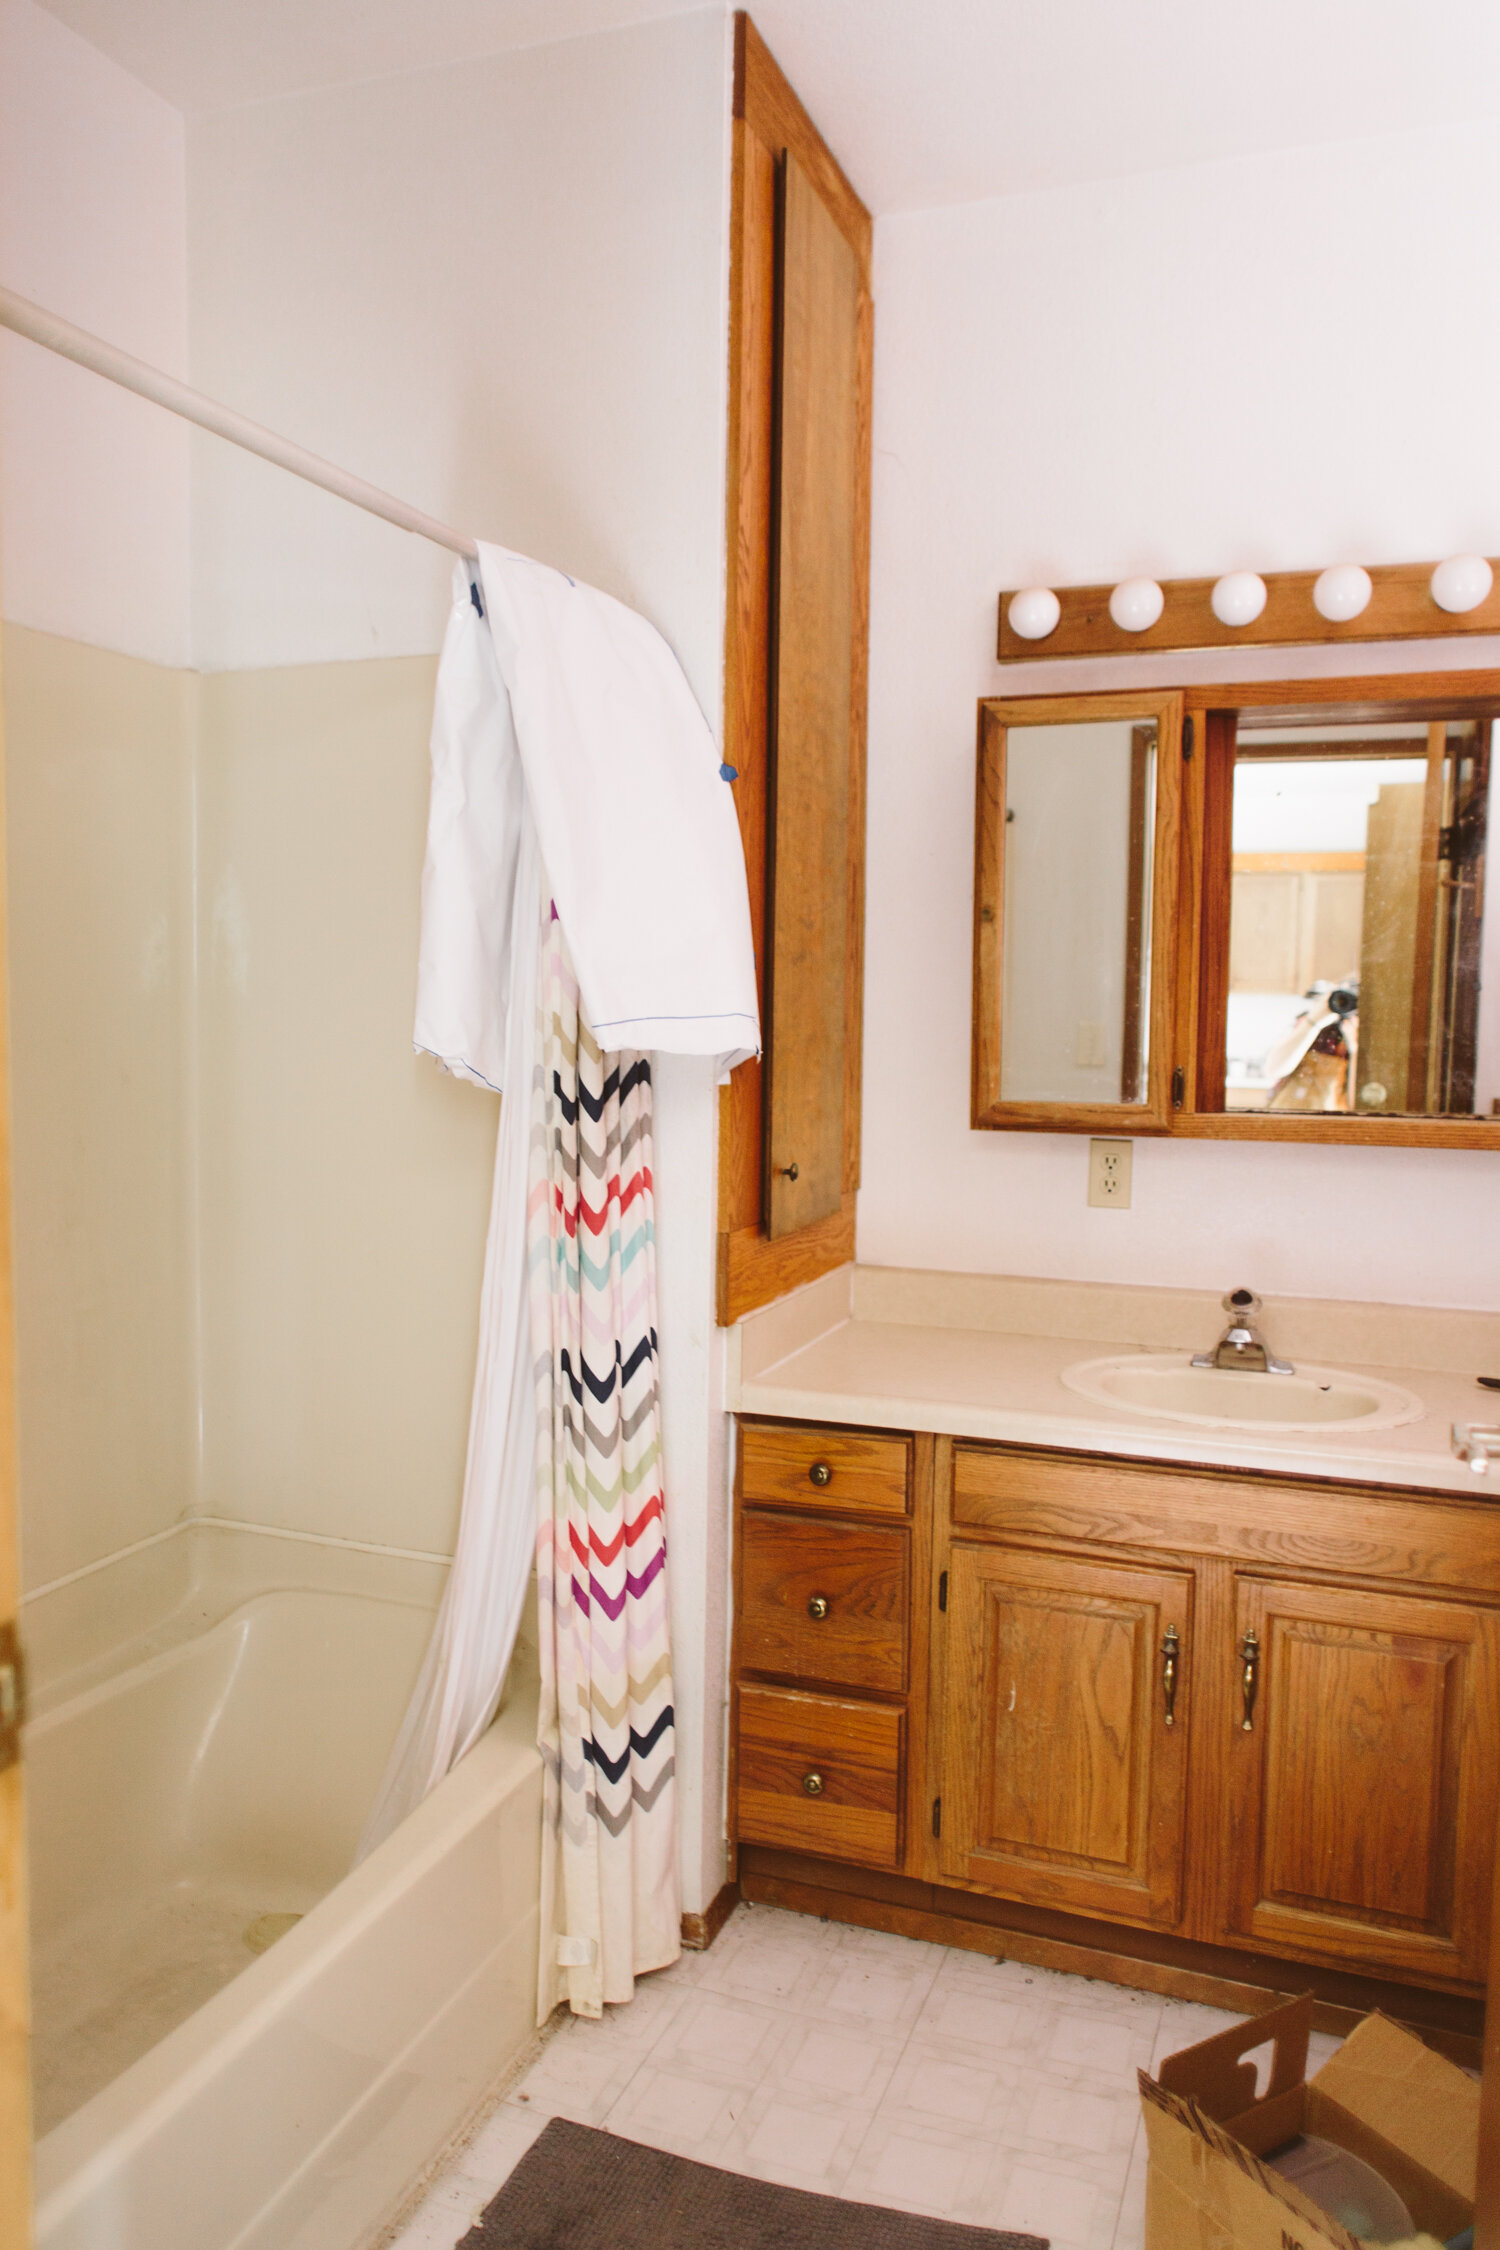
We’ve got some other big projects in the works so this space is basically on hold for now. It has an ugly ivory fiberglass tub/surround which desperately needs to be replaced, but it works fine and I can hide it behind a pretty shower curtain, so for the time being it stays. A pretty white tub and tiled surround will happen someday! In the meantime, I just bask in the glow of the tile wall.
tile c/o Riad Tile

Hi, I’m Liz
I'm an artist, writer, designer, DIY renovator, and … well basically I like to do all the things. If it’s creative I’m probably doing it. I’ve spent over 30 years voraciously pursuing a life steeped in creativity and I wholeheartedly believe creativity and joy are inextricably linked.
Read more…


Explore The Archive
- July 2025
- May 2025
- January 2025
- December 2024
- August 2024
- July 2024
- May 2024
- April 2024
- January 2024
- December 2023
- October 2023
- September 2023
- July 2023
- June 2023
- May 2023
- April 2023
- March 2023
- February 2023
- January 2023
- December 2022
- November 2022
- October 2022
- August 2022
- June 2022
- May 2022
- April 2022
- March 2022
- November 2021
- October 2021
- August 2021
- July 2021
- May 2021
- January 2021
- November 2020
- October 2020
- September 2020
- August 2020
- July 2020
- June 2020
- May 2020
- April 2020
- February 2020
- January 2020
- November 2019
- October 2019
- August 2019
- July 2019
- June 2019
- May 2019
- April 2019
- February 2019
- January 2019
- December 2018
- November 2018
- October 2018
- September 2018
- August 2018
- July 2018
- June 2018
- May 2018
- April 2018
- February 2018
- January 2018
- November 2017
- September 2017
- August 2017
- July 2017
- June 2017
- May 2017
- April 2017
- March 2017
- February 2017
- January 2017
- December 2016
- November 2016
- October 2016
- September 2016
- August 2016
- June 2016
- May 2016
- April 2016
- March 2016
- February 2016
- January 2016
- December 2015
- November 2015
- October 2015
- September 2015
- August 2015
- July 2015
- June 2015
- May 2015
- April 2015
- March 2015
- February 2015
- January 2015
- December 2014
- November 2014
- October 2014
- September 2014
- August 2014
- July 2014
- June 2014
- May 2014
- April 2014
- March 2014
- February 2014
- January 2014
- December 2013
- November 2013
- October 2013
- September 2013
- August 2013
- July 2013
- June 2013
- May 2013
- April 2013
- March 2013
- February 2013
- January 2013
- December 2012
- November 2012
- October 2012
- September 2012
- August 2012
- July 2012
- June 2012
- May 2012
- April 2012
- March 2012
- February 2012
- January 2012
- December 2011
- November 2011
- October 2011
- September 2011
- August 2011
- July 2011
- June 2011
- May 2011
- April 2011
- March 2011
- February 2011
- January 2011
- December 2010
- November 2010
- October 2010
- September 2010
- August 2010
- July 2010
- June 2010
- May 2010
- April 2010
- March 2010
- February 2010
- January 2010
- December 2009
- November 2009
- October 2009
- September 2009
- August 2009
- July 2009
- June 2009
- May 2009
- April 2009
- March 2009
- February 2009
- January 2009
- December 2008
- November 2008
- October 2008
- September 2008
- August 2008
- July 2008

VISIT THE SHOP


PRIVACY POLICY & DISCLOSURE
We are a participant in the Amazon Services LLC Associates Program, an affiliate advertising program designed to provide a means for us to earn fees by linking to Amazon.com and affiliated sites.