

DIY Triangle Shoe Storage Shelf

I knew I needed a better solution for my shoe storage and I wanted something cuter than just a bunch of cubbies, when I found a large version of this shelf on Pinterest (it was like a 6ft high version) I knew I wanted to make a small one that would fit beneath the angled ceilings of our attic closet. The wood for this was super affordable, and it only took about an hour and a half from start to finish to complete it!
What you’ll need:
2 8ft 2x2s
1 8ft 1x2
8 1.5 in screws
2 2 inch mending plates with screws
4 corner braces with screws
1 4ft 1x8 plank
1 6ft 1x8 plank
Drill
Skillsaw

1/ Using a skillsaw (or a handsaw) cut your 2x2s into four 41 inch long pieces for the ladder sides, and your 1x2 into four 11 inch pieces for the ladder rungs.

2/ Make a ladder by laying two 2x2s next to each other, marking a line 13 inches and 29 inches on each one. Separate the two sides and place the top of the 1x2 rungs at each line, screwing them to the 2x2s. The ends of the 1x2s should be flush with the sides of the 2x2s so the total depth of the ladder is 11 inches. Repeat for the second ladder. I pre-drilled the screw holes on the 1x2s because otherwise the screws would split the wood, so I recommend doing that.
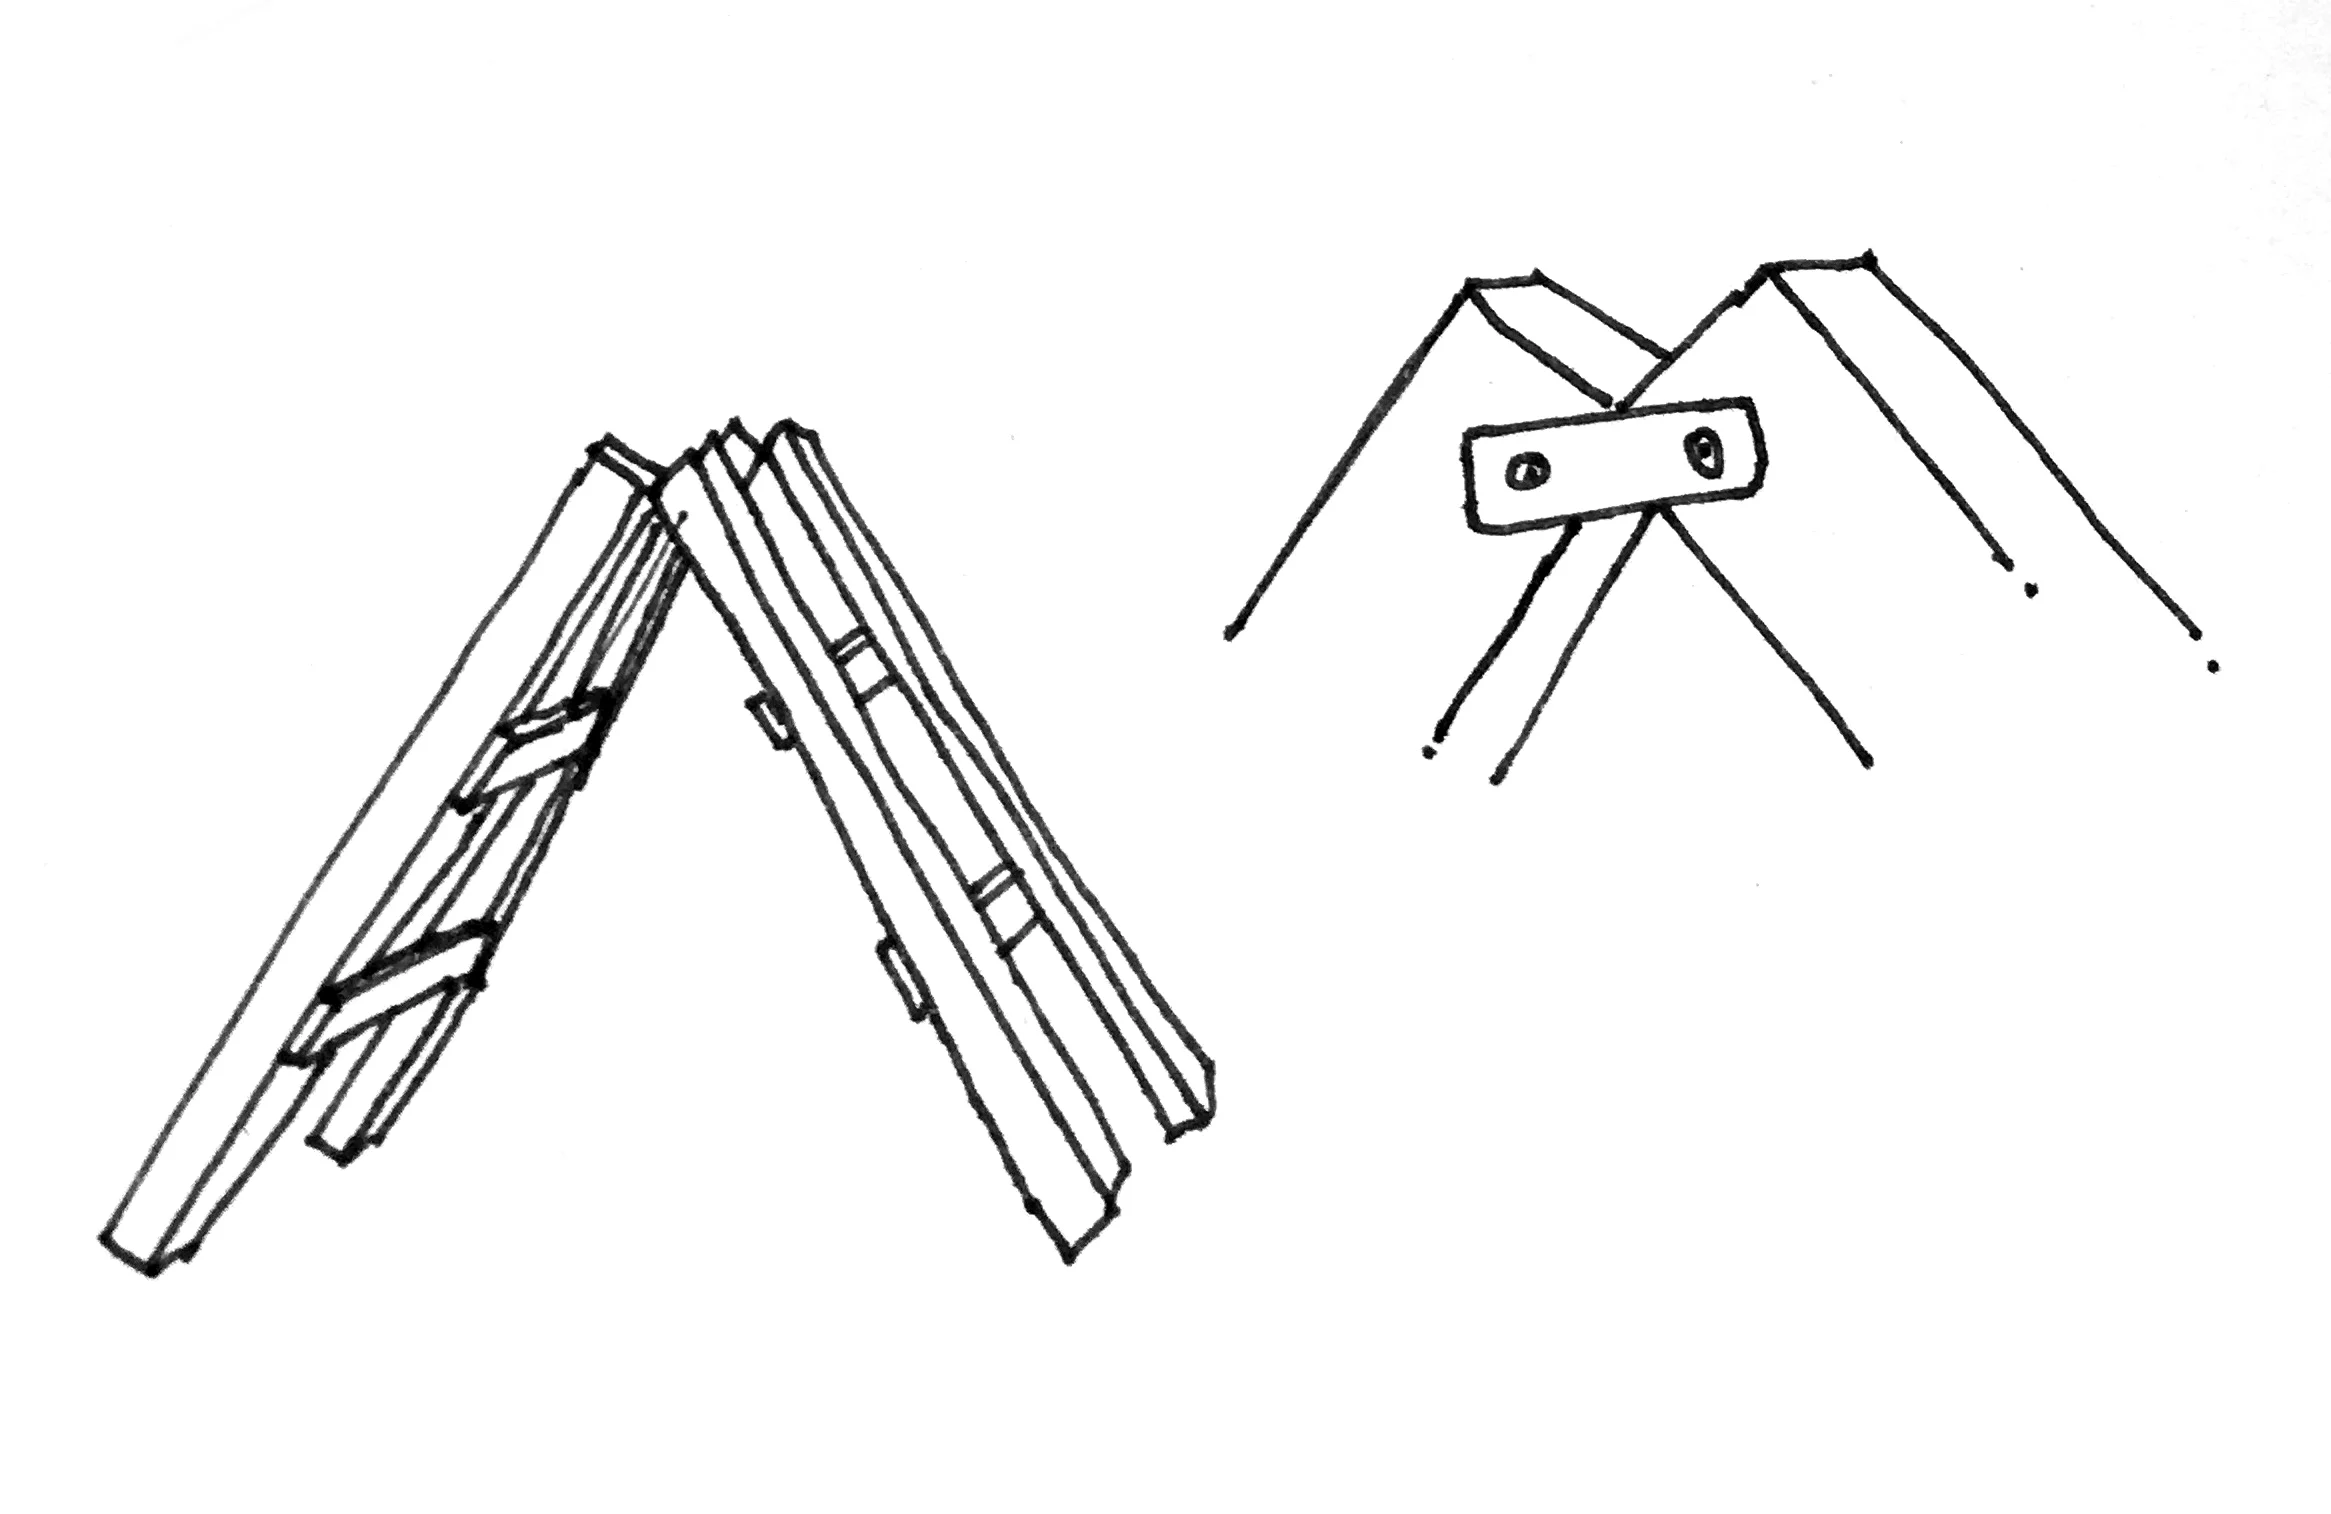
3/ Use your flat brackets to attach the tops of the ladders to each other. Using a speed square, make sure the angle of the two ladders is 60º at the top where they meet. In order to keep them together while I got the angle right, I used clamps to hold the tops together and then used a piece of scrap wood and screwed it into the sides to keep the angle correct. If you have a friend helping, though, you can probably just use them to help hold the ladders together while you screw the brackets at the top.

4/ Place the planks on each shelf, the shorter one on the top shelf. Make sure they’re centered so that each side has the same overhang length. Use the L bracket and screw the vertical side to the inside of the 2x2, just below the shelf, then screw the horizontal side up into the bottom of the shelf, securing the shelf to the ladder. Do this on both sides for each shelf. I only put one L bracket on for each shelf, but you could put one on each side of the ladder for both sides of the the shelves if you want a little more security.
If you’ve screwed on a scrap piece of wood to the ladders to keep them at the right angle, you can unscrew that now. You’re all done!
I made sure that all the brackets were behind the wood so you don’t see them from the front, but that’s just me being nitpicky because #aesthetics.


Curran Apple Orchard

There are a lot of really hard things about having a toddler, but in the past few months I’ve found a group of fellow moms with kids about the same age as Jack and it’s been super fun watching him forge friendships with other kids, and it’s been a godsend for me to have other women around me who GET it and are in the trenches too.
Fall has been extra fun this year as we get to do fall activities together! One mama put together an apple orchard field trip for us all, so we all trekked out to Curran Apple Orchard in University Place and learned about apples! It was super fun, even though Jack lost interest halfway through and charged off to explore the orchard on his own. And thankfully the weather was sunny, if brisk, until it started to drizzle right before we left.
Watching this kid discover the world is so fascinating and special. Next week we head to a farm field trip, and sometime this month we’ll hit up a pumpkin patch because duh. I can’t wait!


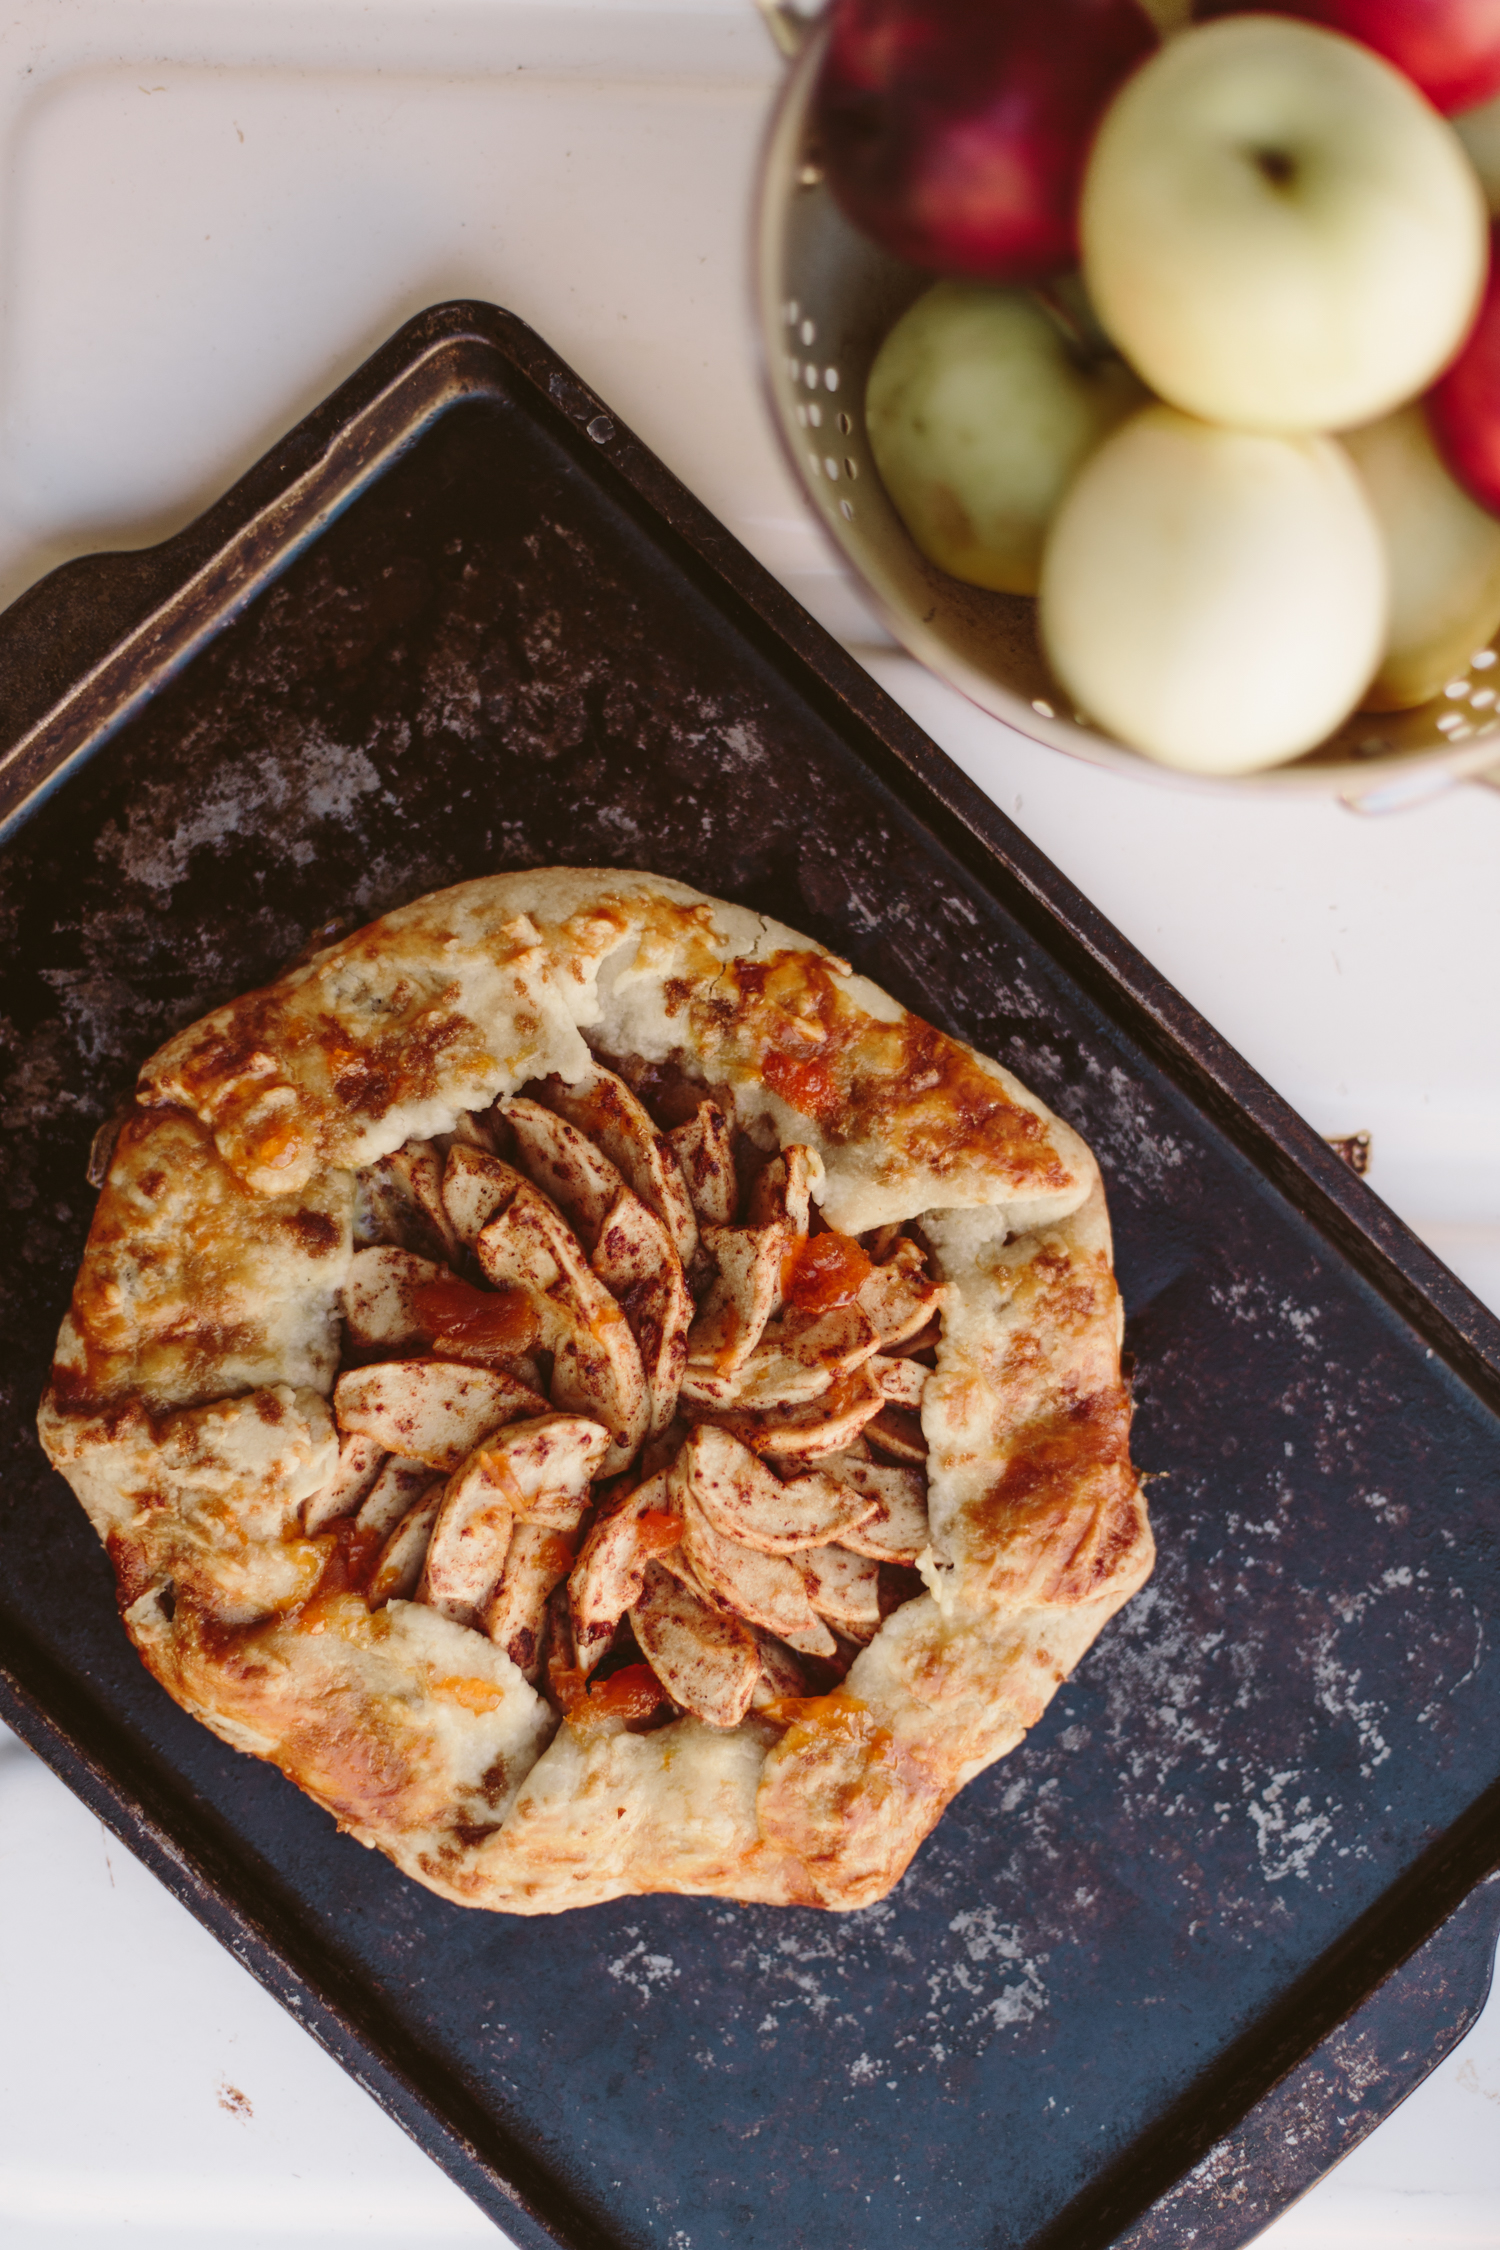
Apple Rustic Tart

My best friend came over today with her little month old baby and we got to spend the afternoon baking! My dad brought some apples from my parents’ house where they have a few apple trees so I had a ton of apples to use for recipes (I made this applesauce last week too!). My pie pans have disappeared since our move last October, so instead of making apple pies, we decide to make Apple Rustic Tarts. This recipe says that the prep is about 30 minutes but if you’re also watching a baby and a toddler it takes like 3x that long…
Apple Rustic Tart
Prep Time: 30 Minutes
Cook Time: 1 Hour
Ingredients
For the Crust
1-1/2 cups all-purpose flour
1/2 tsp salt
2 tbsp granulated sugar
1-1/2 sticks (12 tbsp) cold unsalted butter, cut into 1/2-inch pieces
1/4 cup cold water
For the Filling
1 -1/2 lbs apples (appx 3 large)
1/3 cup sugar
1 tsp cinnamon
1 tsp vanilla extract
2 tbsp unsalted butter, melted
1/8 tsp salt
For Assembly
1 tbsp all purpose flour
1 egg, beaten
2 tbsp brown sugar
1 tbsp apricot preserves, for glaze
Instructions
Prepare the crust:
Line two baking sheets with parchment paper.
In a food processor, combine the flour, salt and sugar and pulse briefly to mix.
Add the cold butter and process just until the butter is the size of peas, appx 5 seconds. Then, add the ice water to the mixture and process just until moistened and very crumbly, about 5 seconds.
Place the dough on a lightly floured surface and knead it until it comes together into a cohesive ball, just a few times. Split the dough into two equal balls.
Flour your work surface again and sprinkle one of your dough balls with flour, as well. Using a rolling pin, roll the ball into a circle appx 12 inches in diameter, turning and adding more flour as necessary so the dough doesn’t stick. Transfer the dough to the parchment-lined baking sheet and refrigerate while you prepare the filling. Repeat with the second ball of dough.
Make the filling:
Peel, core, and cut the apples into 1/8-inch-thick slices (you should have about 4 cups) and place in a large bowl.
Add the sugar, vanilla, cinnamon, melted butter, and salt; toss to combine.
Assemble the tart:
Sprinkle the flour evenly over the pastry. Arrange the apple slices on top in overlapping concentric circles to within 2 inches of the edge. Work quickly so the dough doesn’t get too warm. Fold the edges of the dough over the apples, working your way around and creating pleats as you go.
Using a pastry brush, brush the pleated dough evenly with the beaten egg. Sprinkle the brown sugar over the crust and apples. Chill the assembled tart in the fridge for 15 to 20 minutes. Prepare the second tart and place it in the fridge as well.
Preheat the oven to 350°F and set an oven rack in the center position.
Bake for 55 to 65 minutes, or until the apples are tender and the crust is golden and cooked through.
While the tart bakes, make the glaze. In a small bowl, mix the apricot jam with 1-1/2 teaspoons hot water. About 2-3 minutes before your tarts finish baking, remove them, brush the tarts with the apricot glaze, and put them back in the oven for the final two minutes. Remove and let cool.
Transfer the tart to a serving plate or cutting board. Slice and serve warm or at room temperature. The tart is best served on the day it is made, but leftovers make for a delicious breakfast treat the next day!


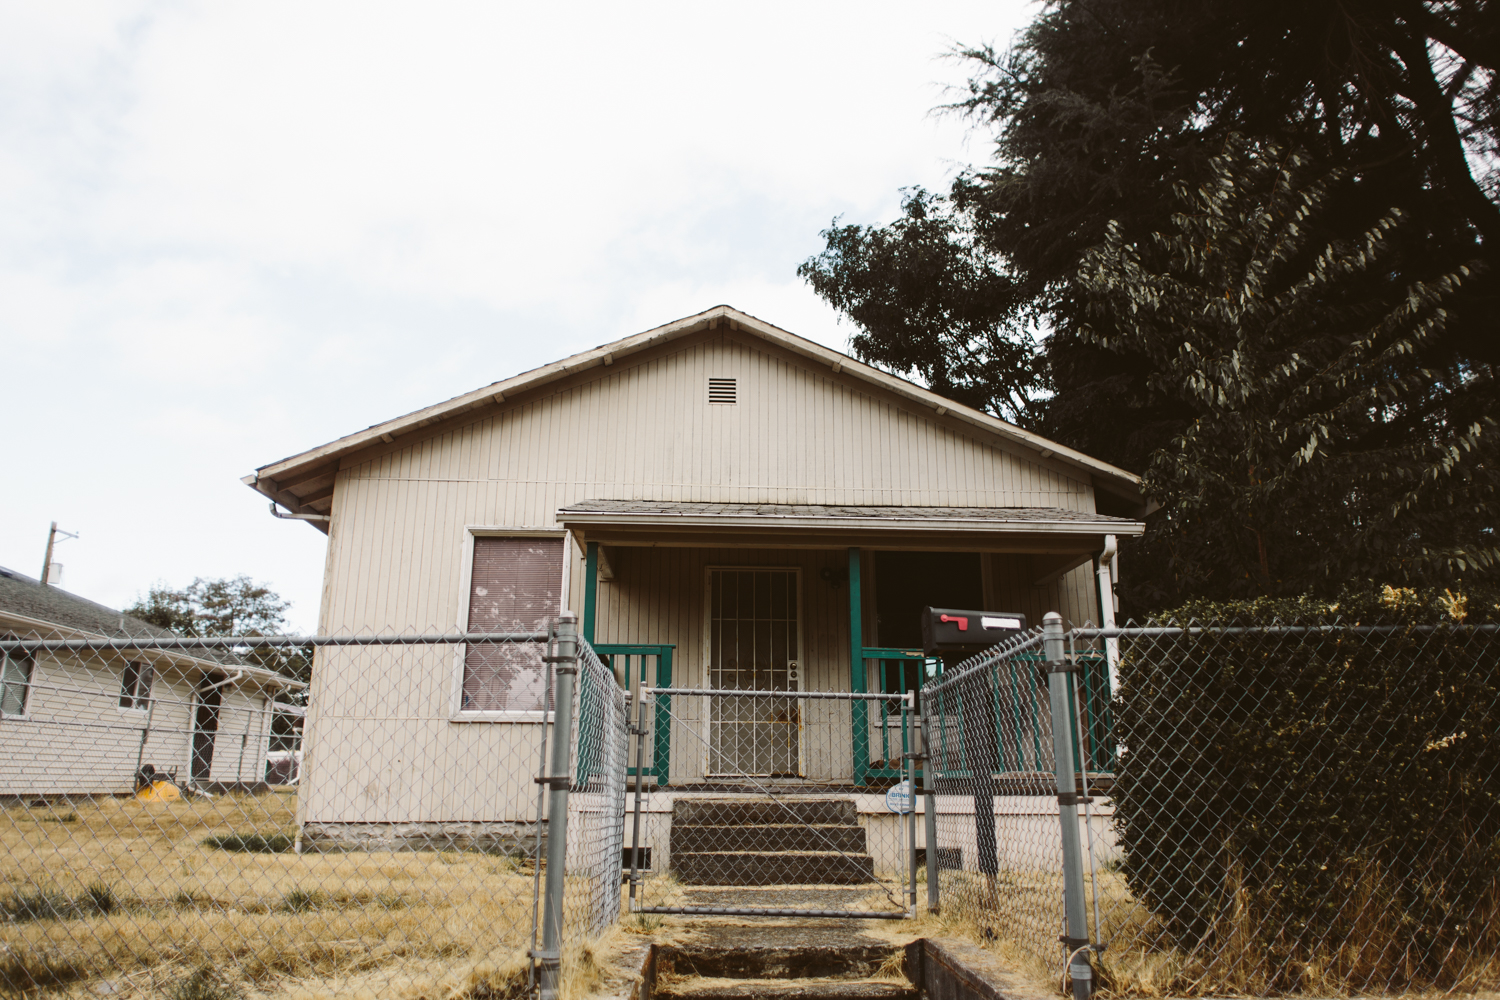
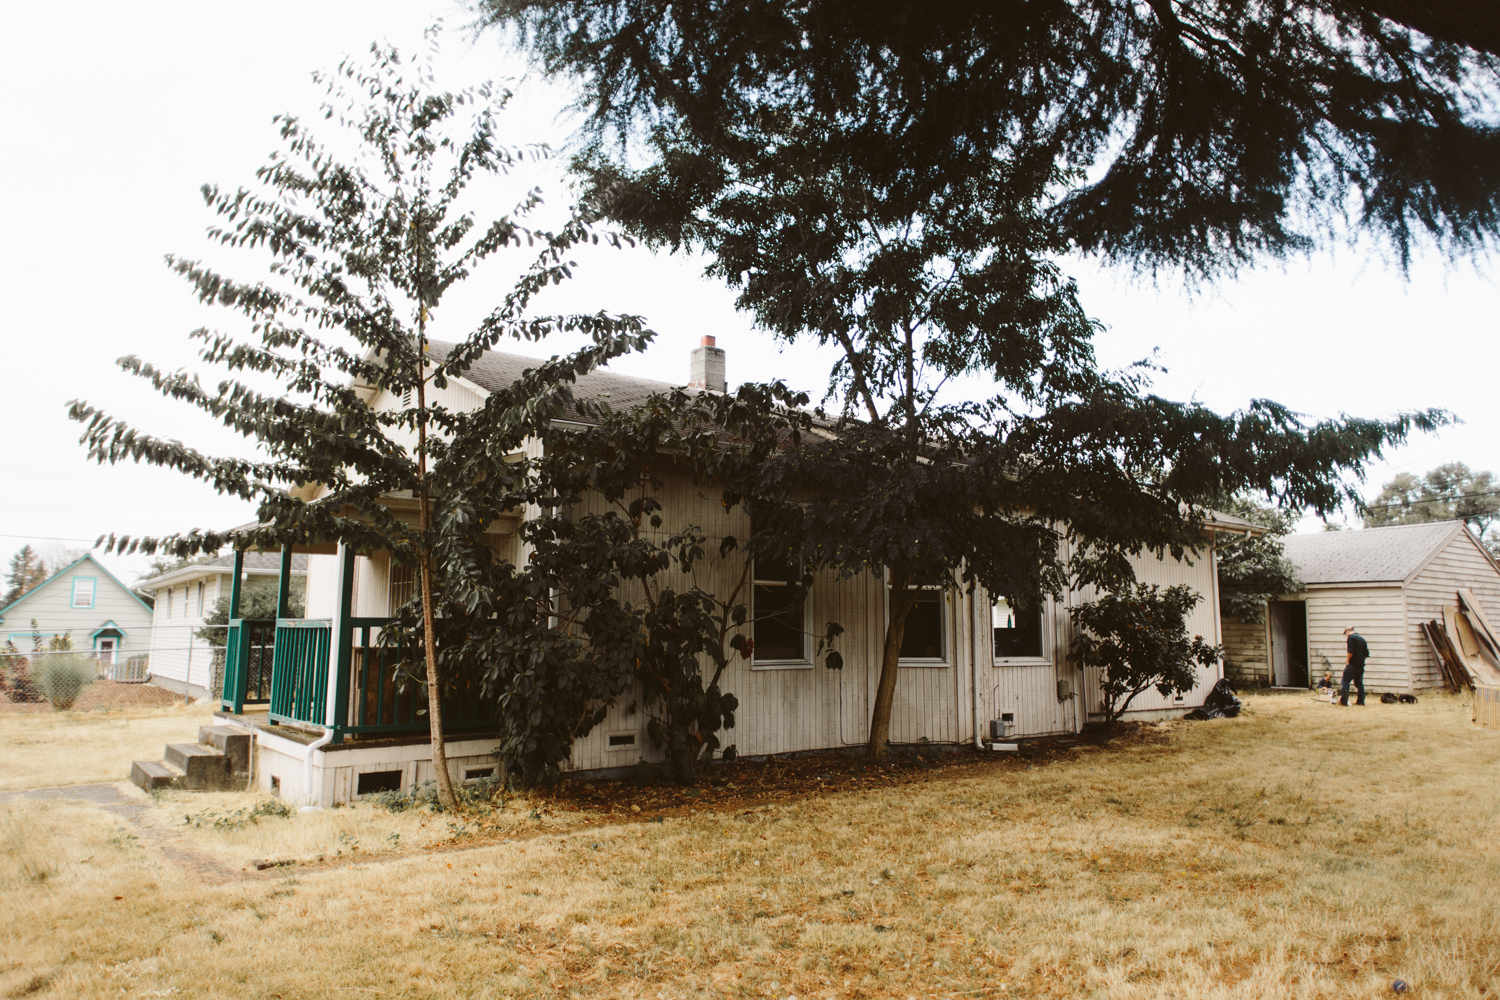
Project House #1
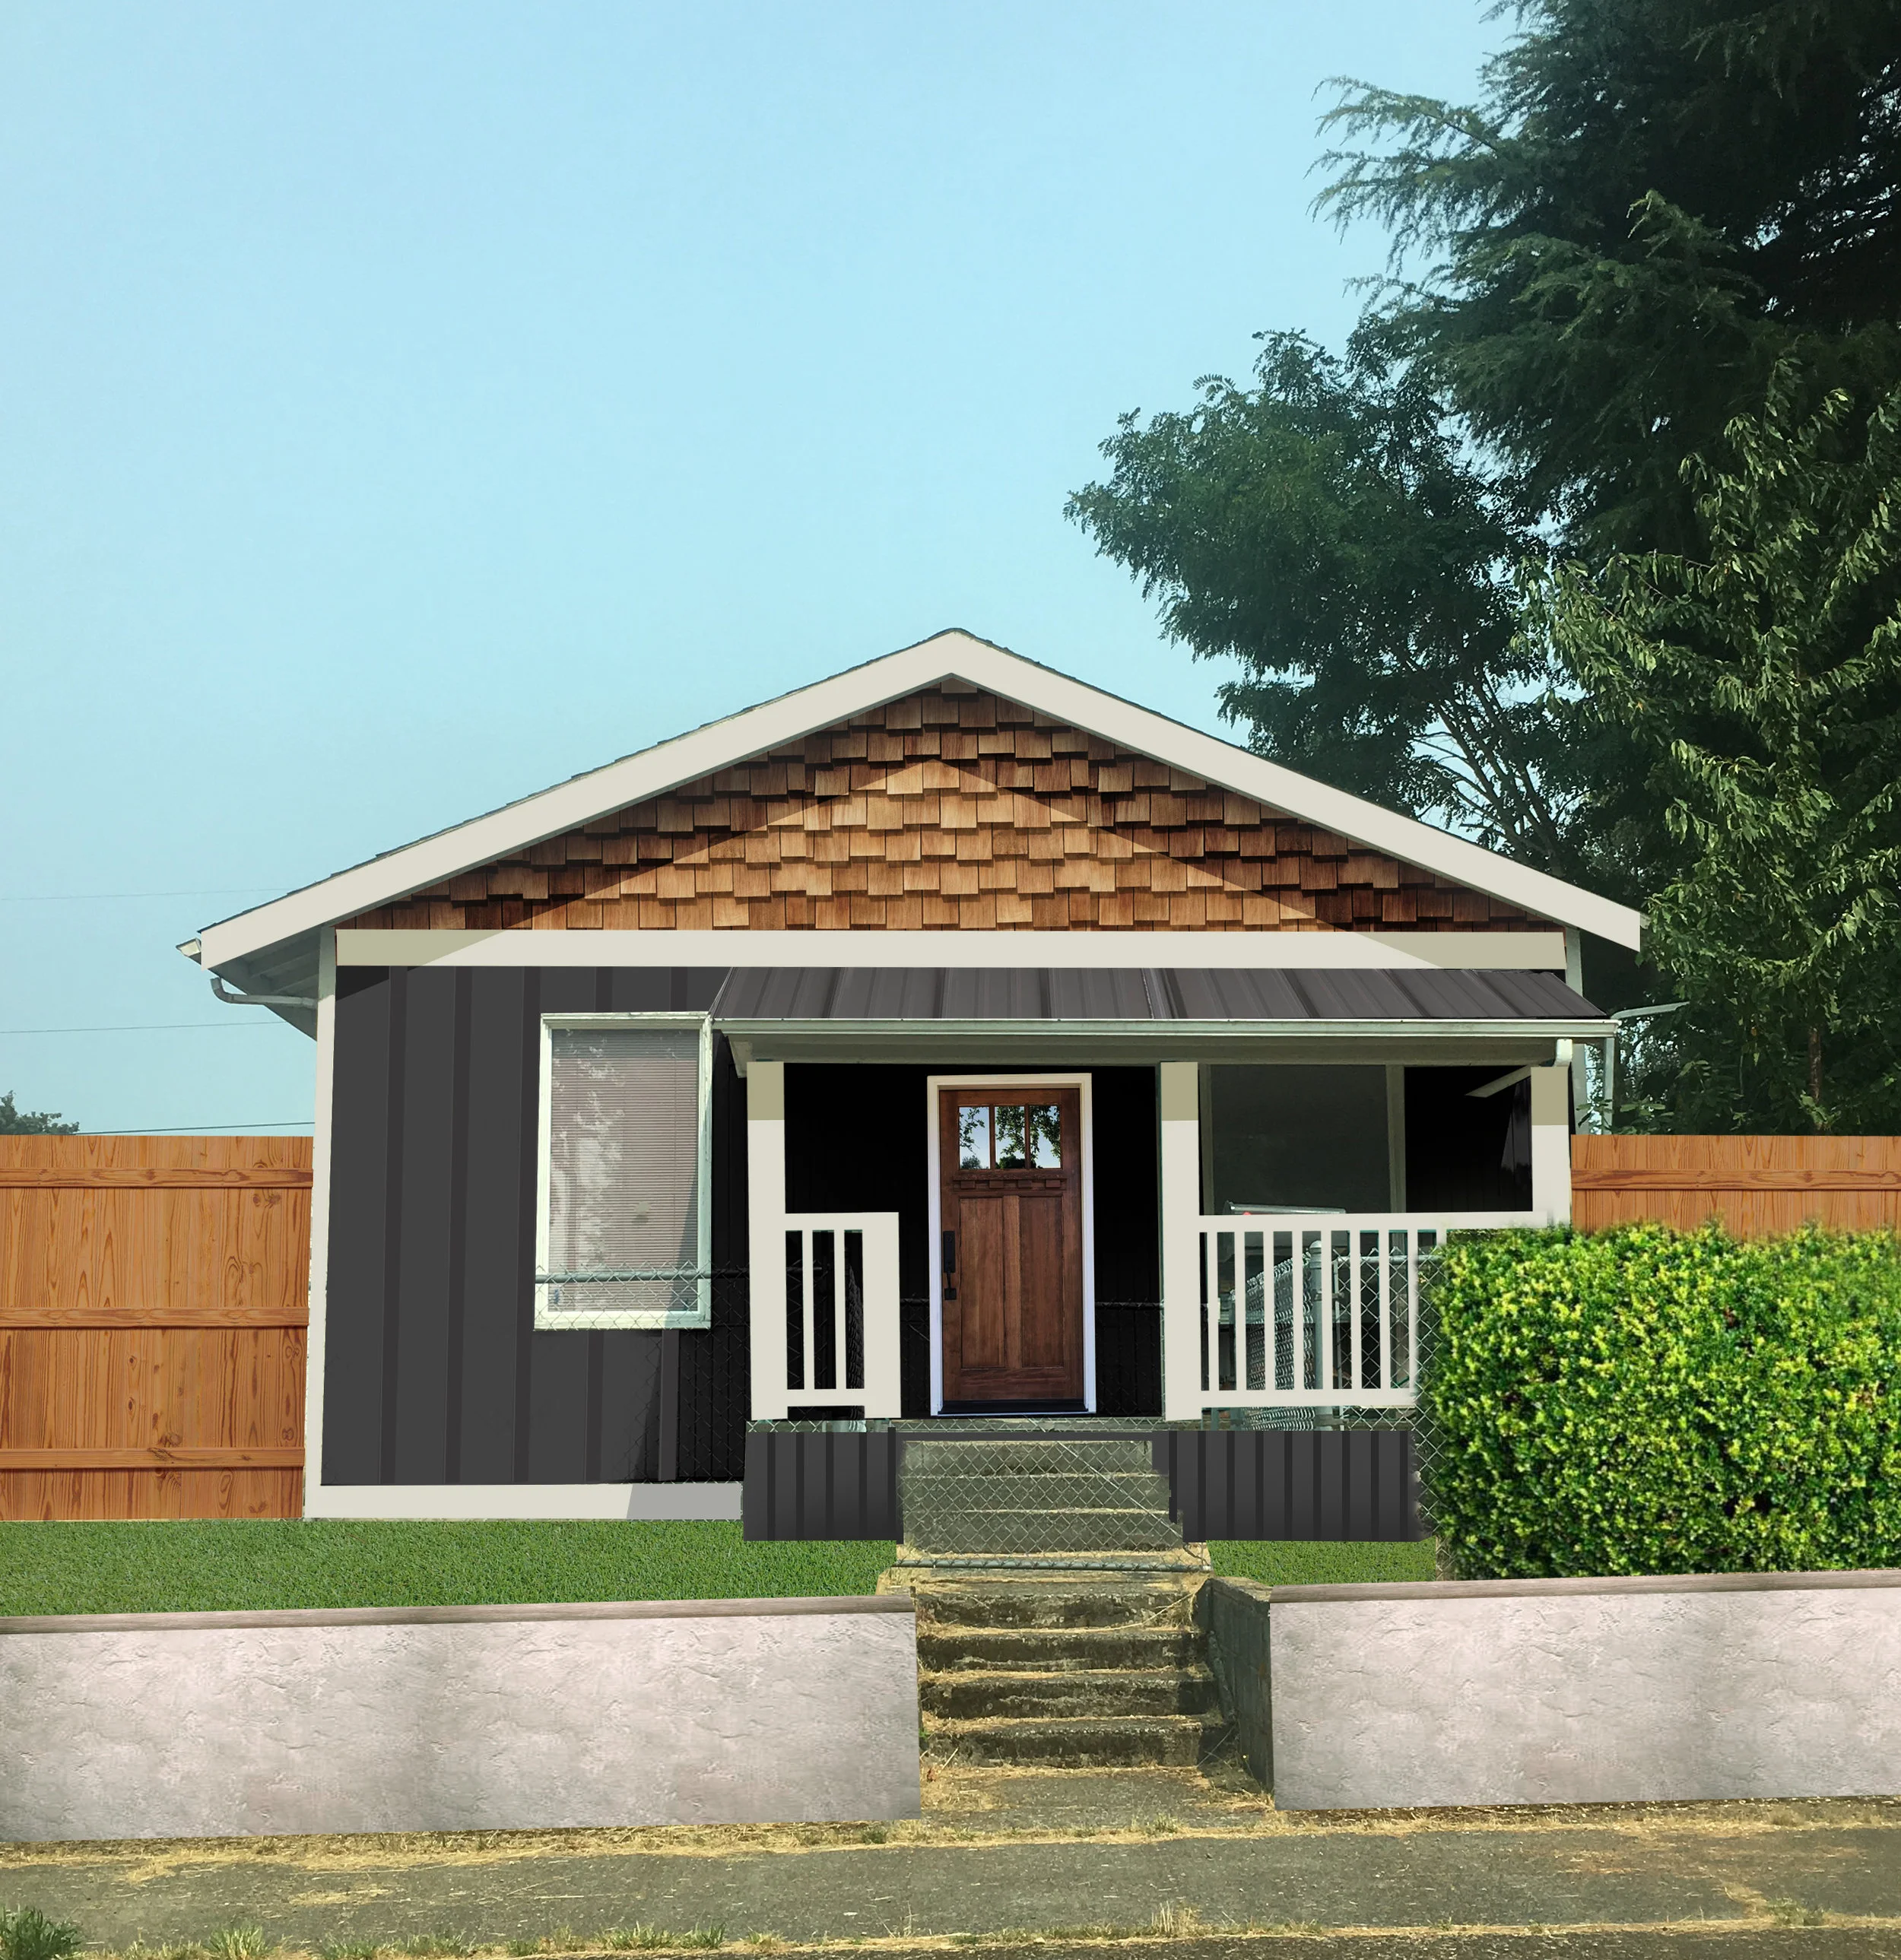
I'm so excited to share the big news that we just closed on our first flip house! This has been a long time coming, something I've been planning for over a year and have been thinking about for several years. After Jack was born I really felt like I needed to reclaim myself and in early 2018 I decided that this year I needed to give birth to something creative for myself. I vowed that in 2018 I would flip at least ONE house. I've been trying to get a house since January and have been learning the ins and outs of house flipping and real estate investing, and I still feel like I've only seen the tip of the iceberg with all this stuff, but I also know that I learn by doing so this will be a big learning process.
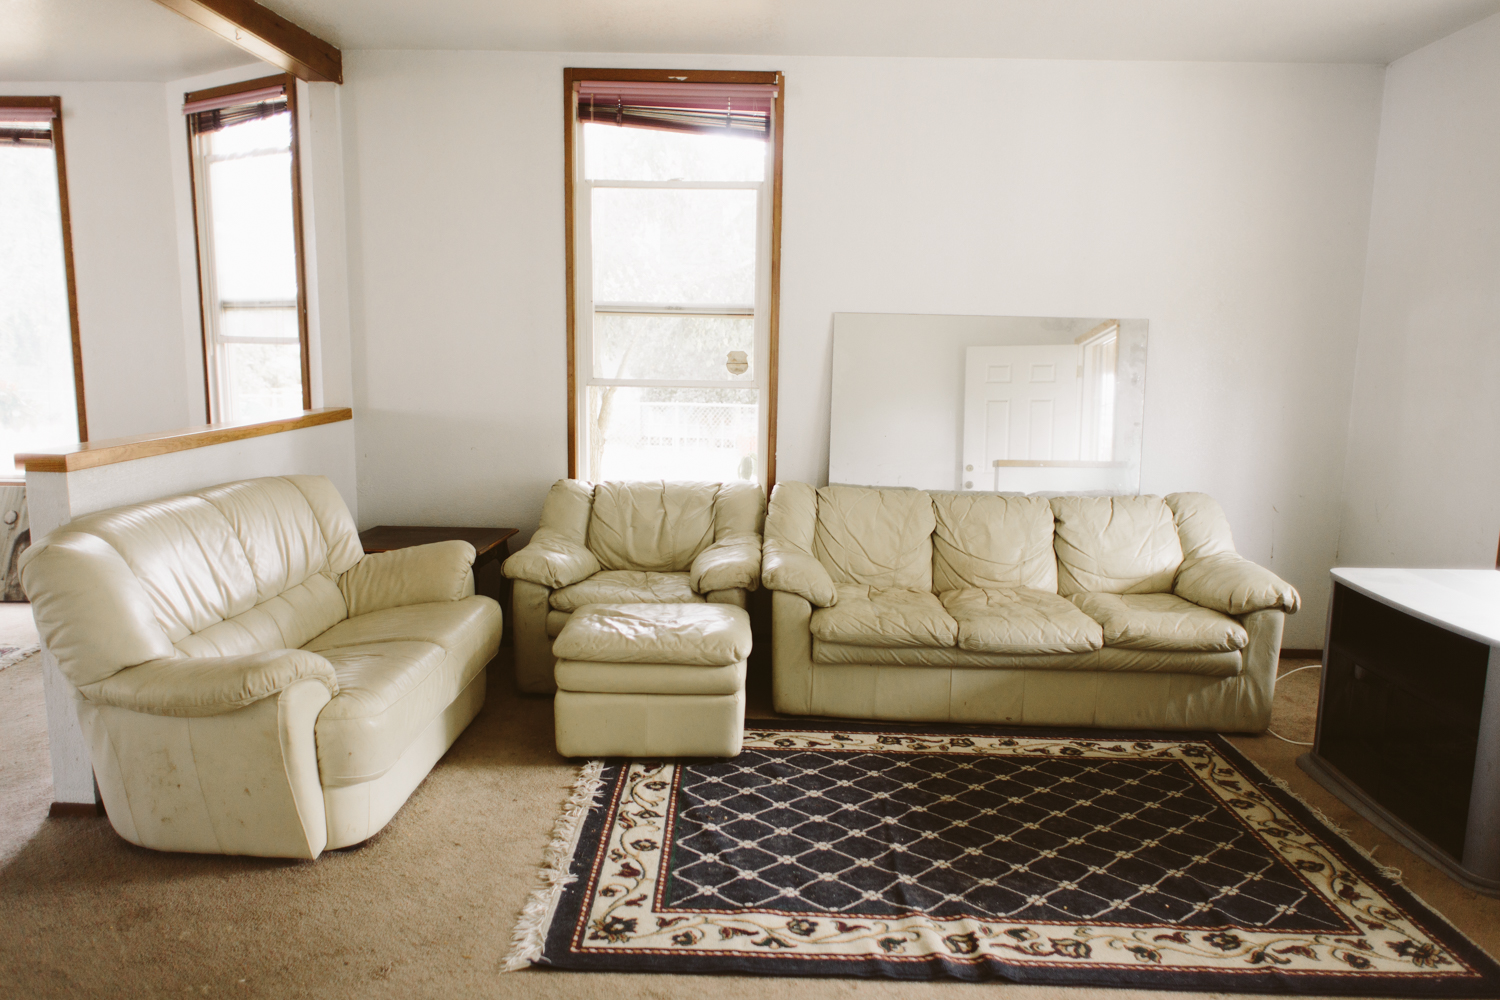
So here she is in all her day-1 glory. We just got our dumpster delivered so we can finally finish up our trash-out!
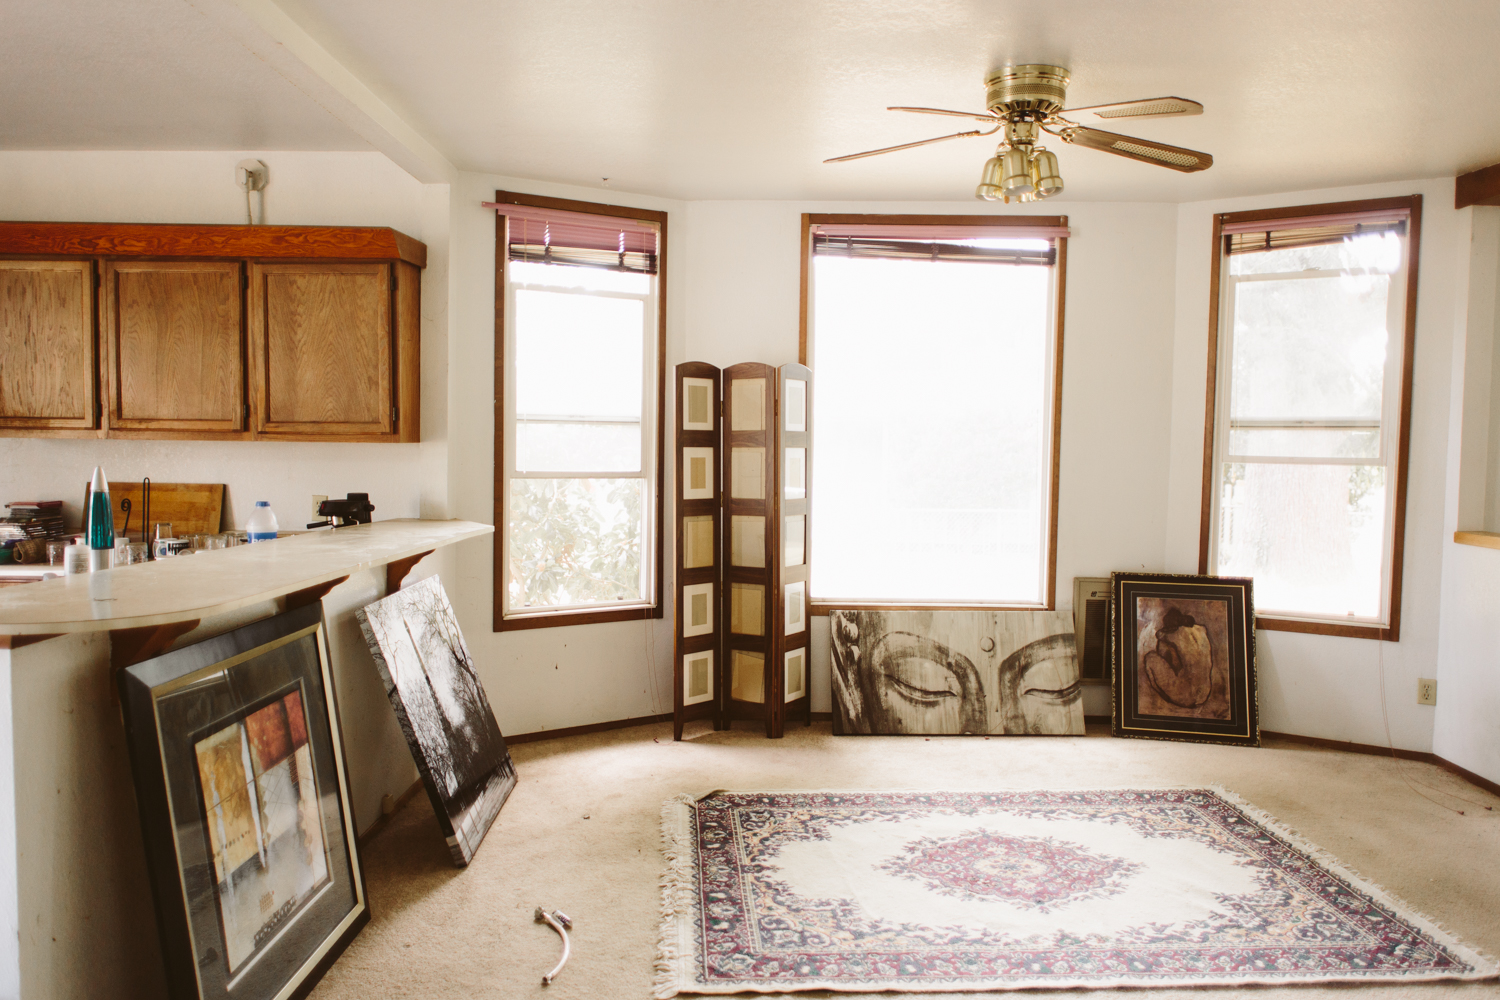
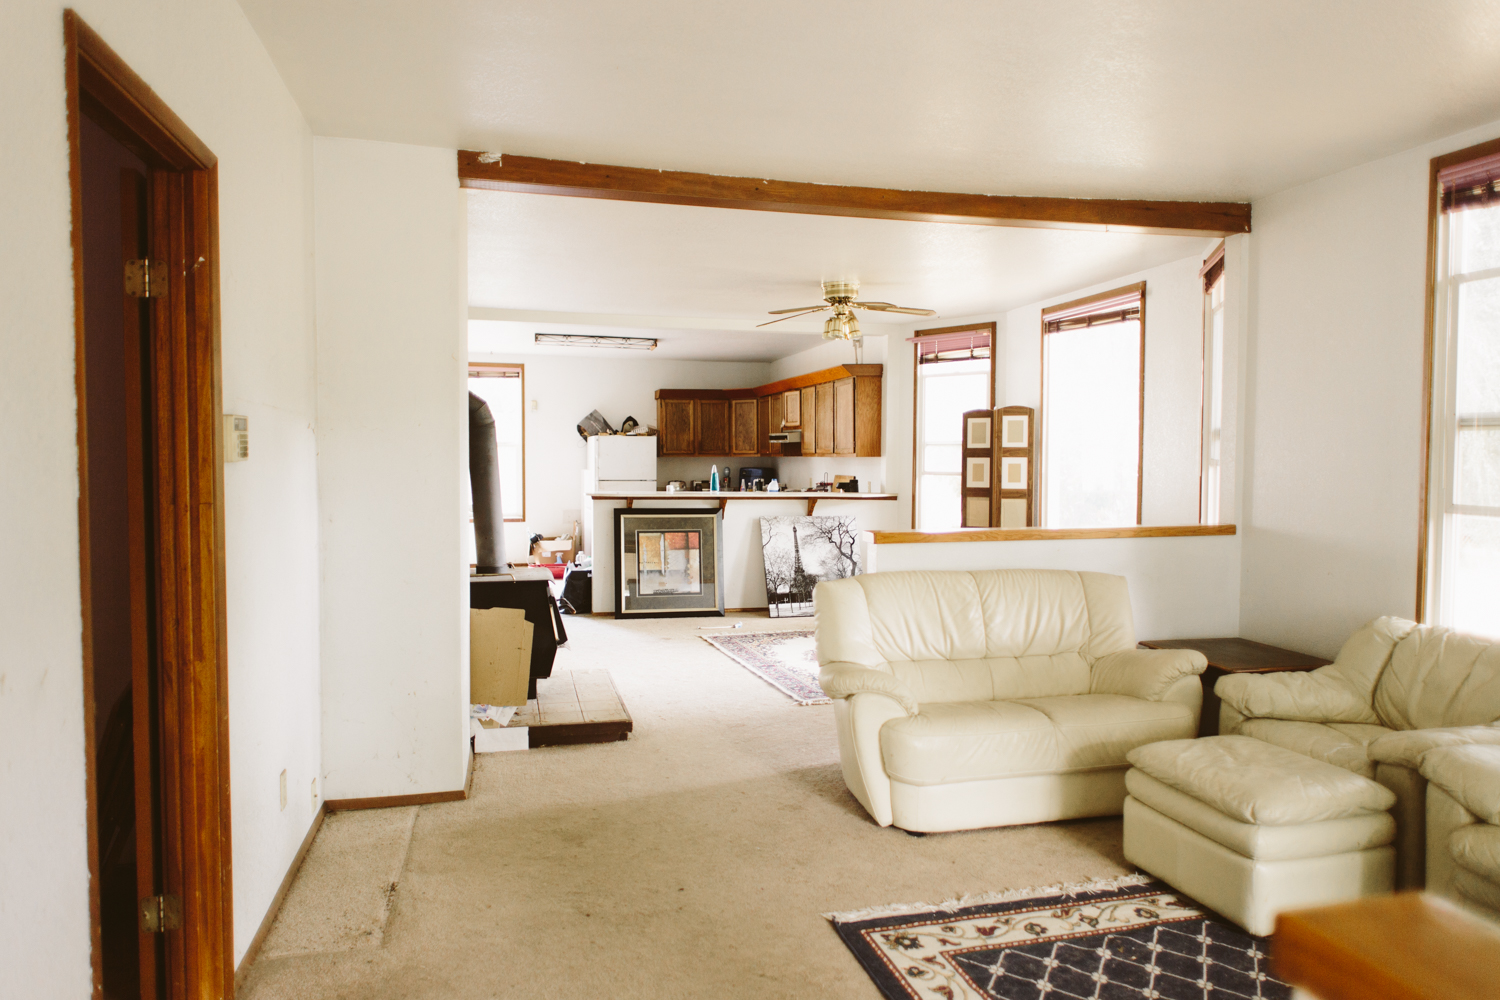
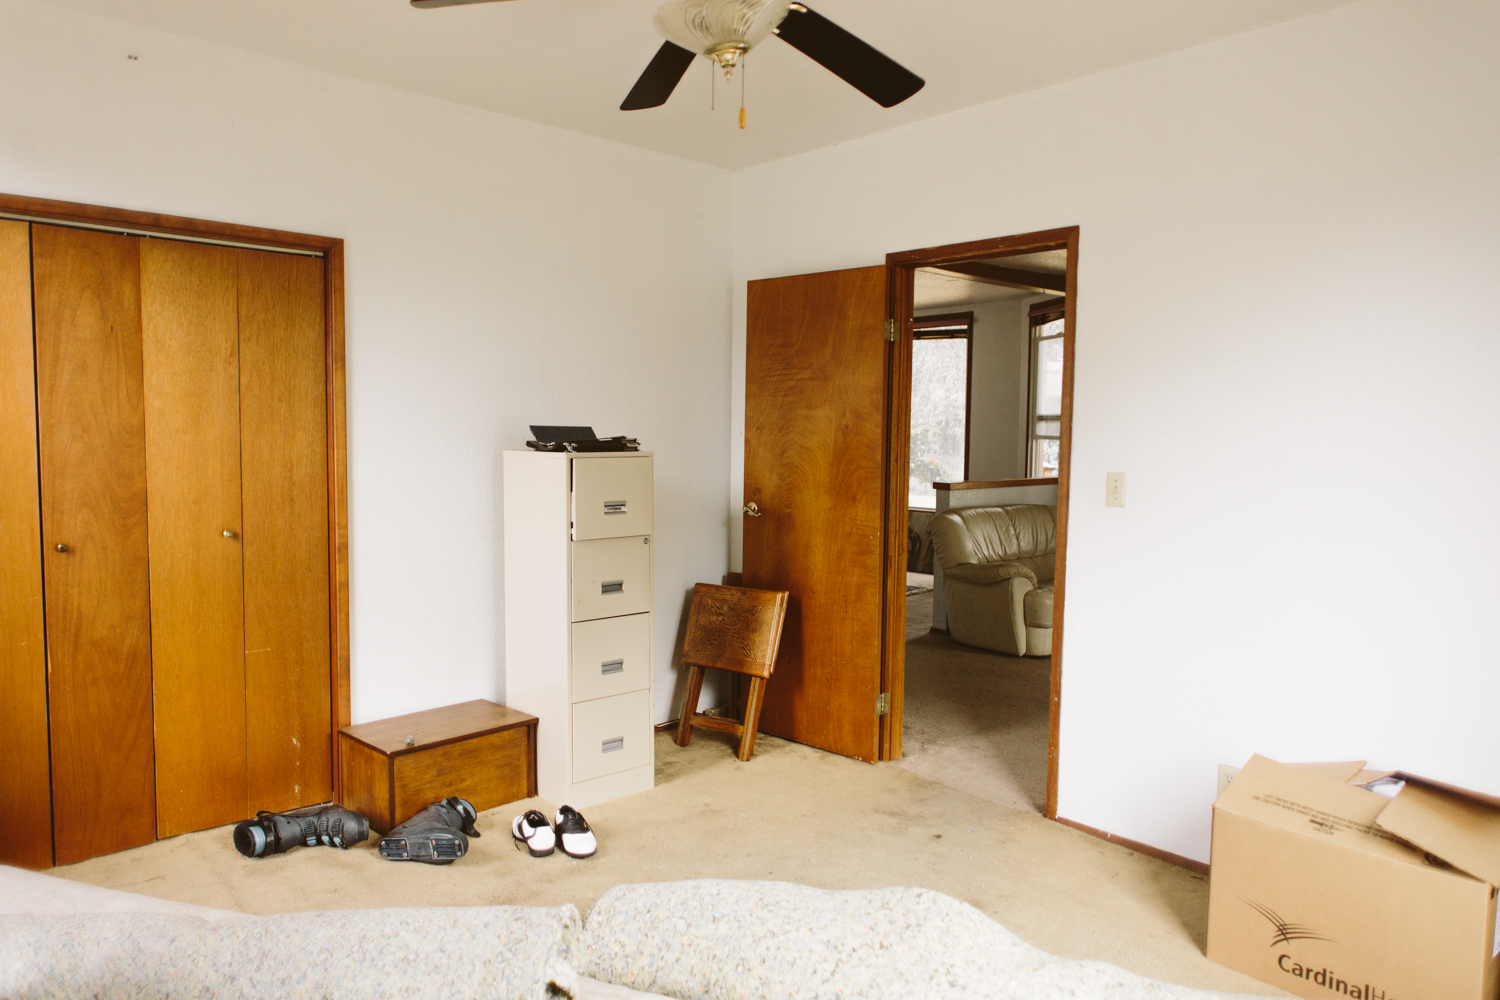
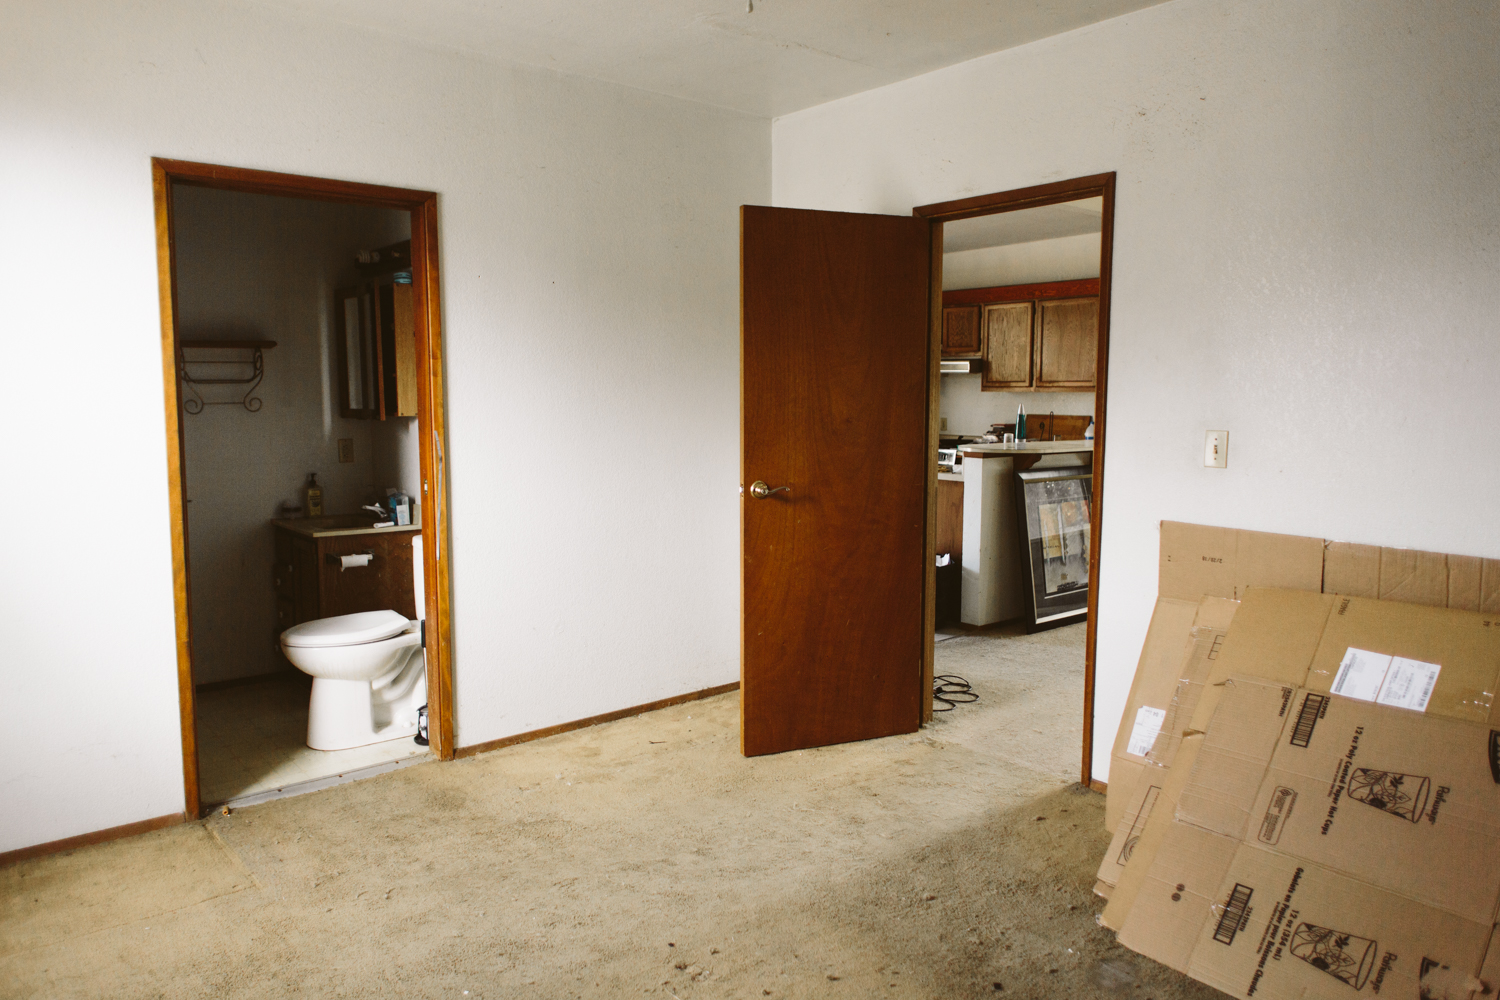
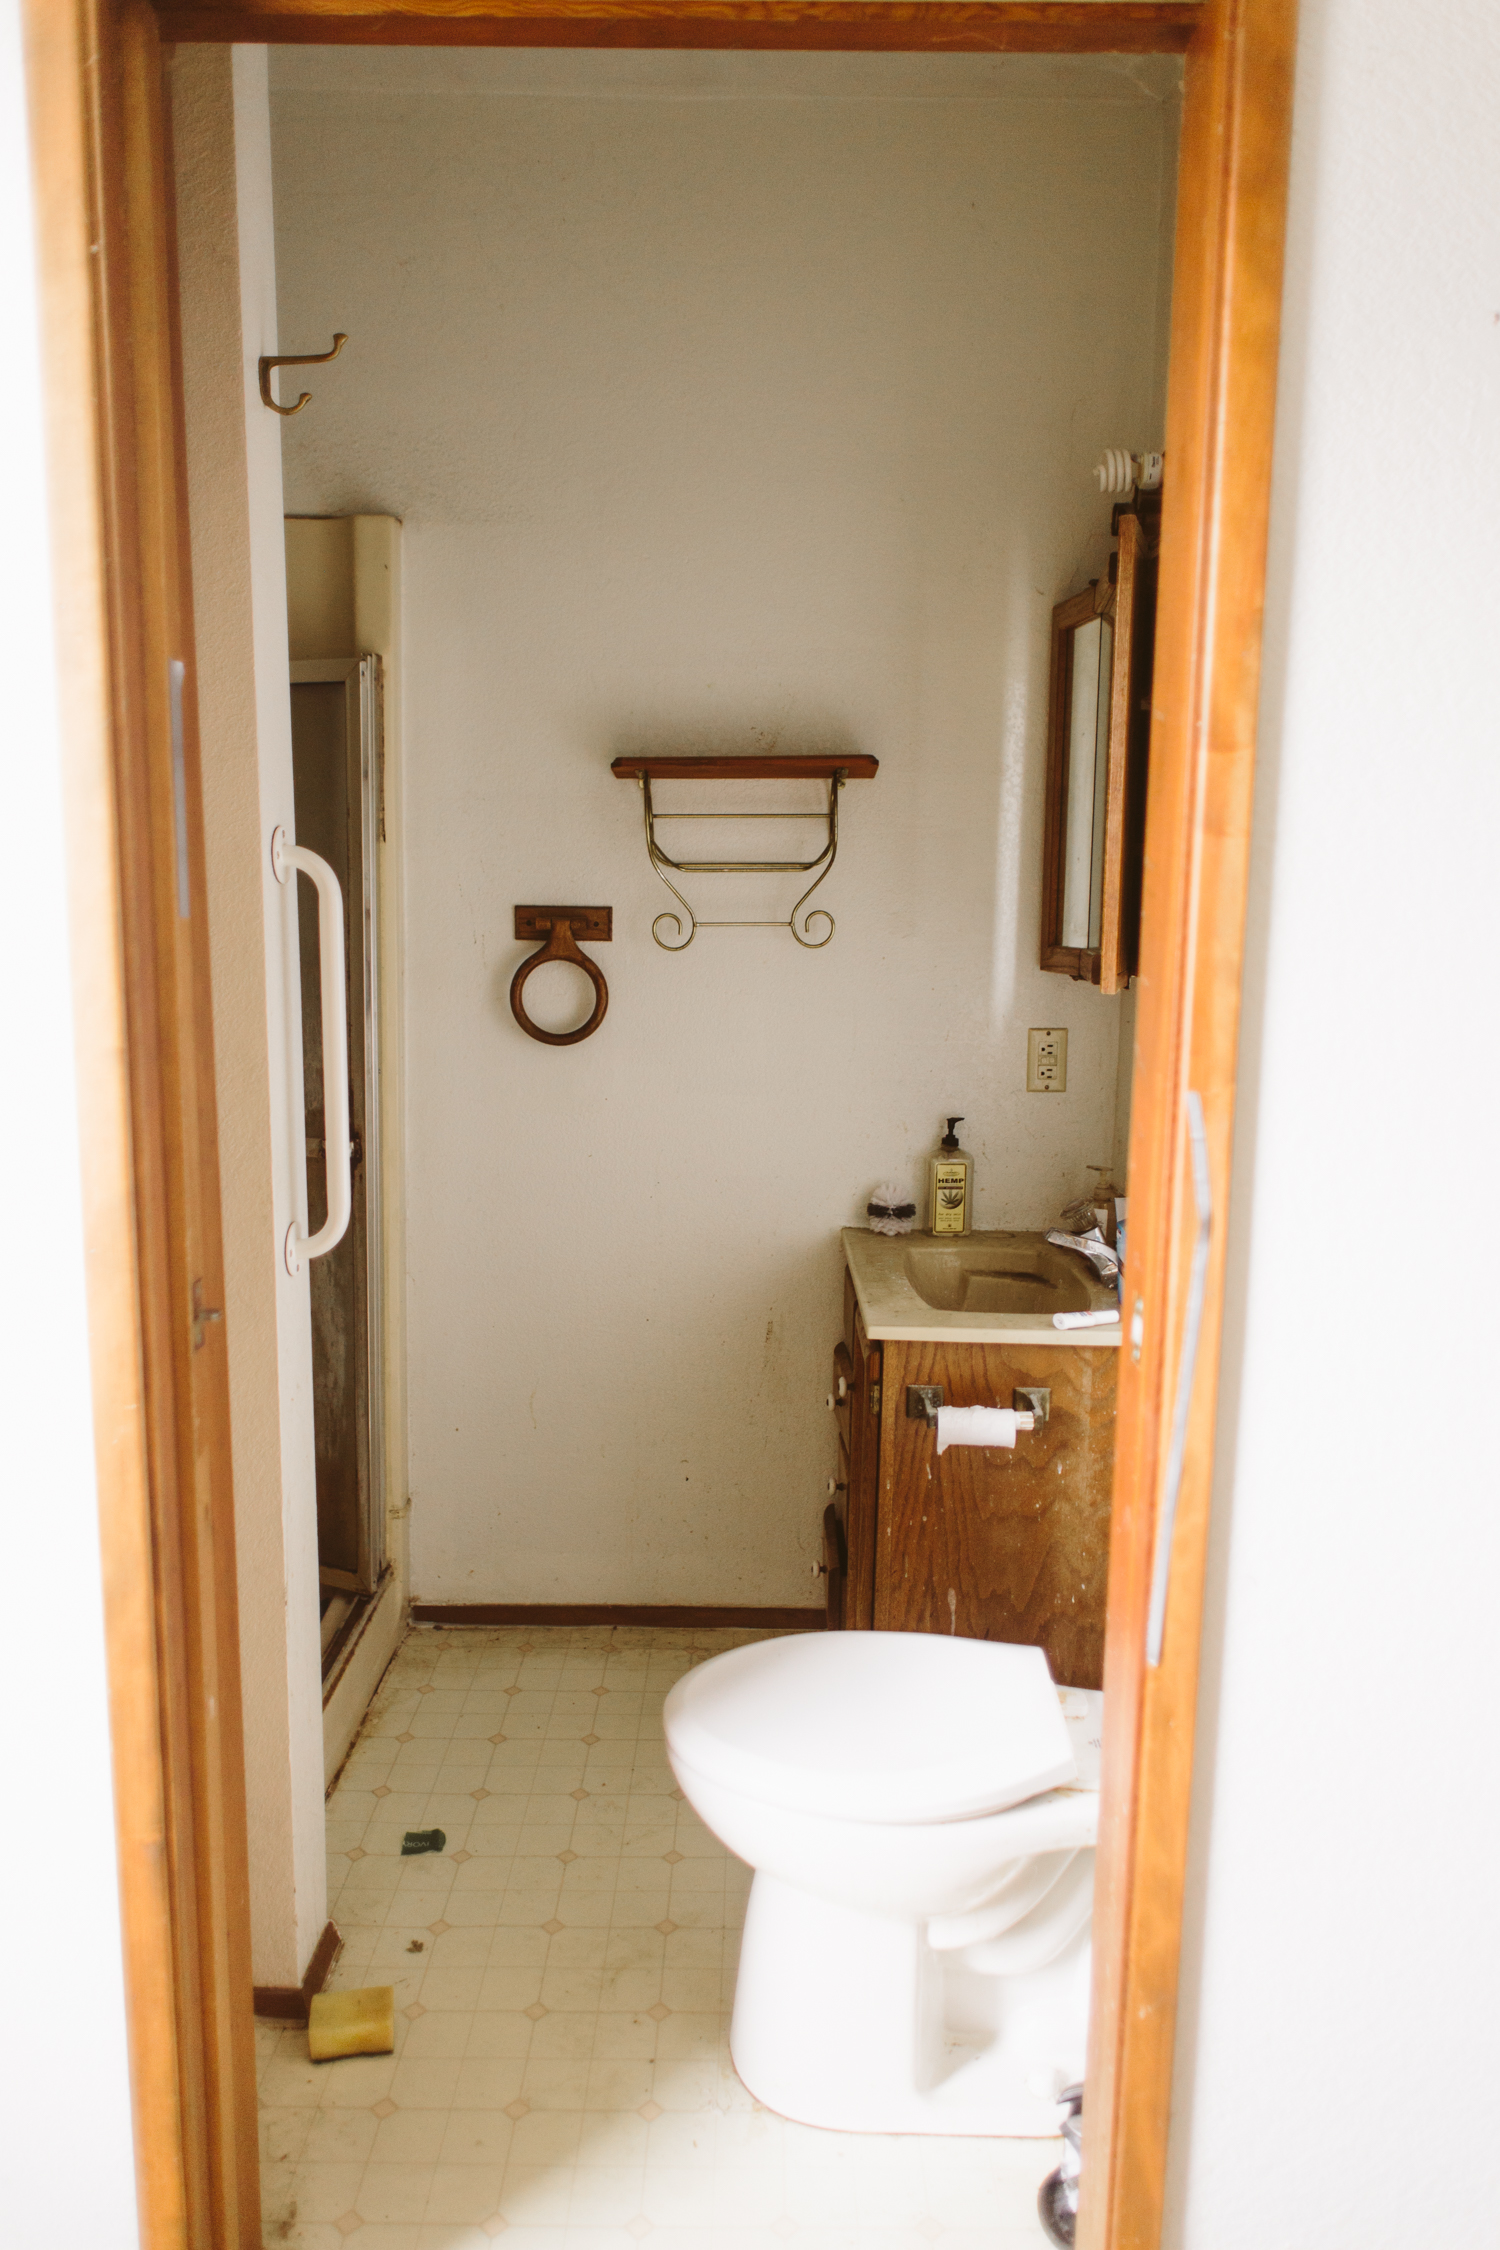
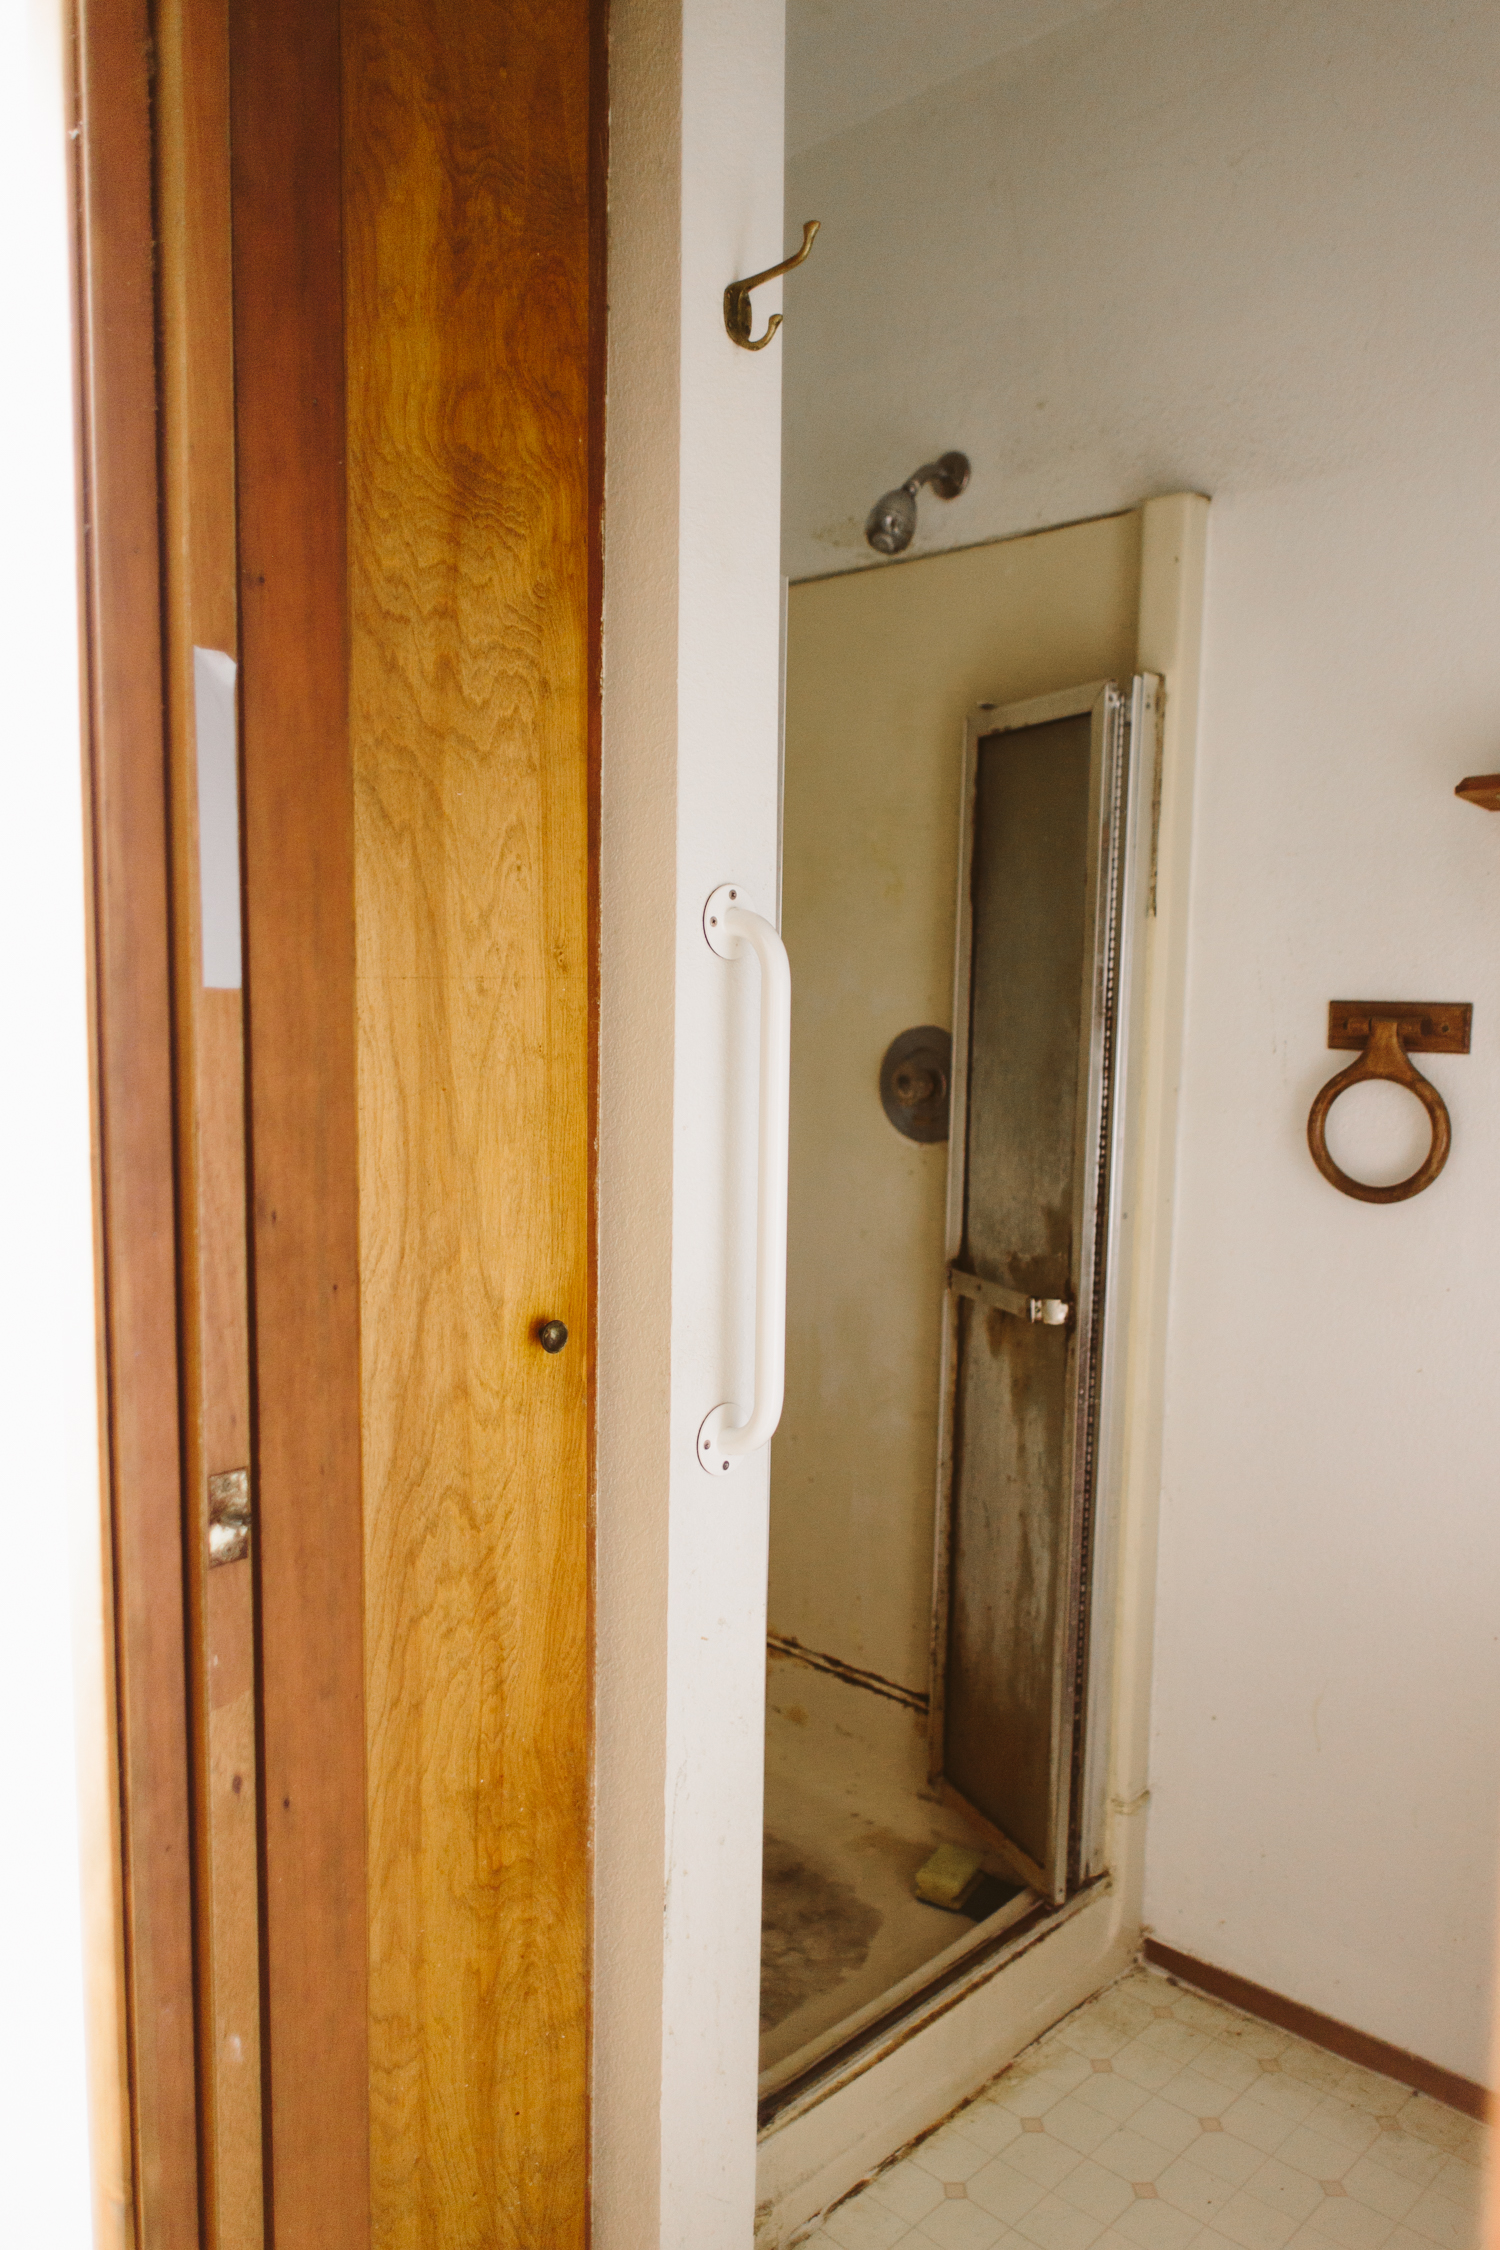
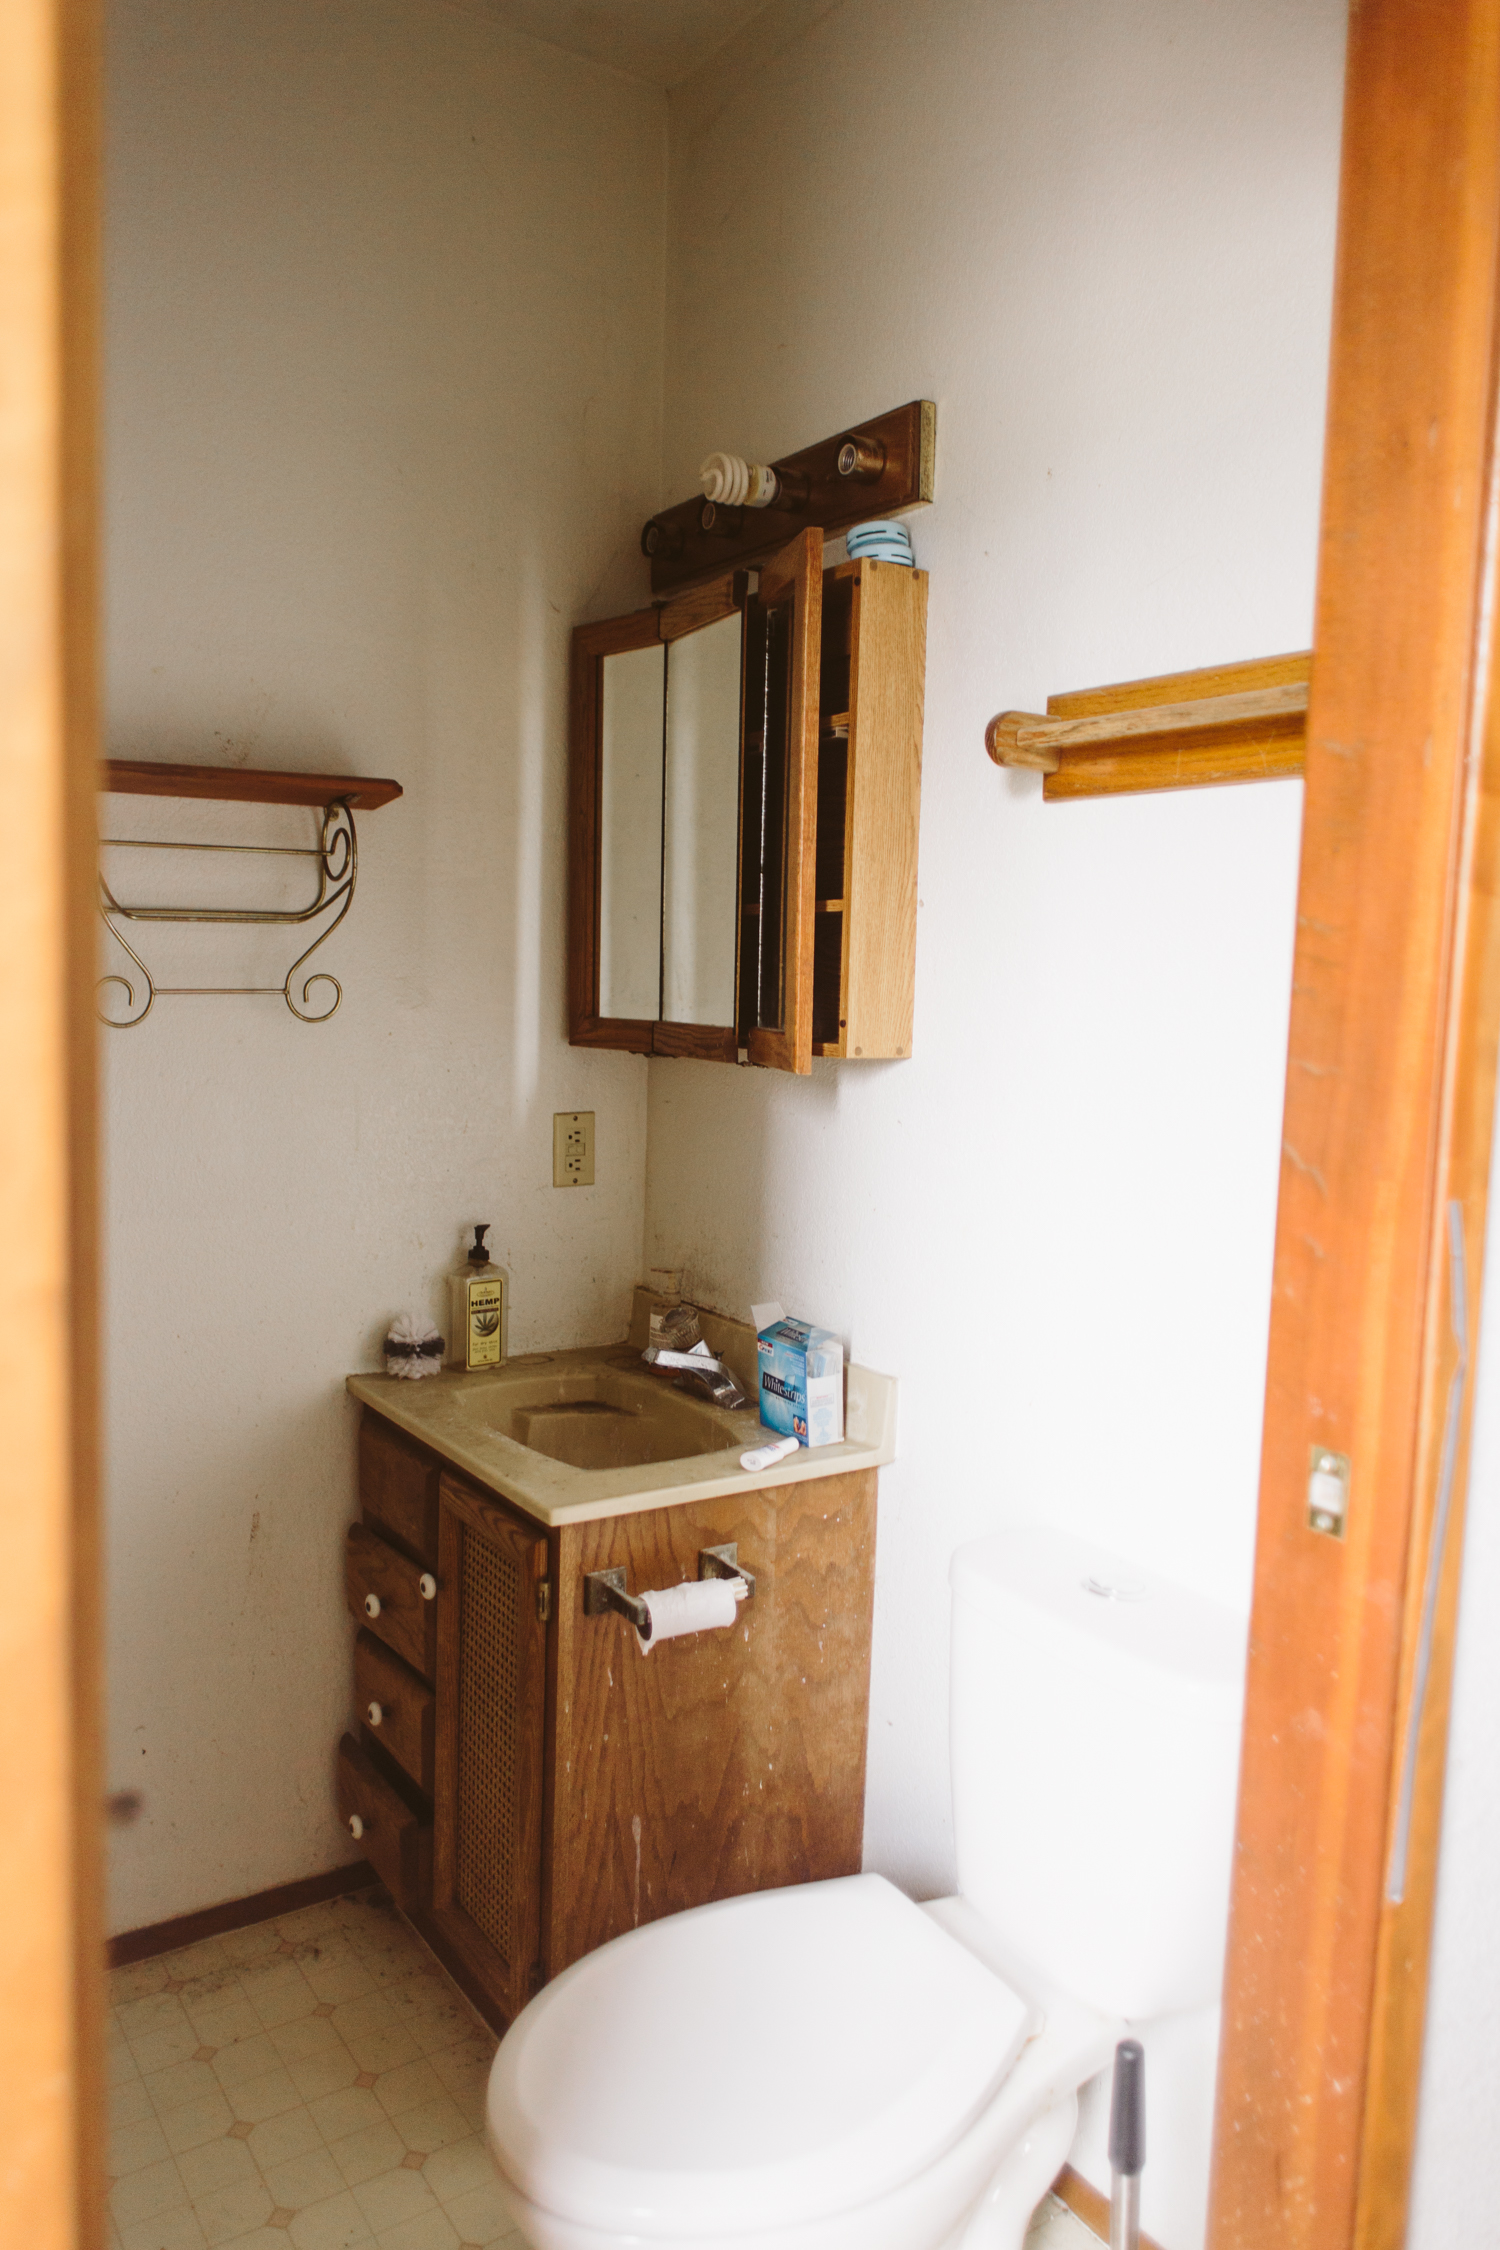
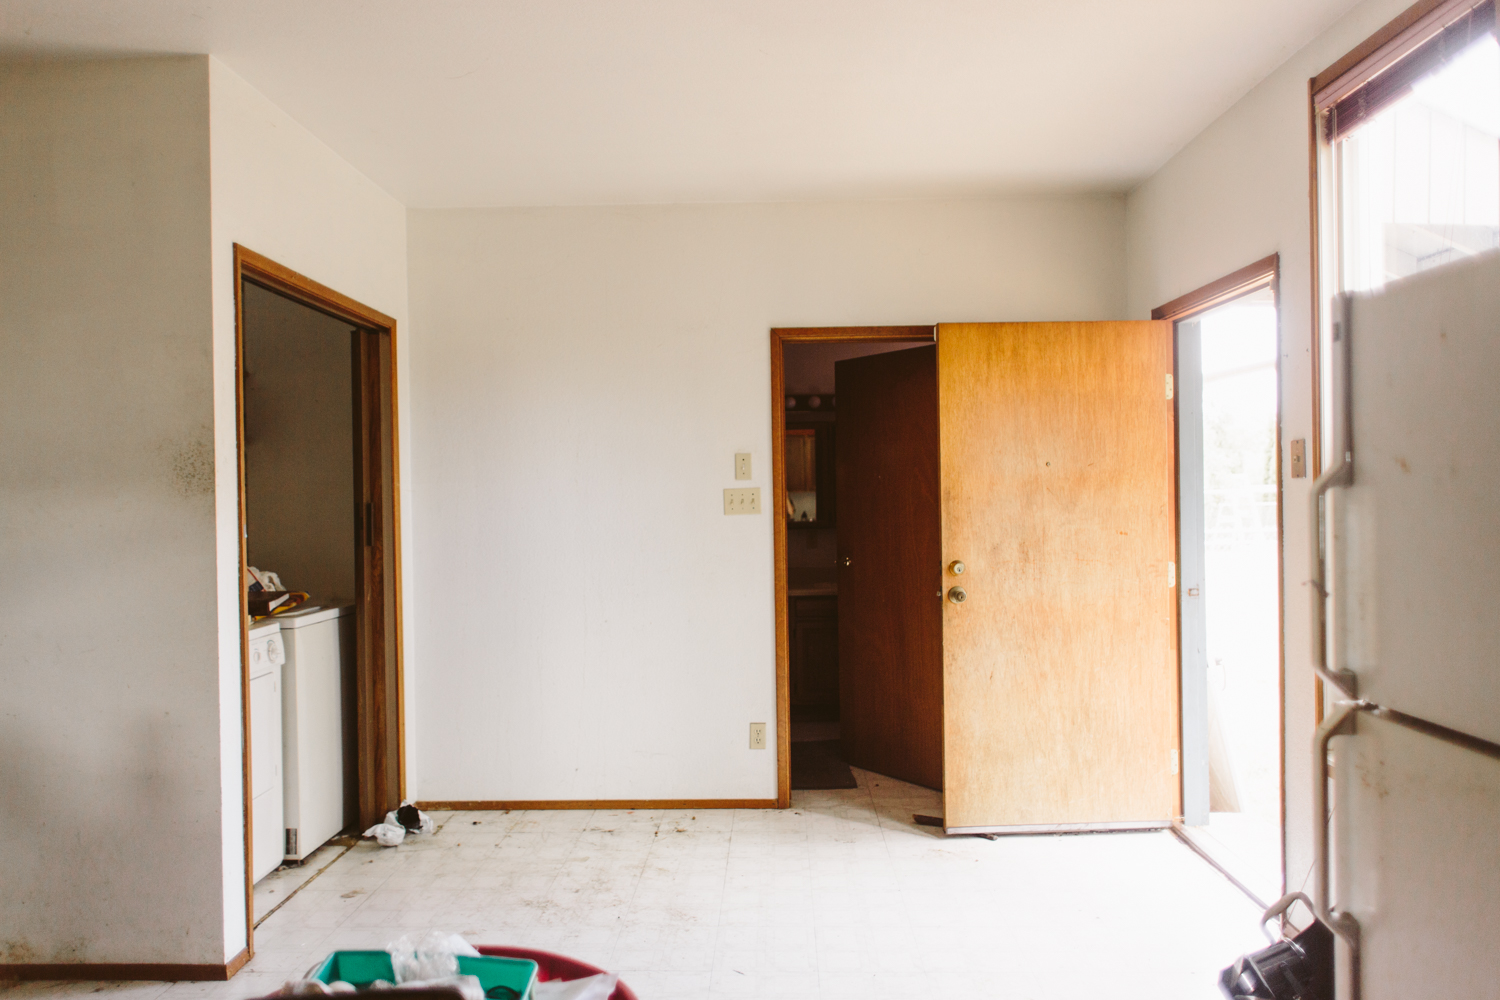
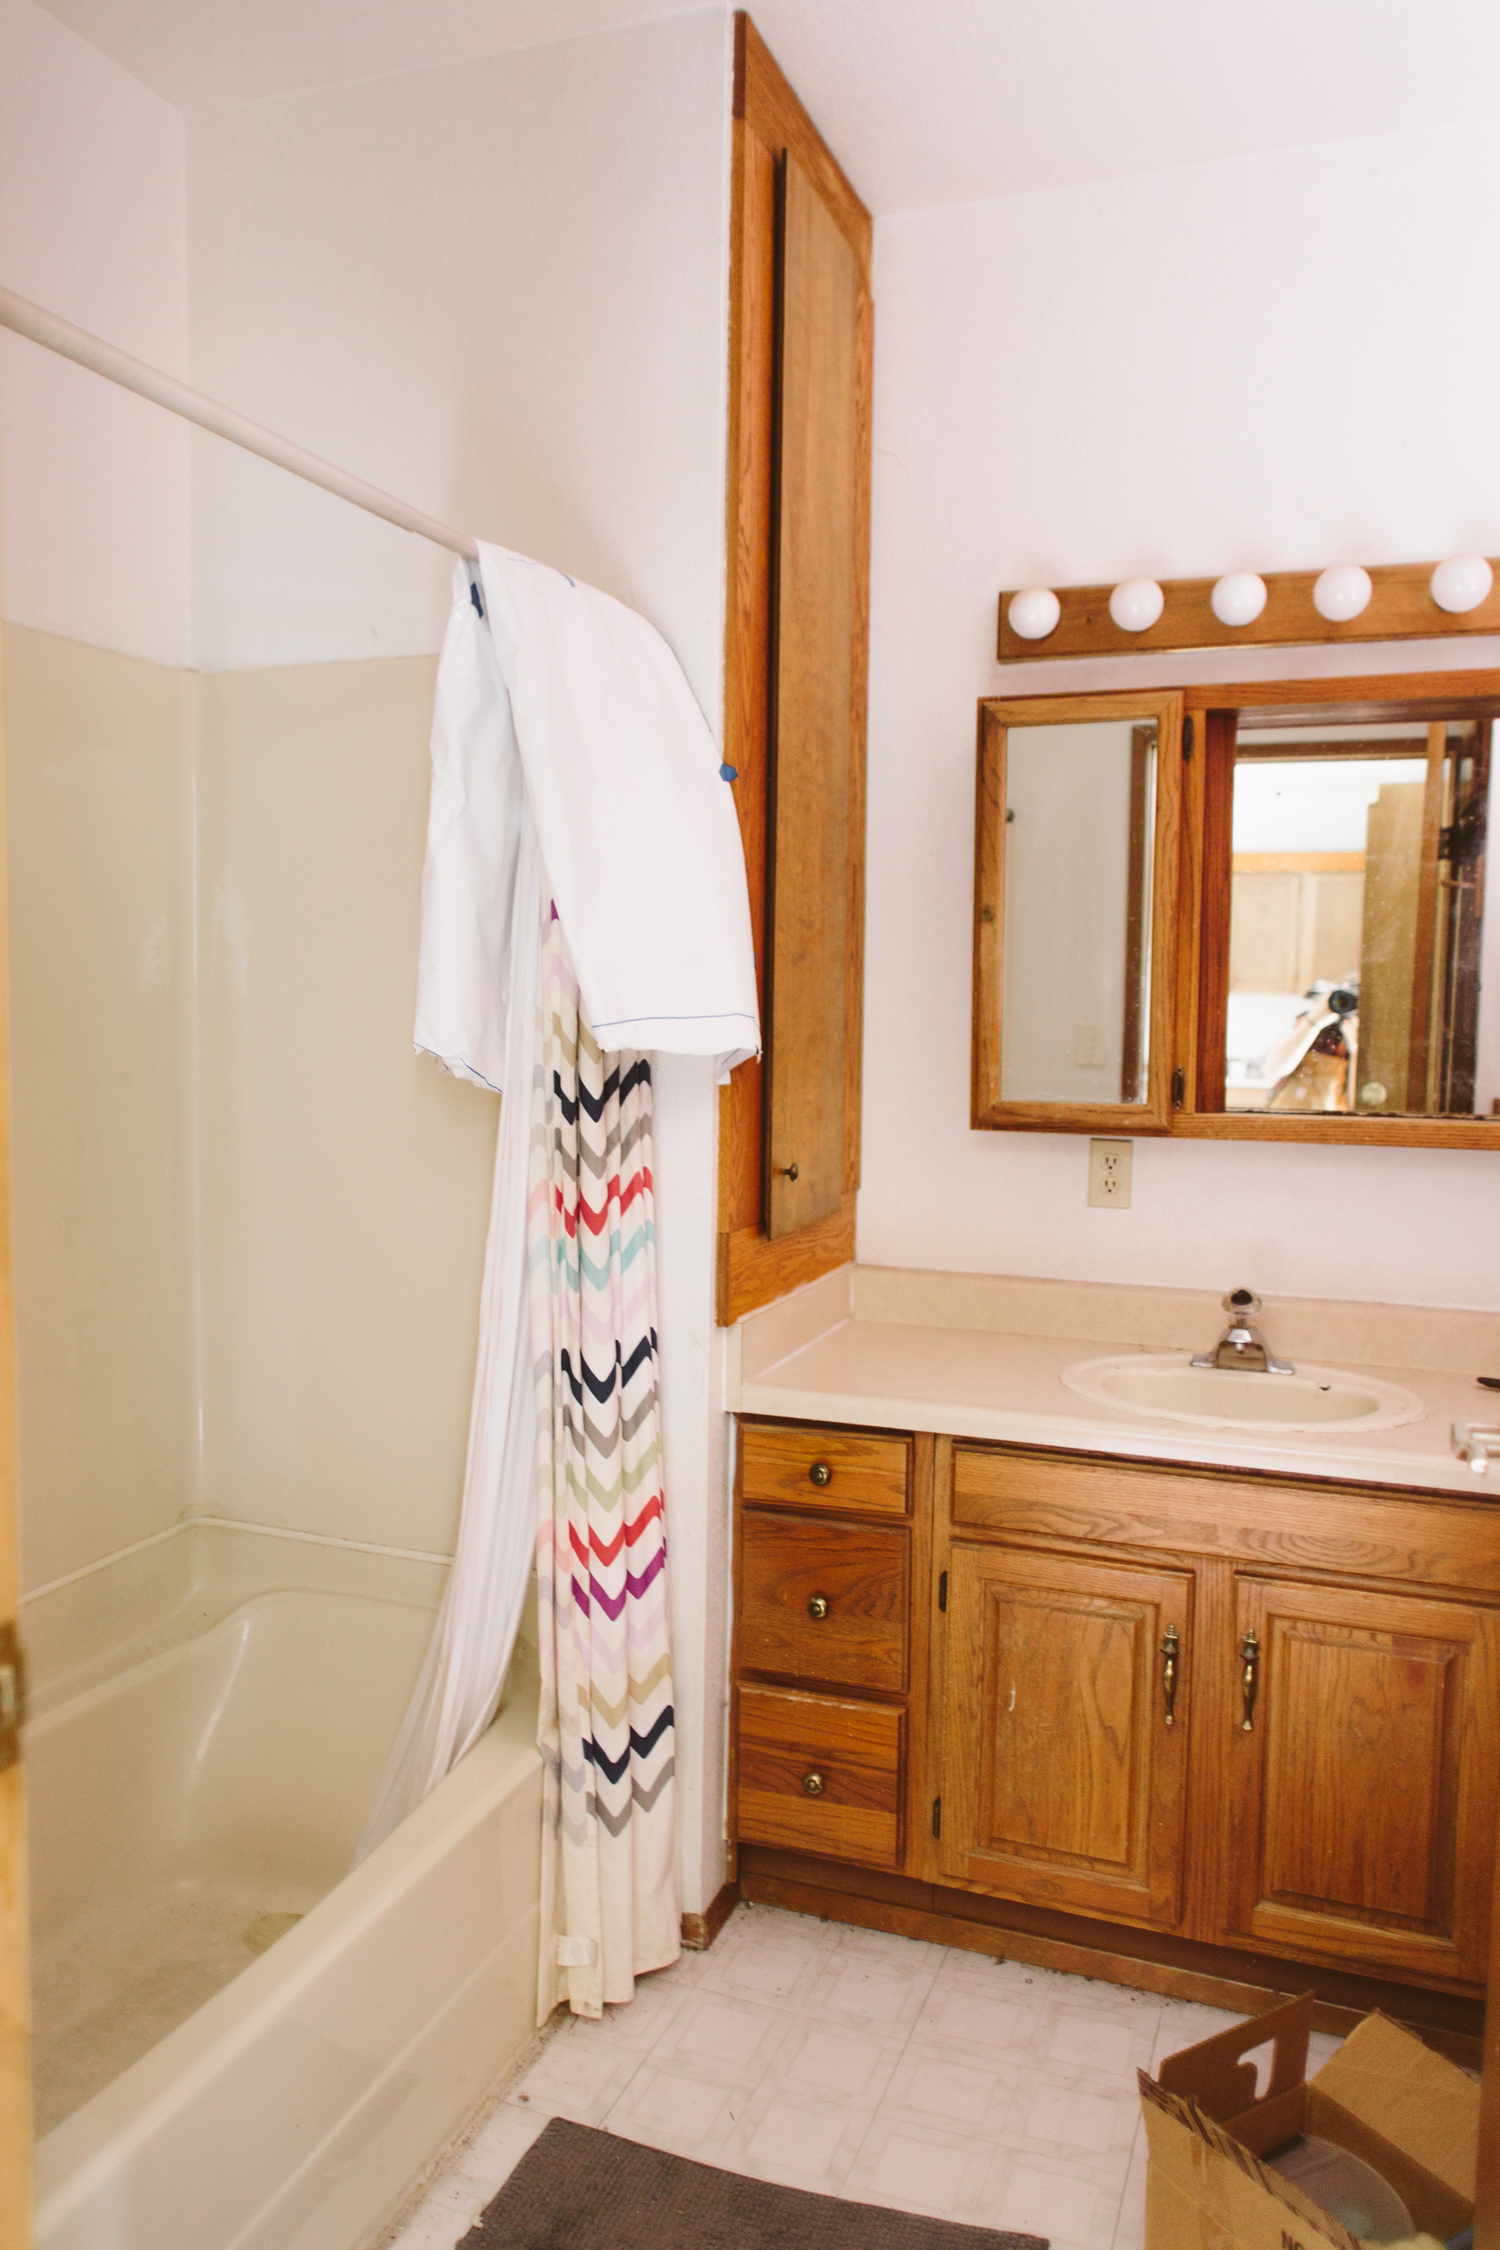
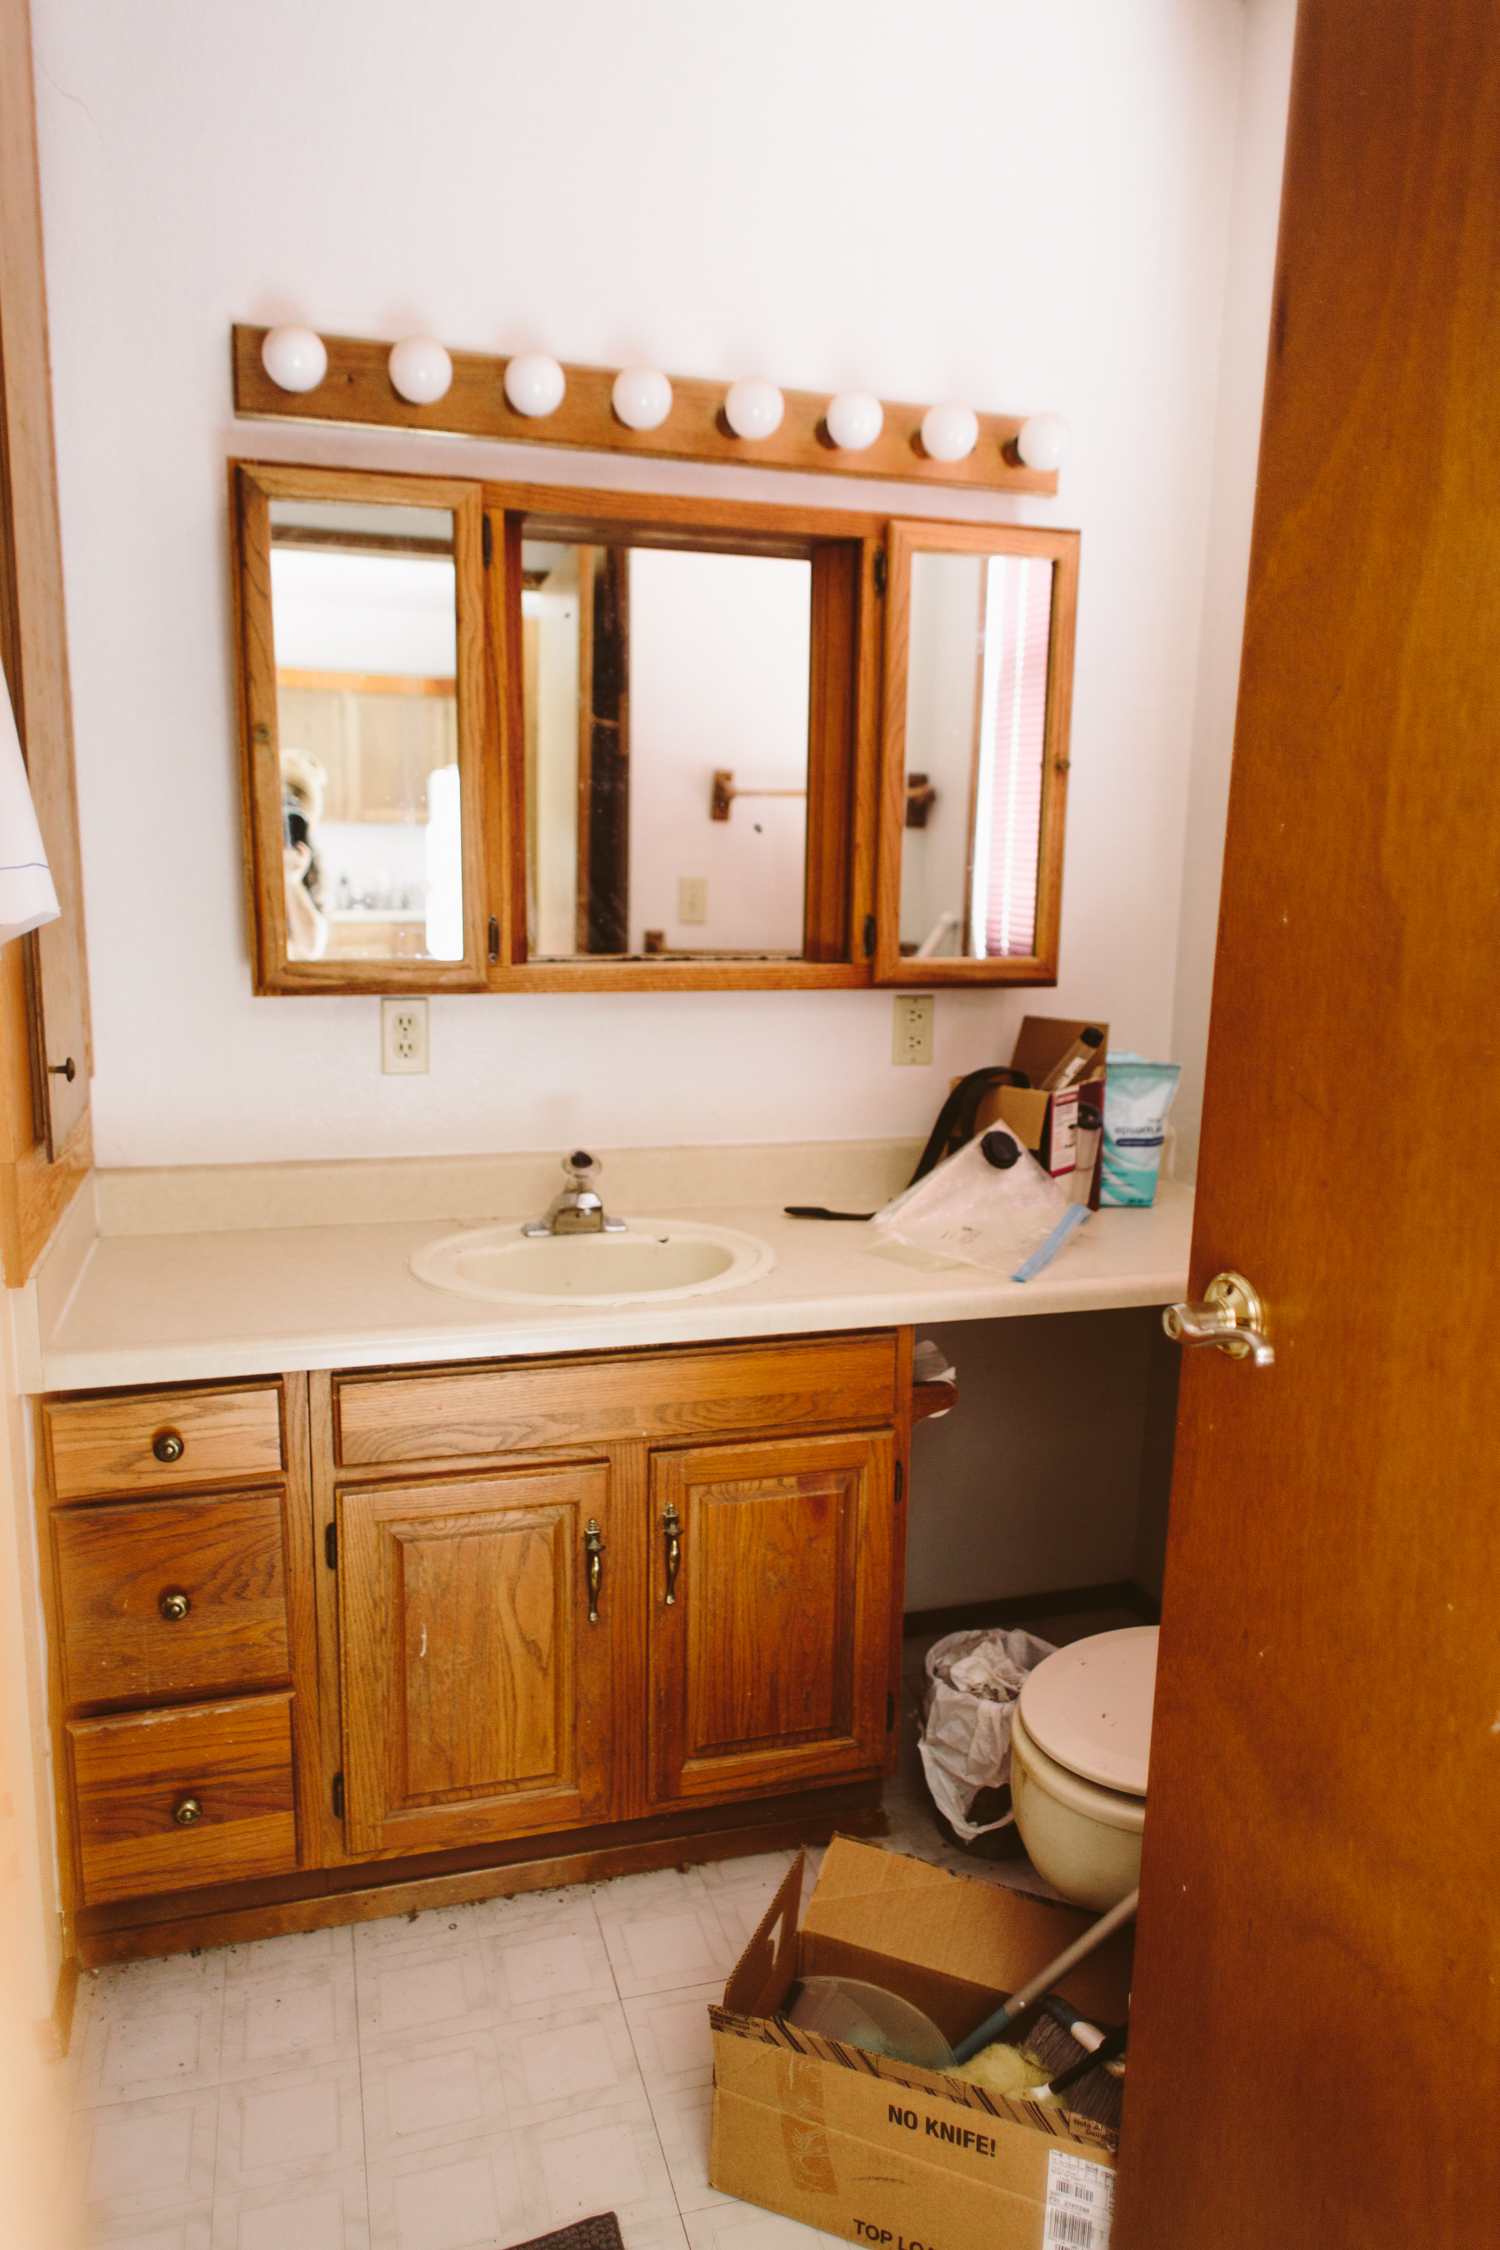
There you have it. It’s not going to need a lot in terms of any structural changes, it’s primarily a cosmetic fix, but we are adding a bedroom within the current footprint!
Here’s the original layout:

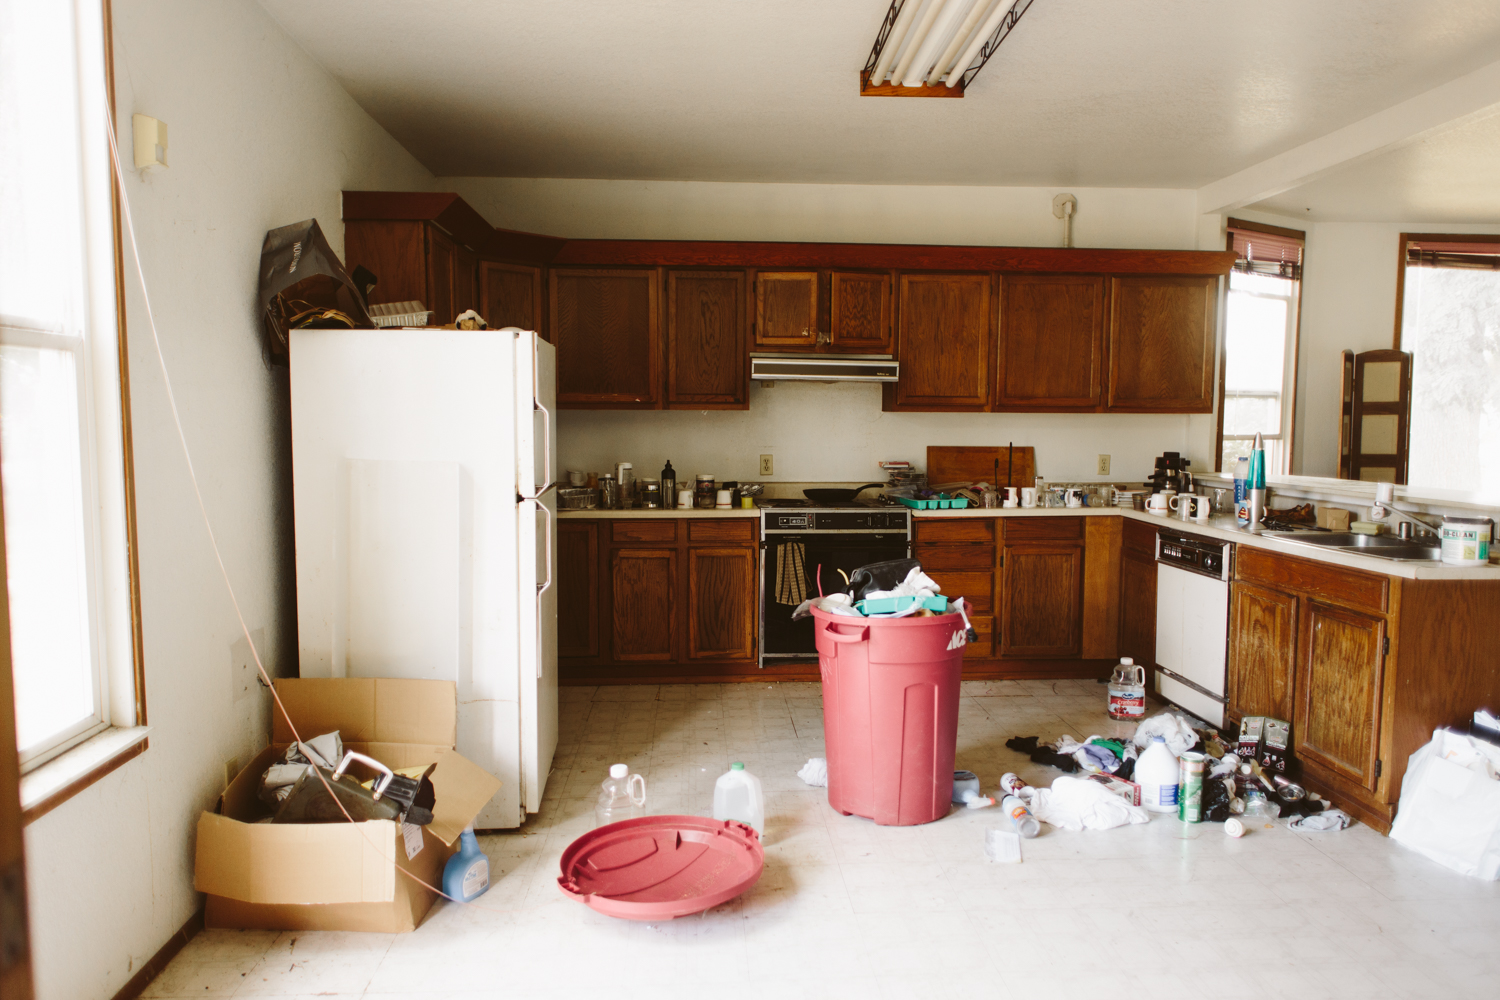
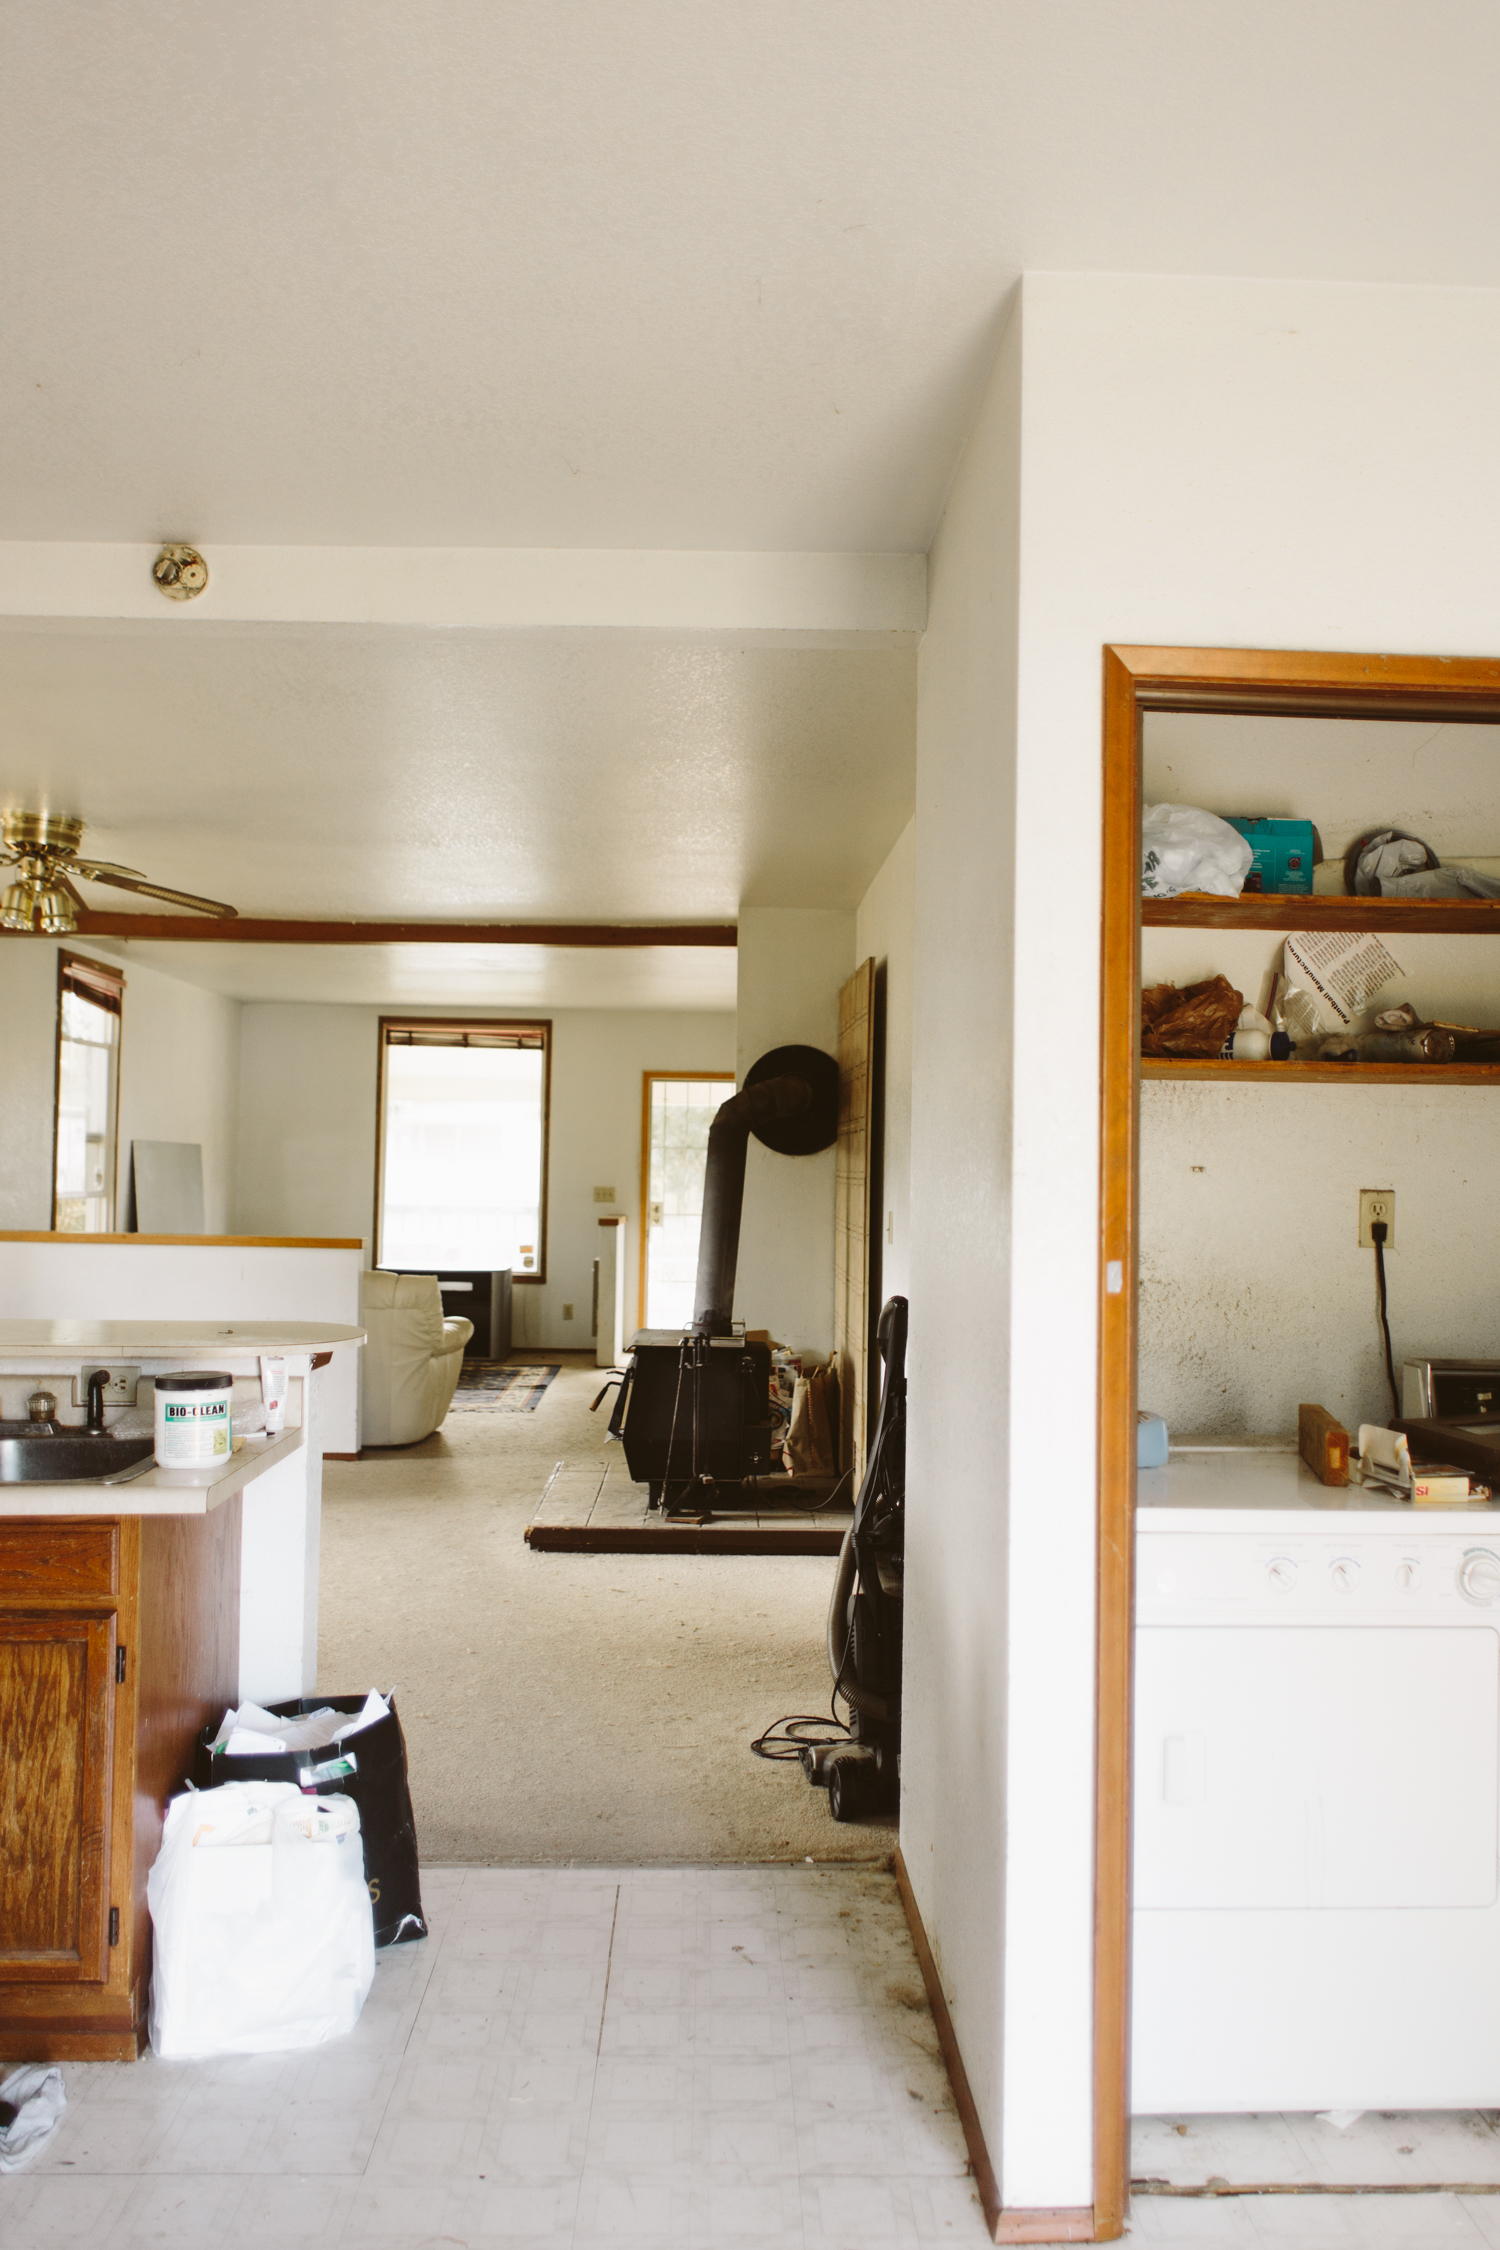
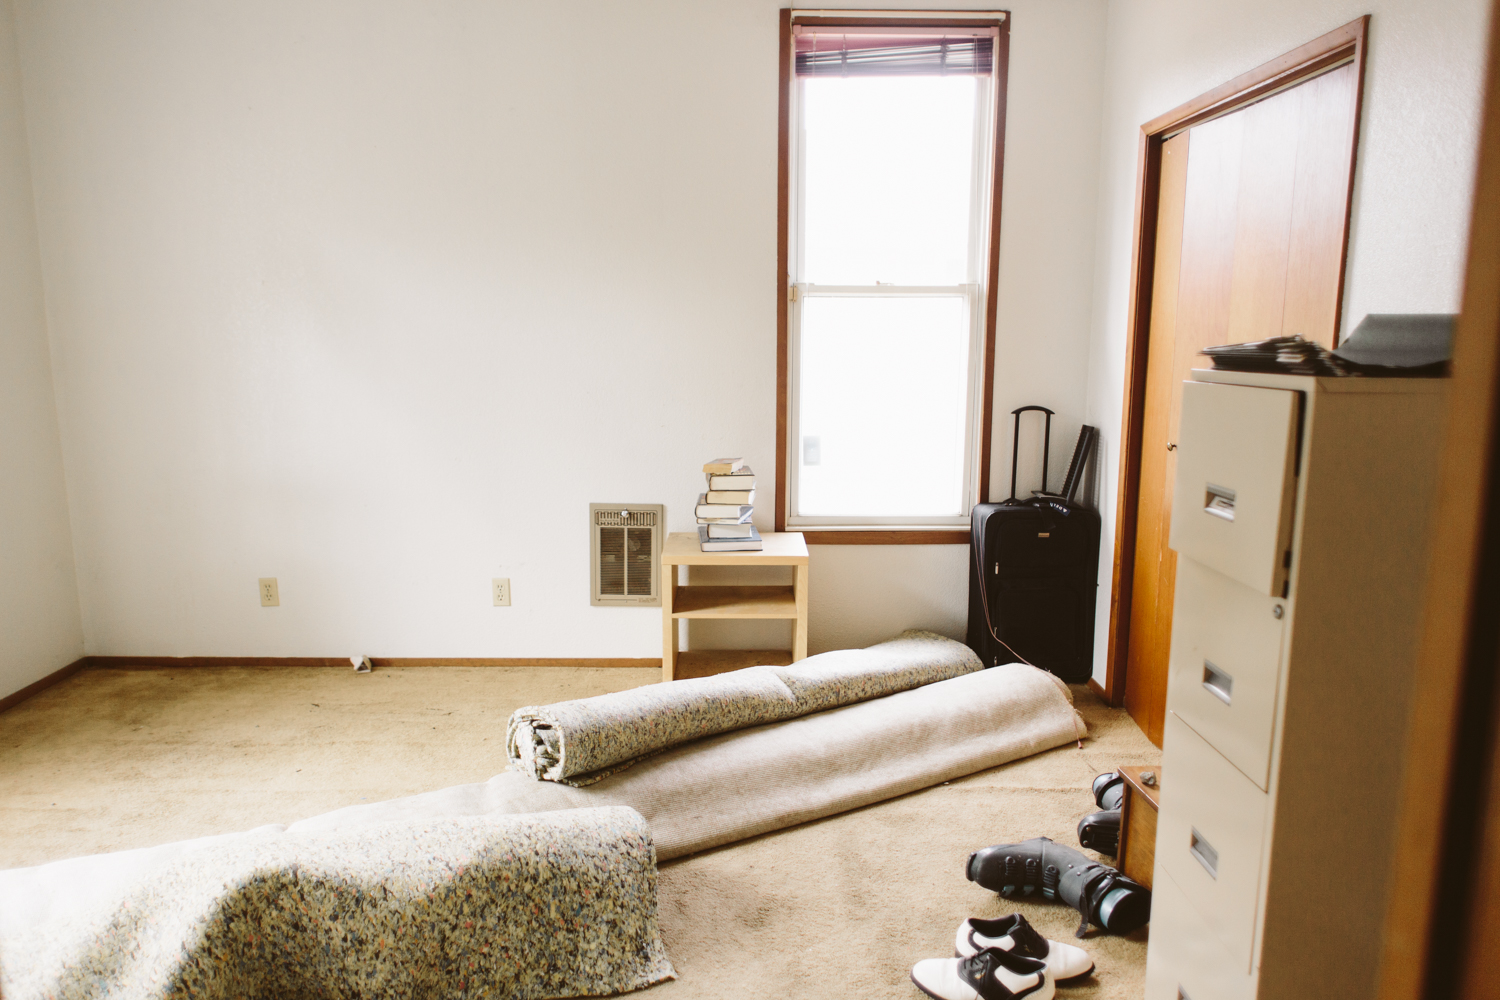
Basically one half of the house is bedrooms/bathrooms, and the other side is one big open space (with a couple pony walls) of living and kitchen. Normally I’m all about the open concept life, but for a house this size, in this neighborhood, I felt like functionally it needed a third bedroom/office.
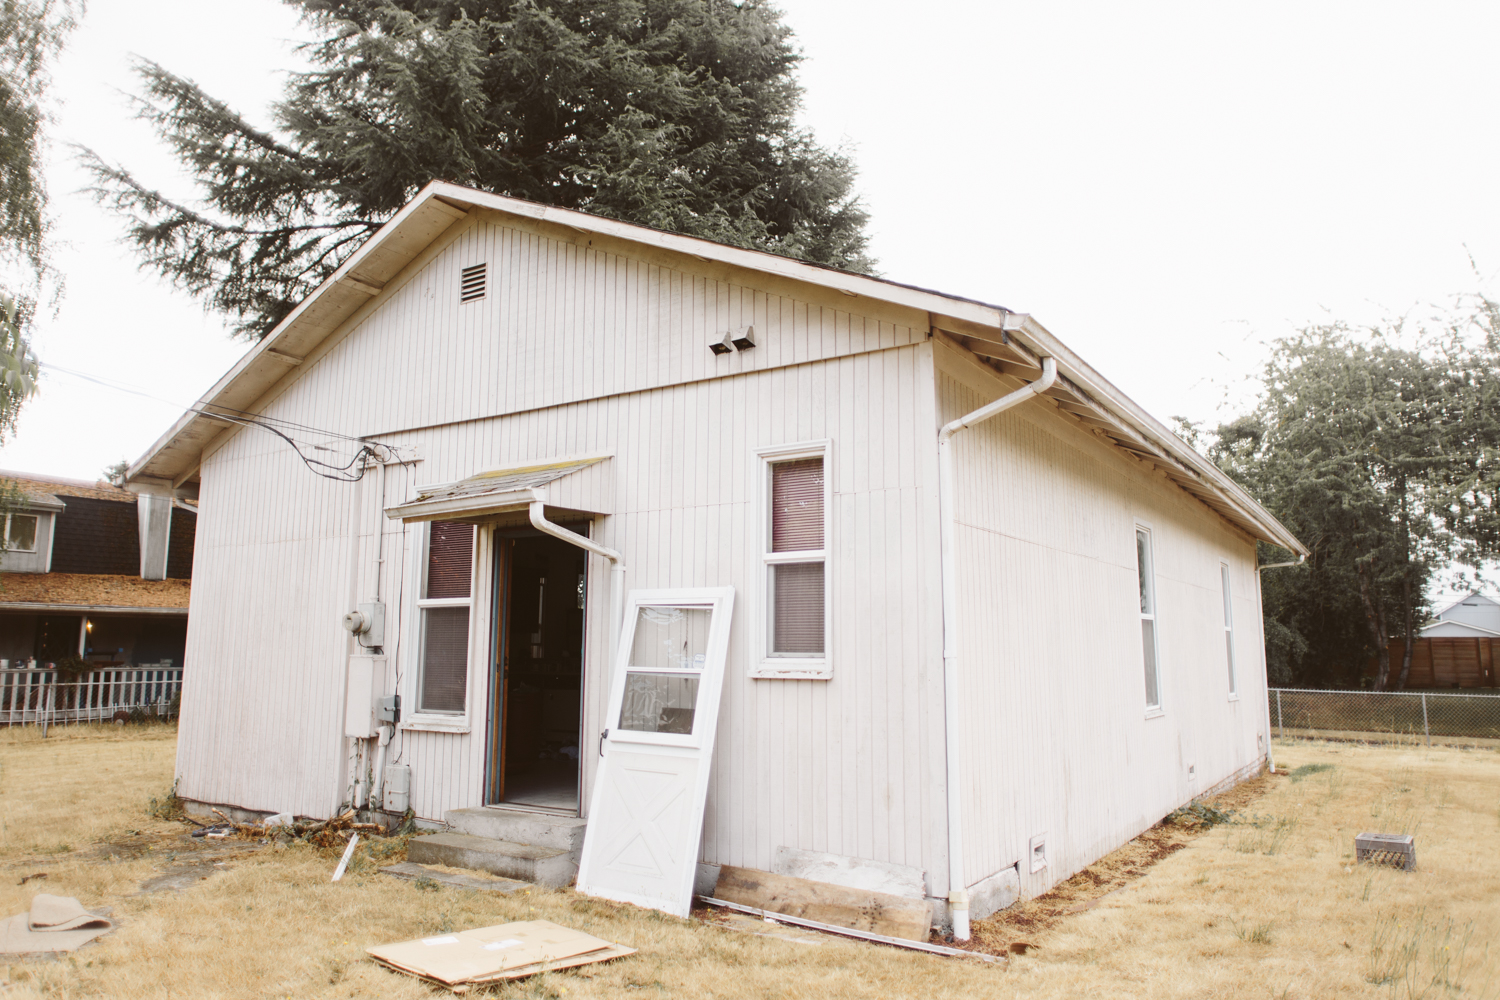
This house has a huge yard, and a large detached garage, so it really feels like it would be a perfect spot for a small family, or a couple who might need home office space. The third bedroom will be pretty small, but for a nursery or home office I think it’ll be a great space.
For a small family or a couple, a huge dining room isn’t necessary so I combined the kitchen and dining space in the center of the house, and it’ll be a large, open room with the living room. I also love that you’ll still be able to see the back door from the front door, which will make it feel bigger even though we’re making the living space a bit smaller. The way it was laid out before didn’t feel functional at all, even though it was larger, so I think this new layout will be more practical for actually living in the space!

One of my favorite things about this house is how big the property is. Most homes in the neighborhood are on two parcels of land, and this one is on three. Right now I have my Winnie parked there, plus there’s still a parking spot and a two car garage, so it’s got tons of space for fun to be had! The backyard is begging for a kids’ playset!
I’ll try to update here on the blog when major progress happens, but follow my Instagram Story for more quick updates!

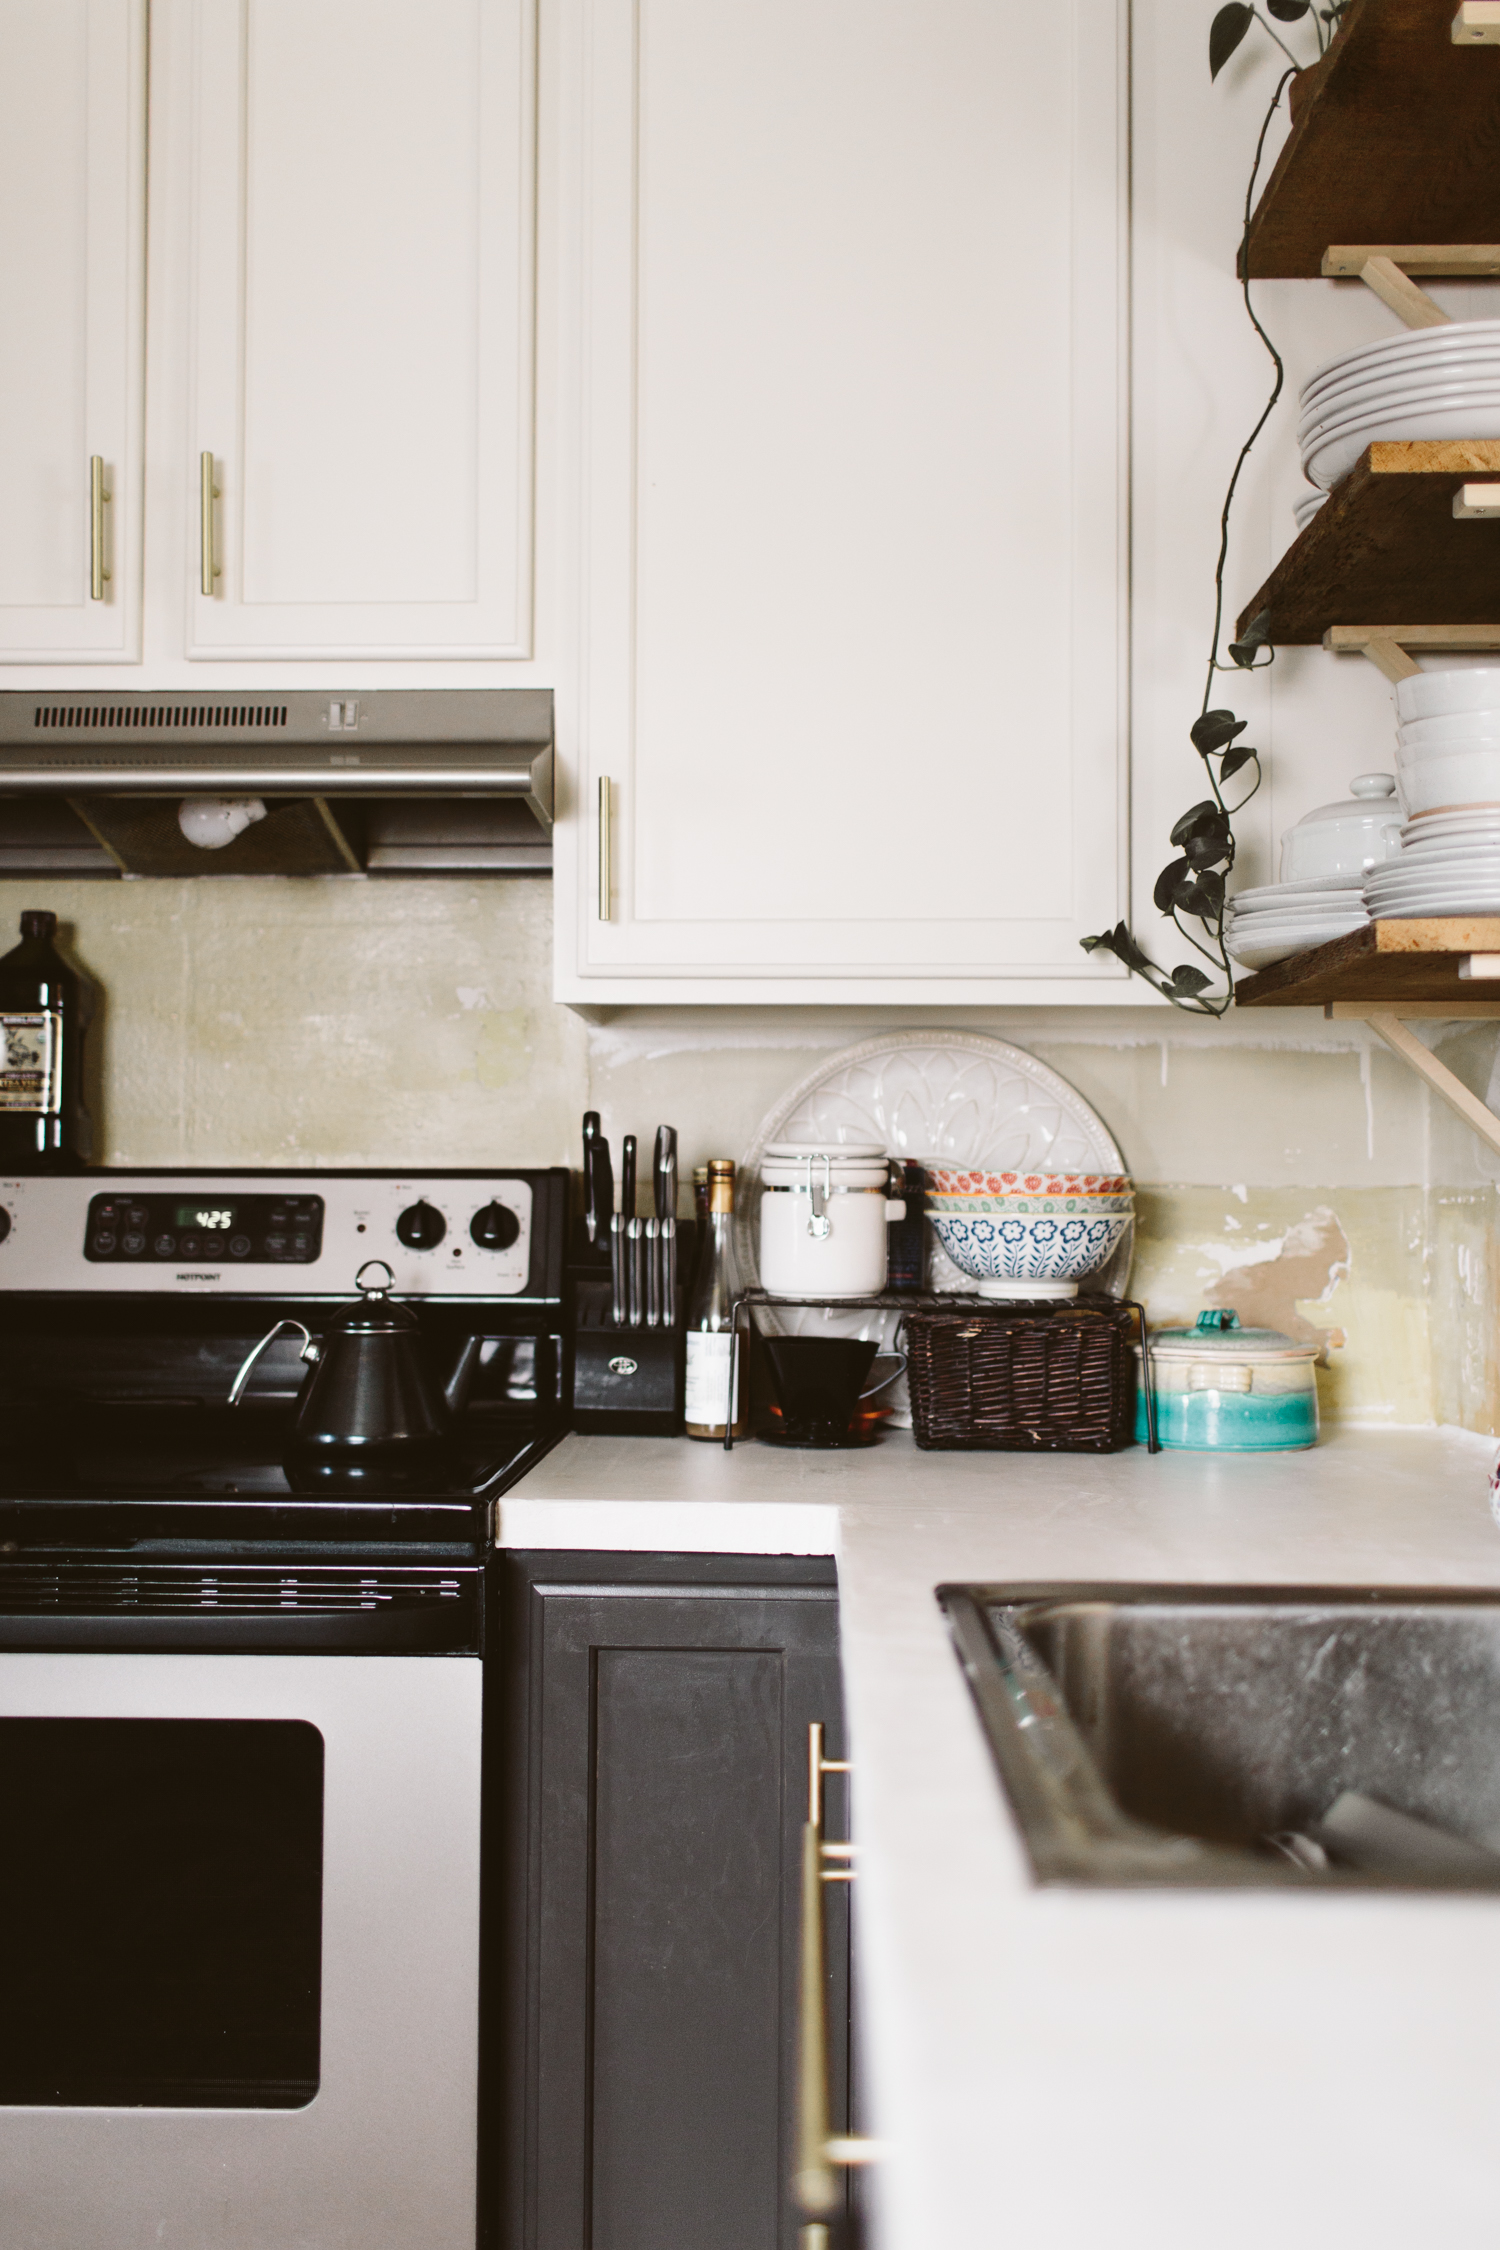
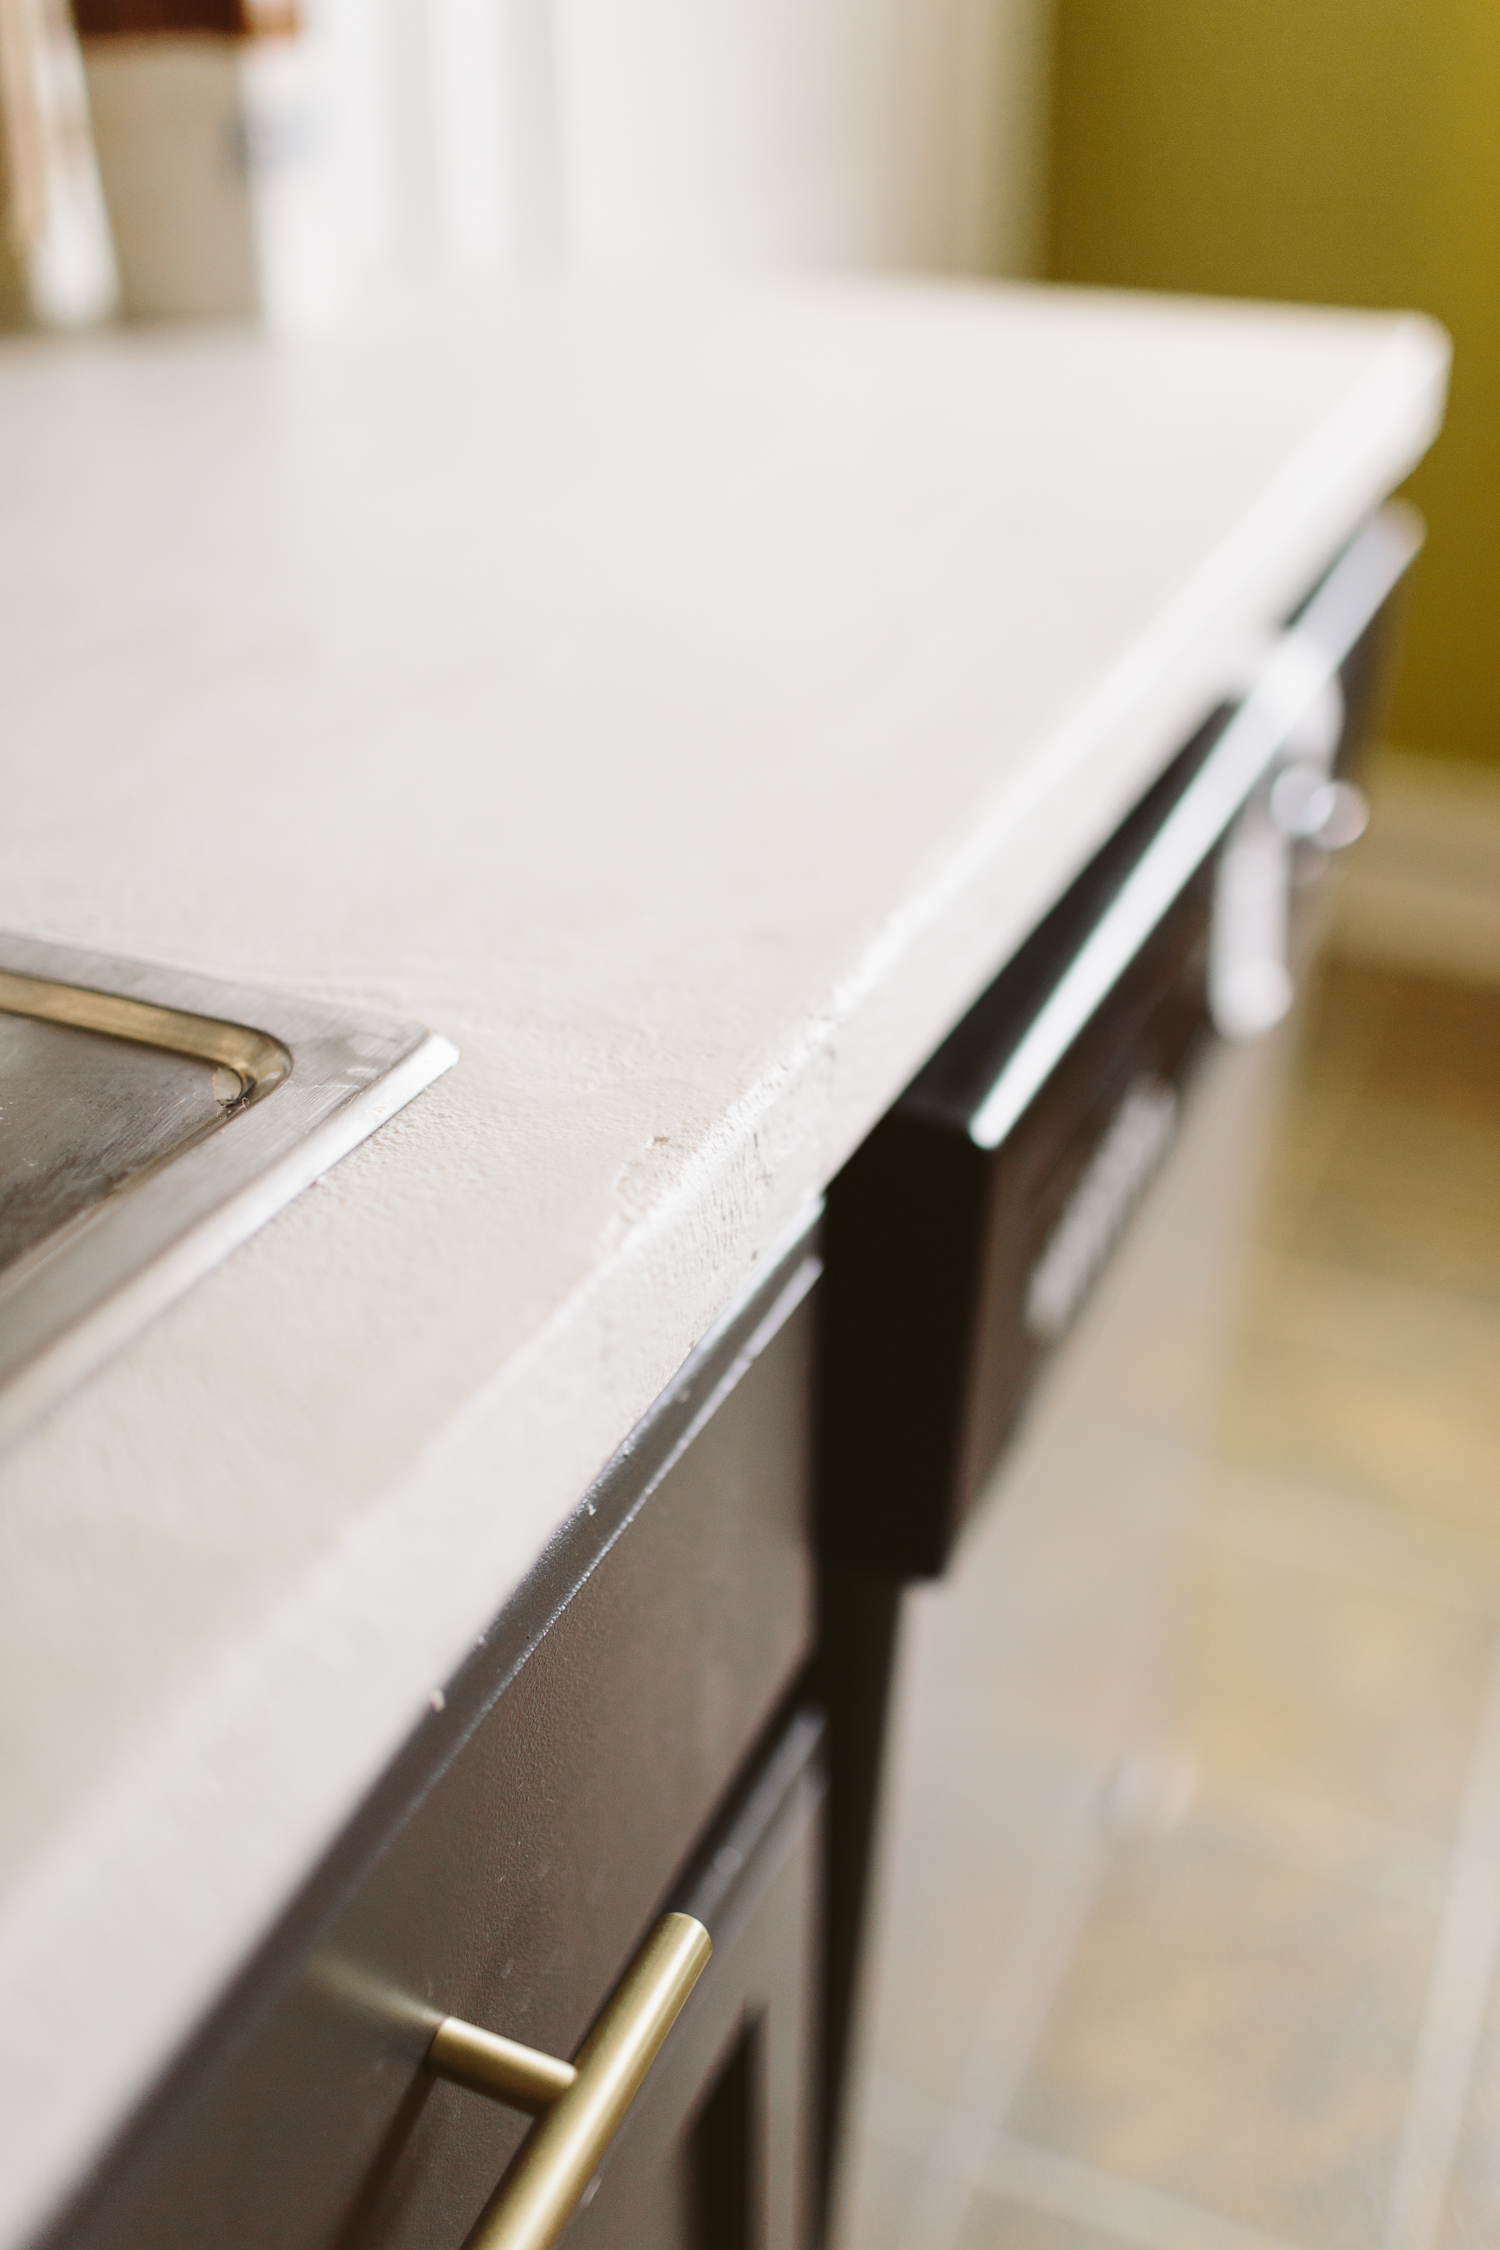
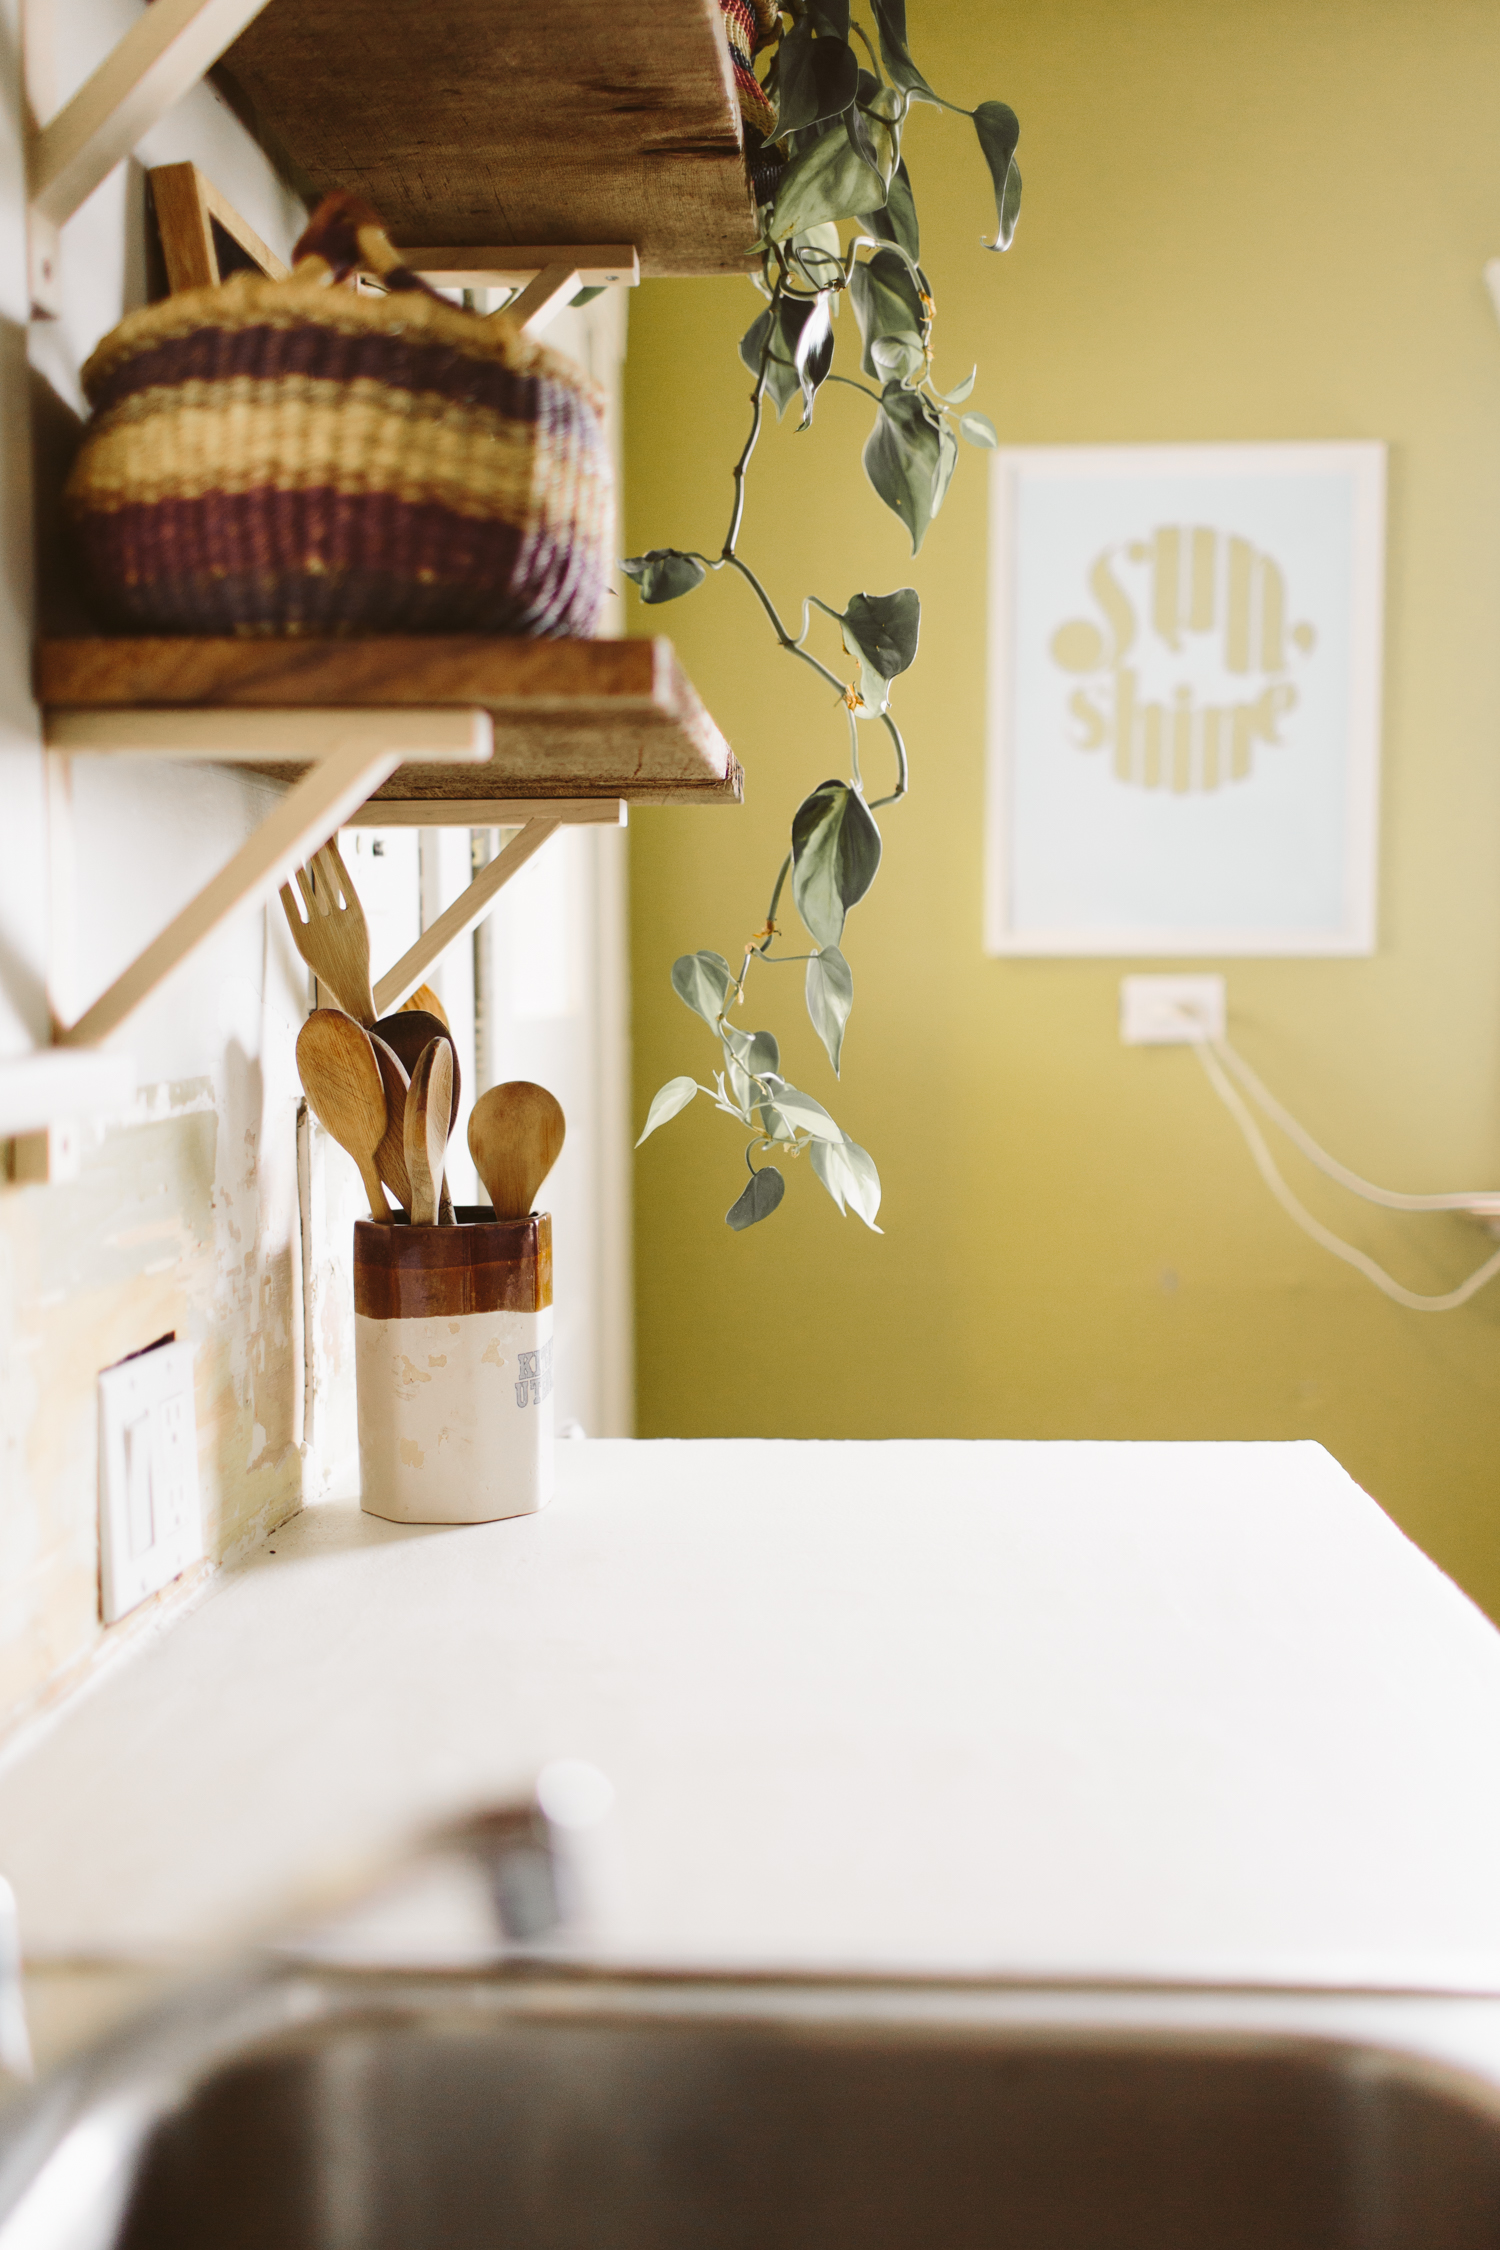
DIY White Concrete Skimcoat Countertop
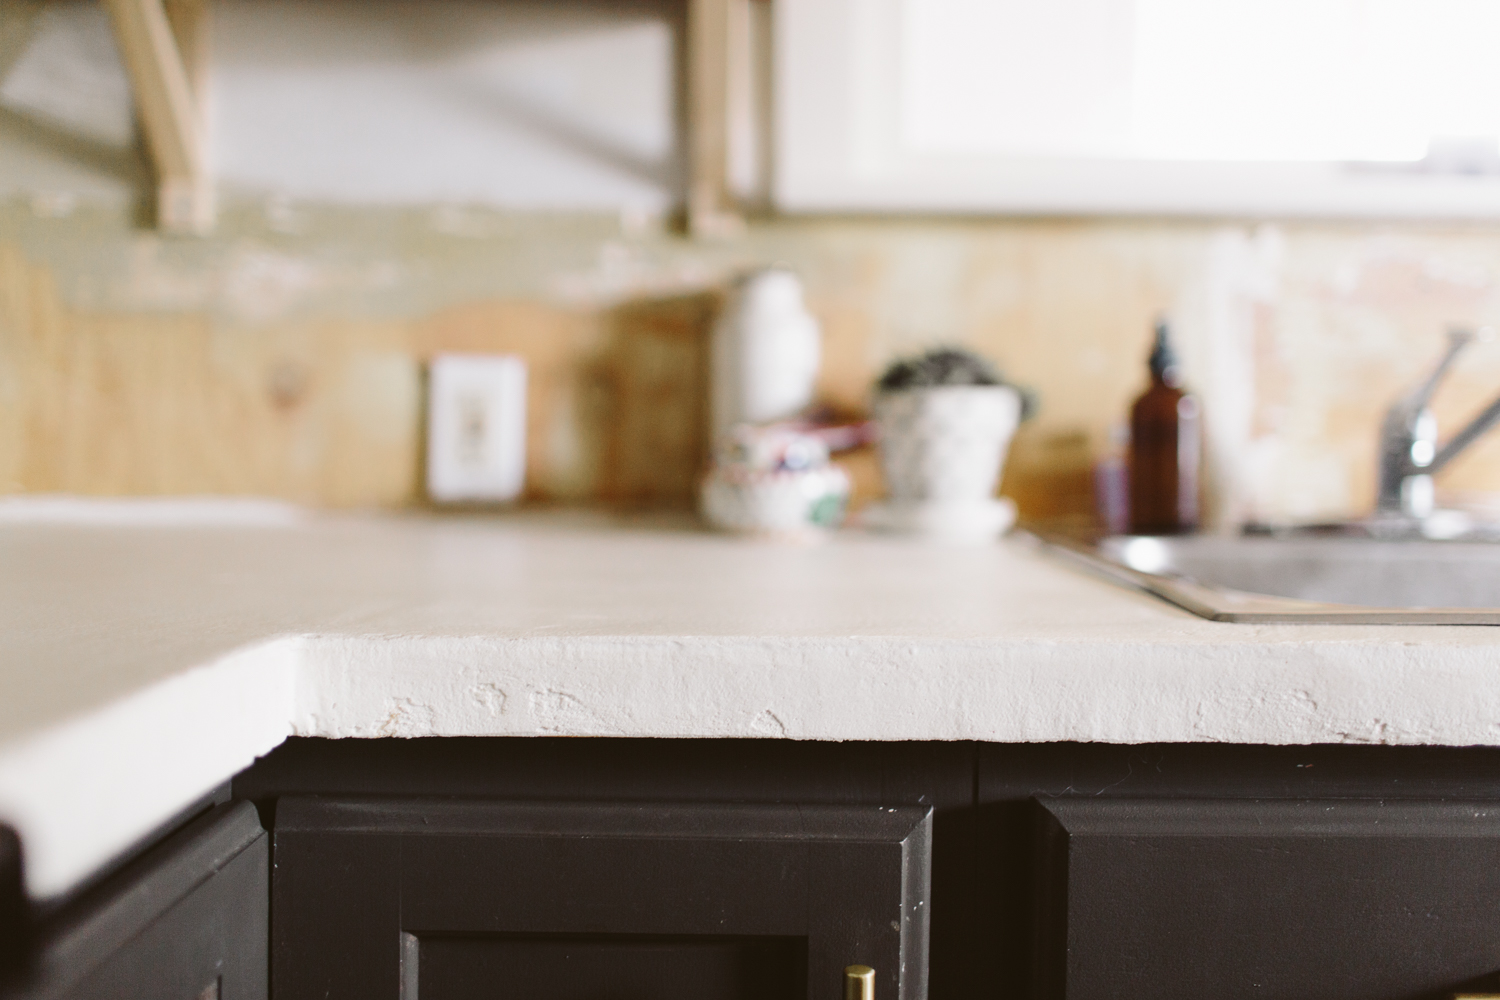
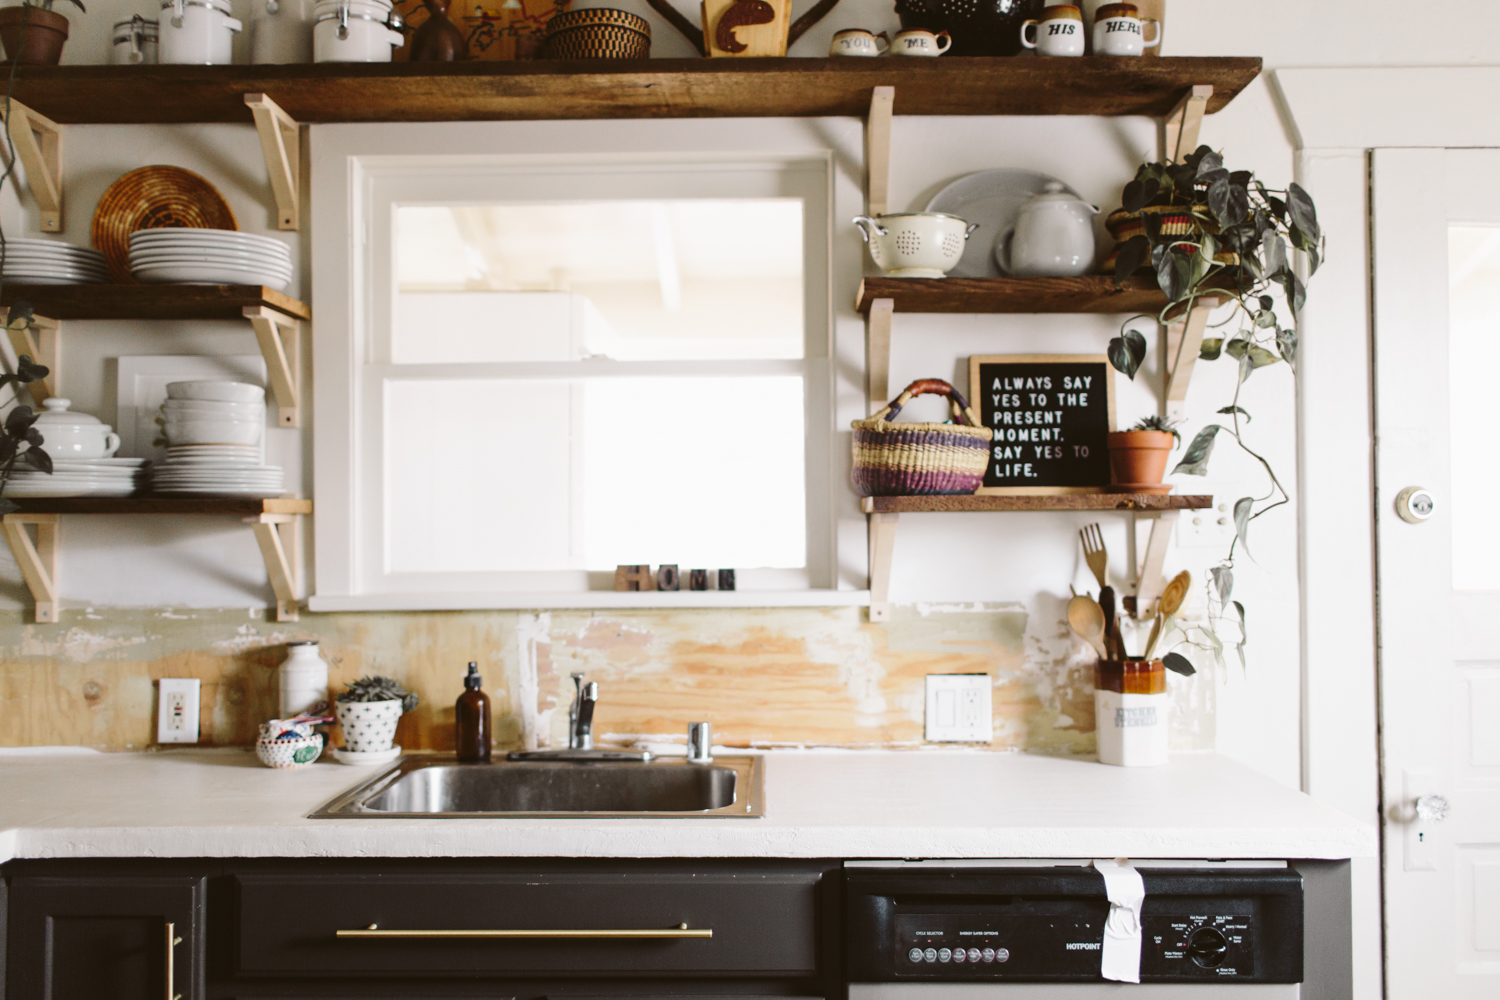
I was hoping to have my backsplash done in time to take some "after" photos of my counter, but that project is just taking too long to complete, so I'm getting this post up anyway, demo'd backsplash on full display!
I'm super thrilled about this DIY for multiple reasons. Not only does it create a super cool finish that's a little bit industrial, a little eclectic, a little farmhouse, but it's fast, pretty easy, and it's AFFORDABLE. That last one is really important to us because we just don't have money to throw around on new counters (and to be honest, the reason our backsplash has looked this way for almost 3 months is because I haven't been able to afford the tile).
I did a little research on what product I wanted to use. Originally I had planned on doing walnut butcher block counters in our kitchen but since we weren't replacing the cabinets I was worried that removing the original counters would damage the cabinets. We're also thinking about eventually putting this house up for rent and I was concerned that a more high maintenance substance like butcher block wouldn't fare as well with renters. Concrete answered both of those problems, as well as the financial issue as well. Butcher block (even the fake Ikea stuff) was around $3 - 400, which is super affordable compared to a lot of counter options out there, but this skimcoat product only cost me $173. That's a price I can get behind.
Since I'd already painted the cabinets a dark grey, I was worried that doing the regular grey concrete color would just make for too much grey in the space and make it feel too cool (as in cool toned, not like... awesome cool), and I'd just seen a friend do white concrete counters and loved that look, so I went on the search for a skimcoat product that would allow me to do white concrete.
I found what I was looking for with Direct Colors Inc. They do a concrete overlay product that is specifically designed to skimcoat formica counters, which is what we had. I bought their DCI Concrete overlay, with smooth texture, white base color, and added the Pearl color pack, which was supposed to make it even more white (I didn't make a batch of it without the pearl color added, so I'm not sure how white the white base would be without it, but I think it'd probably be plenty white if you wanted to skip that. It cost $10.95 more). I also bought the 550 Water Based matte Polyurethane Concrete Sealer in the Matte finish (I didn't want shiny counters). And I added on a Magic Trowel because I didn't have a trowel to smooth things out. I didn't realize that I should've also bought a primer sealer which should go on before the 550 Water Based Sealer, so I'd recommend getting that too and applying it before the 550 sealer. Our counter is working fine, though, with two coats of the 550 Water Based Polyurethane Concrete Sealer.
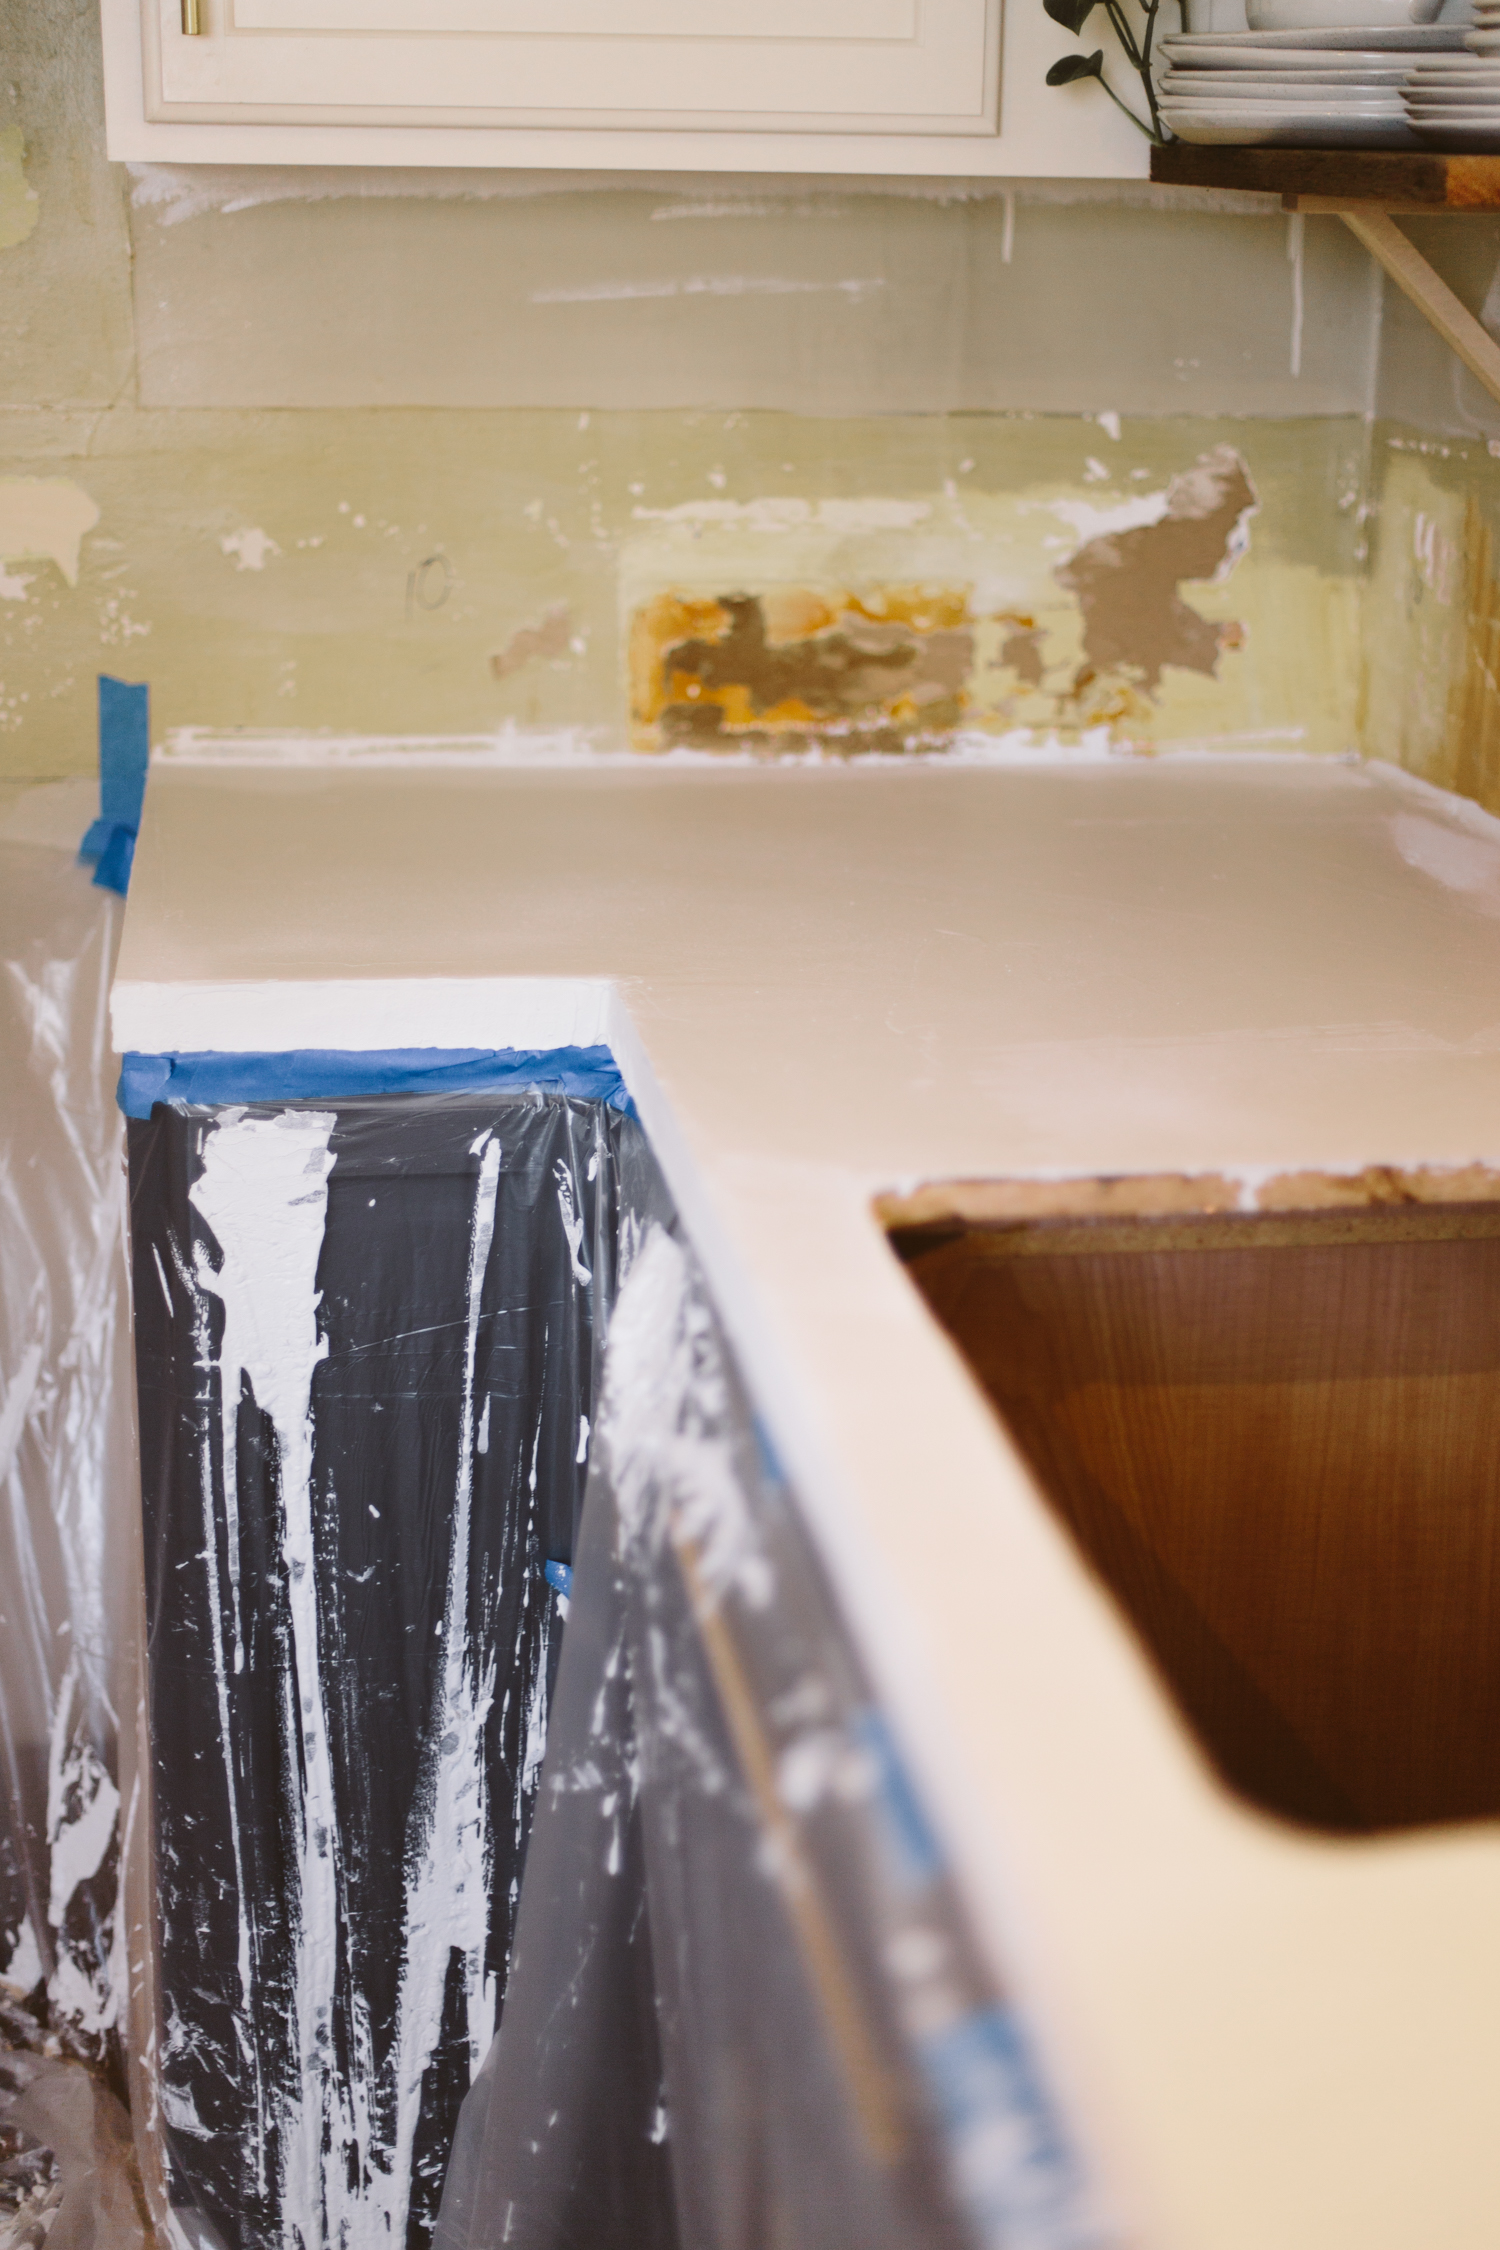
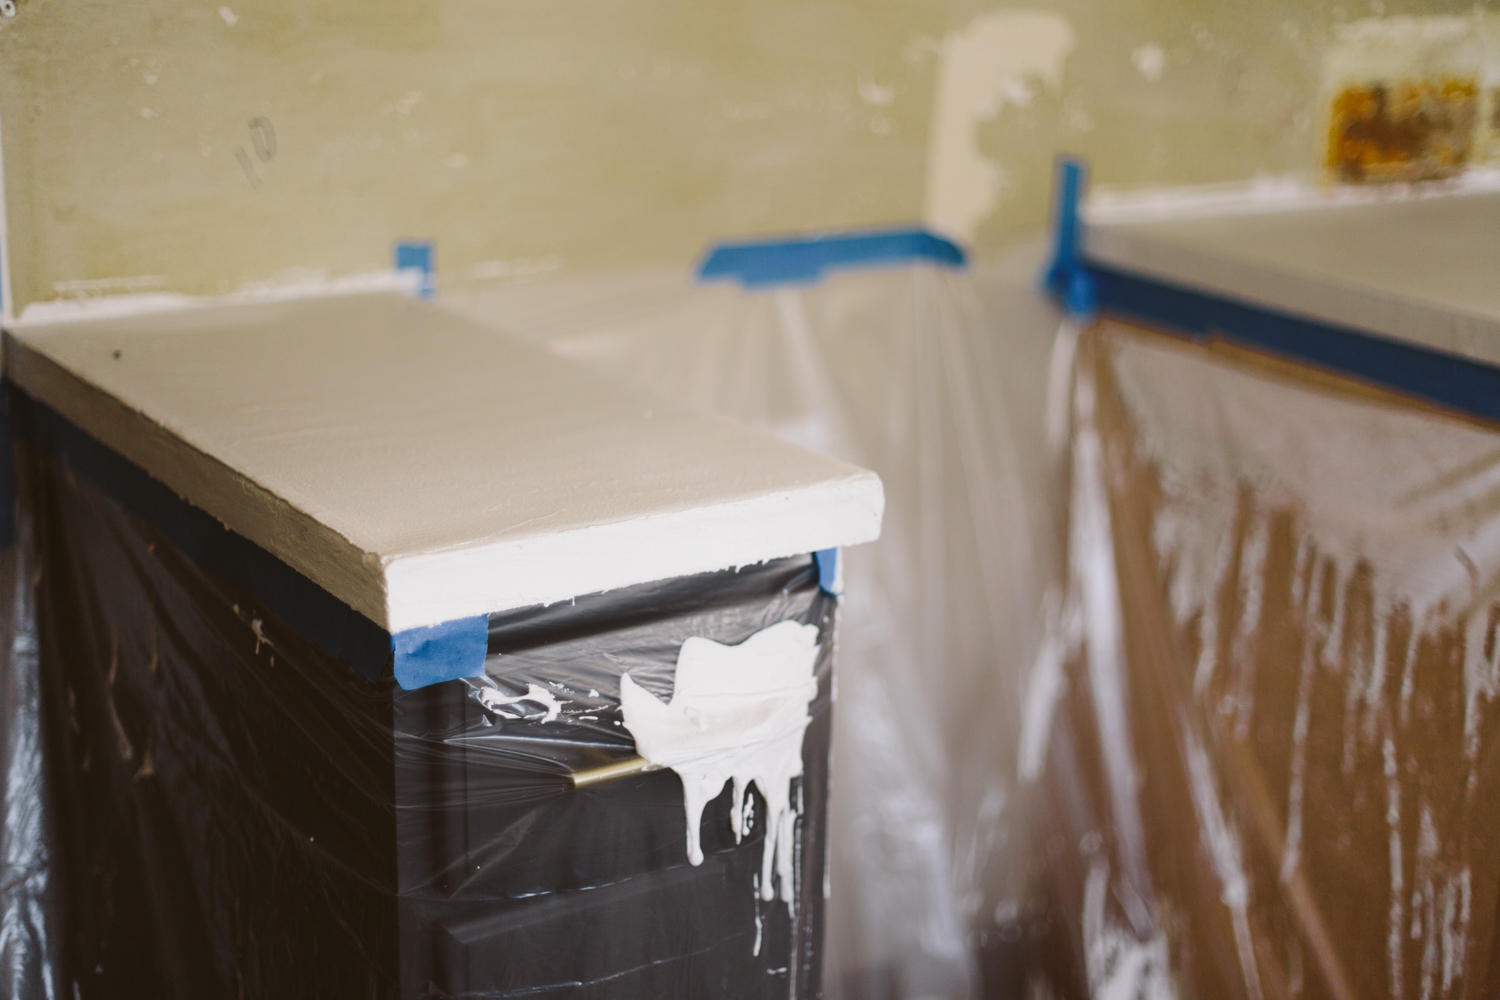
You're really gonna want to prep your work space, I promise. This stuff is messy. Or maybe I'm just messy. But historically I'm not messy with wet/goopy stuff and I was messy with this. So get some dropcloths/plastic to protect your lower cabinets and floors. The concrete gets heavy when it's on the plastic, too, so make sure you tape it to the top edge really good. I had my tape let go and then I had concrete dripping down behind it onto my cabinets and was frantically trying to get it re-taped while also covered in concrete, which is about as easy as it sounds.
I'd also recommend having a partner to help you. I did it by myself and it would've definitely been helpful to have someone to assist.
If you're doing a formica counter like me, just give it a sanding before you start to give it some texture to stick to. I used a 120 grit.
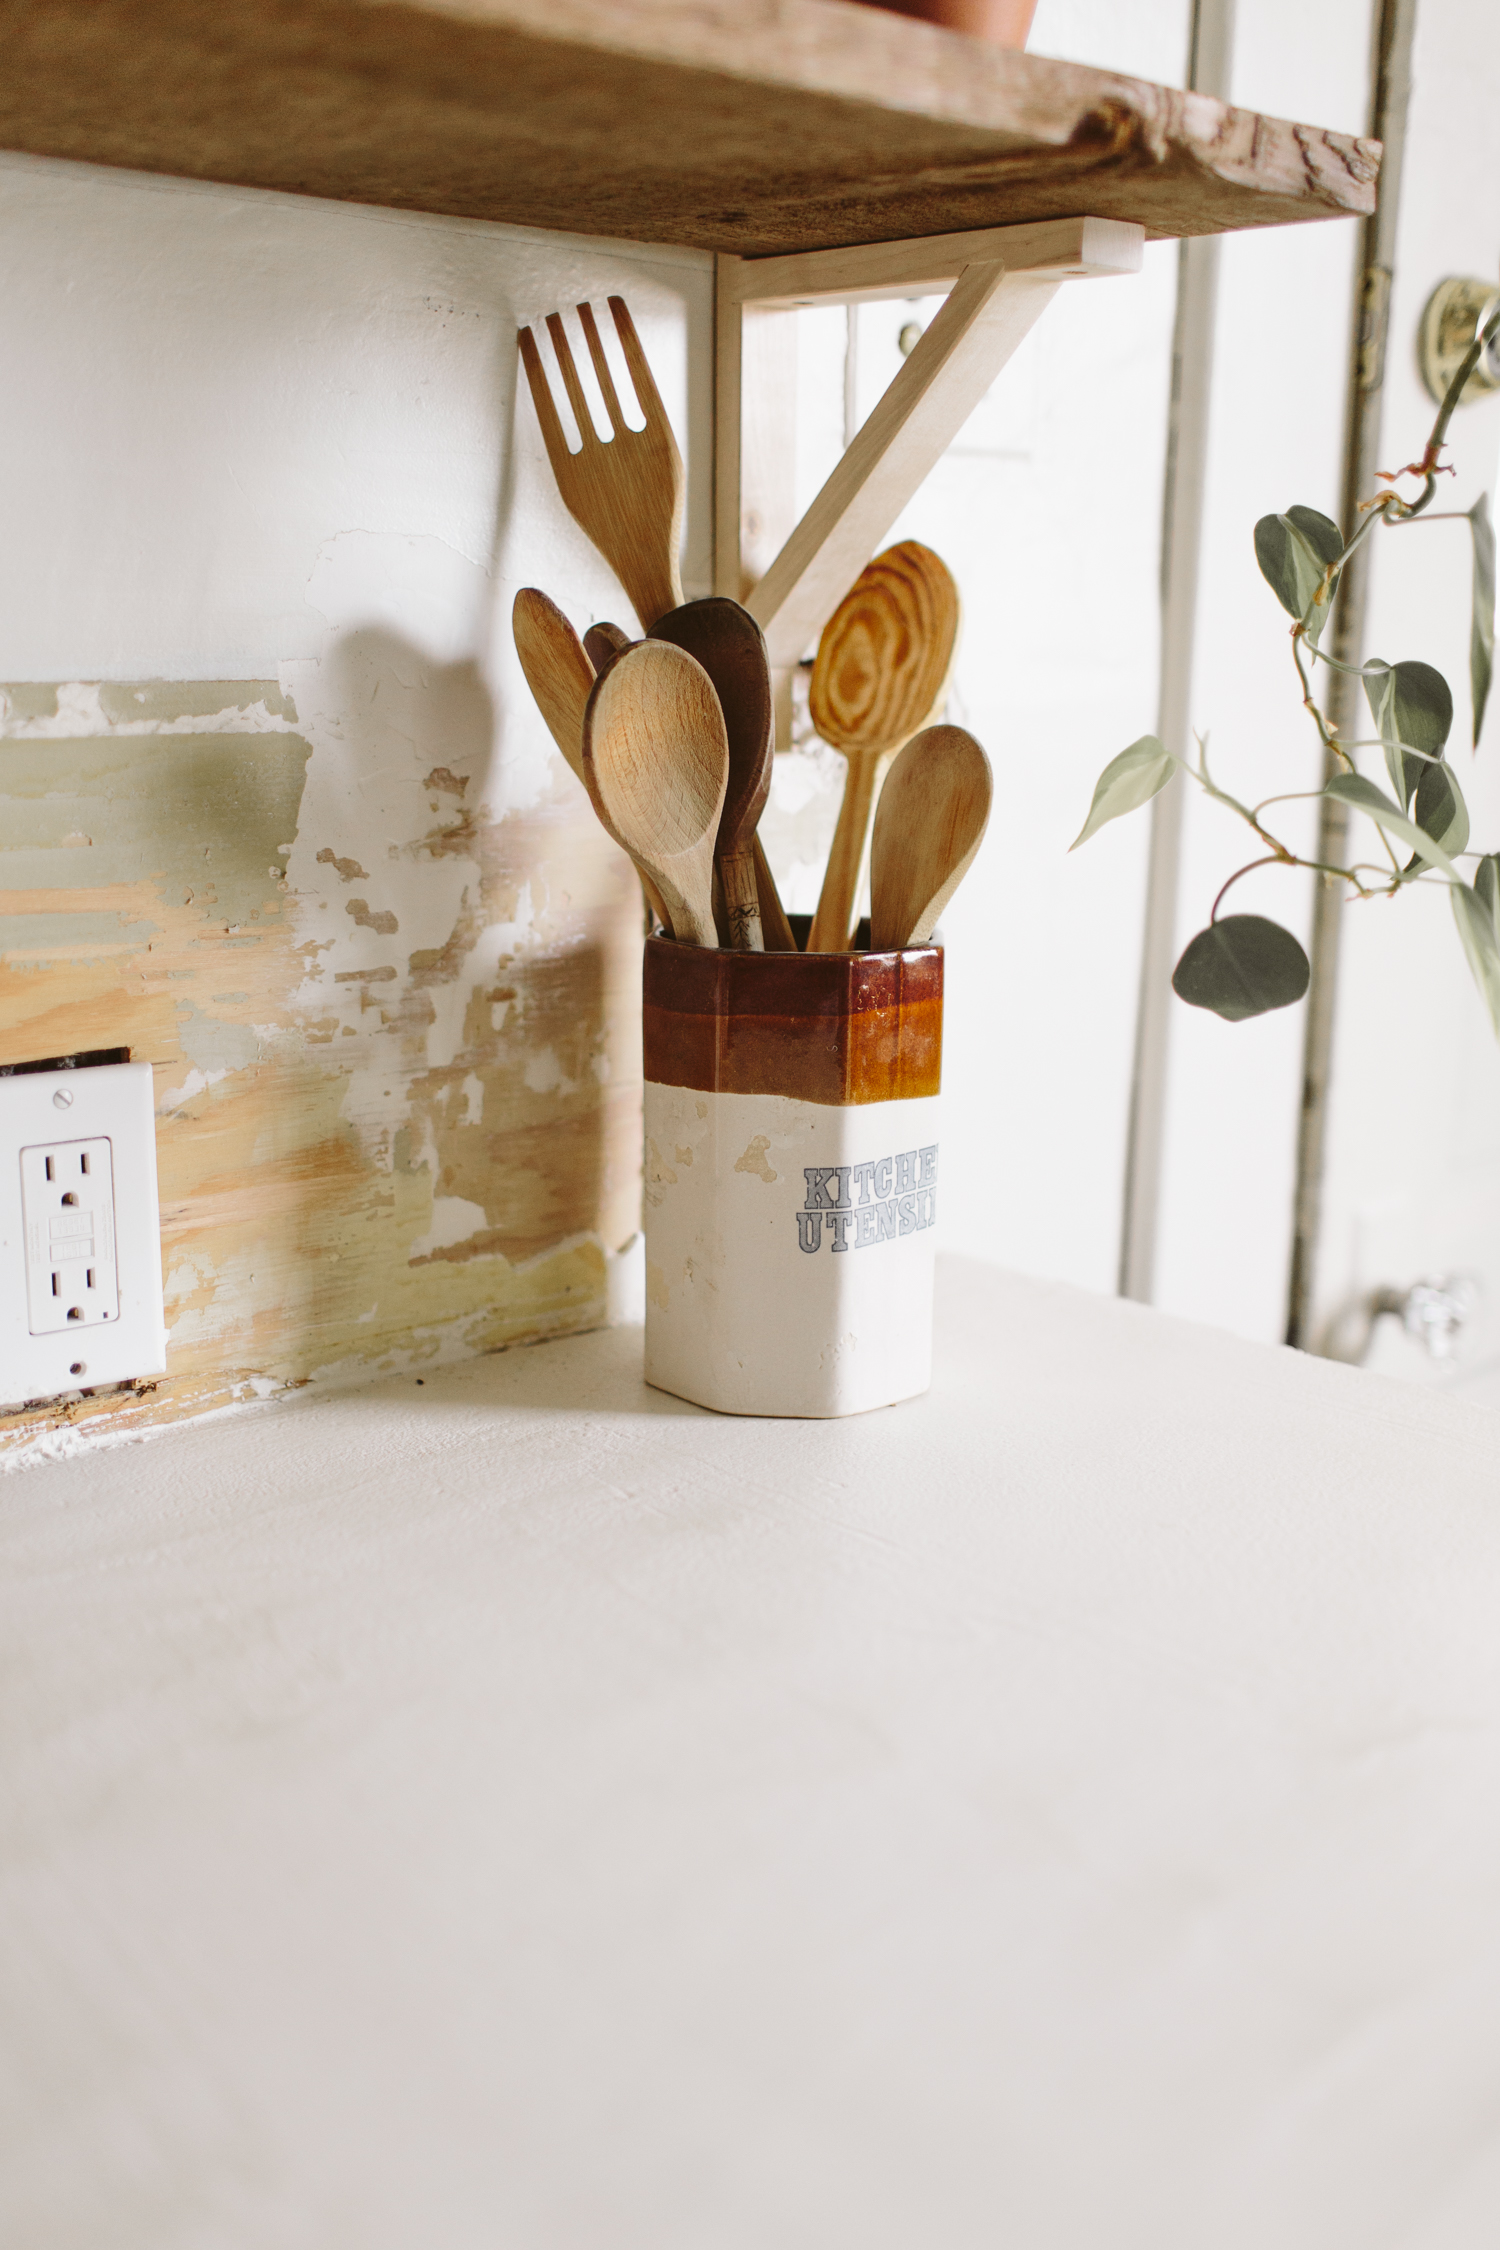
The first thing you'll do is the front vertical edge, which needs a bit of a thicker consistency to stick, so make up a small batch of that (If you're using the DCI product they send lots of instructions on how to use it/make a batch, and they also have lots of video tutorials on their site which I watched thoroughly before starting). For the top surface you want it mixed to a pancake batter consistency, but with the vertical surfaces, you want it much more thick and sticky. I bought a mixing accessory for my drill, which I used to mix the concrete. Since I wasn't making huge quantities, I could just mix the product and water in a 5 gallon bucket (or smaller for the vertical surface batch) with my drill.
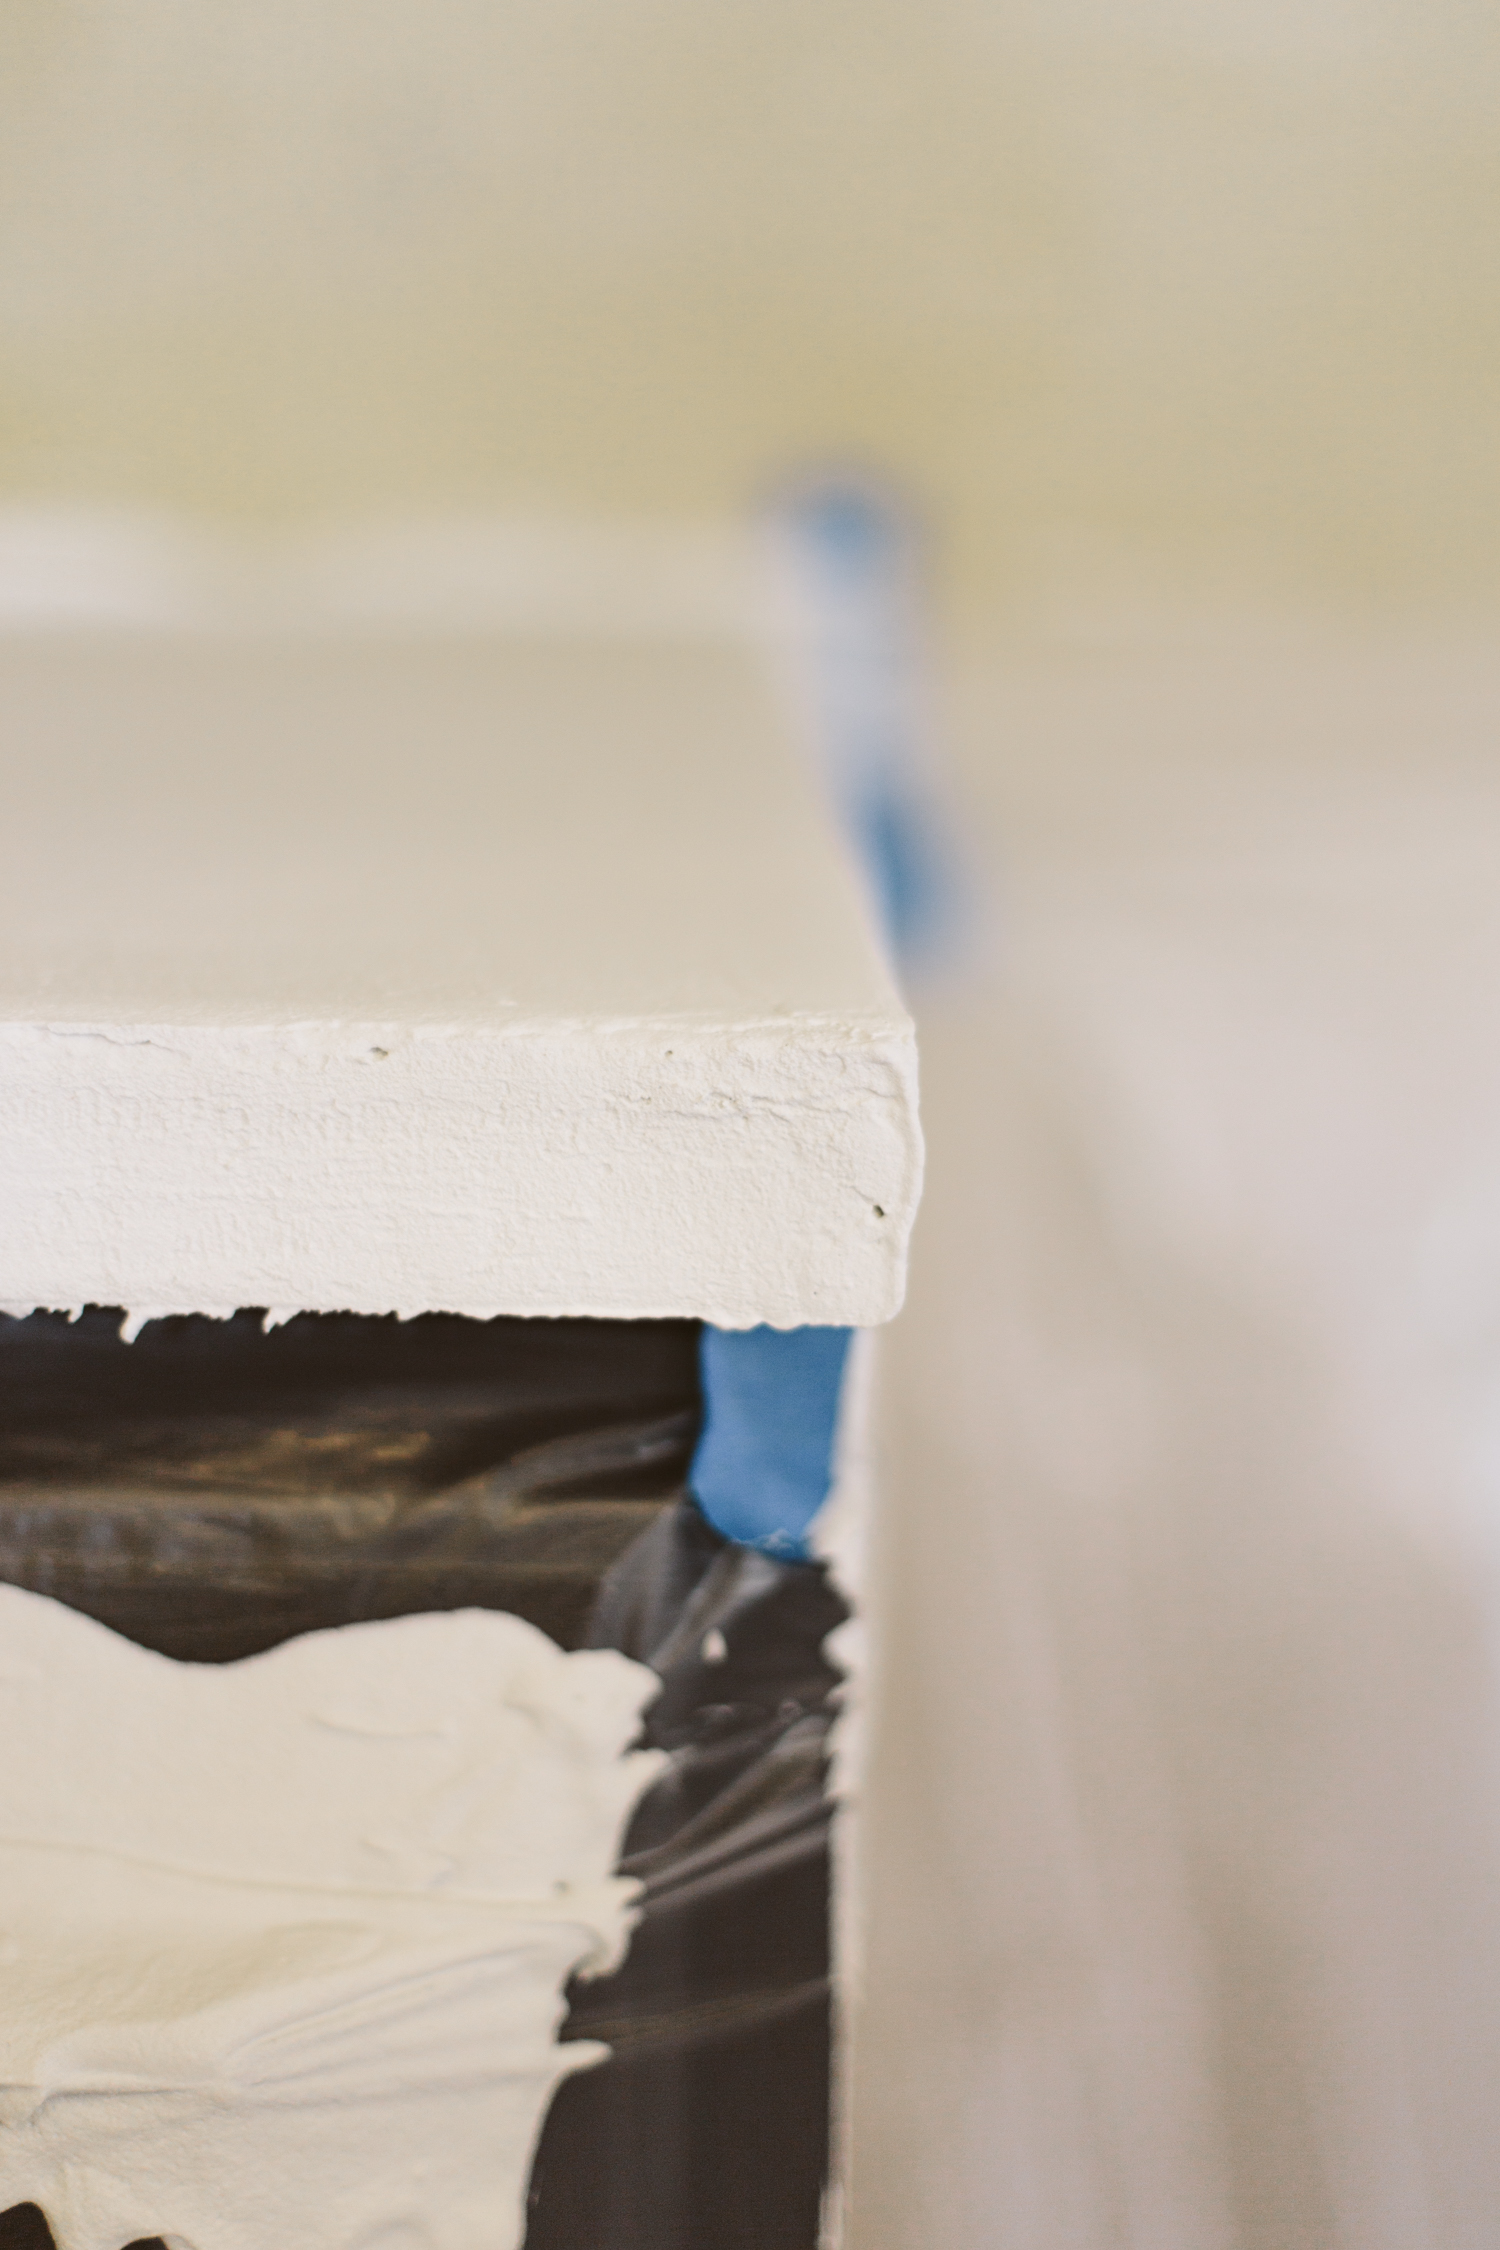
Once you've made up your more sticky batch, apply that just with your hands wearing vinyl gloves. It's a little hard to get a smooth finish, but I wasn't too worried about that because I didn't mind getting a more "rustic" finish. You can use a trowel to smooth it out too if you want it more uniform.
Then mix up your batch for the top, to about a pancake batter consistency. You can pour it directly on the counter and then smooth it out with a trowel. You want about a 1/8 - 1/4 inch thick skimcoat, and do your best to get it as smooth as you can because it's super annoying to have to sand and put another slurry coat on there.
This product doesn't require a second coat (unless you want to fix some errors) so you just have to wait 24 hours to let it dry and then seal it with the sealer!
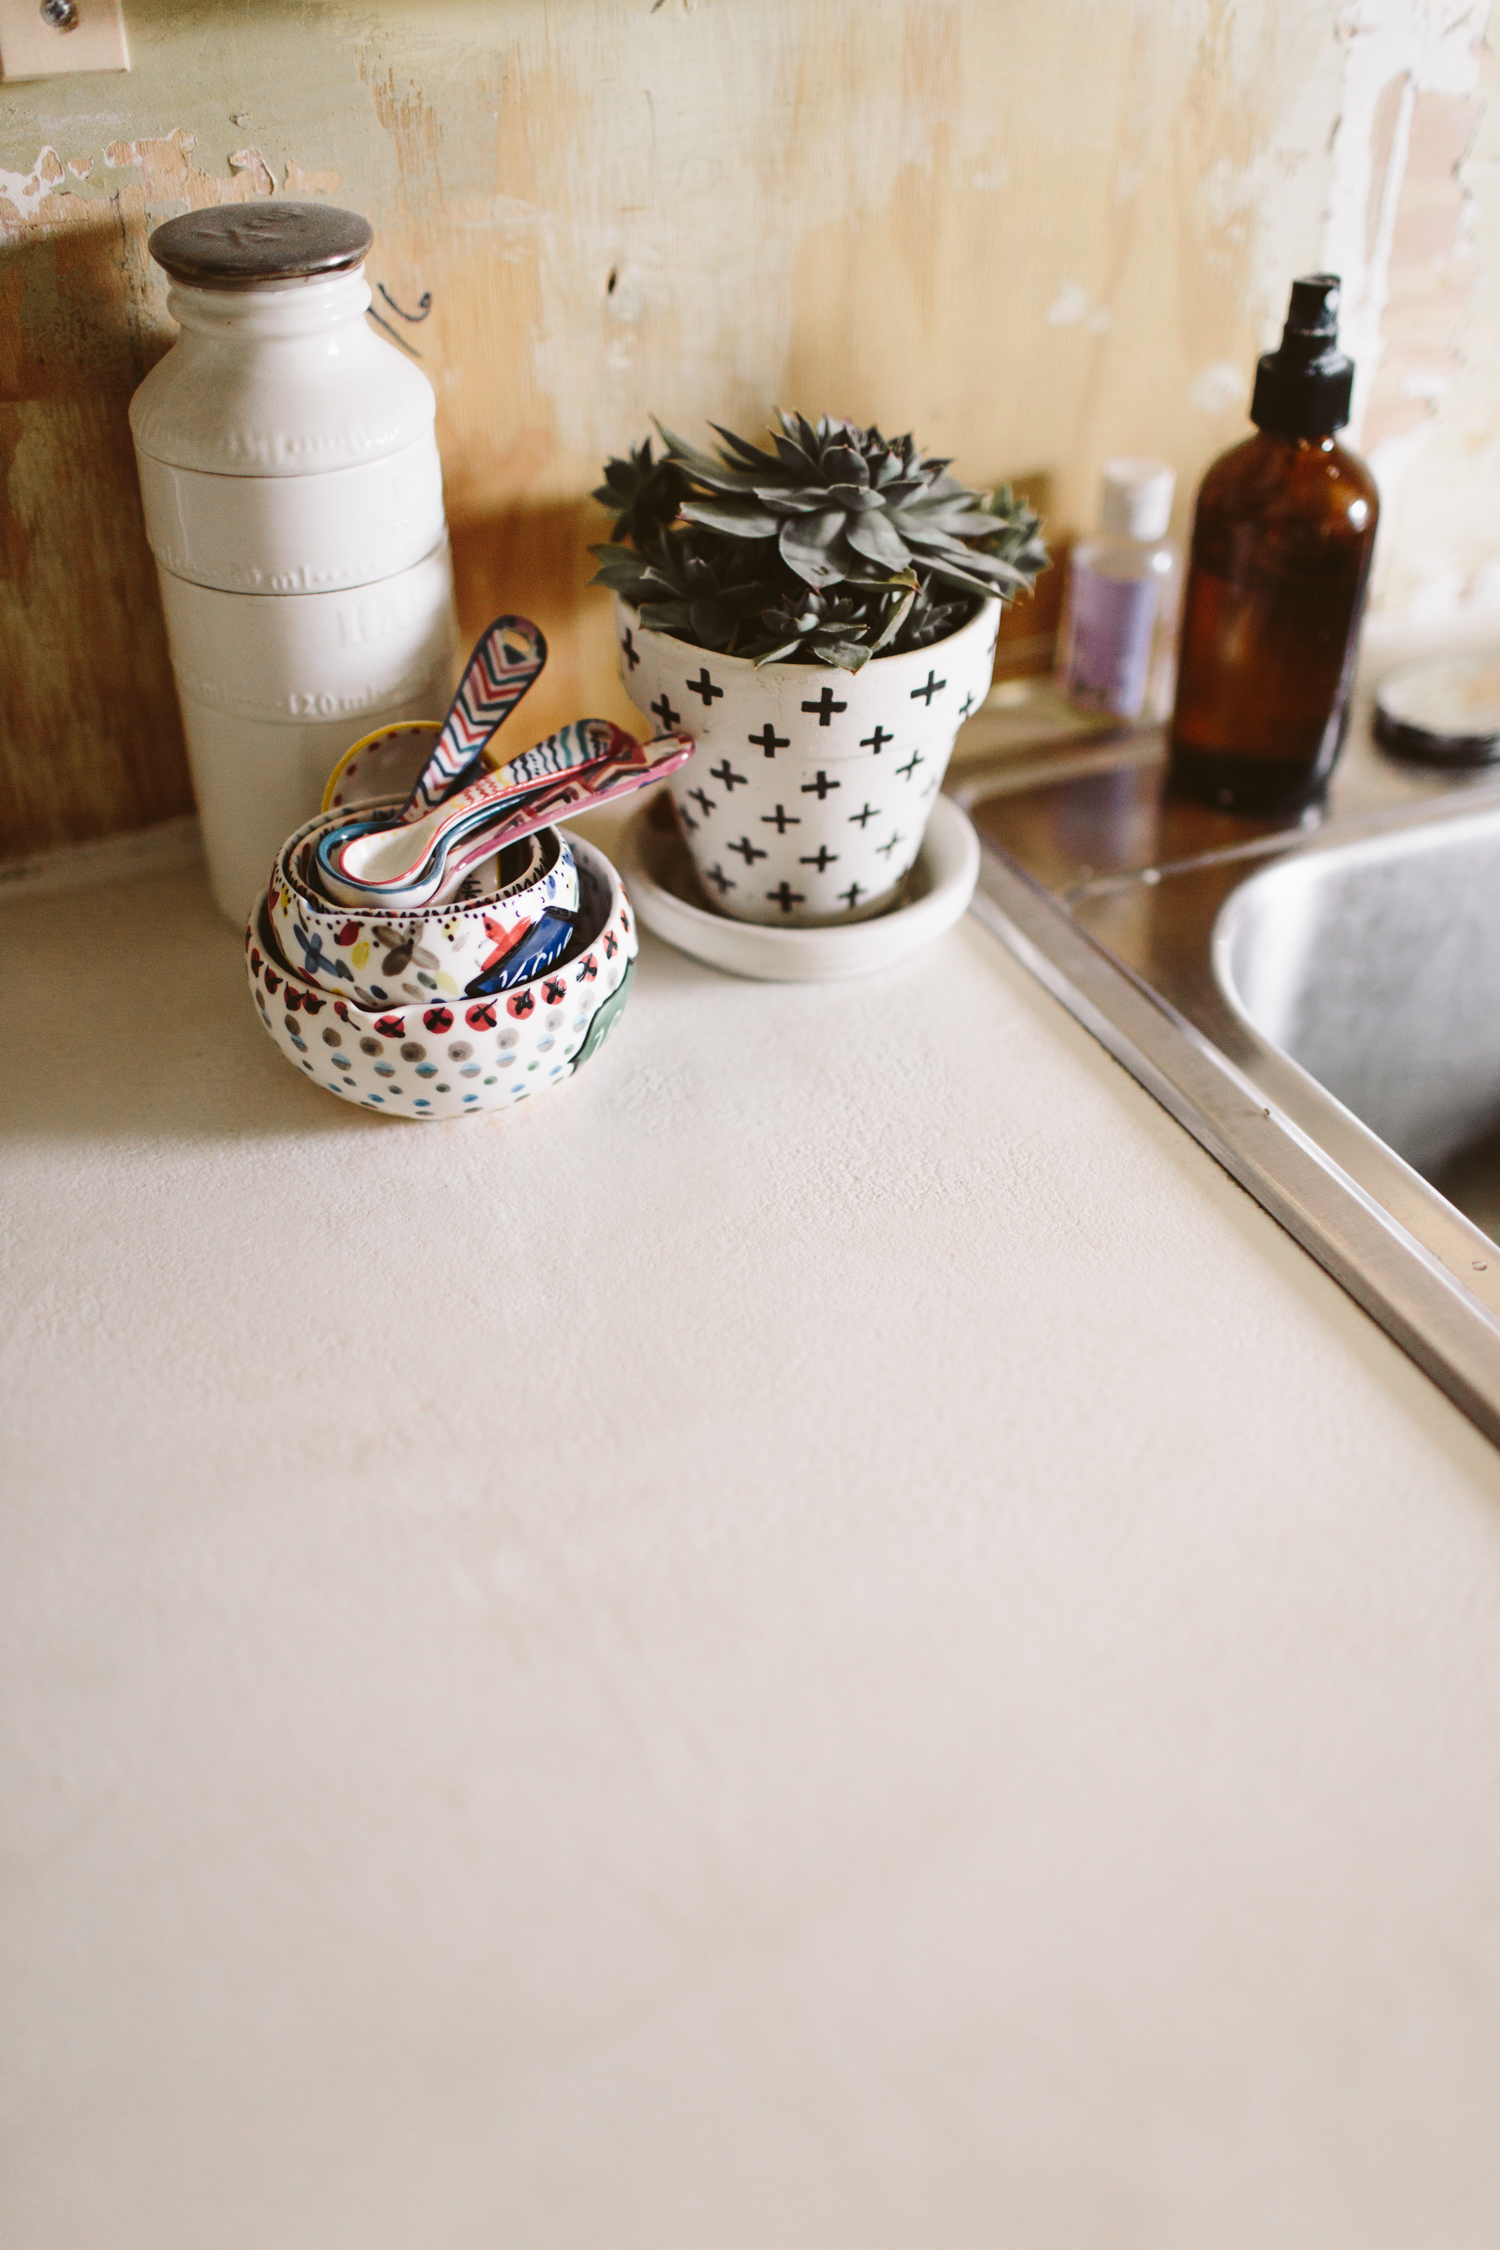
I've only had the counters for about a month and a half, but I really like how they've been holding up. I haven't had any staining, which I was a little worried about since they are white, and no chipping or any other issues. Obviously that's not a lot of time for regular wear and tear to conduct a really good evaluation so I'll update in a while once it's had time to be sufficiently tested. That being said I know two people who have refinished their counters by skimcoating with concrete and both were super happy with it (and one is in an RV, so you know that gets jostled around a lot while on the road!). Neither of those folks used the same product that I did, so it's not exactly the same, but the finish as a whole seems solid and durable!
DYING TO TRANSFORM YOUR OWN KITCHEN, BUT AREN’T SURE WHERE TO START, HOW TO BRING YOUR VISION TO LIFE, OR NEED HELP FIGURING OUT HOW TO MAKE IT ALL HAPPEN? I’VE GOT YOU COVERED! HEAD OVER HERE AND LET’S GET STARTED ON WORKING SOME DESIGN MAGIC FOR YOU!
You Might Also Like

Hi, I’m Liz
I'm an artist, writer, designer, DIY renovator, and … well basically I like to do all the things. If it’s creative I’m probably doing it. I’ve spent over 30 years voraciously pursuing a life steeped in creativity and I wholeheartedly believe creativity and joy are inextricably linked.
Read more…


Explore The Archive
- July 2025
- May 2025
- January 2025
- December 2024
- August 2024
- July 2024
- May 2024
- April 2024
- January 2024
- December 2023
- October 2023
- September 2023
- July 2023
- June 2023
- May 2023
- April 2023
- March 2023
- February 2023
- January 2023
- December 2022
- November 2022
- October 2022
- August 2022
- June 2022
- May 2022
- April 2022
- March 2022
- November 2021
- October 2021
- August 2021
- July 2021
- May 2021
- January 2021
- November 2020
- October 2020
- September 2020
- August 2020
- July 2020
- June 2020
- May 2020
- April 2020
- February 2020
- January 2020
- November 2019
- October 2019
- August 2019
- July 2019
- June 2019
- May 2019
- April 2019
- February 2019
- January 2019
- December 2018
- November 2018
- October 2018
- September 2018
- August 2018
- July 2018
- June 2018
- May 2018
- April 2018
- February 2018
- January 2018
- November 2017
- September 2017
- August 2017
- July 2017
- June 2017
- May 2017
- April 2017
- March 2017
- February 2017
- January 2017
- December 2016
- November 2016
- October 2016
- September 2016
- August 2016
- June 2016
- May 2016
- April 2016
- March 2016
- February 2016
- January 2016
- December 2015
- November 2015
- October 2015
- September 2015
- August 2015
- July 2015
- June 2015
- May 2015
- April 2015
- March 2015
- February 2015
- January 2015
- December 2014
- November 2014
- October 2014
- September 2014
- August 2014
- July 2014
- June 2014
- May 2014
- April 2014
- March 2014
- February 2014
- January 2014
- December 2013
- November 2013
- October 2013
- September 2013
- August 2013
- July 2013
- June 2013
- May 2013
- April 2013
- March 2013
- February 2013
- January 2013
- December 2012
- November 2012
- October 2012
- September 2012
- August 2012
- July 2012
- June 2012
- May 2012
- April 2012
- March 2012
- February 2012
- January 2012
- December 2011
- November 2011
- October 2011
- September 2011
- August 2011
- July 2011
- June 2011
- May 2011
- April 2011
- March 2011
- February 2011
- January 2011
- December 2010
- November 2010
- October 2010
- September 2010
- August 2010
- July 2010
- June 2010
- May 2010
- April 2010
- March 2010
- February 2010
- January 2010
- December 2009
- November 2009
- October 2009
- September 2009
- August 2009
- July 2009
- June 2009
- May 2009
- April 2009
- March 2009
- February 2009
- January 2009
- December 2008
- November 2008
- October 2008
- September 2008
- August 2008
- July 2008

VISIT THE SHOP


PRIVACY POLICY & DISCLOSURE
We are a participant in the Amazon Services LLC Associates Program, an affiliate advertising program designed to provide a means for us to earn fees by linking to Amazon.com and affiliated sites.