

Hexagon Painted Wall Mural Tutorial | Tacoma Mural Artist
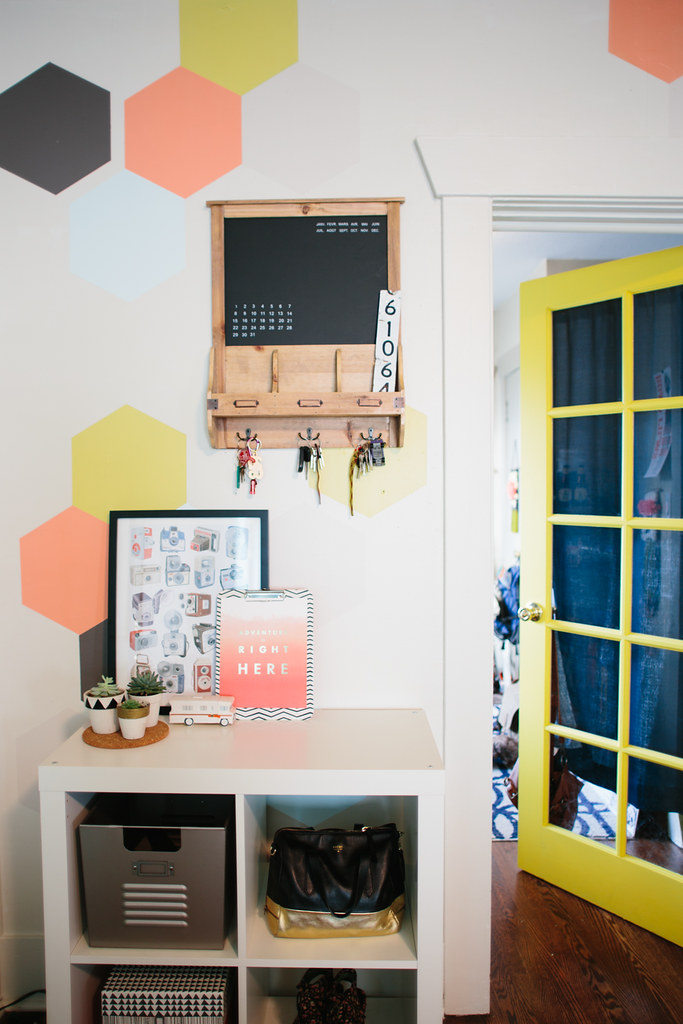

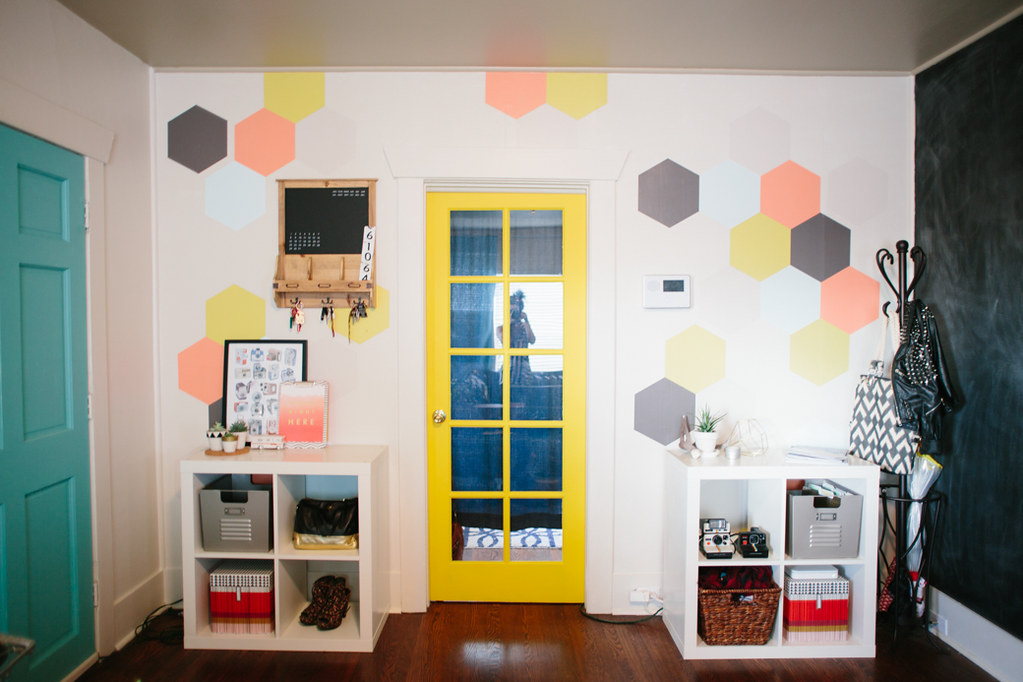
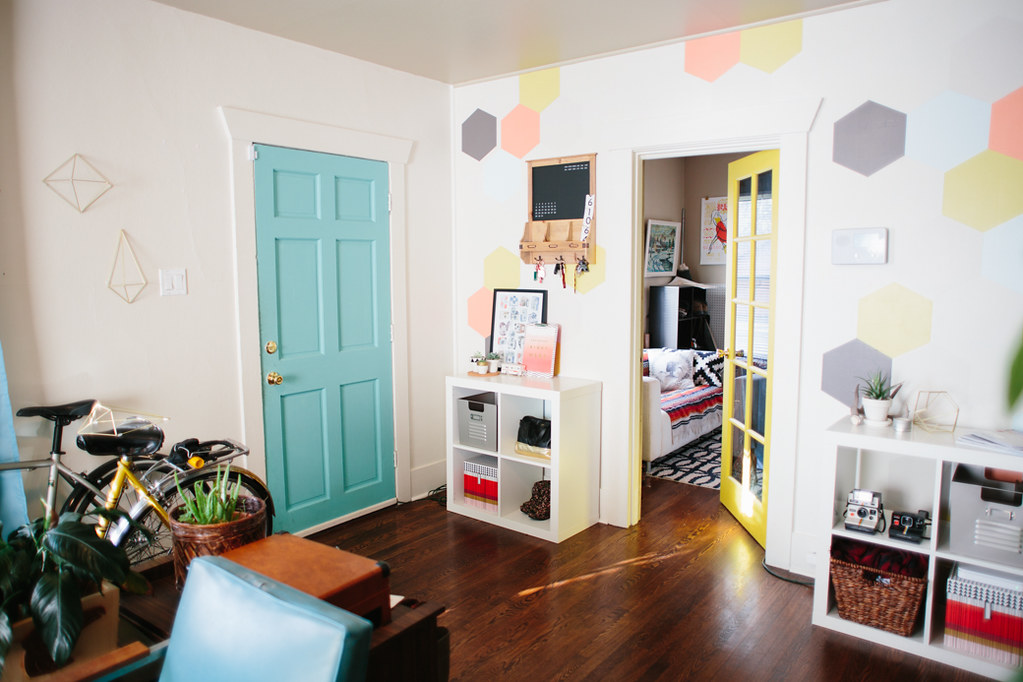
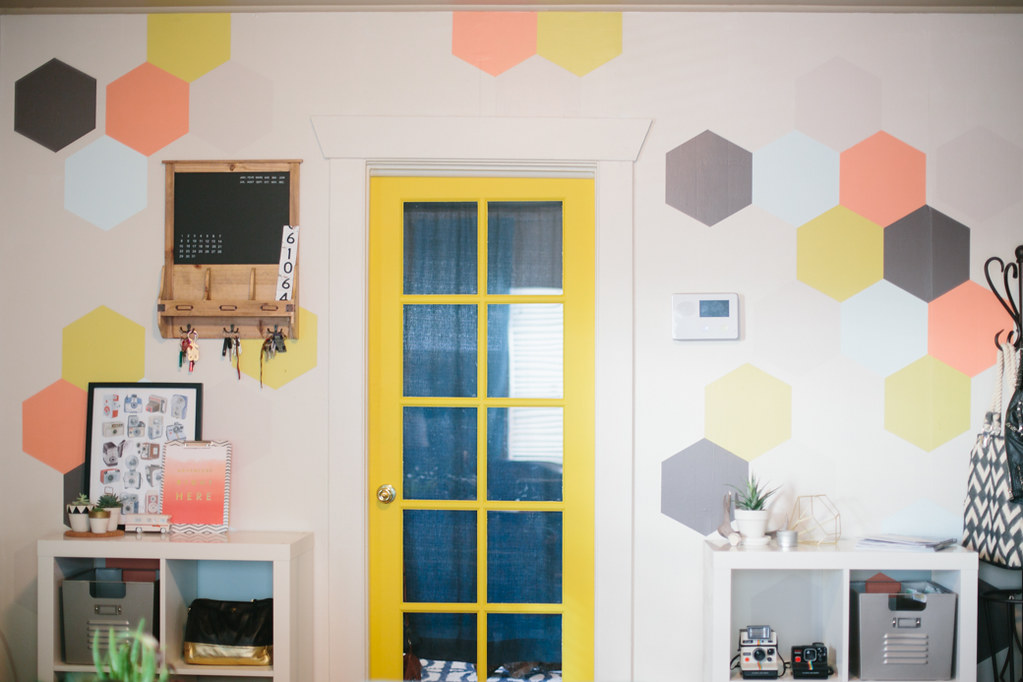
've been painting my living room slowly over the last year and a half. The first thing I did was paint two of the walls white, then I painted my big chalkboard wall, but I still had one wall left. It was still the boring, dingy beige that was there when we moved in. I knew I wanted some kind of pattern or statement, but nothing too crazy because I already had a huge black wall. When
and
contacted me seeing if I'd be interested in doing a painting project in collaboration with them, I knew this was the perfect time to finally finish my living room! I love how it turned out! It's clean and neat, and a statement but not visually overwhelming. I picked some muted, pastel
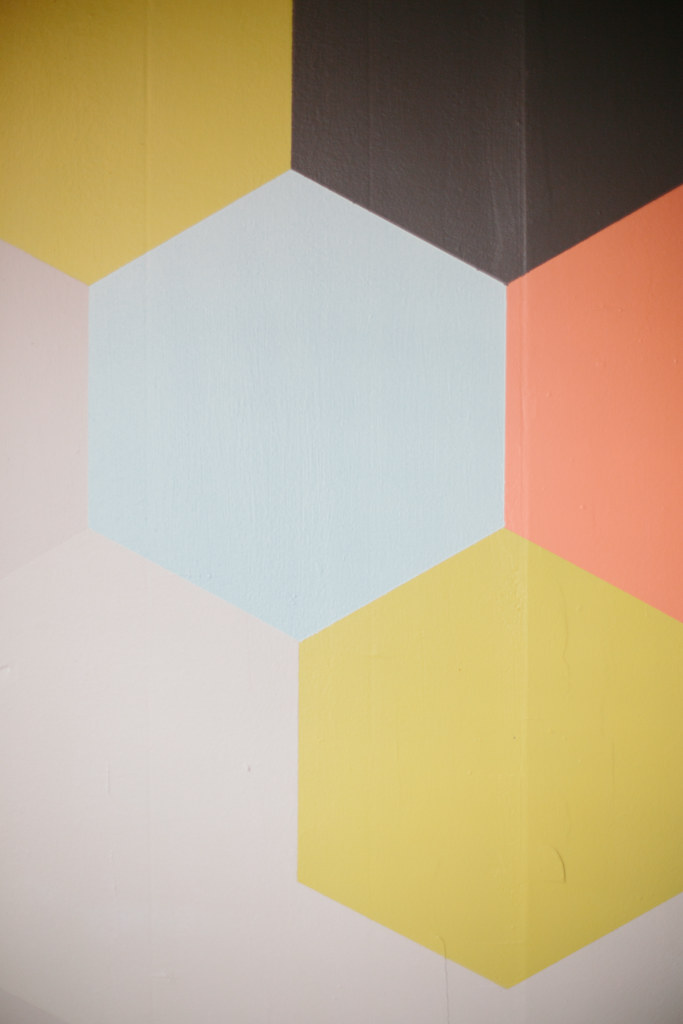
colors so it wasn't too bold. I'd already painted the door bright yellow so I wasn't sure if the muted colors would clash, but I love how the door stands out and is still in the same color family as the yellow hexagons.
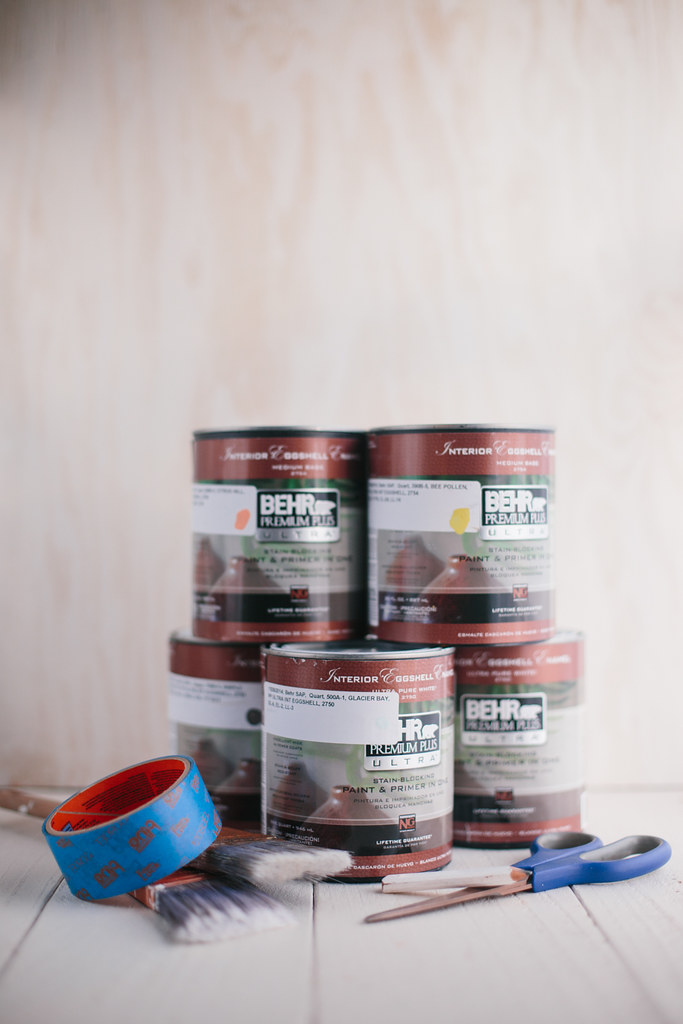
MATERIALS NEEDED:
Behr® Premium Plus Ultra™ Paint
- I used: I used: Glacier Bay #500A-1, Citrus Hill #200B-4, Bee Pollen #390B-5, Chocolate Froth #720C-2, and Simple Silhouette #790B-5
Pro
Scissors
Pencil
Cardboard
DIRECTIONS:
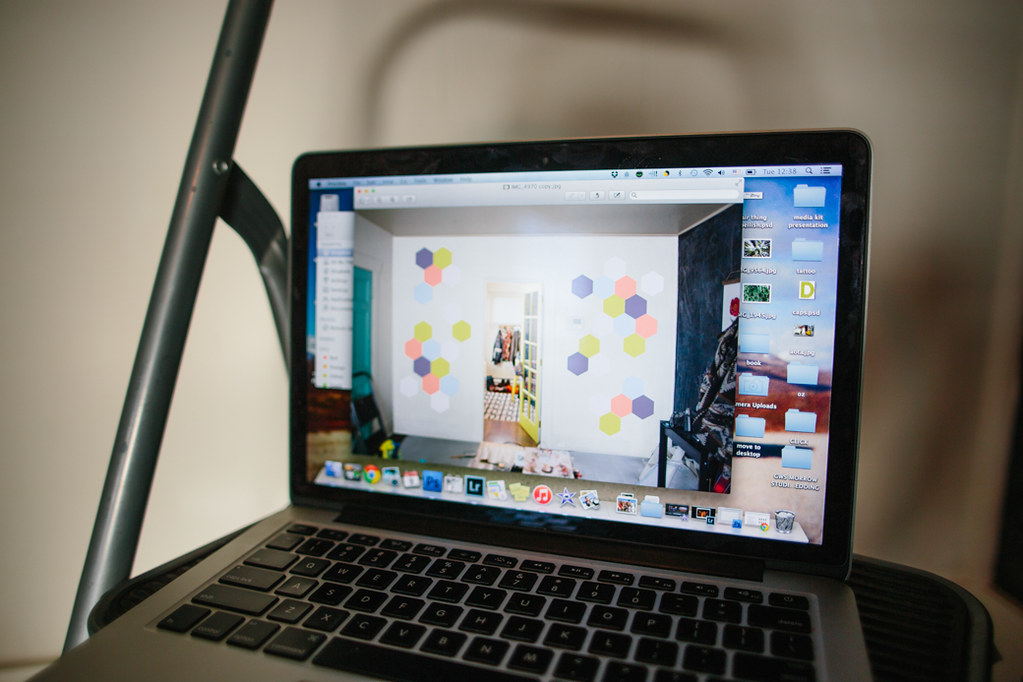
1. Decide on your pattern. I used photoshop to mock up how I wanted my design to look on the wall and which colors would go in each hexagon. This also helped determine how big I wanted to make my hexagon template.
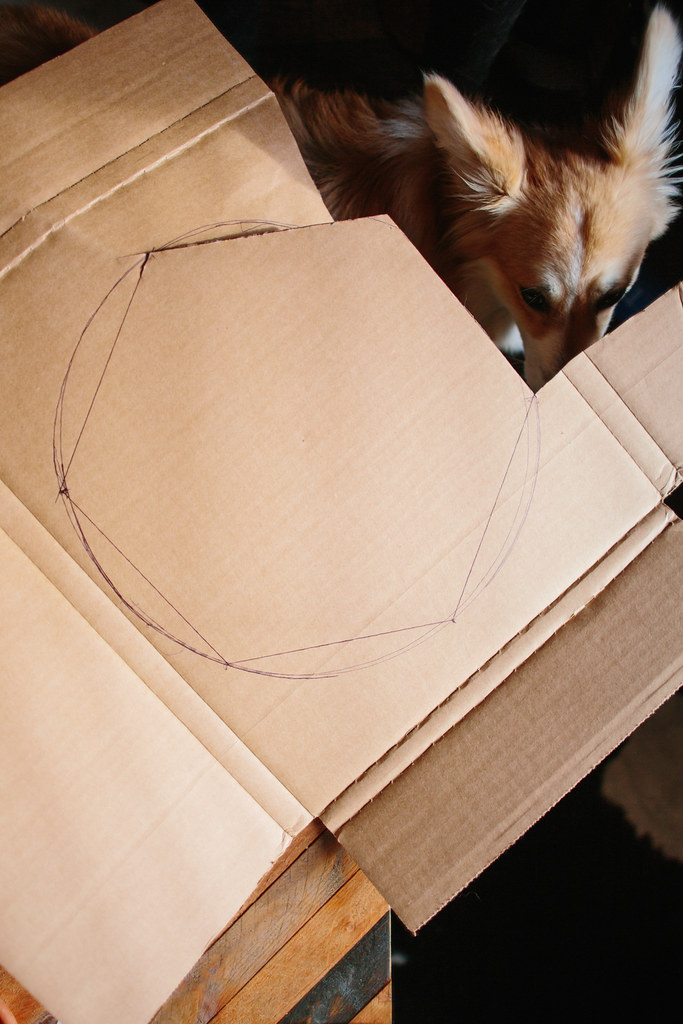
2. Create your hexagon template. It's pretty easy to make a hexagon, but you'll want to make sure it's pretty close to perfect so that your pattern doesn't get wonky. I used
this super easy little tutorial
with a makeshift compass. My hexagon ended up being 13 inches from tip to opposite tip (diameter of the original circle drawn). Cut the template out of some cardboard or other sturdy material to trace around.
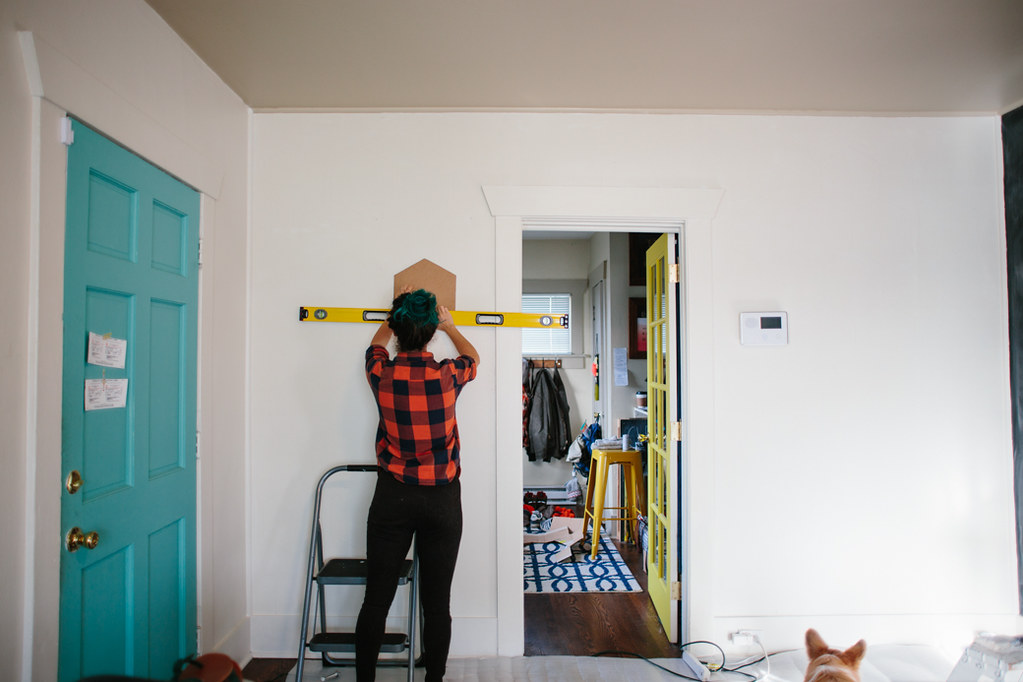
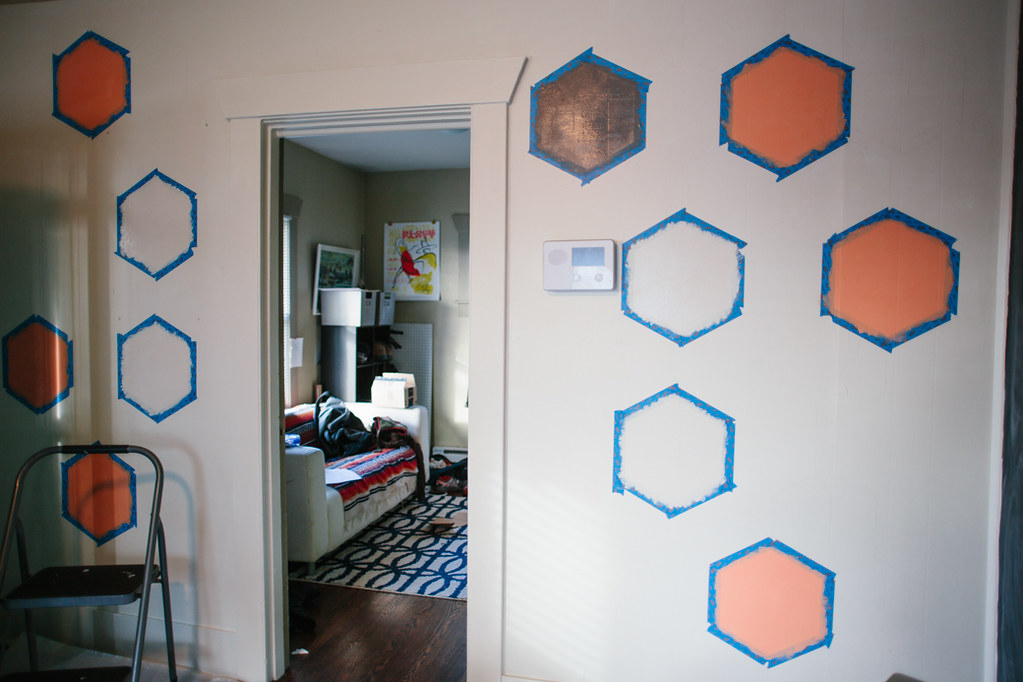
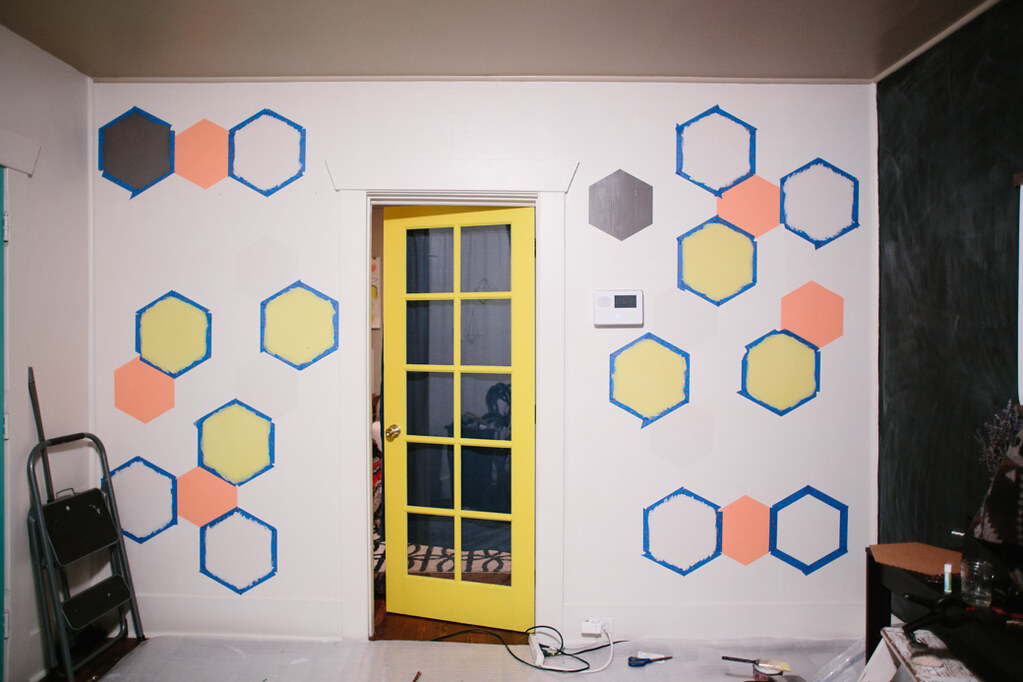
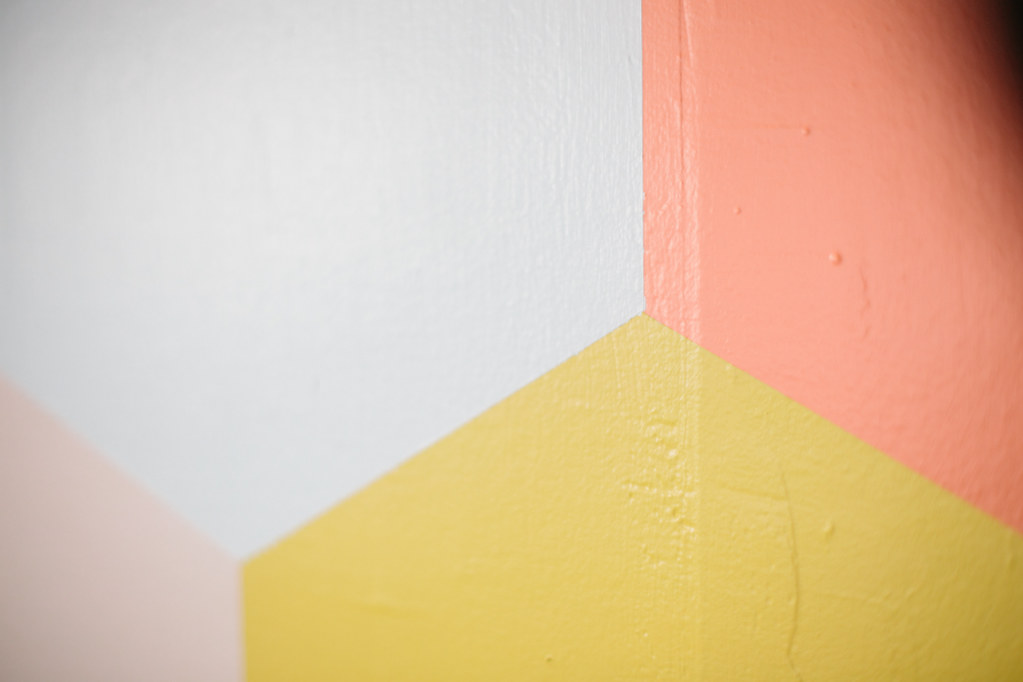
3. Draw the outlines to the hexagons using a pencil. Make sure your hexagons are level. I leveled the first one and then outlined about 4 or 5 and checked the level again, just to make sure I wasn't getting off level. In each hexagon I lightly wrote the color that would be painted inside.
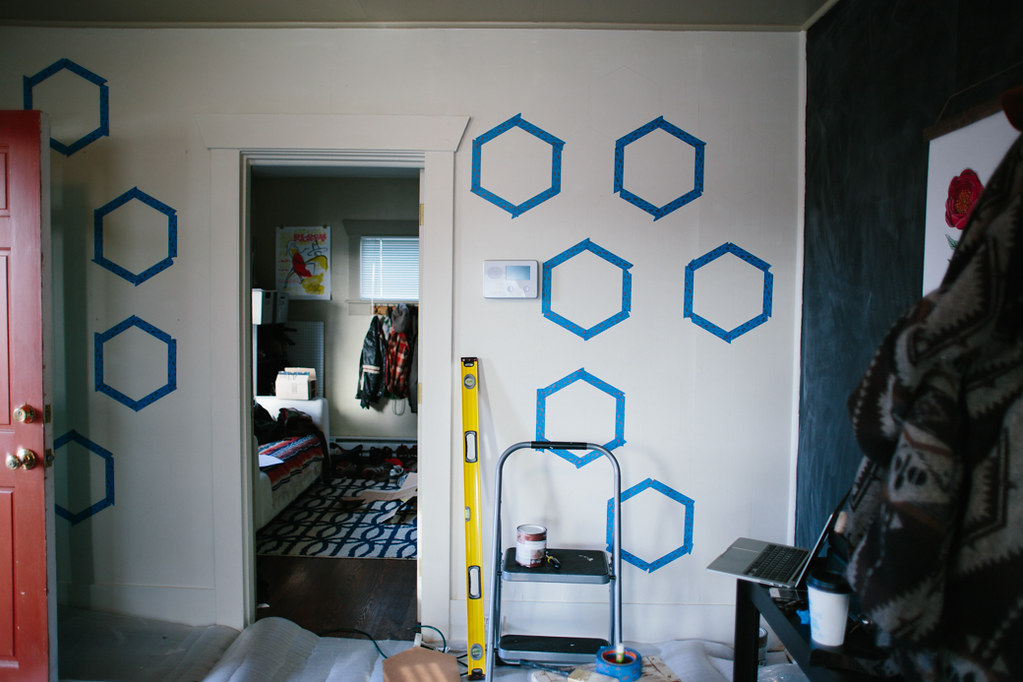
4. Using your
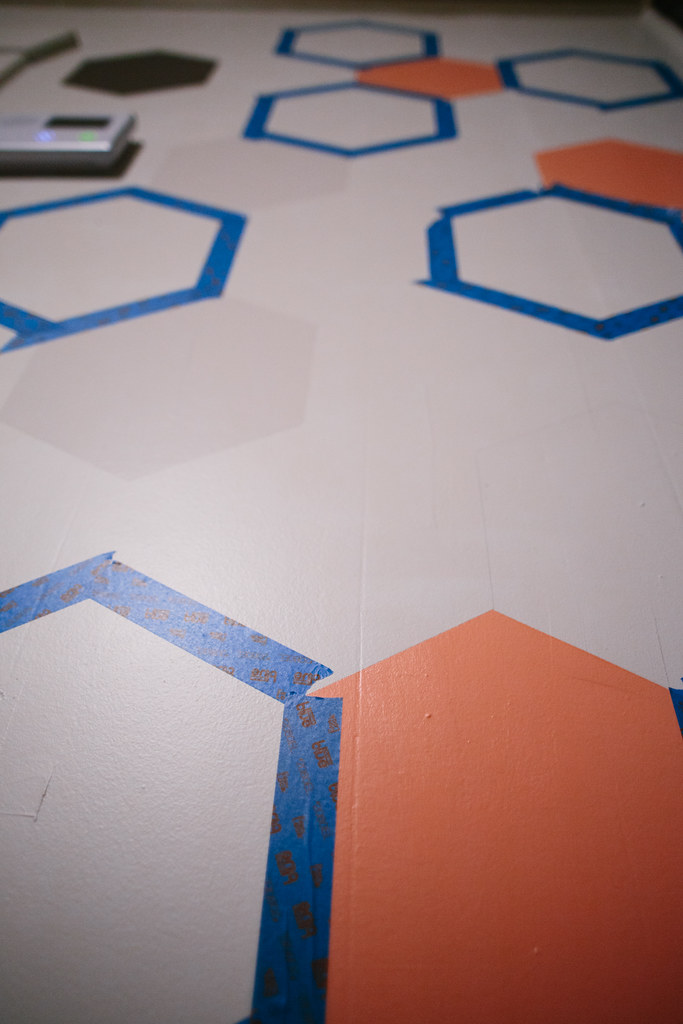
, outline the hexagons that aren't directly next to each other. Since these hexagons are directly butting up against each other, you'll have to wait for the paint to dry so you can mask off the one next to it. I masked as many hexagons as possible and painted the color that was written inside using my Behr paint. Each hexagon got two coats of paint.
5. Because I had to wait for each hexagon to dry before taping the one next to it, this project took a little longer, but I'm super happy with how it looks. As soon as I painted the second coat on a hexagon I'd remove the tape and allow it to dry. This project took three days to complete with the time required to wait for paint to dry. I let the paint dry about 2 hours between coats, as recommended by
.
I have to say I was skeptical about how good the Edgelock tape would
really
be in comparison to the regular painters tape I usually use, but I was super happy with how precise my edges were. I didn't have to fix any leaks and the edges were
so
sharp and clean. I used the
Delicate Surface Painter's Tape
, but
has
the right tape for your project surface.

I am proud to be a 3M, Behr®, and Wooster® - sponsored blogger, and, as part of my responsibilities, I get the opportunity to evaluate products. Opinions are my own and additional product used in the project were selected by me. Thanks for supporting those companies that keep Delightfully Tacky alive and kicking!


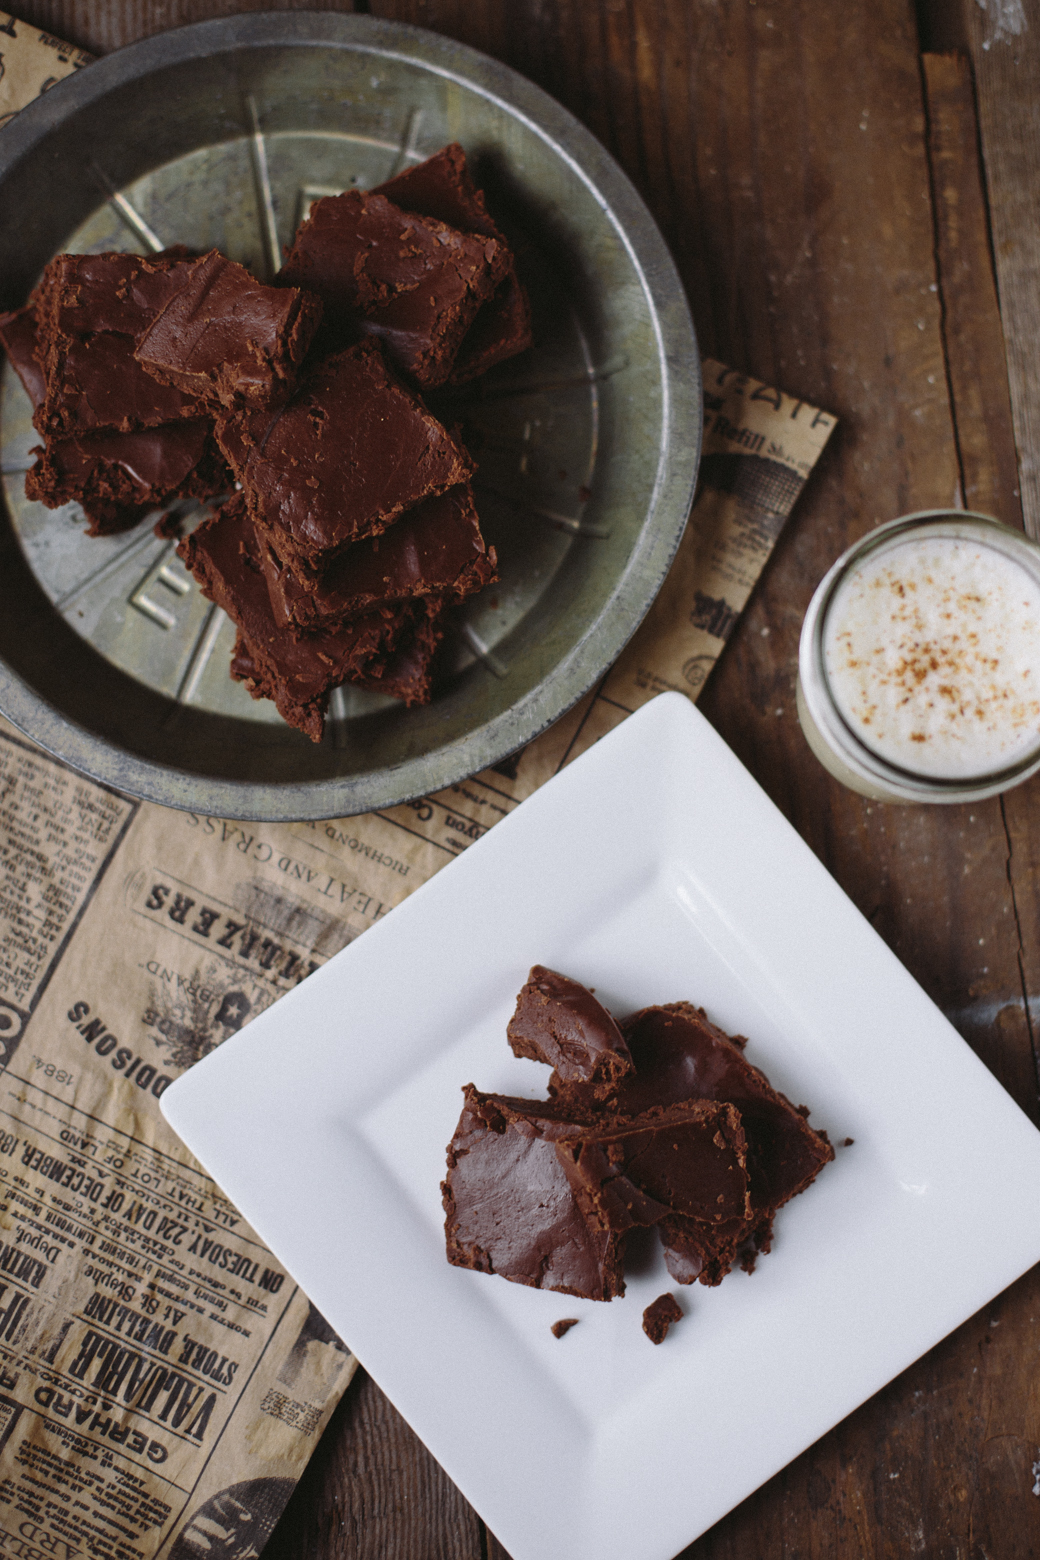
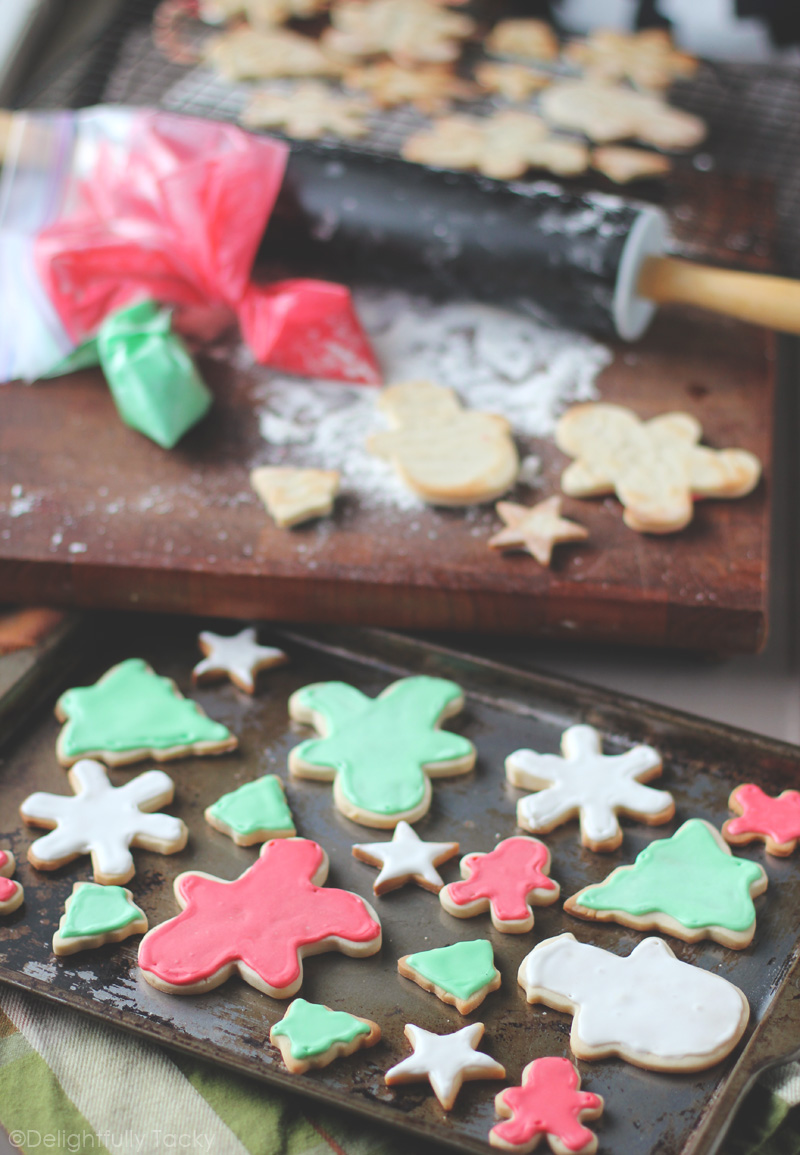
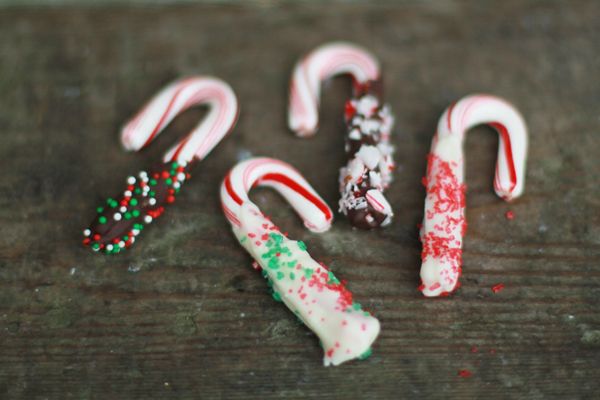
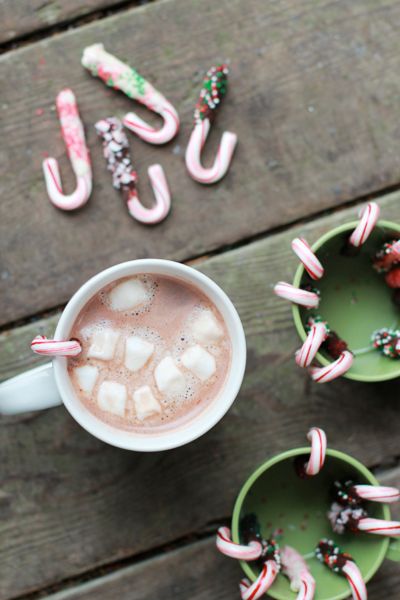
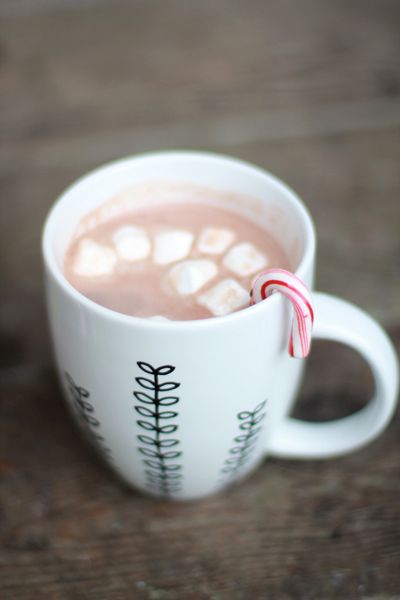
five homemade christmas treats!


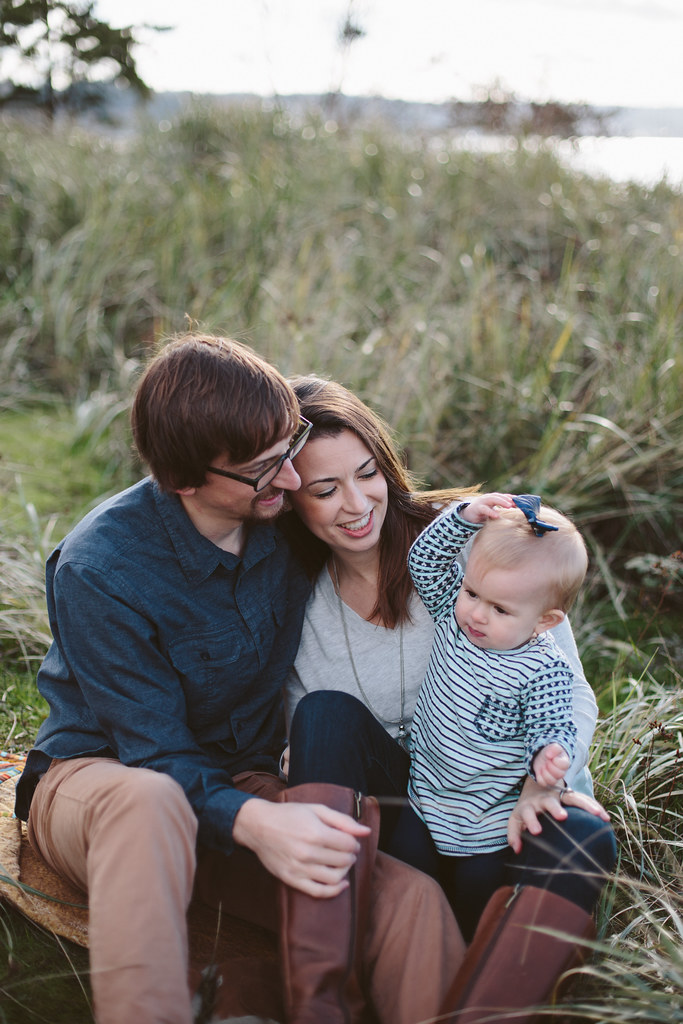
the molinaro family // university place family photographer


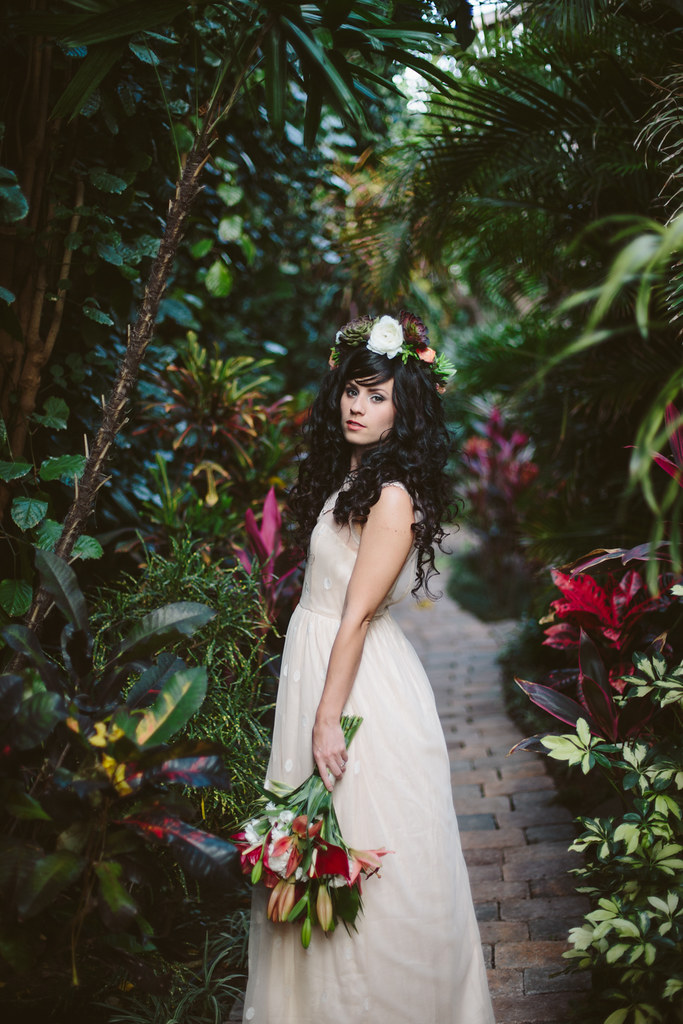
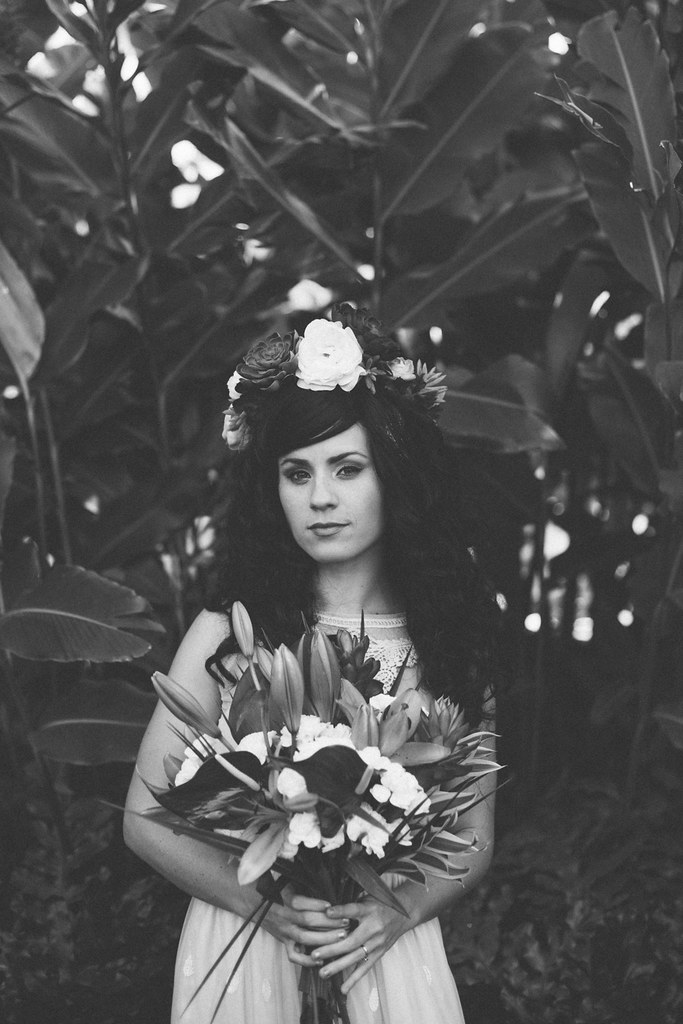
WED // tropical kihei maui bridal inspiration


how to create scrumptious food photos

ood photography is something that I've become more passionate about in the last couple years. I'd even venture to say that it's quickly become one of my favorite branches of photography, and not just because I get to chow down on whatever I just shot. I'd say that for me, food photography is more about food styling than the act of clicking the shutter. Most of my food shoots are done in the same location with the same lighting set up, but it's the styling that makes them interesting. Unlike portraits, you can really control food photography very precisely and you can usually take as much time as you need to get the right shot, as long as you aren't shooting something that will quickly melt. There are a few basics to keep in mind when shooting food that will boost your food photos to the next level.


Unless you're experienced in shooting with off camera lighting set ups, I recommend shooting your food photos in daylight. Food looks awful under ambient light at night, no matter how good it tastes, so do your best to shoot during daylight hours. I even turn of all the lights in the kitchen when I'm shooting food so I don't get any weird light seeping in. This can be inconvenient if you want to shoot a dinner meal that you'd usually make at night, but you're just not going to get good photos if you shoot them with the lighting that already exists in your house.
The top photos were shot indoors, at night, using the lights I had in my kitchen. The bottom photos were shot during daytime using only natural light. They have relatively similar styling, but the photos themselves are drastically different.

My set up is super basic. I have a table right next to the window in our kitchen and I put a bounce card opposite from the window so I can bounce the sunlight back to the shadowed side of the food and fill in a bit where it might lose detail. My bounce card is just a sheet of foam core board with the plain white on one side and the other side covered with foil. This way I can choose how bright of a reflection I want. Sometimes all I need is the white side, sometimes I want more light filled in and I'll use the foil side.
Do whatever you can to shoot with natural light. I used to live in a house that was tiny and dark, so I'd shoot all my food on the front porch. I probably looked like a crazy person to my neighbors, but it gave me way better photos than I would've achieved doing them indoors.

Depth of Field refers to how much of your photo is in focus and how much is blurred out. If you're shooting with an iPhone or point and shoot, you probably won't have much choice as to what your DOF will be, but with a DSLR you'll have options. I like to keep my DOF relatively shallow so that what I'm focusing on (the food, in this case) is in focus but the background is out of focus. I typically play between f/1.4 and f/2.2 for my food photos depending on how many things I want in focus. I use a 50mm f/1.4 lens for most of my food photos but occasionally I'll pull out my 90mm f/2.8 macro lens to get some fun detail shots.


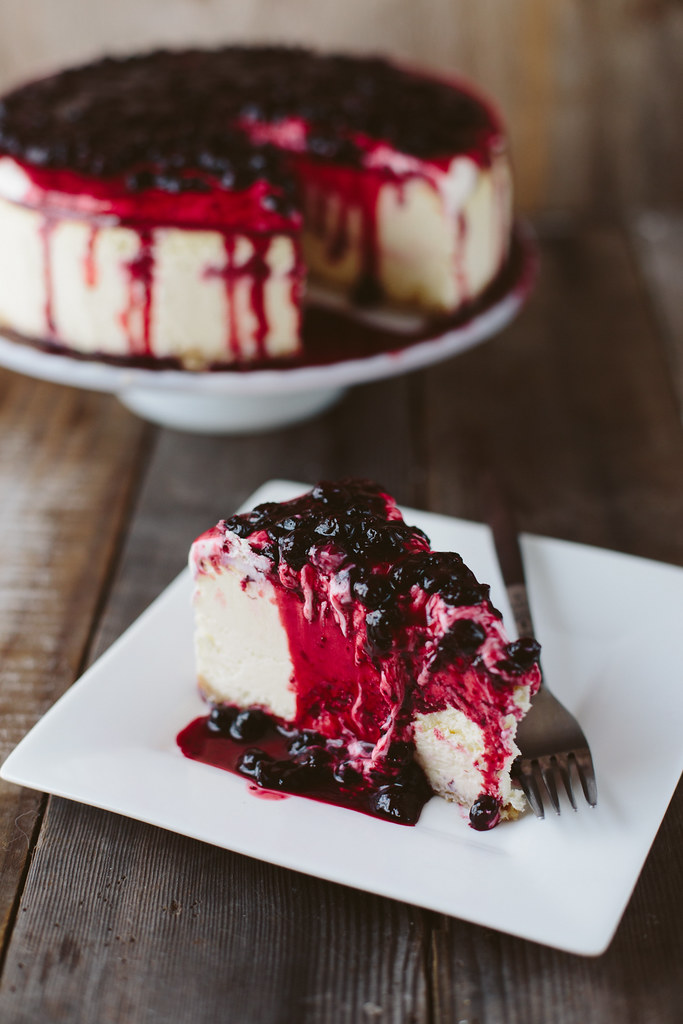
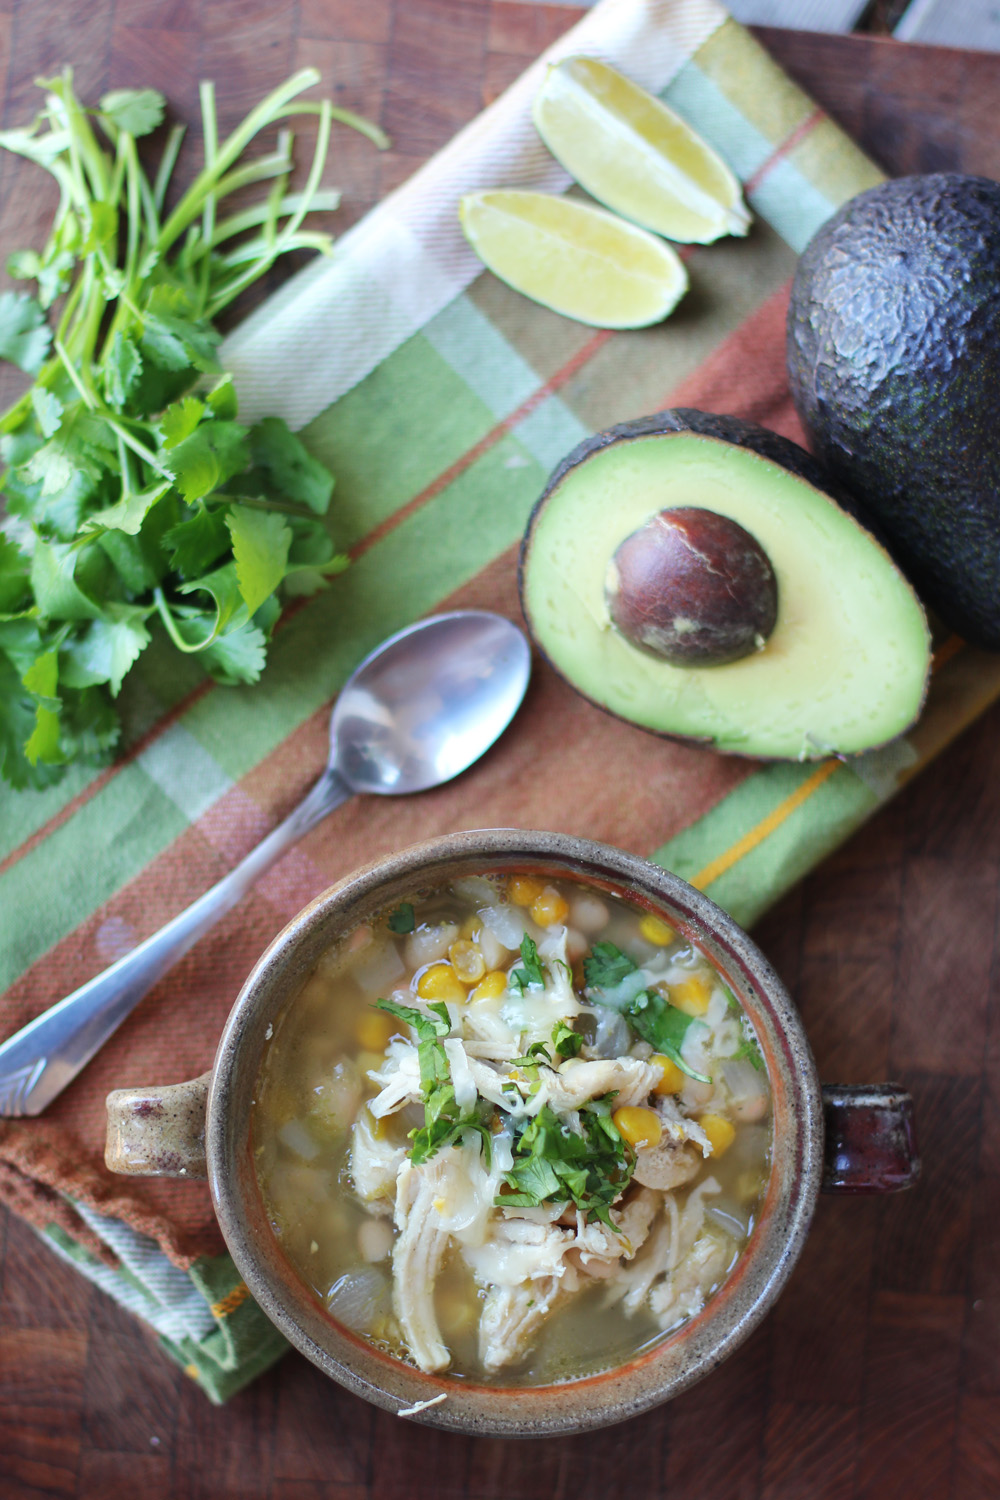
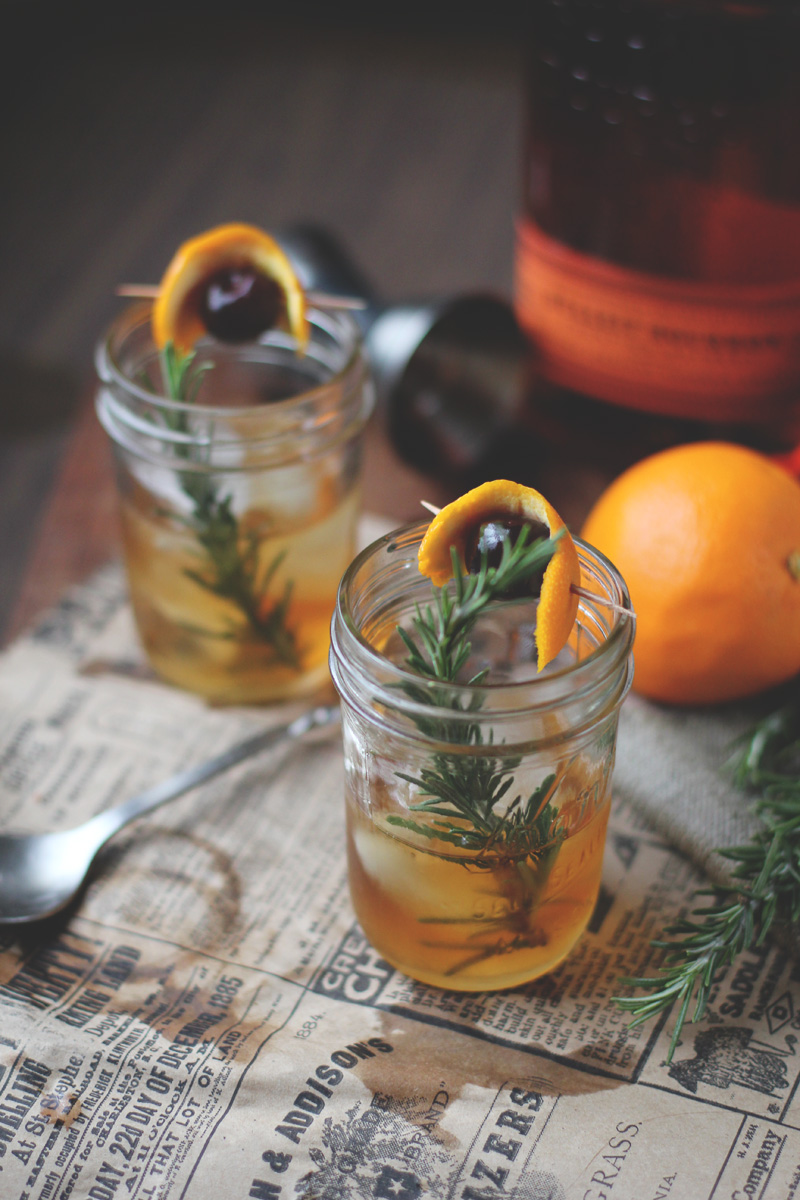
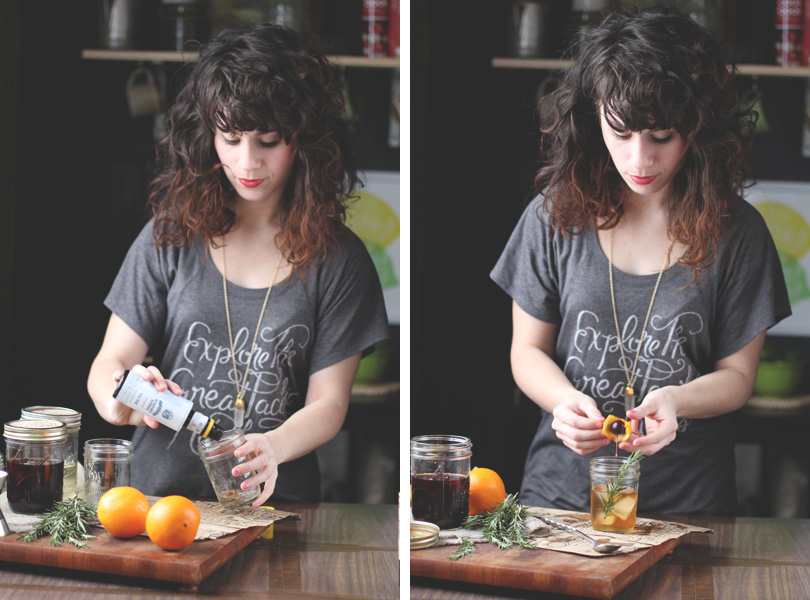
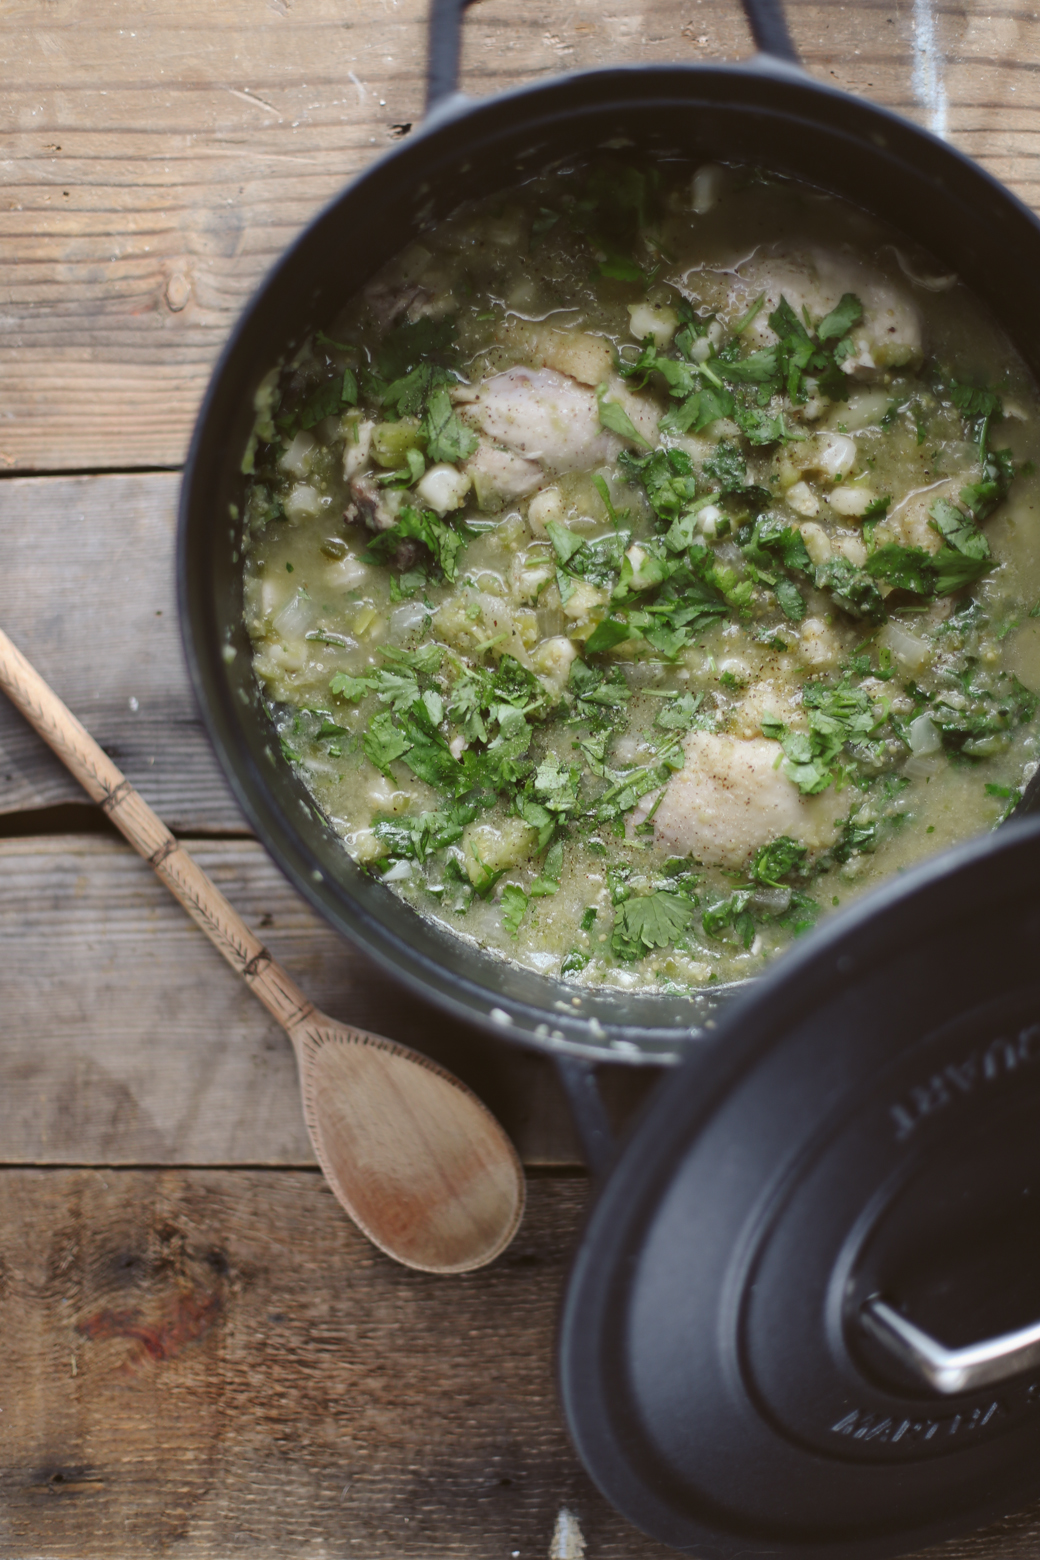
A garnish can really take your food photography to another level. A bowl of chili on it's own is okay, but if you put a dollop of sour cream on top, sprinkle some cheese and green onions, and add a dash of chili powder? You just made that photo so much more interesting and, bonus, mouthwatering. Basically what you're doing is creating visual interest. A bowl of chili alone is very monochromatic. It lacks interest, no matter how delicious your grandma's recipe is. A cocktail alone is nice, but a cocktail with a garnish is better. Think about color when you garnish, you want the garnish to give the food a pop, not blend in. Some food isn't naturally photogenic and needs more help, so garnishing is a perfect way to give it a little umph.
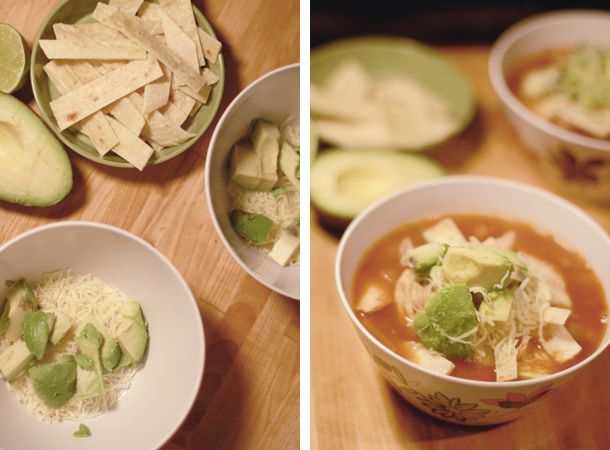
The left photo would've been much better if I'd included a garnish on the soup. The second photo shows a very similar looking soup, but the photo is so much more interesting because I garnished with some cheese, cilantro, and bacon!


A picture of spaghetti on a table alone is boring. You want to create images with their own story, and food photography is no different. Add a placemat that brings texture, but doesn't pull focus. Artfully swirl the spaghetti on a fork. Place a loaf of french bread in the background and cut a couple slices. Pour a glass of wine and put it next to the plate. You've just created a story and the photo is so much more interesting than the plain old plate of spaghetti you started with. Let's take a hint from this awful photo from one of my first food posts... boring and unappetizing!


This isn't necessary, but it can produce some really interesting photos. If you're the photographer this can be more difficult as you'll have to document the process with a tripod and self timer, but if you have a helper or can document as someone else creates the food it will make it easier. Don't think that it's too hard to do on your own, I've done plenty of process shots on my own that have really enhanced a recipe post with just a tripod and self timer.
Process shots don't have to document the
actual
process either. Determine what parts of the process are most photogenic and focus on getting shots of those. I like to shoot pouring a cocktail from a shaker into the glass, but it can take a few shots to get all the elements right. Don't forget to style your process shots too. Create a scene that tells a story. Because you're using still photos, you only get that one moment to tell a story. In baking shots I'll usually have containers of my ingredients where they're measured out, even though I wouldn't do it that way if I was just baking normally.


This is easy to do by going to thrift stores and grabbing a few items that look good in photos. Maybe have a couple forks with a cool etched design on the handles, get some plain white plates that will highlight the food, grab bowls that look interesting to shoot soups. Even things like interesting cutting boards or napkins are great to have on hand to style your shoots. Something I learned is using smaller plates when shooting food than you would normally use for eating. A smaller plate is easier to fill and the proportions will look better on camera. You don't need full sets of things, since most of your photos will be plated on only one or two plates, unless you're going for full tablescapes.
Like I said, I use the same location for all my shots, so in order to get some variety, I have some different backdrops that were super simple and easy to make. I have a light wood table that I occasionally use, but I also put wood planks on top the table to create alternative looks. One is a set of planks from our old fence, which gives a really nice rustic look. The other is a set of planks that is whitewashed for a bright, clean, white background. You could also use plywood, natural, painted, or aged/stained.

It takes just a little bit more thought and effort to take a food photo from boring to mouthwatering. You don't need super fancy equipment to create delicious images. It takes some practice to start figuring things out, but you'll start to learn what looks good and what works. Practice makes perfect! Keep on shooting!

Hi, I’m Liz
I'm an artist, writer, designer, DIY renovator, and … well basically I like to do all the things. If it’s creative I’m probably doing it. I’ve spent over 30 years voraciously pursuing a life steeped in creativity and I wholeheartedly believe creativity and joy are inextricably linked.
Read more…


Explore The Archive
- July 2025
- May 2025
- January 2025
- December 2024
- August 2024
- July 2024
- May 2024
- April 2024
- January 2024
- December 2023
- October 2023
- September 2023
- July 2023
- June 2023
- May 2023
- April 2023
- March 2023
- February 2023
- January 2023
- December 2022
- November 2022
- October 2022
- August 2022
- June 2022
- May 2022
- April 2022
- March 2022
- November 2021
- October 2021
- August 2021
- July 2021
- May 2021
- January 2021
- November 2020
- October 2020
- September 2020
- August 2020
- July 2020
- June 2020
- May 2020
- April 2020
- February 2020
- January 2020
- November 2019
- October 2019
- August 2019
- July 2019
- June 2019
- May 2019
- April 2019
- February 2019
- January 2019
- December 2018
- November 2018
- October 2018
- September 2018
- August 2018
- July 2018
- June 2018
- May 2018
- April 2018
- February 2018
- January 2018
- November 2017
- September 2017
- August 2017
- July 2017
- June 2017
- May 2017
- April 2017
- March 2017
- February 2017
- January 2017
- December 2016
- November 2016
- October 2016
- September 2016
- August 2016
- June 2016
- May 2016
- April 2016
- March 2016
- February 2016
- January 2016
- December 2015
- November 2015
- October 2015
- September 2015
- August 2015
- July 2015
- June 2015
- May 2015
- April 2015
- March 2015
- February 2015
- January 2015
- December 2014
- November 2014
- October 2014
- September 2014
- August 2014
- July 2014
- June 2014
- May 2014
- April 2014
- March 2014
- February 2014
- January 2014
- December 2013
- November 2013
- October 2013
- September 2013
- August 2013
- July 2013
- June 2013
- May 2013
- April 2013
- March 2013
- February 2013
- January 2013
- December 2012
- November 2012
- October 2012
- September 2012
- August 2012
- July 2012
- June 2012
- May 2012
- April 2012
- March 2012
- February 2012
- January 2012
- December 2011
- November 2011
- October 2011
- September 2011
- August 2011
- July 2011
- June 2011
- May 2011
- April 2011
- March 2011
- February 2011
- January 2011
- December 2010
- November 2010
- October 2010
- September 2010
- August 2010
- July 2010
- June 2010
- May 2010
- April 2010
- March 2010
- February 2010
- January 2010
- December 2009
- November 2009
- October 2009
- September 2009
- August 2009
- July 2009
- June 2009
- May 2009
- April 2009
- March 2009
- February 2009
- January 2009
- December 2008
- November 2008
- October 2008
- September 2008
- August 2008
- July 2008

VISIT THE SHOP


PRIVACY POLICY & DISCLOSURE
We are a participant in the Amazon Services LLC Associates Program, an affiliate advertising program designed to provide a means for us to earn fees by linking to Amazon.com and affiliated sites.