
peeks from texas!


tips for taking great self portraits with a tripod + self timer

This weekend I'm in Austin teaching a workshop at Texas Style Council about how to take your own self portraits with a tripod and self-timer! For those of you who weren't able to make it out to Austin, I thought I'd repost (and update) this article I wrote over a year ago with some tips on how to take better self-portraits with just a tripod and self-timer. I take almost all of my own photos here on the blog, and anytime someone else takes my photos it's always noted right after the outfit details. You don't need a professional photographer to take great photos of yourself, and I want to empower you to stop making excuses as to why you aren't creating the best photos you possibly can! Remove the excuses and get out there and start learning to become your own professional photographer!
Some bloggers are lucky enough to have a friend, significant other, or husband/wife who takes their daily outfit photos, but the rest of us are stuck doing it ourselves with the help of a tripod, self-timer, and maybe a remote. I personally have never used a remote. Since the beginning, I've always just used the self-timer, so I can't give any advice on using a remote. I've never liked the idea of having to hide the remote and it's already hard enough to "act natural" in front of a tripod, so I felt like adding in the hiding-the-remote factor would just complicate things further. I've been taking outfit photos with a tripod & self-timer for over 5 years now, so I'll let you guys in on some tips and tricks I've learned over the years.
USE THE AUTO AND MANUAL FOCUS TO SET YOUR FOCUS POINT
I get a lot of questions about how I get myself in focus when I'm using a self timer. Here's what I do: I autofocus on something at the distance I'll be standing (sometimes this is a tree, a garbage can, etc), and then once that focus is set, I switch the focus to manual, so the focus
won't change
when I click the shutter. If you don't put your focus on manual, the camera will autofocus to something in the distance and you'll be all blurry and out of focus because the camera focused way behind you when you clicked the shutter/autofocus. If you can't find something to focus on where you're taking photos, use a purse or something to set where you'll stand and focus on that.
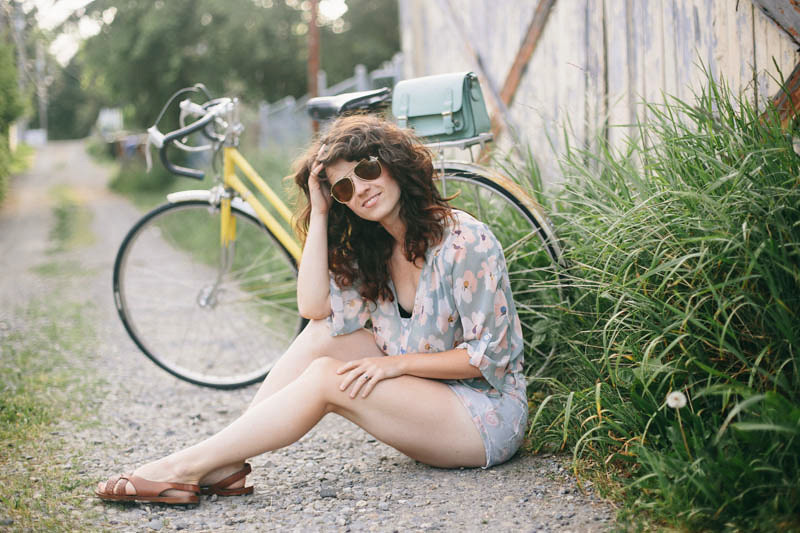
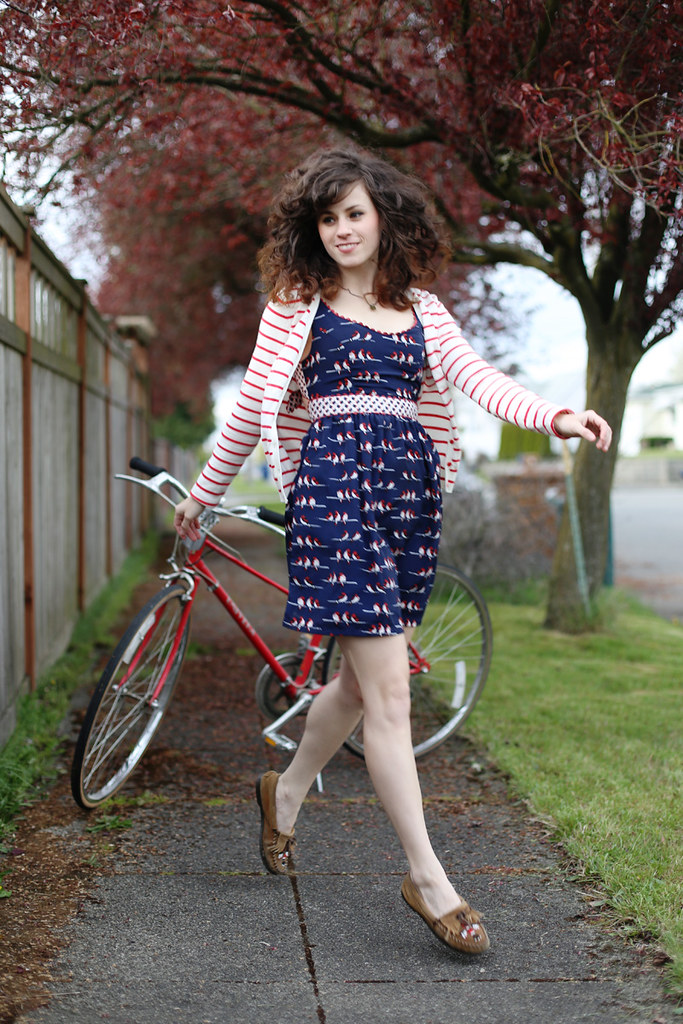
For the photo above, I focused on the grass right in front of the back wheel of my bike. Then, I set focus to manual so it wouldn't change, made sure my camera was on the 10 second self-timer setting and clicked the shutter. Then I went and sat right where the focus was set: in front of my back wheel. Voila, in focus! I really like taking photos with my bike because it's something I can place in the frame to set the focus. Then, I can either remove the bike and take photos without it, or I can just leave it in the photo, depending on how I want the photos to look.
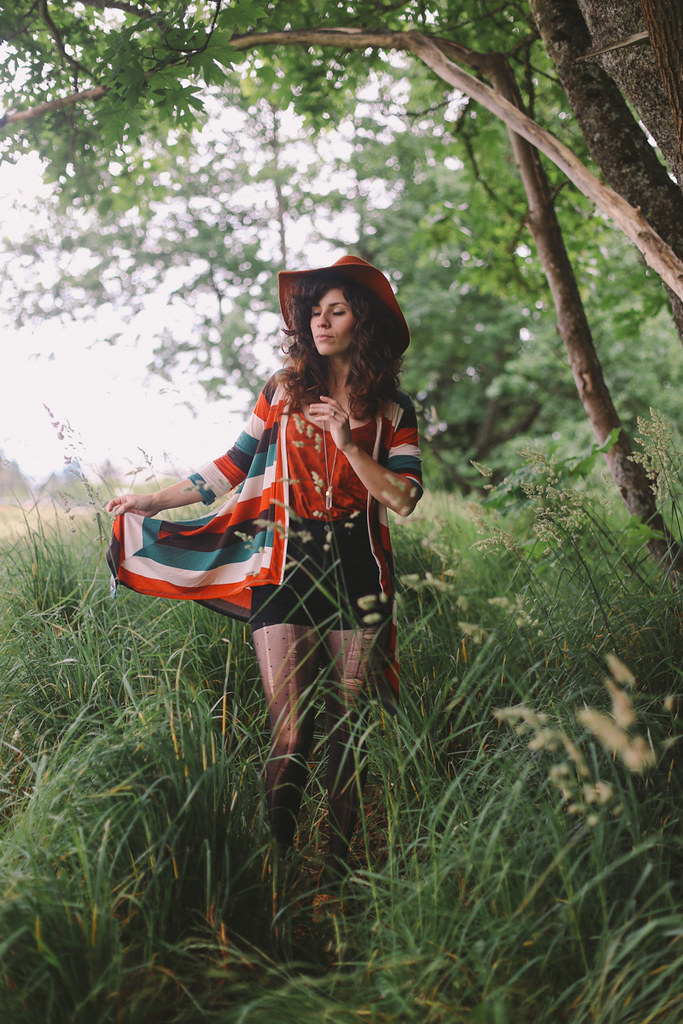
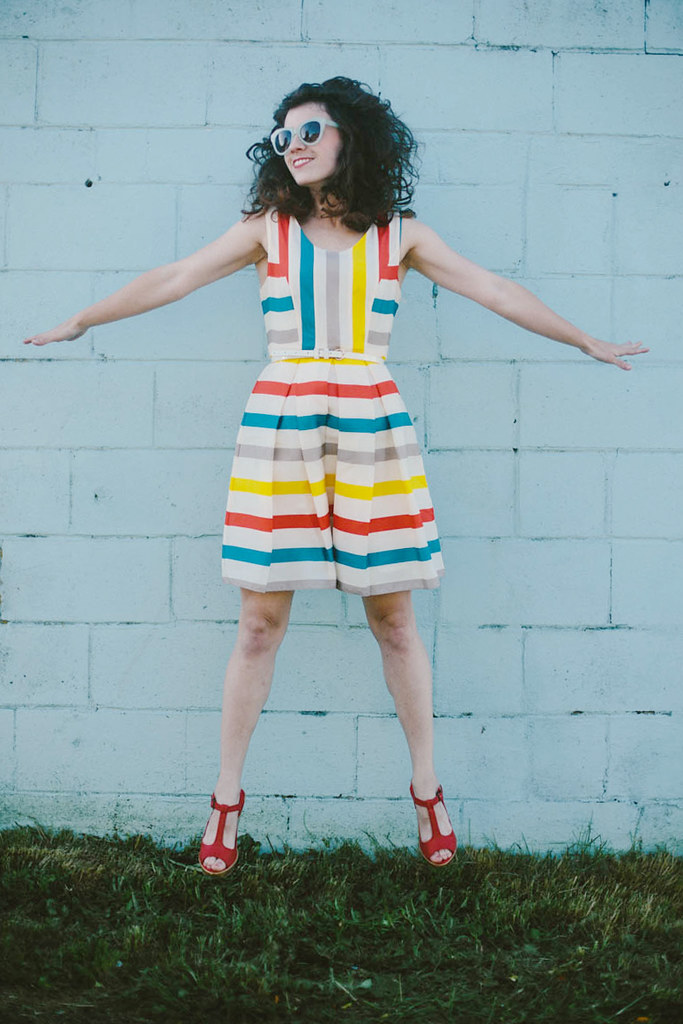
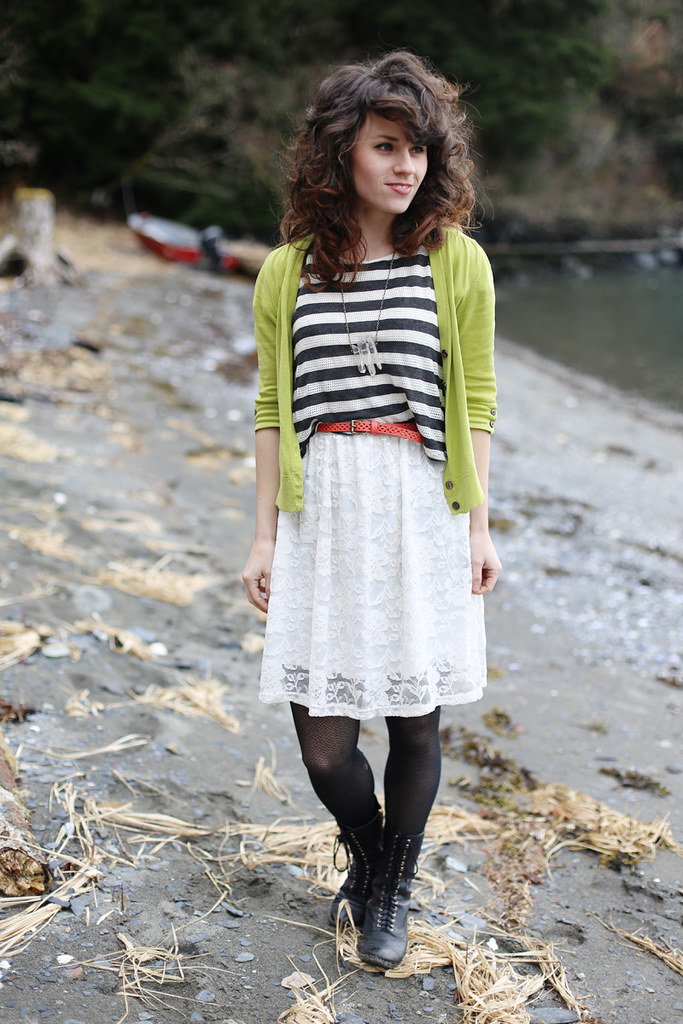
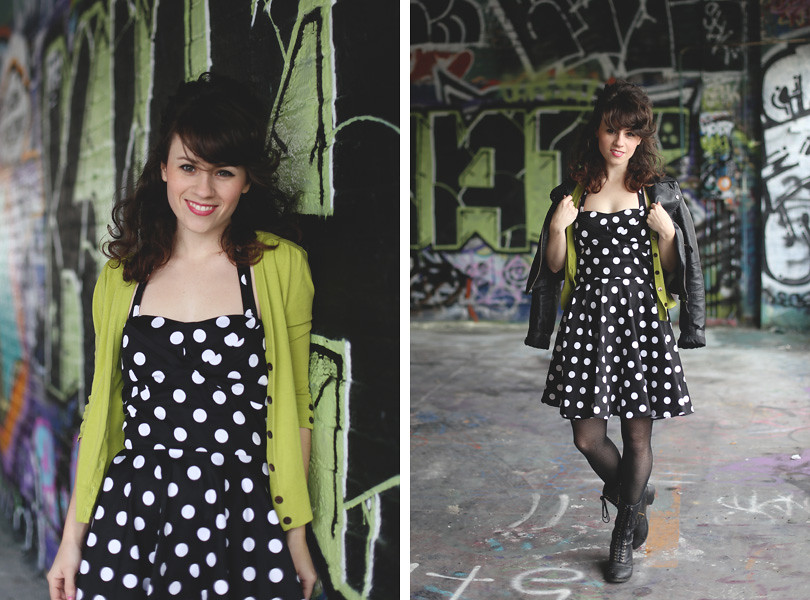
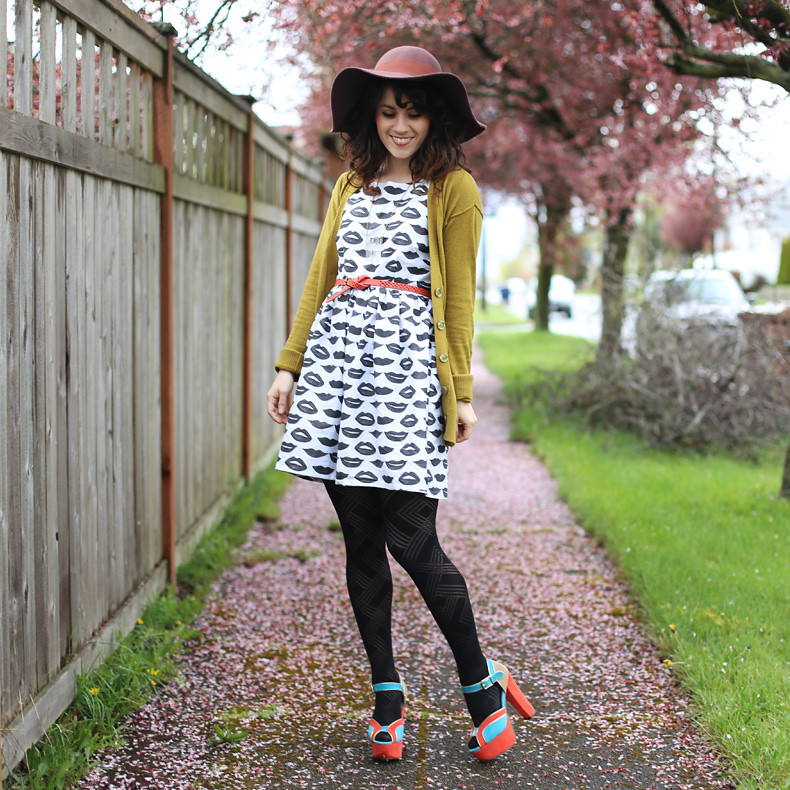
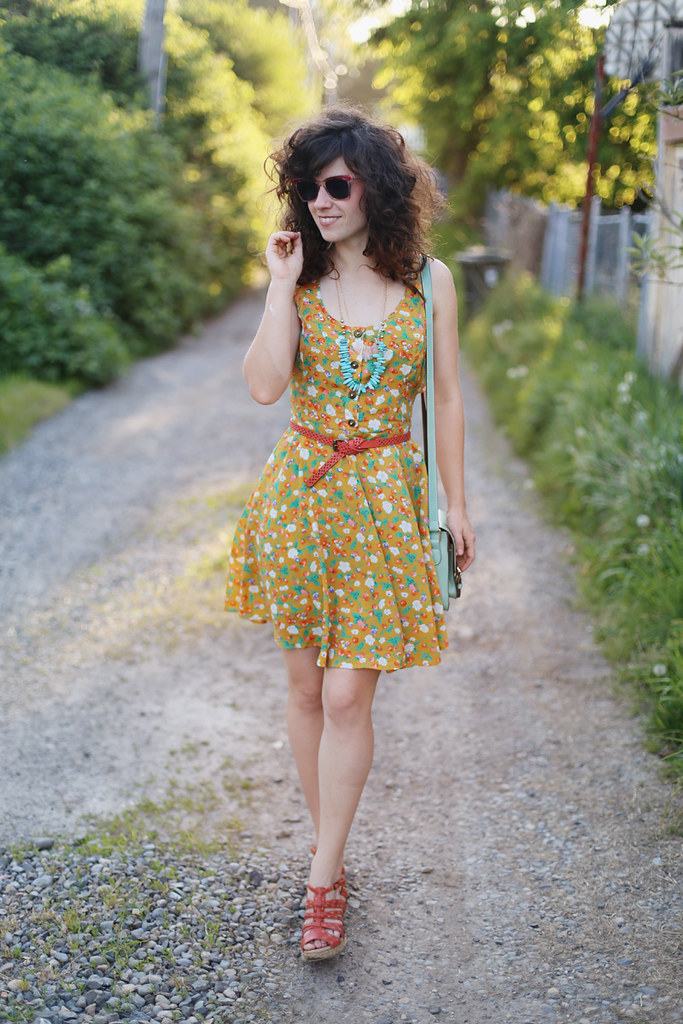
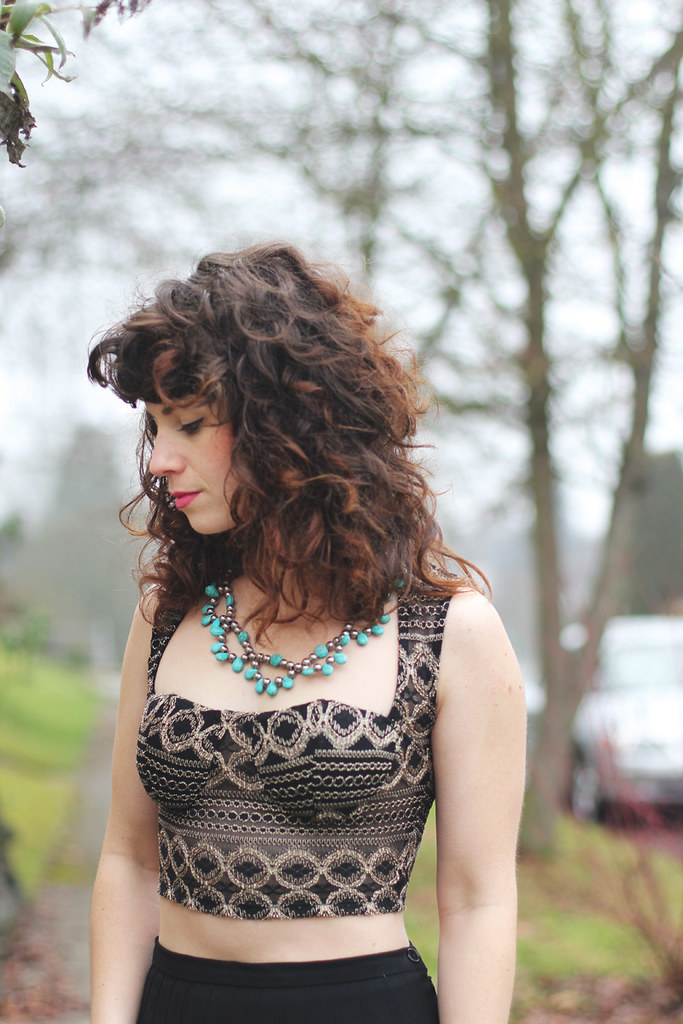
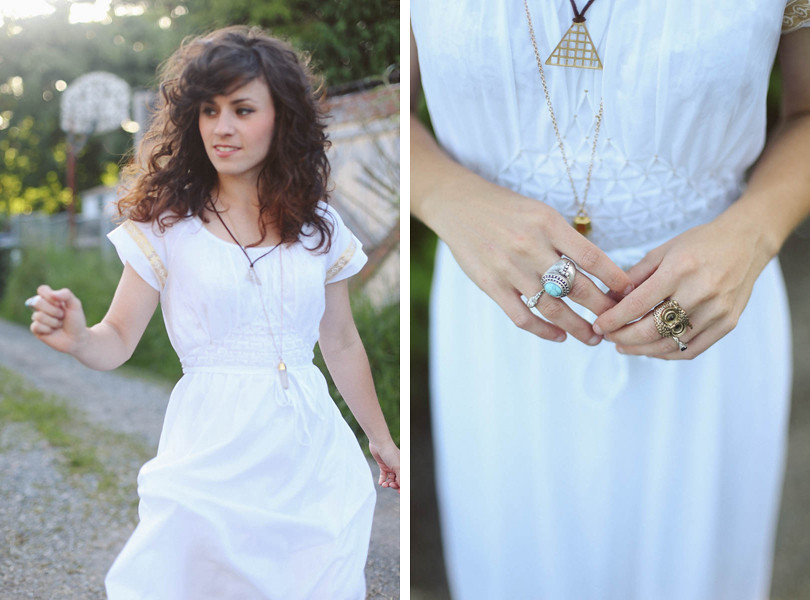
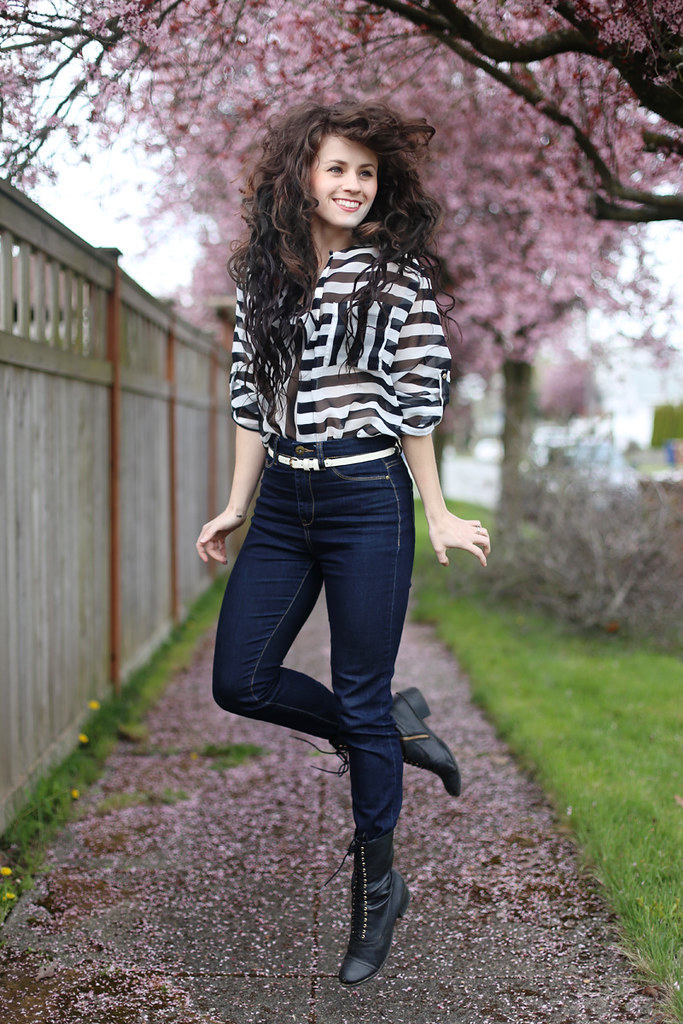
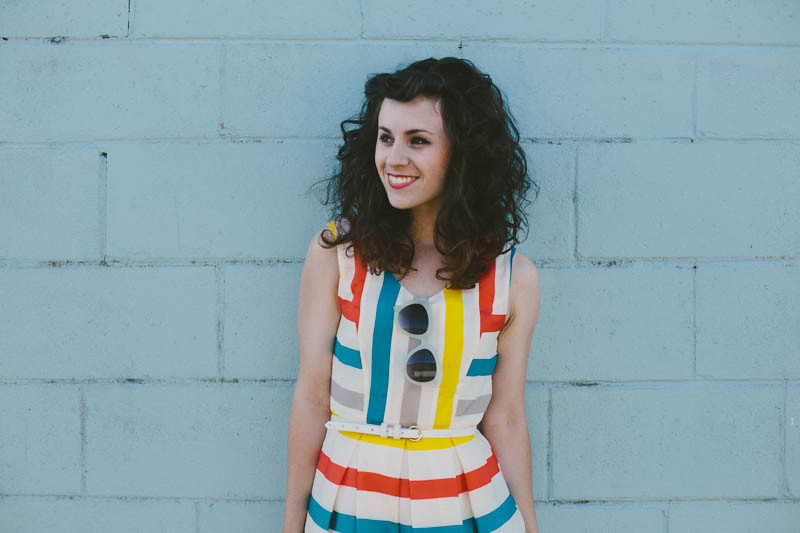
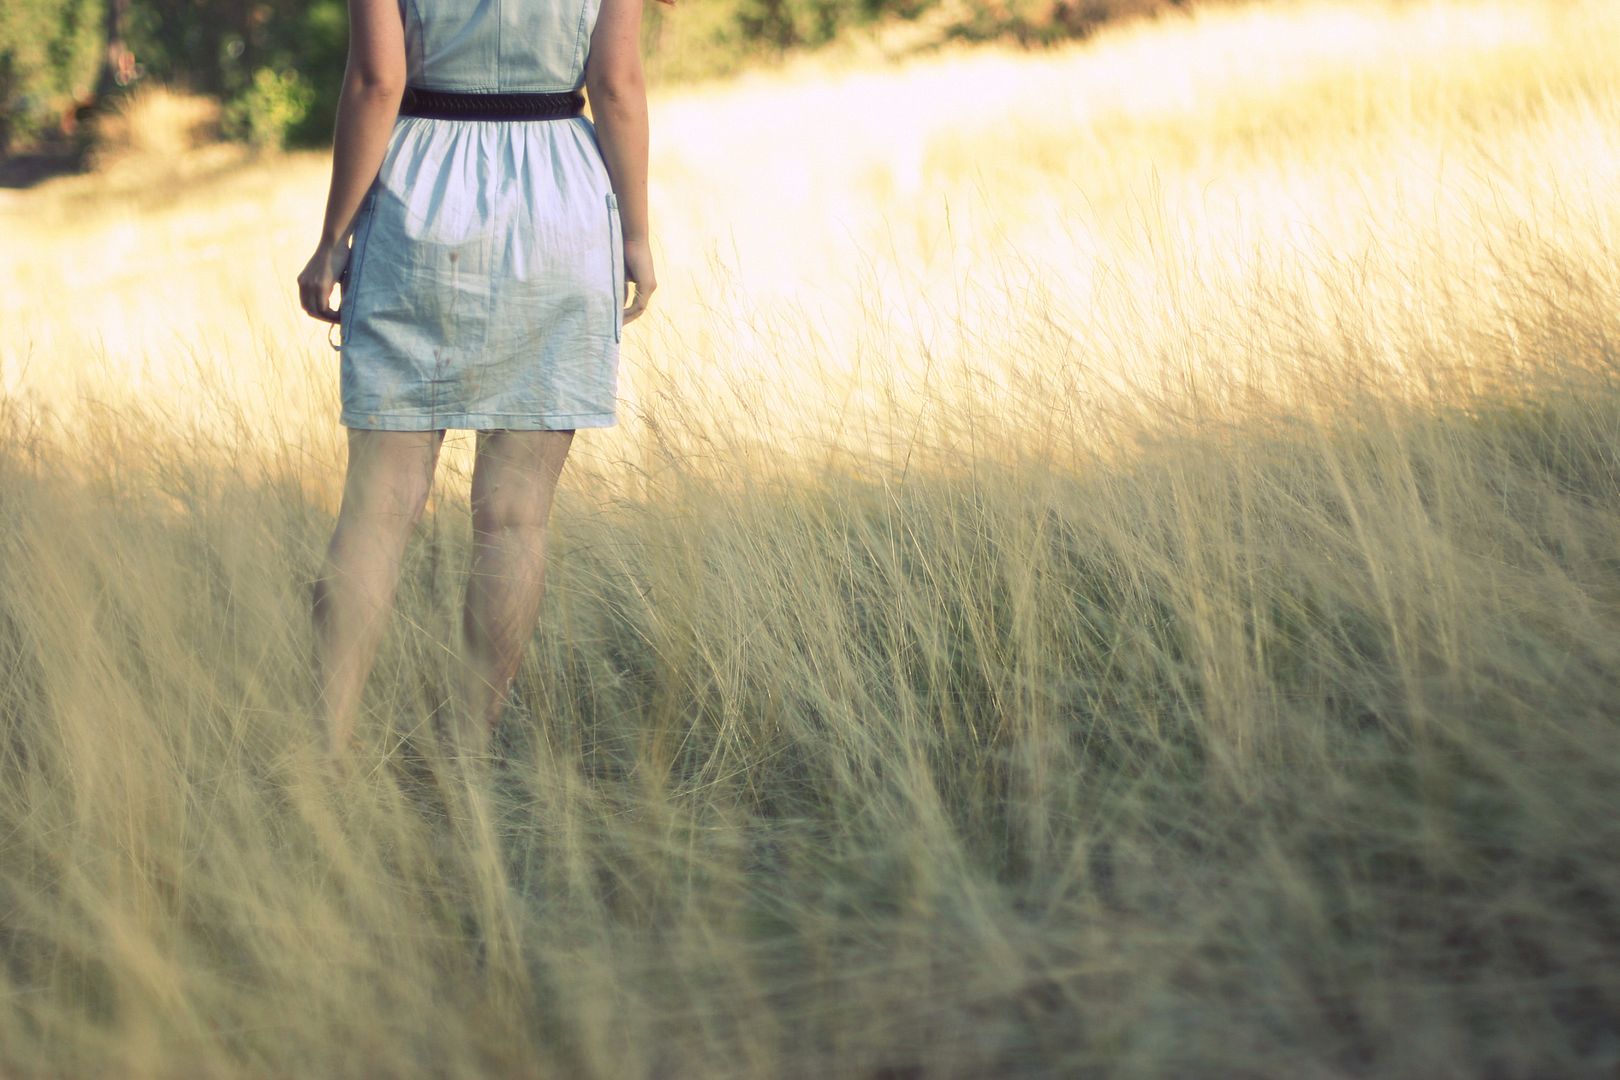
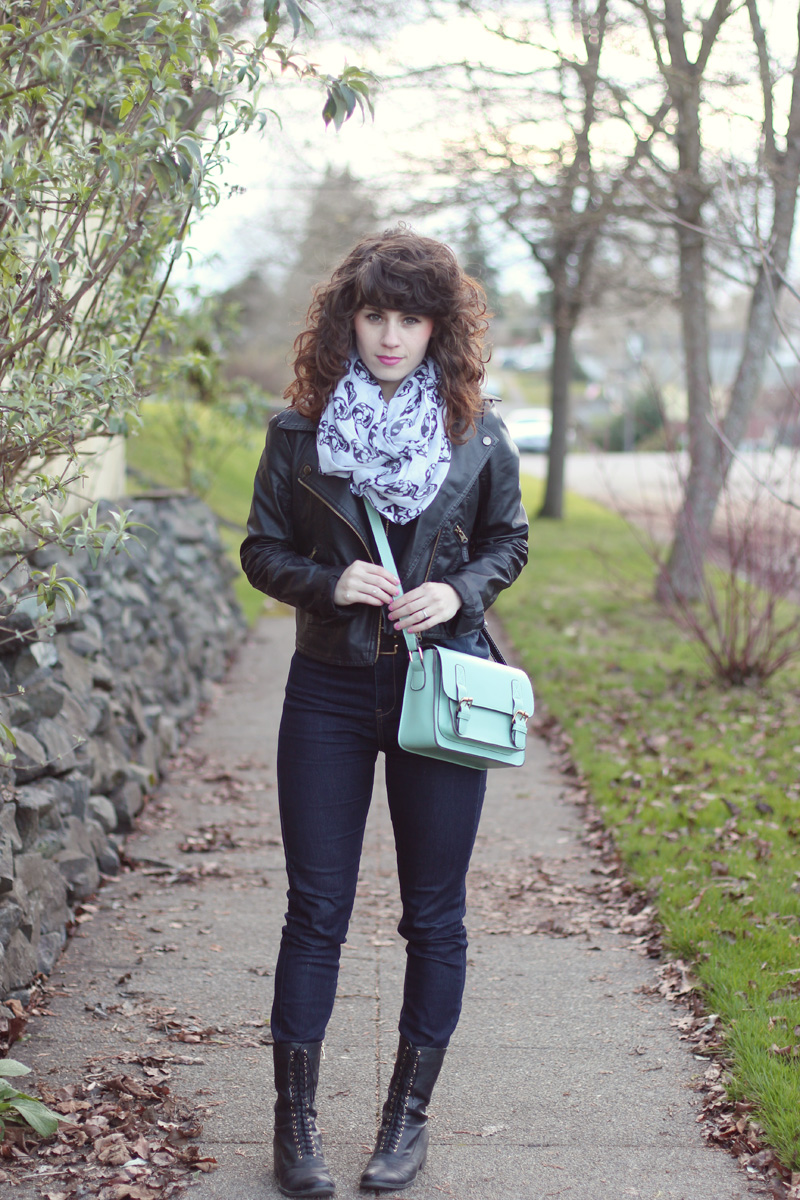
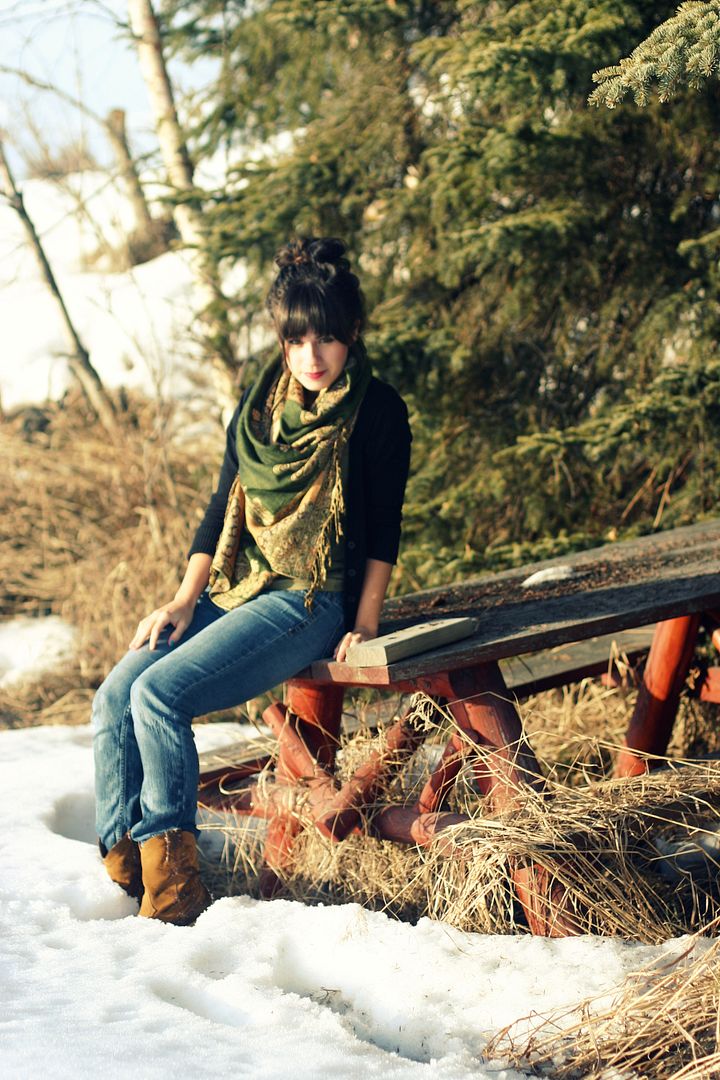
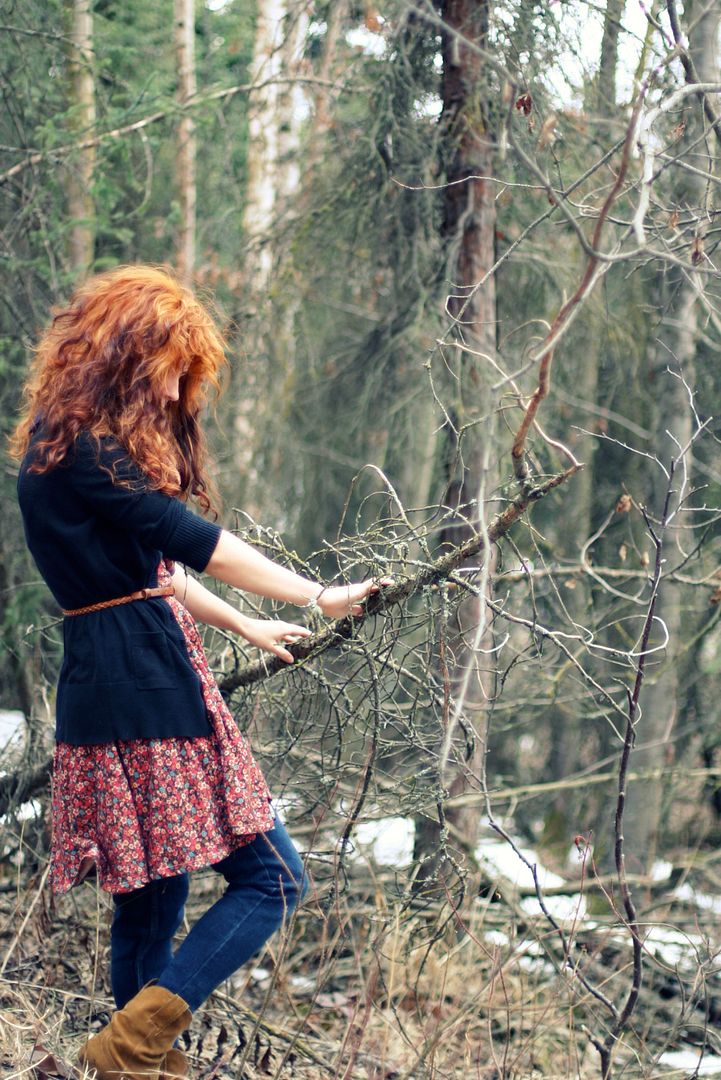
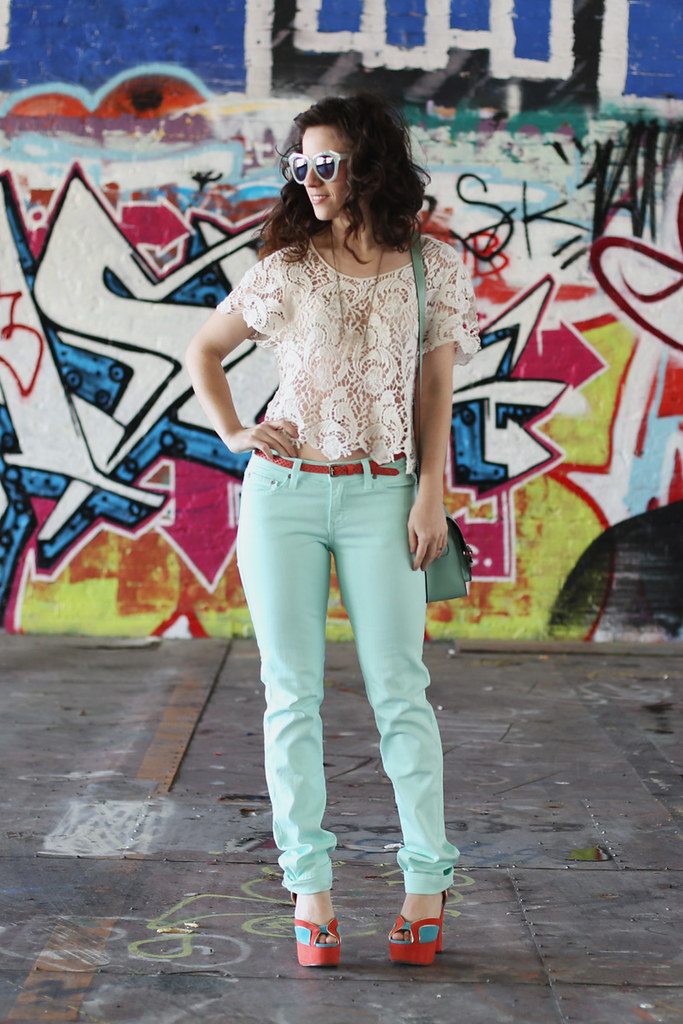
For the photo below, I focused on the trunk of the tree, just out of frame to the right. For the photo next to the turquoise wall, I focused directly on the wall, and then moved my camera and tripod back about two feet, so then the focus would be set two feet in front of the wall, which is where I wanted to stand. The top photo in this post had the focus set on the little blade of straw/grass to the right of me.

FIND RELATIVELY UNPOPULATED LOCATIONS
I don't know about you guys, but taking photos of yourself with a tripod & self-timer is kind of, well, weird sometimes. Especially if you're trying to do it in a public place. I personally have found I have a hard time taking photos that look natural if there are people watching me, or walking by. I get stiff and the photos just don't look as good as when I'm alone without strangers staring at me. I'm better at taking photos in public now, but I still find the photos I like best are taken in more private locations. Try to find places that are vacant so you can feel free to be silly and do whatever photos you want, without feeling awkward. I do a lot of jumping and spinning photos, and those are even weirder to try doing with people around!
I find that an alley is a good place to take photos. People don't walk down alleyways as much as they do sidewalks. Finding a park with some wooded areas are great, not only because they are more private, but because you have lots of things to set your focus on! Other places I've found are relatively vacant: Parking garages, sidewalks in quiet neighborhoods, behind buildings, and if you really want super privacy: your backyard or your living room. I find those can be difficult to make look good depending on the lighting you get inside your house, and how picturesque your backyard is.
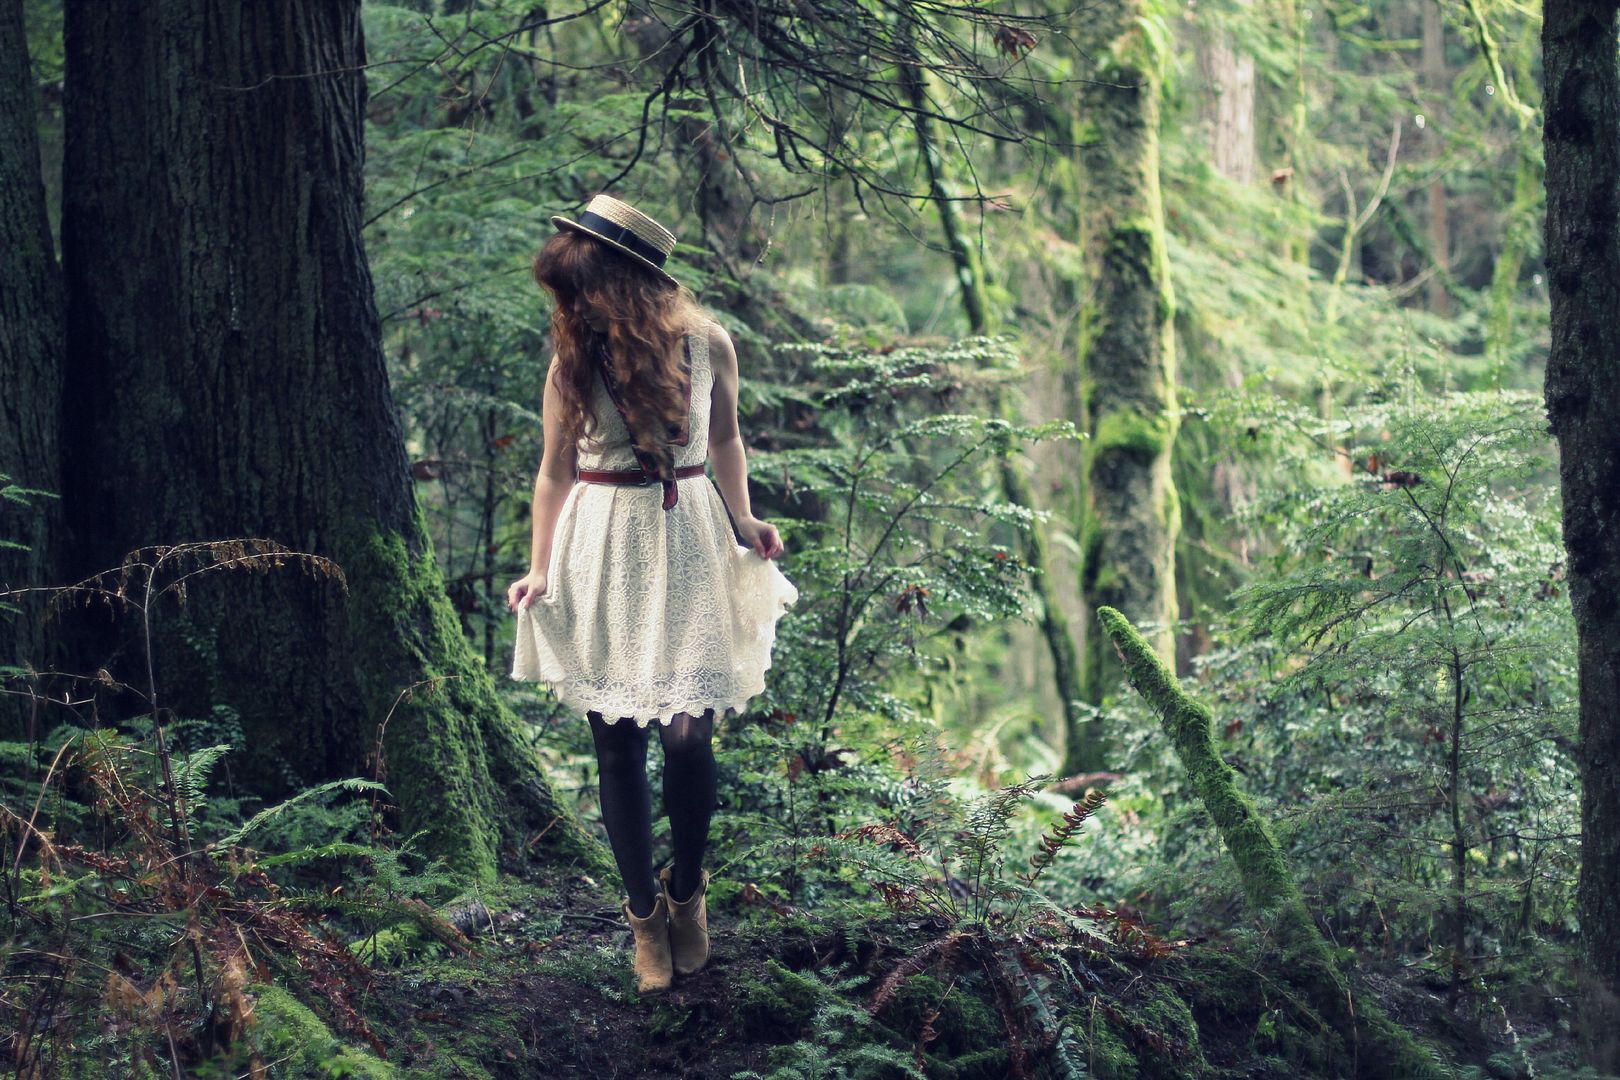
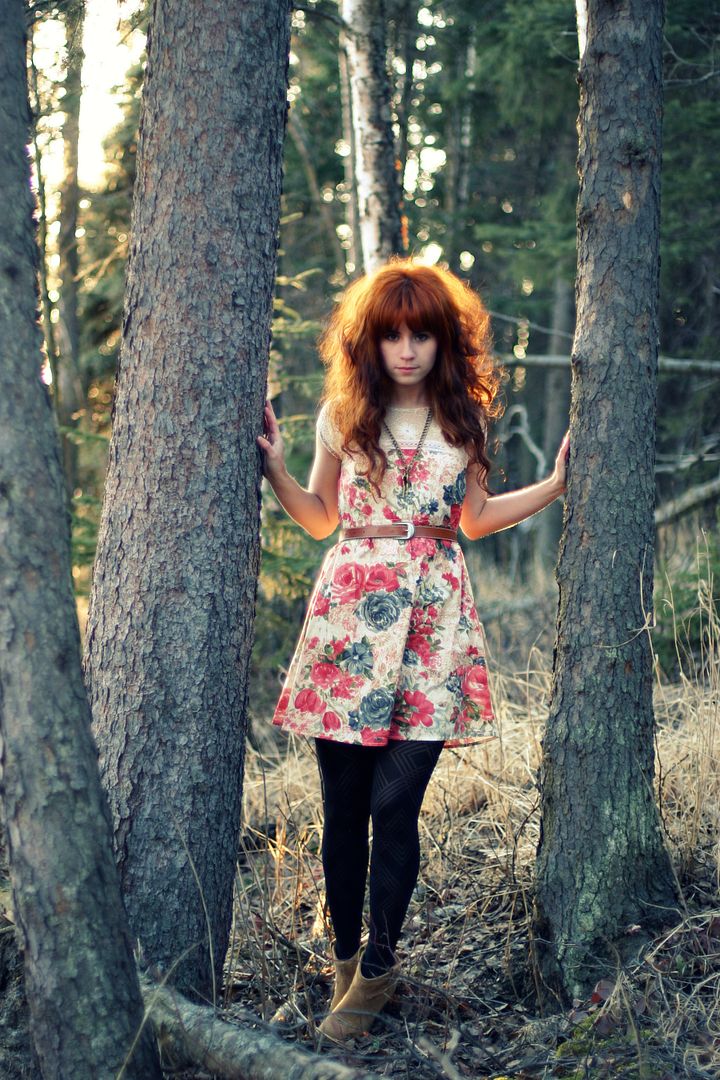
EMBRACE ROUGH TERRAIN
I've found that my favorite place to take outfit photos is the woods. Unfortunately, oftentimes the forest doesn't have a flat floor, but lucky for us, tripods have adjustable legs! If you find a great place to take photos in the woods, but the ground is uneven, just adjust the legs to make the camera level. I've taken lots of photos on some pretty steep hills, but because the legs adjust on my tripod, I can make it work!
HAVE AN EXPLANATION FOR WHAT YOU'RE DOING
I always have a phrase to use if someone comes up and asks me what the heck I'm doing. Mine is that I'm working on an assignment for a photography class (a self portrait assignment, maybe?). I find that it's easier than trying to explain the whole, "well, I'm a style blogger and I take photos of what I wear every day" thing. That usually just perplexes most people and then they ask me more questions when what I really want is for them to move along and let me finish taking photos. Kind of silly, but it's nice to have an answer ready so you don't panic and start rambling on to a stranger about your odd behavior. Don't let them make you feel like you're doing something wrong, because you're not (unless you're like trespassing or something).

TAKE LOTS OF PHOTOS
The more photos you take, the more likely you are to have a few good ones to choose from for your post! If you take five photos and you post five photos, then you have to post even the ones you don't like very much. If you take 50 photos, you're likely going to be able to pick five photos that you
really
like. I've done self timer photo shoots where I took 100-200 photos. I think my standard is usually 30-70, though. Once you have a groove down, you can set things up pretty quickly and take quite a few photos in a relatively short amount of time.
HAVE YOUR GO-TO POSES
It's nice to know which poses usually yield good photos. Sure, sometimes it can get repetitive and you don't want to take 30 photos of you in the exact same pose. Outfit photos in general can be relatively repetitive and it's nice to have poses you know well that result in photos you like. Even professional models have go-to poses that they know look awesome every time. I like to always do some shots with my go-to outfit poses, but then also try out some different things that may not result in good photos, but can be fun if they happen to turn out.
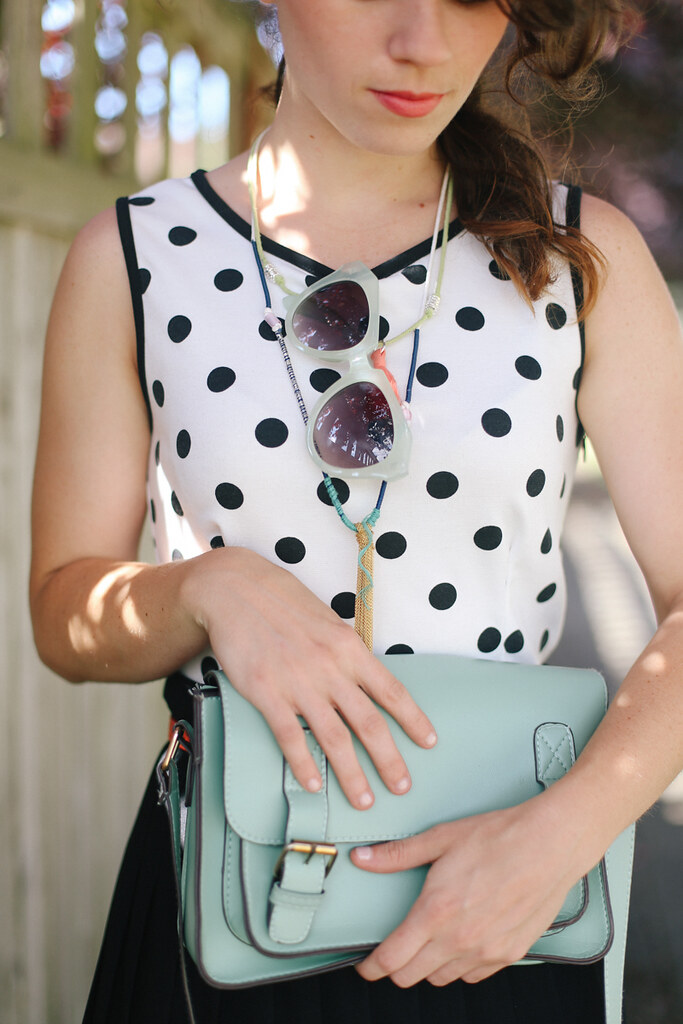
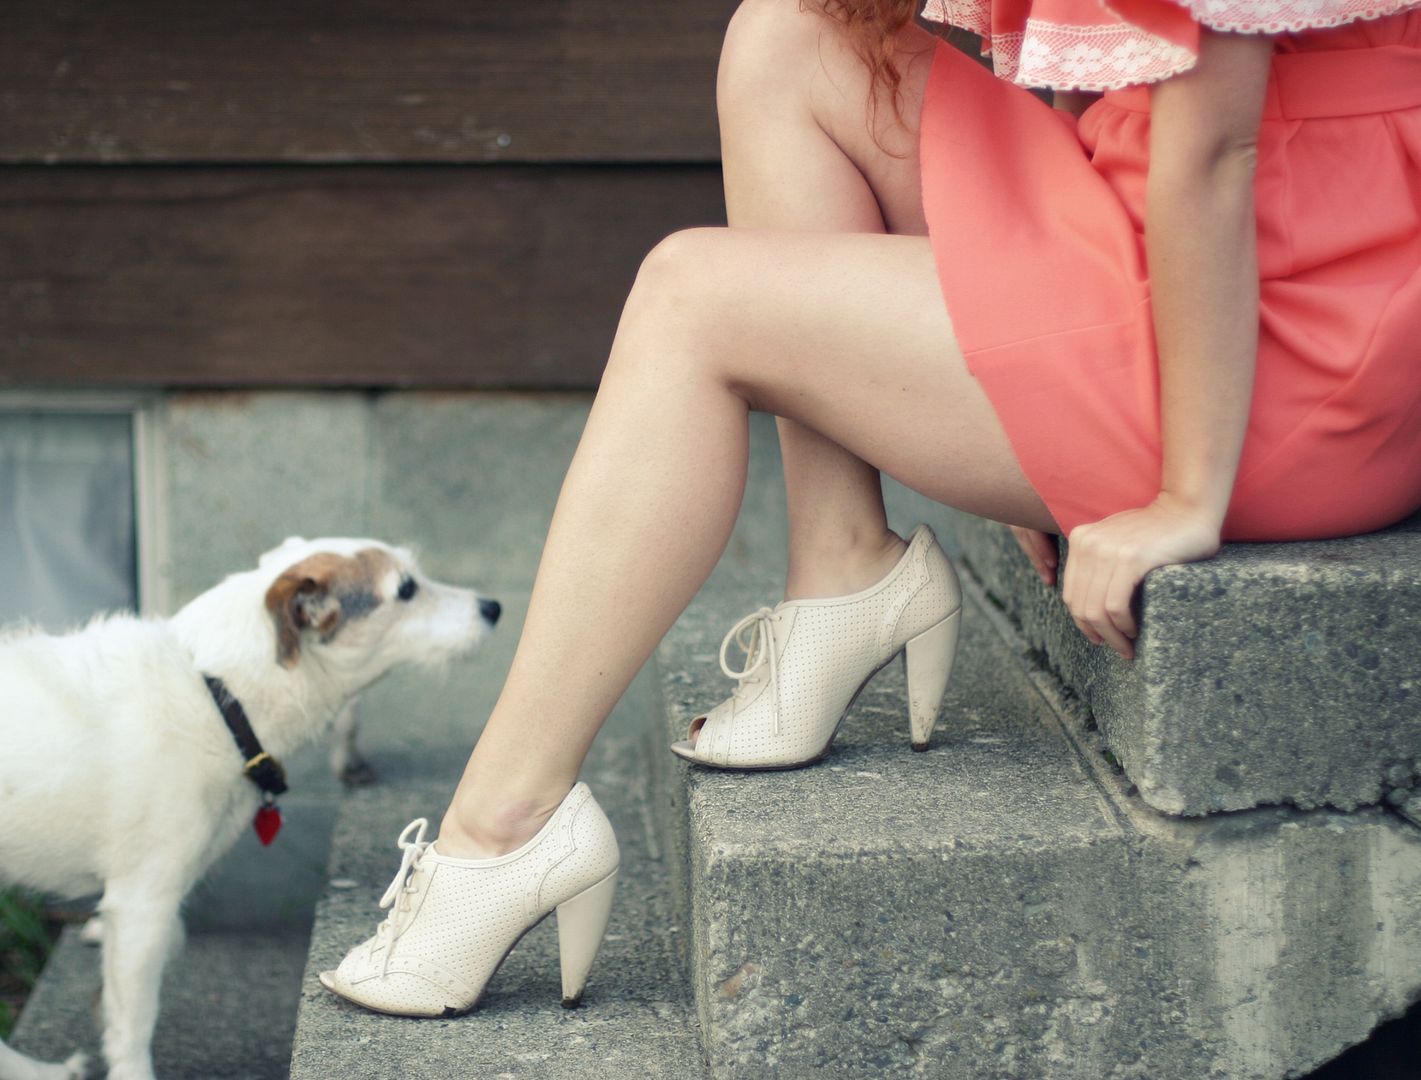
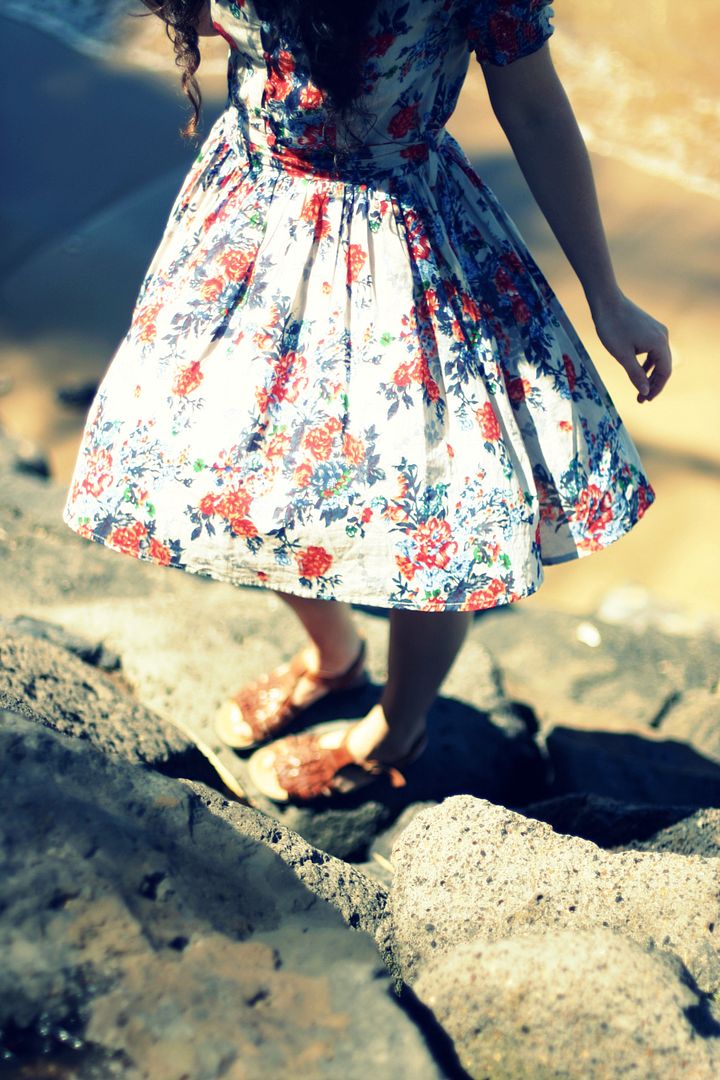
GET DETAIL SHOTS + VARIETY
Remember to get shots of the details of your outfits, like your shoes, some cute buttons on your dress, or fun jewelry you're wearing. Shots like this add variety to the images in my blog posts and are visually interesting. Change angles at your location, don't take all your photos with the tripod in one place. Move around, find different backgrounds, take photos at different distances. Maybe get a full length shot or two, a couple mid-distance shots from the thighs/hips up, and then a close up detail shot.
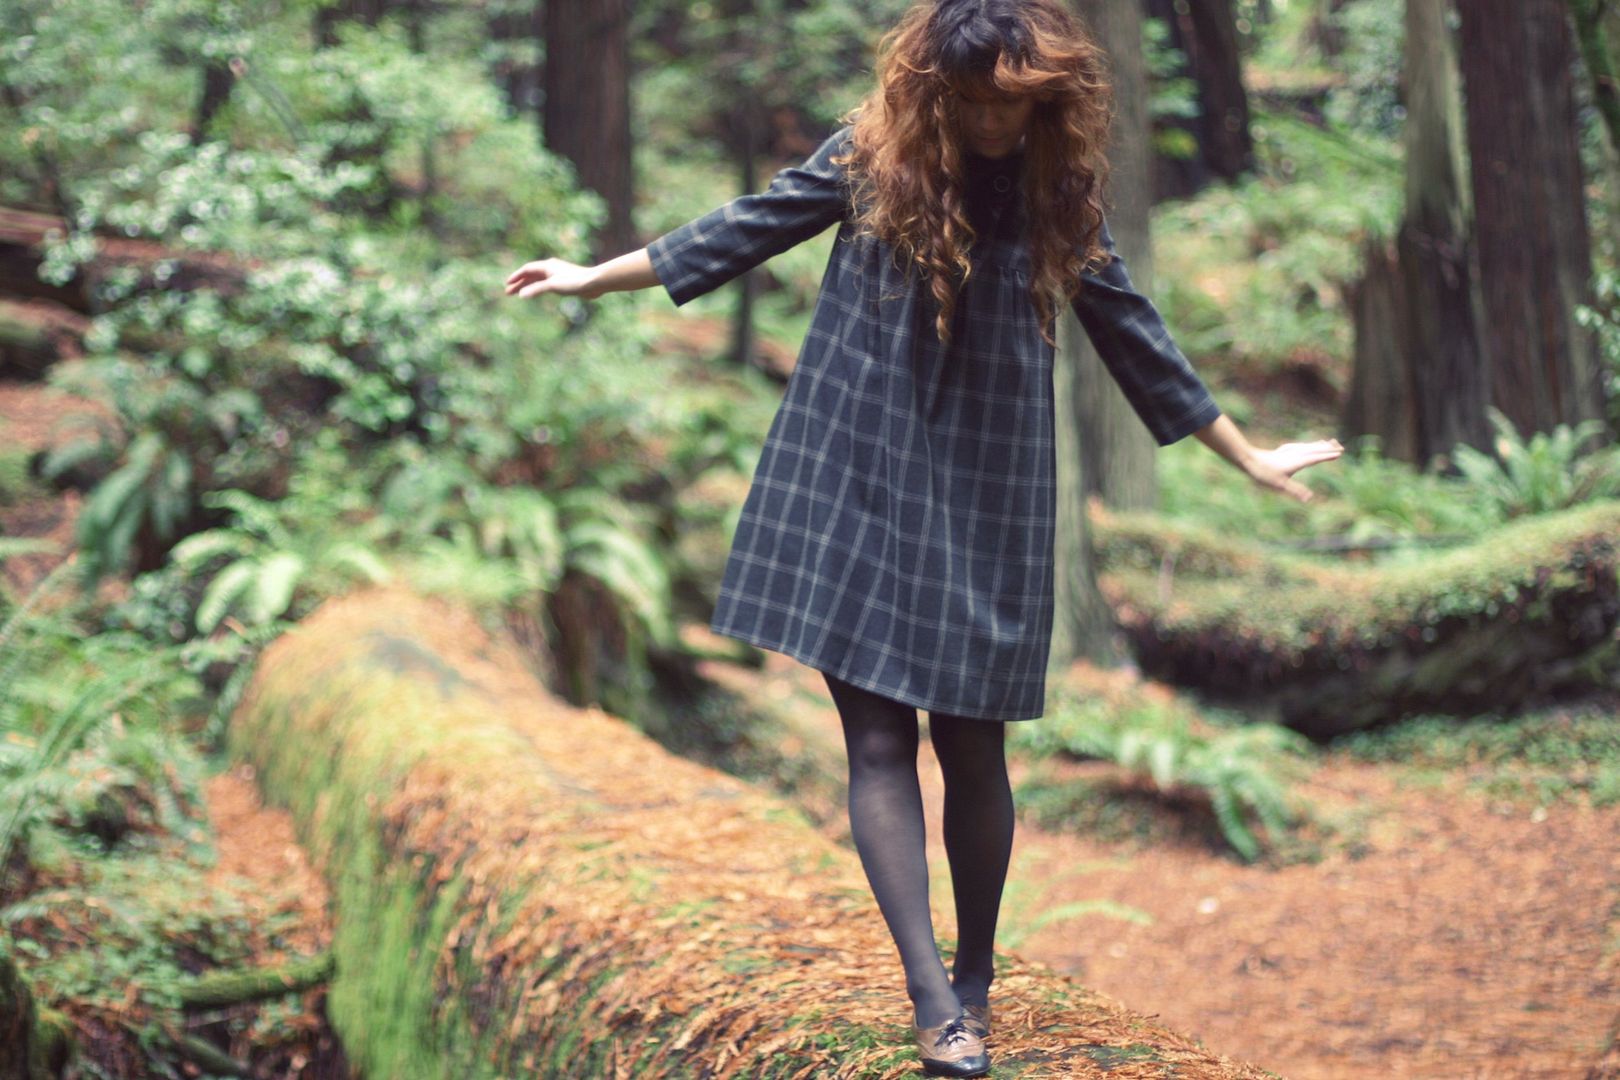
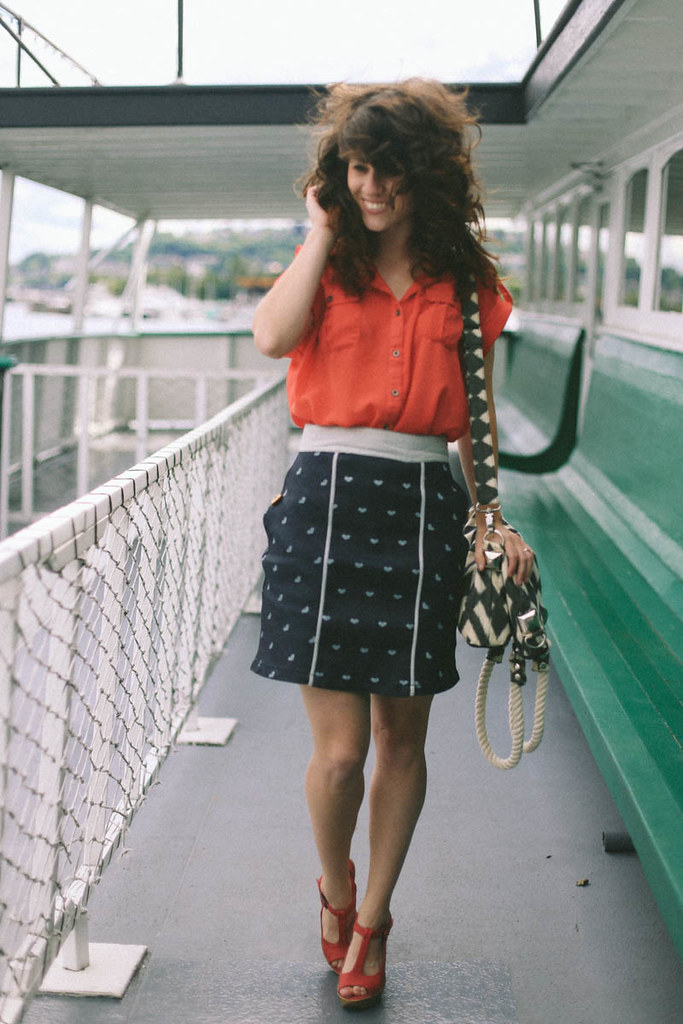
USE MOVEMENT
I love getting photos that capture movement because they show more of how your outfit reacts to motion. I like to see how fabric looks when it's in motion, as well as seeing how an outfit looks when a person is stationary. I think it's interesting that almost all fashion shows are done with the models walking, in motion. Seeing clothing move can be a lot more interesting than seeing it just sitting there motionless. Plus, clothes are designed to move with us, so it's nice to see it actually doing that!
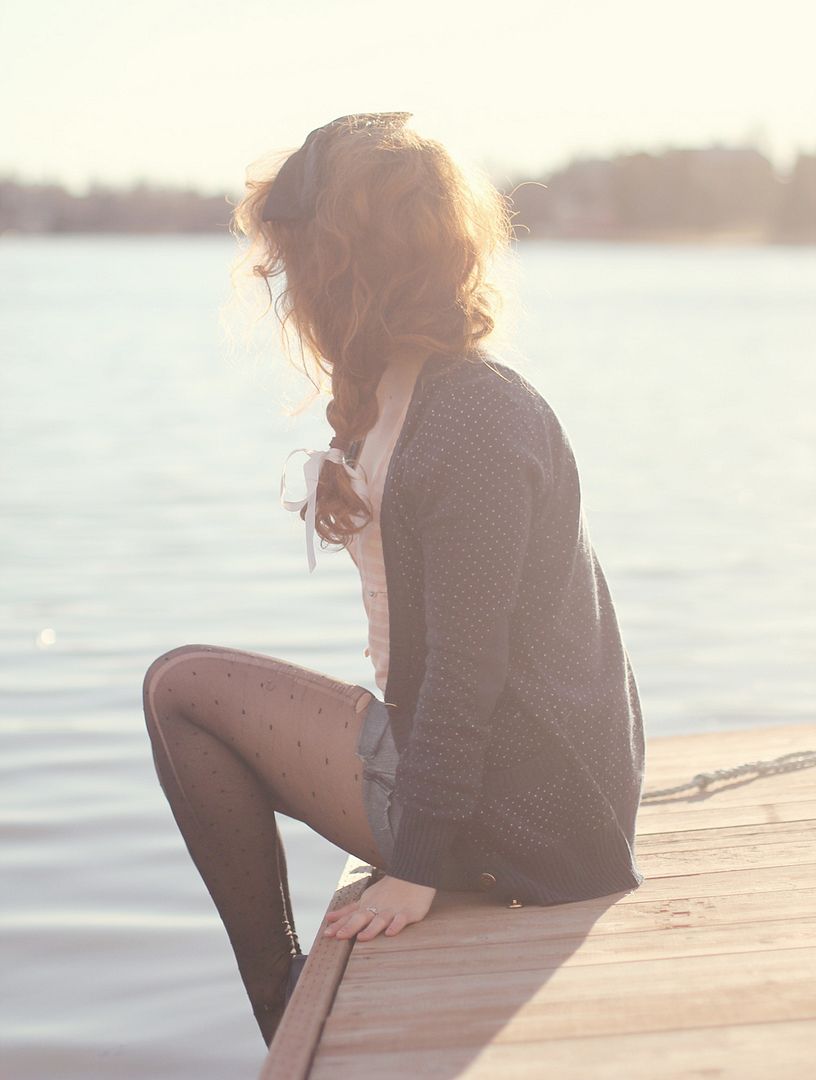
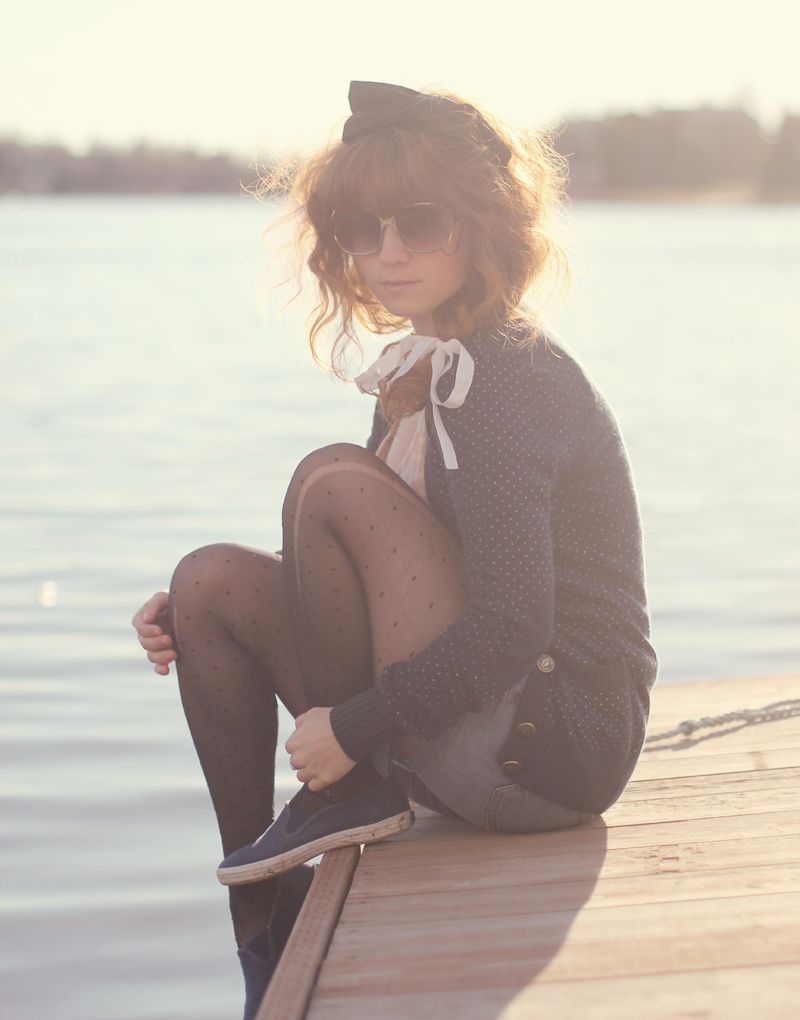
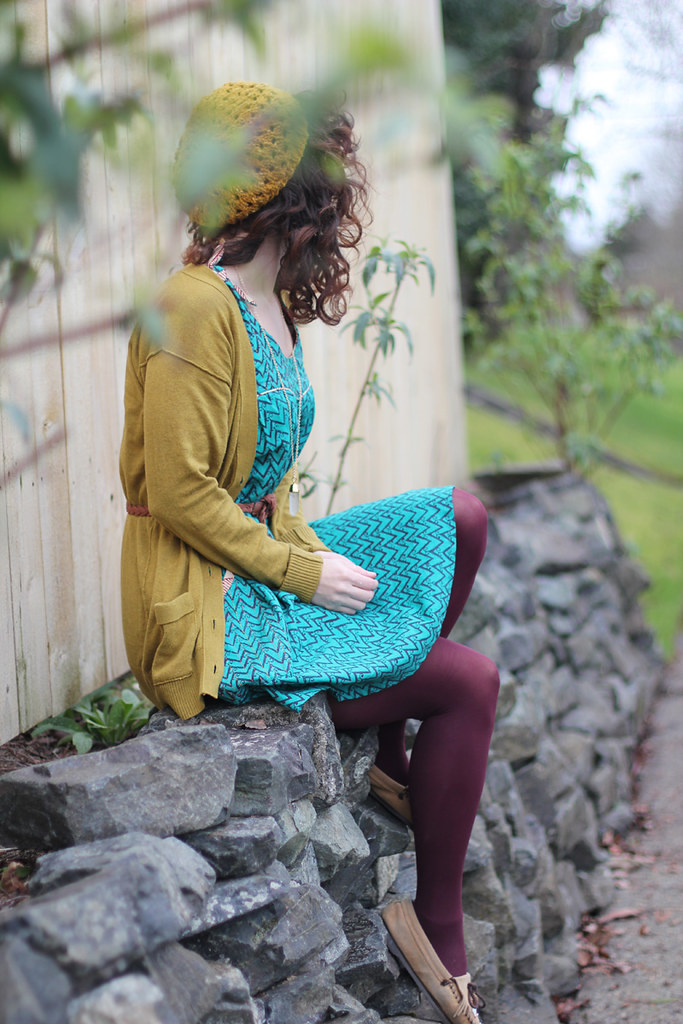
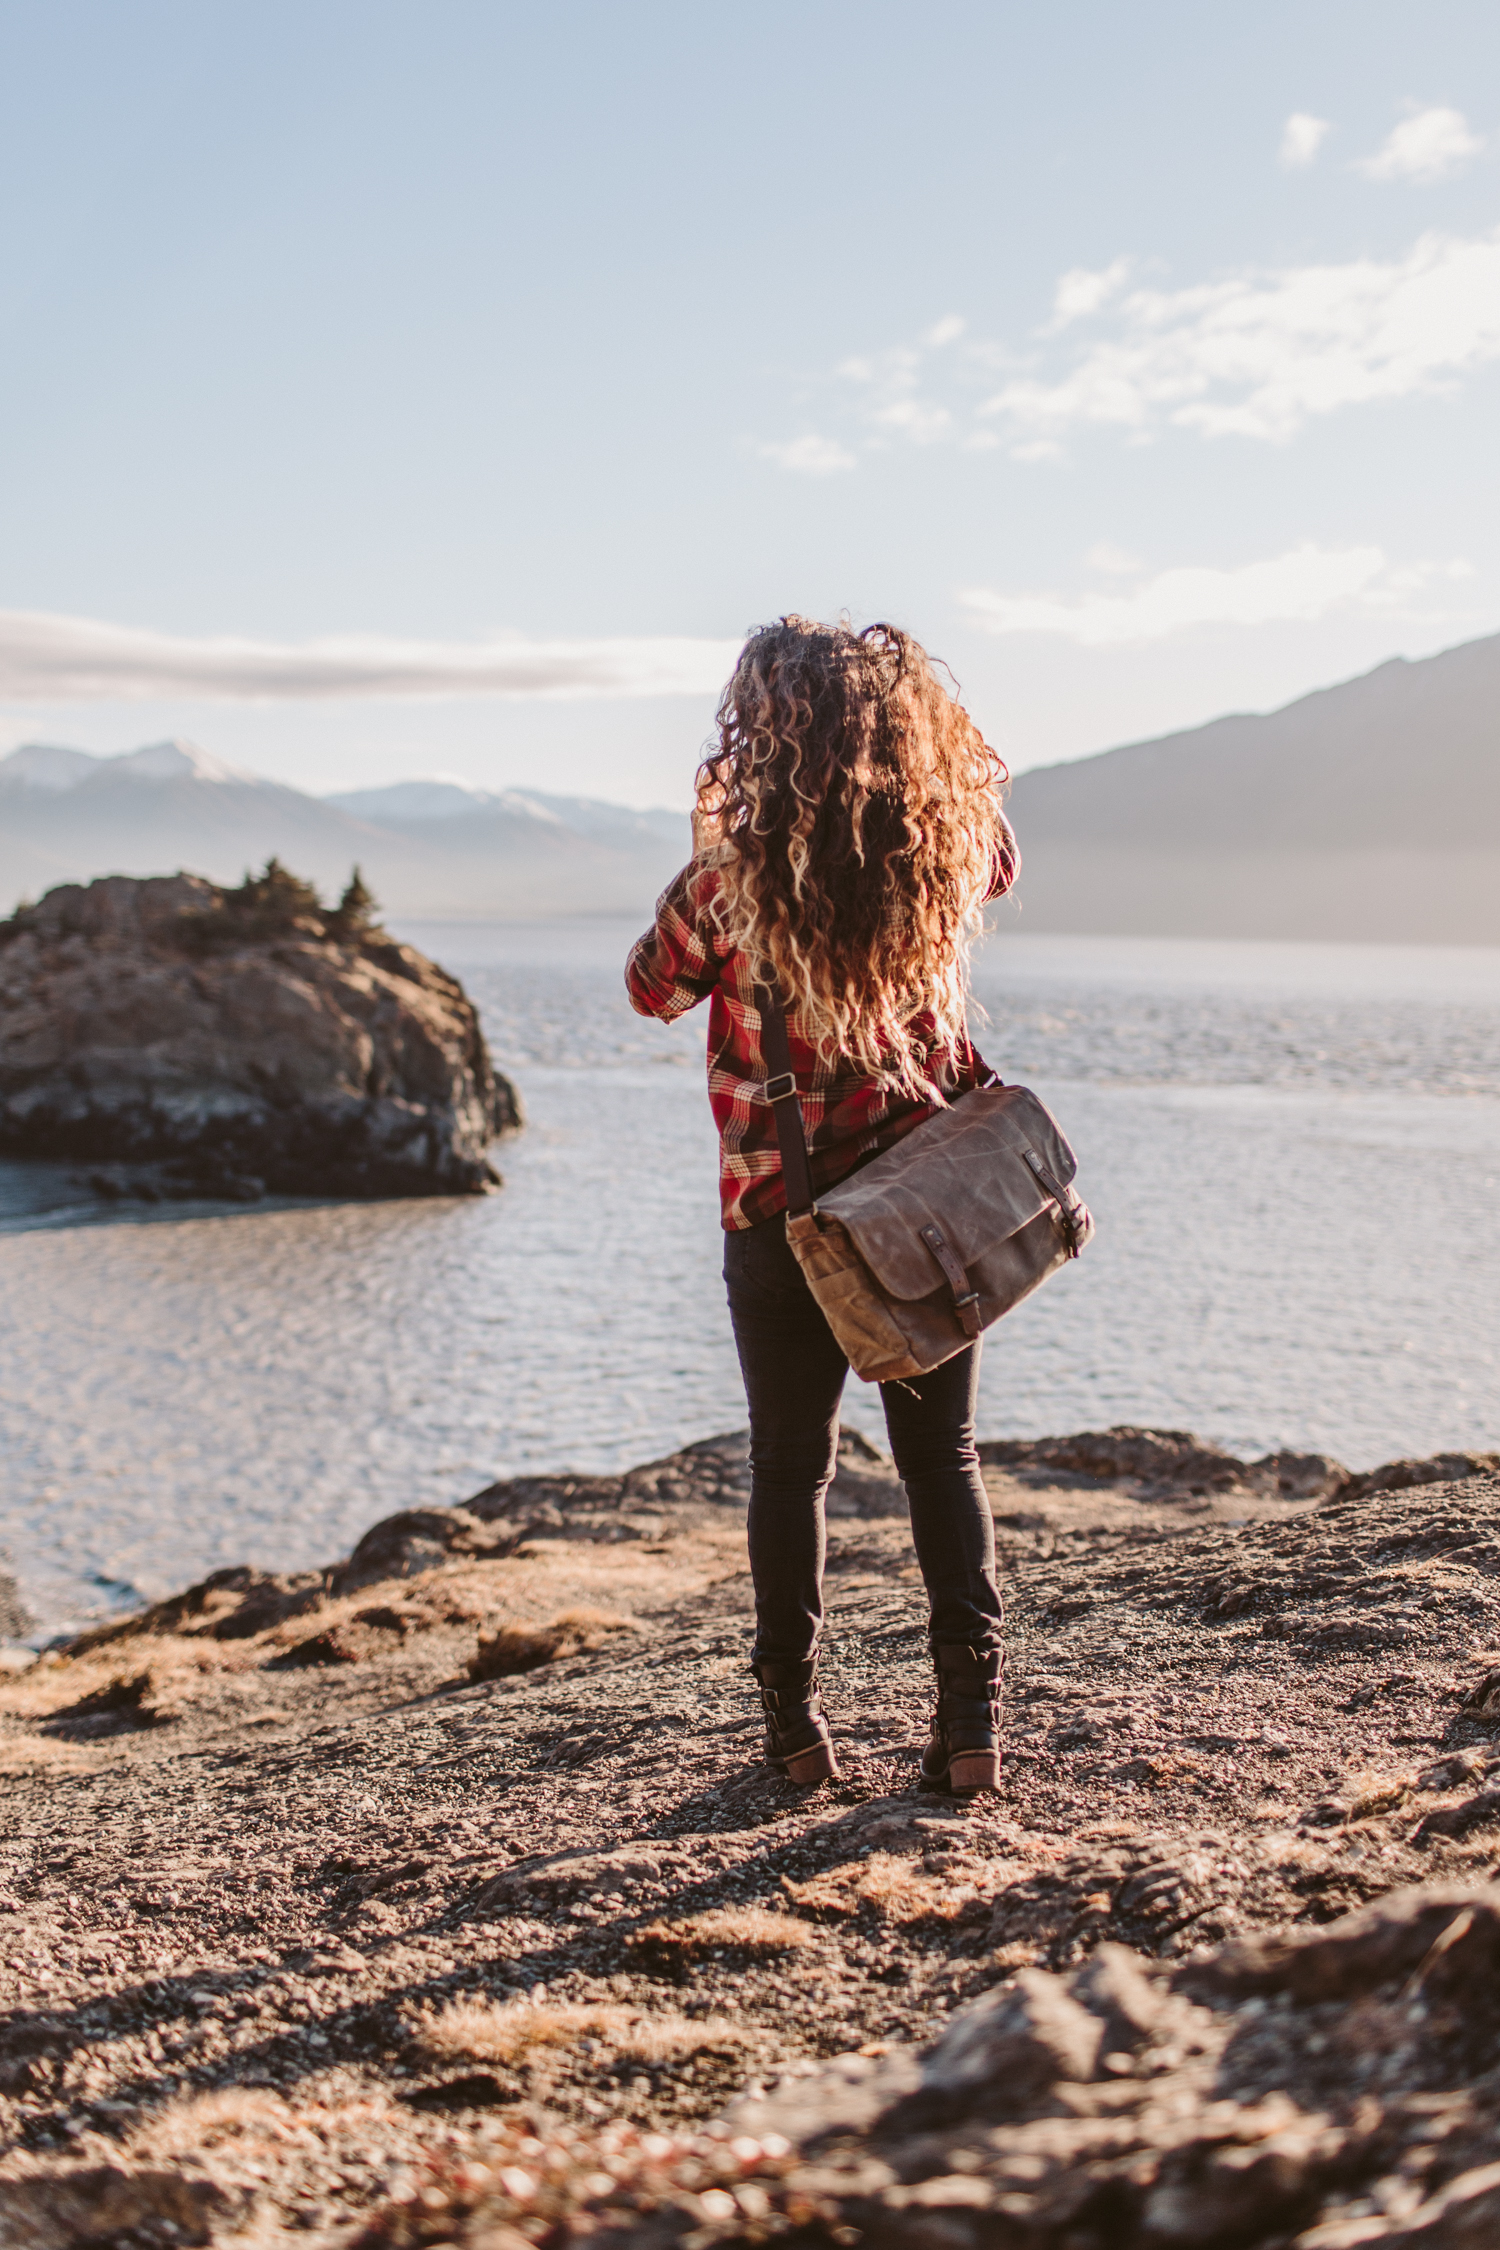
DON'T ALWAYS LOOK DIRECTLY AT THE CAMERA
And not just in the pigeon-toed-look-at-my-feet blogger pose way. While I definitely take plenty of those kinds of photos, I also like to look off in the distance (corny, I know!), or turn my back to the camera. It adds variety to your photos, and also gives you a chance to show of different angles of your outfit. Not looking directly at the camera gives photos a more candid feel as well, as if you're unaware of the camera. It can make you look more natural, rather than posed and rigidly looking into a camera lens. Obviously
you know
the camera is there, but acting like it isn't can result in photos that are much more natural and relaxed.


USE DIFFERENT ANGLES + POINTS OF VIEW
I'm not a big fan of seeing 10 outfit photos of someone standing in the same place with slight variations on the same pose. Granted, I'm guilty of it at times when I'm not feeling very creative or am being more lazy, but I love outfit photos that are visually interesting in addition to showing my outfit. One way to help your photos be more interesting is to use some different angles. This can be a bit more difficult if you're using a tripod, but the more you get comfortable using a tripod & self-timer, the better you get at making it work to get the angles and compositions you want!
Sometimes using a self-timer and tripod and be really frustrating, but don't give up! True story, I've gotten so mad trying to take photos that I've thrown my bike and screamed after trying to get shots of myself riding it (I think PMS may have contributed to that incident...). It can be hard to take outfit shots with just a tripod & self-timer, and there will for sure be times you wish you could just have a professional photographer boyfriend to take your outfit shots every day, but I love the independence that taking my own outfit photos has given me. I don't need to have someone around to do my photos, I can take my own! Whenever, wherever! And taking your own photos helps you get better at photography in general. You'll learn about composition, how your camera works, what lighting works best, and more, just from practicing it all the time.
Want some more tips for photography?


peach carrot bread


Q + A // how to style jeans


HIGH WAISTED BLUE JEANS


LOW RISE BLUE JEANS


BLACK + GREY JEANS


COLORED + PATTERNED JEANS
FOOTWEAR
blackberry


Hi, I’m Liz
I'm an artist, writer, designer, DIY renovator, and … well basically I like to do all the things. If it’s creative I’m probably doing it. I’ve spent over 30 years voraciously pursuing a life steeped in creativity and I wholeheartedly believe creativity and joy are inextricably linked.
Read more…


Explore The Archive
- July 2025
- May 2025
- January 2025
- December 2024
- August 2024
- July 2024
- May 2024
- April 2024
- January 2024
- December 2023
- October 2023
- September 2023
- July 2023
- June 2023
- May 2023
- April 2023
- March 2023
- February 2023
- January 2023
- December 2022
- November 2022
- October 2022
- August 2022
- June 2022
- May 2022
- April 2022
- March 2022
- November 2021
- October 2021
- August 2021
- July 2021
- May 2021
- January 2021
- November 2020
- October 2020
- September 2020
- August 2020
- July 2020
- June 2020
- May 2020
- April 2020
- February 2020
- January 2020
- November 2019
- October 2019
- August 2019
- July 2019
- June 2019
- May 2019
- April 2019
- February 2019
- January 2019
- December 2018
- November 2018
- October 2018
- September 2018
- August 2018
- July 2018
- June 2018
- May 2018
- April 2018
- February 2018
- January 2018
- November 2017
- September 2017
- August 2017
- July 2017
- June 2017
- May 2017
- April 2017
- March 2017
- February 2017
- January 2017
- December 2016
- November 2016
- October 2016
- September 2016
- August 2016
- June 2016
- May 2016
- April 2016
- March 2016
- February 2016
- January 2016
- December 2015
- November 2015
- October 2015
- September 2015
- August 2015
- July 2015
- June 2015
- May 2015
- April 2015
- March 2015
- February 2015
- January 2015
- December 2014
- November 2014
- October 2014
- September 2014
- August 2014
- July 2014
- June 2014
- May 2014
- April 2014
- March 2014
- February 2014
- January 2014
- December 2013
- November 2013
- October 2013
- September 2013
- August 2013
- July 2013
- June 2013
- May 2013
- April 2013
- March 2013
- February 2013
- January 2013
- December 2012
- November 2012
- October 2012
- September 2012
- August 2012
- July 2012
- June 2012
- May 2012
- April 2012
- March 2012
- February 2012
- January 2012
- December 2011
- November 2011
- October 2011
- September 2011
- August 2011
- July 2011
- June 2011
- May 2011
- April 2011
- March 2011
- February 2011
- January 2011
- December 2010
- November 2010
- October 2010
- September 2010
- August 2010
- July 2010
- June 2010
- May 2010
- April 2010
- March 2010
- February 2010
- January 2010
- December 2009
- November 2009
- October 2009
- September 2009
- August 2009
- July 2009
- June 2009
- May 2009
- April 2009
- March 2009
- February 2009
- January 2009
- December 2008
- November 2008
- October 2008
- September 2008
- August 2008
- July 2008

VISIT THE SHOP


PRIVACY POLICY & DISCLOSURE
We are a participant in the Amazon Services LLC Associates Program, an affiliate advertising program designed to provide a means for us to earn fees by linking to Amazon.com and affiliated sites.